GameBrief · General
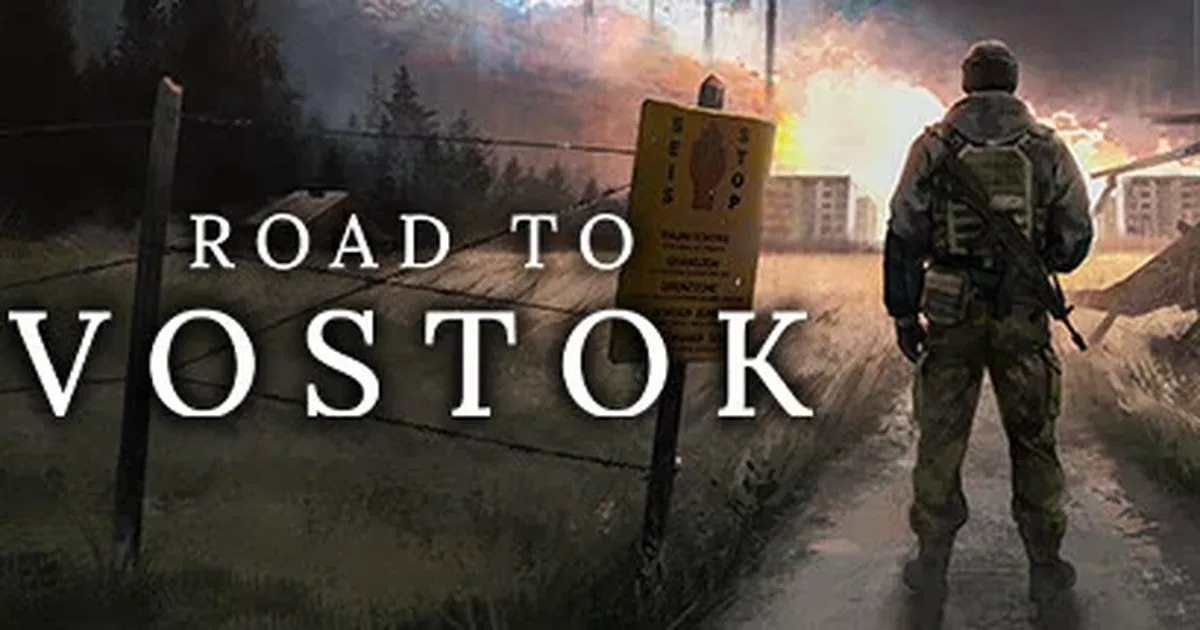
Road to Vostok Beginner Guide: Zones, Loot, and First Runs
Reviewing
Road to Vostok
Road to Vostok Ltd.
Road to Vostok beginner guide, starting from the first run. The game doesn't explain much. That's a design choice, not an oversight: the developer, one person, built a survival FPS where figuring things out is the point.
Here's what the game won't tell you directly.
TL;DR: Road to Vostok is a solo-dev survival FPS that explains almost nothing on purpose. It's built around three zones of escalating stakes (Area 05 safe, Border Zone factions, Vostok permadeath), physics-based looting you handle by hand, and tight inventory management. Your first goal is short Border Zone loot-and-extract runs, not pushing deep. Learn the extract loop and route planning before you over-commit, and treat the current build's core loop as the reason to play rather than its roadmap promises.
Road to Vostok beginner guide: Key Takeaways
- Three zones with escalating stakes: Area 05 (safe), Border Zone (factions), Vostok (permadeath)
- Physics-based looting: every item is a physical object, no instant "take all"
- Tetris-style inventory grid: loadout planning happens before every run
- Day/night cycles, weather, and dynamic events (airdrops, skirmishes) change each session
- Build 2 will overhaul AI: current patrol patterns are exploitable and this is acknowledged
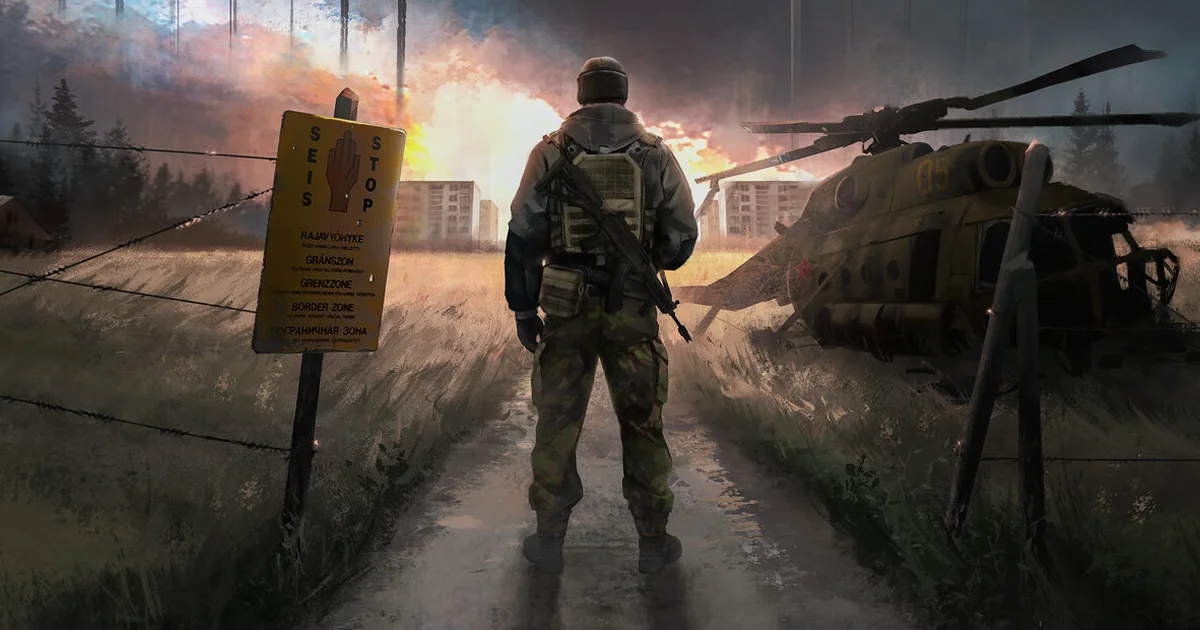
What Area 05 Is and Why You Should Stay There Longer Than You Think
Area 05 is the starting zone. NPCs here trade gear for currency. Crafting benches let you process raw materials. A shelter system (furniture, workstations, permanent upgrades across runs) gives your progress a physical home.
Most players leave Area 05 before they're ready. The Border Zone is right there, the map is visible, the temptation is immediate. Resist it for two or three runs.
The physics looting system has a learning curve that isn't obvious until you're in the middle of a looting action, crouched over a crate, and an enemy patrol turns the corner. Items drop in real space. A rifle doesn't materialize in your inventory: you reach in, grab it, and physically pull it out. That takes four to six seconds. In a hostile area, four to six seconds is a long time.
Practice the motion in Area 05 where the consequences are low. By the time you're running the Border Zone, it needs to feel automatic.
Your shelter in Area 05 also compounds across runs. Workstations installed early unlock crafting options that improve your per-run efficiency. The shelter customization isn't just cosmetic: it's infrastructure. Treat the early Area 05 runs as setup, not warmup.
Road to Vostok beginner guide: step-by-step for your first five runs
Run 1: learn the looting system. Don't try to fight. Don't try to go far. Find a crate, open it, practice grabbing items and managing the inventory grid. The Tetris-style layout means every item has a physical footprint. A rifle takes up a different space than a medical kit. Getting comfortable with the spatial logic of loading out is the first skill to build.
Run 2: set up the shelter. Return to Area 05 and install your first workstations. Check what materials the crafting benches need and run a short loop to collect them. The shelter upgrades unlock through use, not through a separate menu: each workstation you install opens the next tier.
Run 3: trade with NPCs. Understand the economy. NPCs buy certain items and sell others. Some gear is faster to buy than to loot. A few runs spent learning the trade routes (what drops where, what sells for what) will save hours of inefficient looting later.
Run 4: first Border Zone crossing. Cross into the Border Zone with light gear. Don't try to loot heavily. Watch the patrol patterns. Bandits patrol the perimeter areas, guards occupy checkpoints, military units appear in higher-density sectors. The current AI runs on mechanical loops: patterns can be observed and timed. Note where the loops are before you commit to looting anything.
Run 5: first real loot run. Now go in with a plan. A specific route, specific target locations, a loadout designed for extraction rather than extended combat. The goal is to come out with more than you went in with.
Vostok is not on the table yet. The three-zone structure is a natural ladder and there's no reason to skip rungs.
 The Border Zone introduces faction patrols. Take time to observe patrol loops before committing to a loot run.
How the inventory grid works
The Tetris-style inventory system is where Road to Vostok separates itself from most survival FPS games. Items aren't defined by weight: they're defined by shape.
A rifle has a specific grid footprint. So does a medical kit, a box of rounds, a canteen. Fitting them together before a run is a puzzle. The decision to leave behind a moderately valuable item because it doesn't fit alongside the gear already committed to carrying has real weight that weight-limit systems don't generate.
The practical implication: build your loadout before entering the Border Zone, not during. Standing over a crate trying to figure out if a newly found shotgun fits in your current grid is how you get caught.
A few early observations:
- Prioritize medical kits by shape, not just quantity: irregular shapes waste grid space
- Leave a small empty zone in your grid for unexpected high-value finds
- The grid layout visible in the HUD is your real-time inventory: glance at it before reaching into anything
 The inventory grid is a spatial puzzle. Every item has a shape footprint: plan your loadout before entering the Border Zone.
GODEEPER: The full Road to Vostok review covers whether the current build justifies the price and what the roadmap promises. Road to Vostok Review →
Patrol patterns and when to fight
Road to Vostok doesn't require you to fight anyone. The factions in the Border Zone can be avoided on most routes if you know where they are. The current AI, which Build 2 will revise, runs predictable loops. Military units move between fixed waypoints. Bandit patrols circle defined areas on timers.
The decision to engage comes down to risk-reward per run. A military sector with three targets guarding a high-value cache might be worth clearing. A checkpoint with two guards standing between you and a low-value area probably isn't.
When you do engage, the physics system works in your favor: cover is real cover, and objects in the environment interact with projectiles as physical objects. A stack of crates between you and an enemy stops bullets. Use it.
Night gives you a visibility advantage. The dynamic lighting system means darker environments work in your favor against the current AI. If you're running a high-value target in a contested sector, time it for night.
Dynamic events: airdrops, skirmishes, crash sites
Each session in Road to Vostok generates dynamic events. These aren't scripted: they're procedural additions that change the surface experience session to session.
Airdrops mark high-value caches on the map. They also mark high-value targets for other players or faction units. An airdrop is a race: first there gets the loot, everyone else gets the fight. In Early Access Build 1, the AI responds to airdrop markers, which makes them more dangerous than the cache contents sometimes justify.
Faction skirmishes are NPC-versus-NPC fights. Let them resolve before entering the area. Looting the aftermath is safer than joining the middle.
Crash sites have the best uncontested loot in the Border Zone: aircraft and vehicle wreckage carries equipment that isn't available from NPC traders. The risk is that crash sites are marked events, meaning you're not the only one who knows they're there.
For more on permadeath survival mechanics in general, the Road to Vostok review covers how the zone structure handles the stakes. The best roguelike games of 2026 offers genre context if Road to Vostok is your entry point into permadeath survival.
Tips: surviving the first ten hours
Watch before you move. Every new area you enter for the first time: stop. Look. Listen. The AI gives audio cues before visuals. You'll hear a patrol before you see it in most cases.
The physics looting system gets faster. It doesn't feel smooth in the first run. By run five it's reflex. Don't write off the game because of early friction with a system that has a real learning curve.
Your shelter is your long-term investment. Each upgrade compounds. A shelter with three workstations outfits you significantly faster than a shelter with one. Time spent building the shelter early is not time lost: it's overhead that pays out for every subsequent run.
Crash sites beat airdrops for solo players. Airdrops attract AI. Crash sites are marked but less frequently patrolled. If you're playing solo rather than with a group, prioritize crash sites for high-value loot runs.
Don't enter Vostok until you've extracted successfully from three consecutive Border Zone runs. Three clean extractions in the Border Zone means your looting, patrol-reading, and inventory management are functional enough to attempt permadeath stakes.
The best indie games under $20 puts Road to Vostok's $14.99 price in the context of the current value landscape if you're deciding whether to buy in Early Access.
GODEEPER: Subnautica 2 has a comparable risk-reward structure, with its most valuable zones also its most dangerous. Subnautica 2 Biomes Guide: All 6 Zones Ranked (2026) →
Frequently Asked Questions
Is Road to Vostok hard for beginners? The early game in Area 05 is forgiving: you respawn with a penalty but don't lose your character. The real difficulty spike is the Border Zone, where factions patrol and looting takes time. Spend two or three runs in Area 05 before crossing over.
What happens when you die in Road to Vostok? Death in Area 05 and the Border Zone triggers a respawn with a gear penalty: you lose what you were carrying. Death in the Vostok zone is permanent: the character, gear, and all accumulated progress on that run are gone. Vostok is optional until you choose to enter it.
How does physics looting work in Road to Vostok? Items exist as physical objects. You physically reach into containers and grab them: no instant "take all." This takes real time and leaves you vulnerable. Give yourself two or three runs before the system starts feeling natural.
How do I unlock the Vostok zone? Vostok has no hard progression gate. The three-zone structure (Area 05 → Border Zone → Vostok) functions as implicit preparation. The game lets you enter Vostok whenever you want: it just ends you permanently if you're not ready.
How long does a Road to Vostok run take? An Area 05 crafting run runs under 30 minutes. A Border Zone loot run with proper routing takes 45 to 90 minutes. Vostok runs vary based on preparation and encounter outcomes.
Is Road to Vostok worth buying in Early Access? At $14.99 with a Very Positive rating from 5,100+ English reviews and 140,000 copies sold in the first five days, Road to Vostok is one of the better-value Early Access entries in the survival FPS genre right now.
Related Reading
The Road to Vostok review covers the full game in critical depth: including the permadeath zone structure and what the Early Access state means for long-term investment.
If you're coming to Road to Vostok from other survival FPS games, the best indie games under $20 puts it in context against other well-regarded cheap-at-launch picks in the same general space.
References
Was this guide helpful?
About the author

Senior Critic & Analyst
Former game data analyst turned critic with 11 years covering indie and mid-tier games. Based in Austin. Runs spreadsheets on games most people just play.
- 11 years games criticism
- Former game economy analyst
- Roguelike and strategy specialist
Keep reading


Disclaimer
This article is published for informational and entertainment purposes. It does not constitute professional financial, legal, or technical advice. Game performance, online services, patch schedules, and store listings change. Verify critical details (pricing, system requirements, regional availability) with publishers and storefronts before you buy. Affiliate links, where present, help support our editorial work and are labelled in our affiliate disclosure.