GameBrief · General
Shapez 2 Beginners Guide: 12 Essential Tips for 1.0
Reviewing
shapez 2
tobspr Games
This Shapez 2 beginners guide starts with what your first factory gets right. It produces the shapes the game asks for. It's also a disaster: belts crossing over themselves, processors fed from the wrong direction, and a layout that worked for level 3 shapes but breaks completely when level 7 shapes arrive and you need to stack operations.
These 12 tips are built around that specific failure. Not the failure of not knowing what to build: the failure of building in an order that forces rebuilds later.
TL;DR: Shapez 2 1.0 has no enemies and no timers, so the entire game is logistics design. The biggest beginner mistake is building before planning belt routing, which forces full rebuilds once higher-tier shapes need a different layout. Plan space for shape stacking early, build vertically before you run out of horizontal room, and leave Manufacture Mode (the 1.0 large-scale layer with Trade Stations) alone until you've finished the base campaign.
Shapez 2 beginners guide: Key Takeaways
- Plan belt routes before placing processors: the most common rebuild trigger is bad routing
- Build vertically early: the multi-layer system exists for a reason; use it before you run out of horizontal space
- Shape stacking uses the bottom layer: stacking processors belong on level 1, not level 3
- Separate your extraction and processing lanes: they serve different throughput profiles
- Manufacture Mode is post-campaign: don't try to engage with it in your first 10 hours
Shapez 2 beginners guide: Overview
These tips target players in their first 15 hours of shapez 2 1.0, on any platform (PC, macOS, Linux). The advice applies to the base campaign: the standard shape delivery progression that runs from level 1 to the late-game pipeline challenges.
What this guide covers: belt routing, layer management, shape processing order, and common layout mistakes that force complete rebuilds. For Manufacture Mode specifically (the large-scale factory layer added in 1.0) see the shapez 2 news article covering what 1.0 adds in detail: shapez 2 1.0 release overview.
Step-by-Step: Applying These in Your Run
GODEEPER: The 1.0 release article covers everything that changed from Early Access and what the full launch build includes. Shapez 2 1.0 Release →
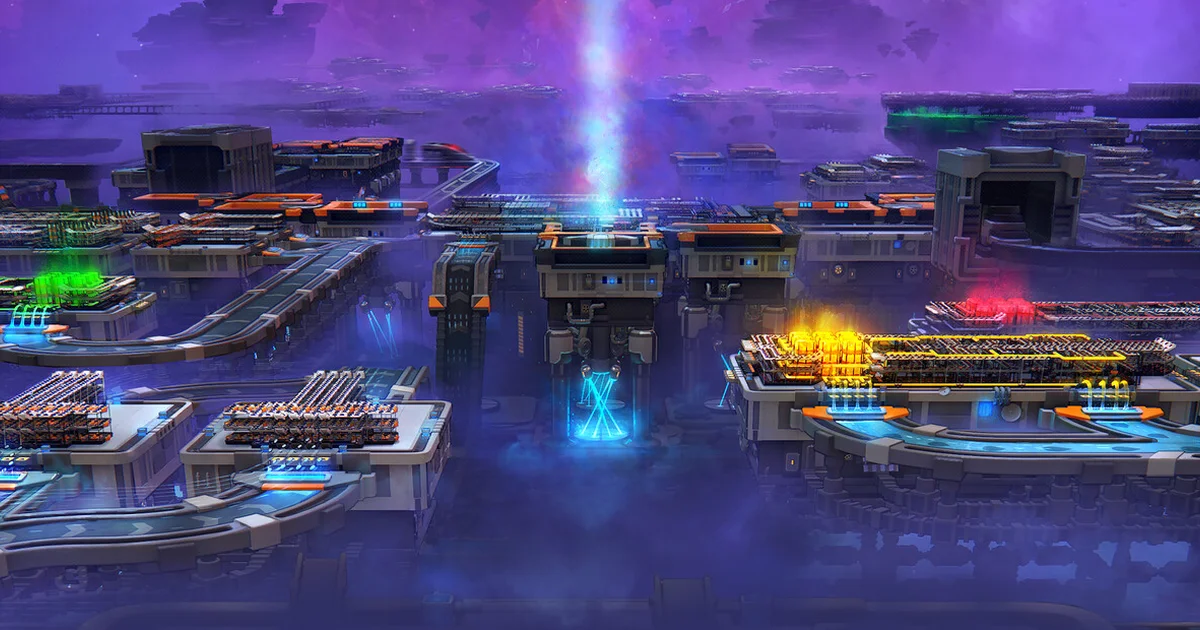
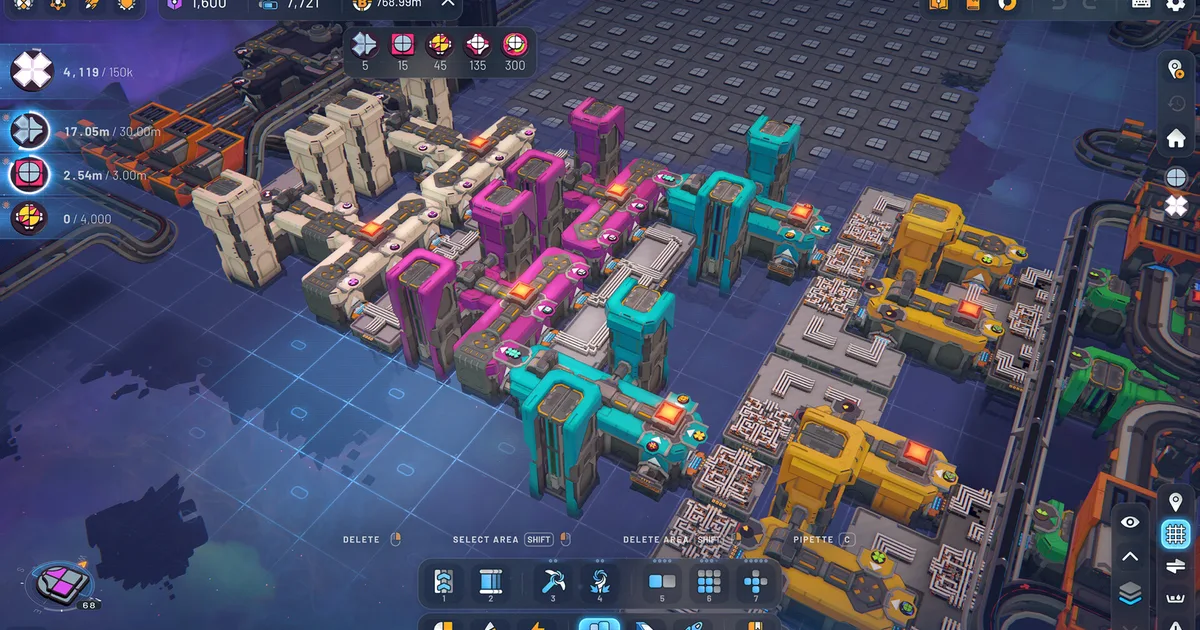
 The first few belts look manageable: the complexity compounds once you hit multi-layer shapes.
Tips that actually help
Tip 1: Don't place processors before planning belt routes
The single most common beginner mistake in shapez 2: placing a processor, then figuring out how to route the belt to feed it. Backwards. Place the belt route first, then place the processor in the correct position on the route.
Why it matters: processors have fixed input and output directions. A Cutter outputs two lanes. A Stacker has two inputs. If your belt route doesn't match the processor's I/O geometry, you either rebuild the processor or add expensive belt correction that reduces throughput. Plan the route, then commit.
Tip 2: Start building vertically before you need to
Shapez 2 has three building levels. Most beginners build the entire first factory on level 1 and then run out of horizontal space during a complex multi-operation shape. The level system isn't a late unlock: it's available early and it's designed for exactly this situation.
Start placing infrastructure on level 2 for any operation that has a specific "doesn't need ground access" requirement. Keep extraction on level 1 (extractors need ground contact), processing anywhere that fits, and belt crossing on level 2 when you can't avoid a path conflict at level 1.
Tip 3: Shape stacking belongs at level 1
When shapes need to be combined vertically (one shape placed on top of another), the Stacker processor handles it. Stackers have two inputs: one for the base shape, one for the shape being placed on top.
The mistake: putting the Stacker at level 2 or 3 because there's more space there. The inputs become harder to route from ground-level extraction. Keep Stackers at level 1 with clear direct input paths from adjacent processing lanes.
Tip 4: Separate your extraction and processing lanes
Extraction lanes (raw shape pieces coming off extractors) and processing lanes (cut, rotated, or colored shapes going into further operations) have different throughput rhythms. Extraction is steady but relatively slow. Processing steps create bursts.
Mixing them on the same belt creates backup stalls. Run parallel lanes: one belt for raw extraction output, one for processed shapes entering the next stage. Merge them only at the final delivery point where throughput has already been smoothed by the intermediate processors.
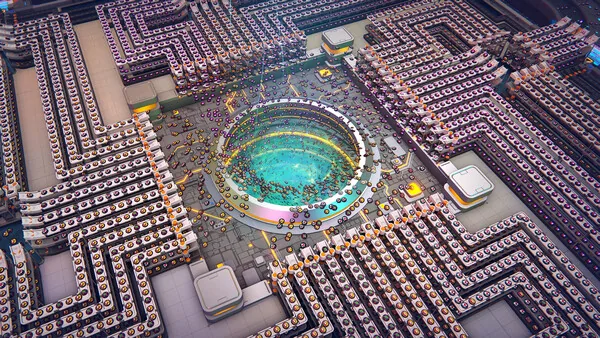
Tip 5: Quad shapes take more space than you think
Around level 5-6, the game starts asking for quad-layer shapes: four distinct operations stacked vertically. The factory footprint for a quad-shape delivery is 3-5x the size of a simple single-operation factory. Don't try to fit quad shapes into a space designed for doubles.
When a new multi-layer shape appears in the delivery queue, stop and sketch the operation chain on paper (or the in-game notes feature if you use it) before placing anything. Count the processors. Allocate the space before the first belt goes down.
Tip 6: Rotations are cheap; don't skip them
The Rotator processor costs minimal space and power, and it's one of the most frequently needed operations in the mid-game. Players who skip setting up a Rotator early because "the current shape doesn't need it" routinely rebuild their entire processing lane when a shape does need rotation and there's no room in the established layout.
Keep a Rotator staged in a flexible position near your main processing line from level 3 onwards. You'll use it more than you expect.
Tip 7: Color mixing is a late step
Coloring happens last in the operation chain. Raw shapes go through all cutting, stacking, and rotation first. Then they're painted. Putting a Painter early in a lane and then running the painted shapes through a Cutter afterwards resets the color on the cut pieces.
The correct order: extract → cut → rotate → stack → paint → deliver. Any deviation from "paint last" creates re-coloring work that can't be automated away cheaply.
Tip 8: Throughput bottlenecks are usually belt speed, not processor count
When delivery is falling behind, most beginners add more processors. Usually the issue is belt speed. A single slow belt feeding three processors keeps all three at half capacity regardless of how many you add. Check belt speed before adding processors: sometimes replacing one belt segment with a faster variant does more than doubling the processor count.
Tip 9: The trash can is your friend
Shapez 2 produces excess shapes: half a cut quad, a wrongly-colored triangle, a stacking output you didn't intend. Every backed-up belt segment is eventually a stall. Run a trash lane parallel to your main processing lane and dump anything that doesn't match your current delivery target. A clean factory runs faster than a cluttered one.
Tip 10: Manufacture Mode is not for your first 15 hours
The 1.0 update added Manufacture Mode with Trade Stations and large-scale persistent infrastructure. It's post-campaign content. The base campaign teaches the full shape processing pipeline; Manufacture Mode assumes that foundation is solid before adding the Trade Station layer.
Don't try to build into Manufacture Mode infrastructure before the standard delivery objectives are handled. The system becomes confusing before it becomes useful if the base factory loop isn't fully understood.
Tip 11: Steam Workshop mods work, but wait
Full Steam Workshop support launched with 1.0. Player-made mods are available and range from quality-of-life tools to full factory redesigns. Most mods add complexity rather than reduce it. Complete the base campaign before adding anything from the Workshop: the base game's factory puzzle is the point, and mods that solve parts of it skip the learning.
After the campaign, the Workshop adds substantial replayability. The sorting tools and display mods in particular are worth checking. The best free-to-play games 2026 list doesn't include shapez 2 (it's not F2P, $29.99 on Steam with no discount currently active) but the factory-builder genre context there is useful if you're evaluating what comes next after completion.
Tip 12: Accept that your first factory will be rebuilt
Every shapez 2 player rebuilds at least once. Usually twice. The factory that works for level 4 shapes breaks for level 8 shapes because the layout assumptions don't scale. When you hit that wall (and you will) don't try to patch the existing factory into the new requirements. Tear it down and build it right for the current demands.
The rebuild goes faster than the original because you've solved the routing problems once already. The second factory is always better.
For other automation and strategy games to try after completing shapez 2, the best indie games under $20 in 2026 has several picks at a lower price point.
Tips
Belt math matters more in late-game. When you're processing shapes with four operations in sequence, the slowest belt in the chain is the throughput ceiling. Note the speed rating on every belt segment in your main processing lane and match them.
Name your blueprint saves. Shapez 2 lets you save factory sections as blueprints. Name them with what they do, not generic numbers. "Quad-left-cut-input" is findable in 6 months; "Blueprint 14" is not.
The Steam achievements give a rough difficulty curve. The 83 achievements in 1.0 range from basic completion milestones to genuinely hard optimization challenges. Use them as milestones rather than pressure: the early achievements confirm you've understood a mechanic; the late ones signal you're ready for Manufacture Mode.
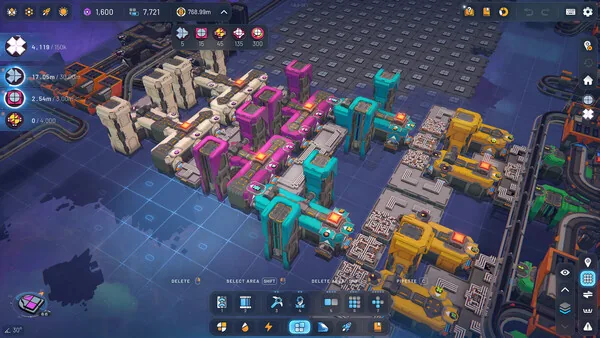 Splitters and mergers are where beginners lose throughput: route before you build.
Frequently Asked Questions
What is shapez 2? A 3D factory-building game by tobspr Games. Full 1.0 released April 23, 2026. No enemies, no time limits: pure logistics optimization.
Is shapez 2 hard for beginners? Early game is gentle. Mid-game gets significantly harder. The main difficulty spike is multi-operation shape stacking, which demands planned routing rather than improvised building.
What is Manufacture Mode in shapez 2 1.0? A post-campaign layer with large-scale persistent factory infrastructure and Trade Stations. Skip it until the base campaign is complete.
Does shapez 2 support mods? Yes: full Steam Workshop support launched with 1.0. Better used after the base campaign.
How long does shapez 2 take? 15-40 hours for the base campaign depending on how much you plan before building. Rebuilders run longer.
Can you play on macOS or Linux? Yes. All three platforms launched simultaneously.
GODEEPER: LegionBound has comparable systems depth for players who like progression-heavy games once Shapez 2 is cleared. LegionBound Tips Guide →
Related Reading
- Shapez 2 Manufacture Mode Guide: How It Works in 1.0: Shapez 2 manufacture mode: Dimensional Waste, Trade Stations, and the path to the Grand Vortex Assembler. The 1.0....
- Shapez 2 Shape Stacking Guide: Layers & The Stacker: Shapez 2 shape stacking explained: how the Stacker layers shapes, why left input goes on top, and how....
- Shapez 2 Blueprints: Save, Share & Import to the Library: Shapez 2 blueprints guide: save factories to the library, copy and paste with blueprint codes, import .spz2bp files,....
- Shapez 2 Best Mods 2026: Top Workshop Picks & Install: Shapez 2 best mods: real Workshop picks worth installing, from Time Control and Blueprint Search to Better Trash, plus....
- Shapez 2 Complete Guide 2026: Automation, Belts, Manufacture: Shapez 2 complete guide: belt routing, shape stacking, Manufacture Mode, mods, and every guide on.
- Shapez 2 Automation Guide: Belt Routing and Advanced Tips: Shapez 2 automation guide: how belt routing and splitters work, the overflow fixes that scale,.
References
Was this guide helpful?
About the author

Senior Critic & Analyst
Former game data analyst turned critic with 11 years covering indie and mid-tier games. Based in Austin. Runs spreadsheets on games most people just play.
- 11 years games criticism
- Former game economy analyst
- Roguelike and strategy specialist
Keep reading


Disclaimer
This article is published for informational and entertainment purposes. It does not constitute professional financial, legal, or technical advice. Game performance, online services, patch schedules, and store listings change. Verify critical details (pricing, system requirements, regional availability) with publishers and storefronts before you buy. Affiliate links, where present, help support our editorial work and are labelled in our affiliate disclosure.