Loading…
GameBrief · Guides
Kristala Boss Guide: All 5 Bosses and How to Beat Them
10 min readBy Finn Calloway

Reviewing
Kristala
Astral Clocktower Studios
Five bosses, none of them particularly forgiving on a first attempt. This kristala boss guide covers the timing detail most players get wrong on each fight, and how Eminence versus Malediction builds change what "correct" looks like. Use this kristala boss guide to map each encounter before you commit to an attempt.
TL;DR: Five bosses. Yellow attacks can sometimes be parried: test them rather than assuming. Heal only during teleport or AoE windows, nowhere else. Eminence rushes phases; Malediction outscales in extended fights. Grottorot Golem has an arena-edge kill. Lophi the Lost is the game teaching you how the rest of the fights work.
Kristala boss guide: key takeaways
- Kristala has 5 bosses in the current build: Lophi the Lost, Grottorot Golem, Hiratrola, Elder Samwise, Shard of Ursul, and Elder Satine, Shard of Morda
- Yellow-marked attacks are not automatically unparryable: Lophi's yellows can be deflected
- Heal only during teleports, AoE casts, or phase transitions: not mid-combo
- The Grottorot Golem can be finished via environmental kill: pushing it off the arena edge counts
- Equip your spell loadout before the fight starts, not after your first death
- Malediction curse stacking outperforms Eminence in multi-phase fights once patterns are memorized
Overview: How Kristala Boss Fights Work
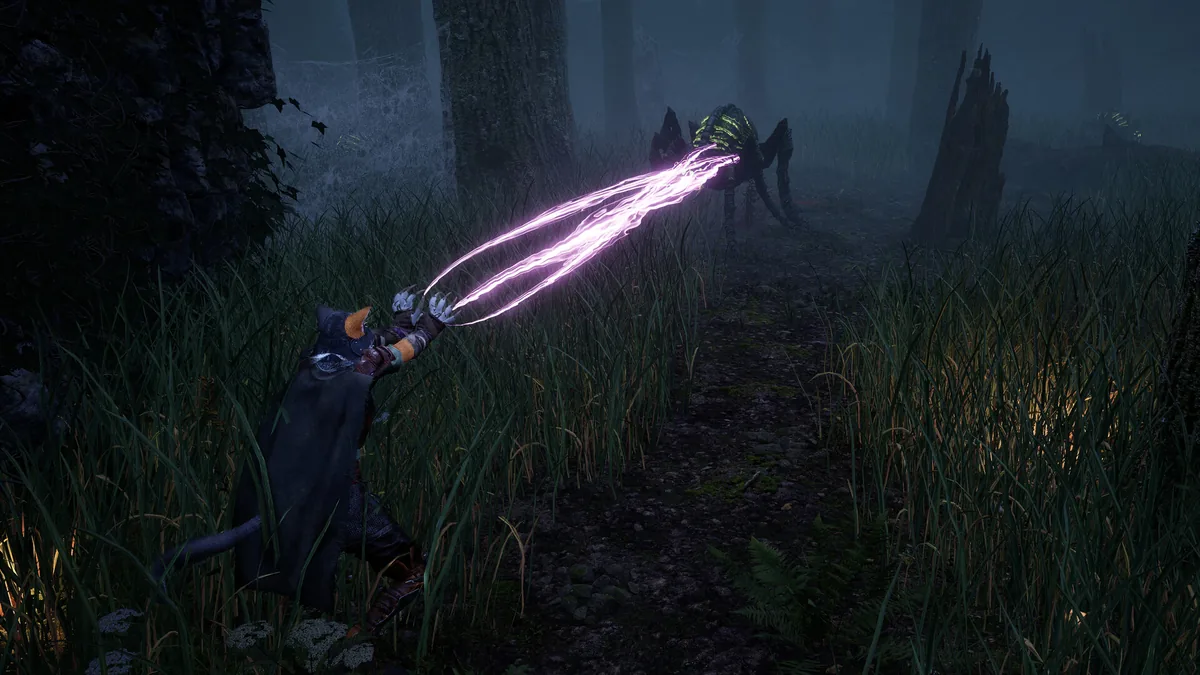
Kristala boss fights share a structural logic different from most Souls-likes. Mana doesn't regenerate passively: it refills through landed melee hits. That design means passive, dodge-heavy play drains your mana without recovery, leaving you spell-less by a fight's second phase. The intended approach is aggressive: close distance, land deflections and counters, bank mana, then spend it on spells.
Not all boss attacks are deflectable. Ground slams and wide sweeps usually signal differently, with a longer wind-up before impact, and need a dodge rather than a deflect. If you can't tell which category an attack falls into, take the hit deliberately on an early attempt. That information is worth more than the health.
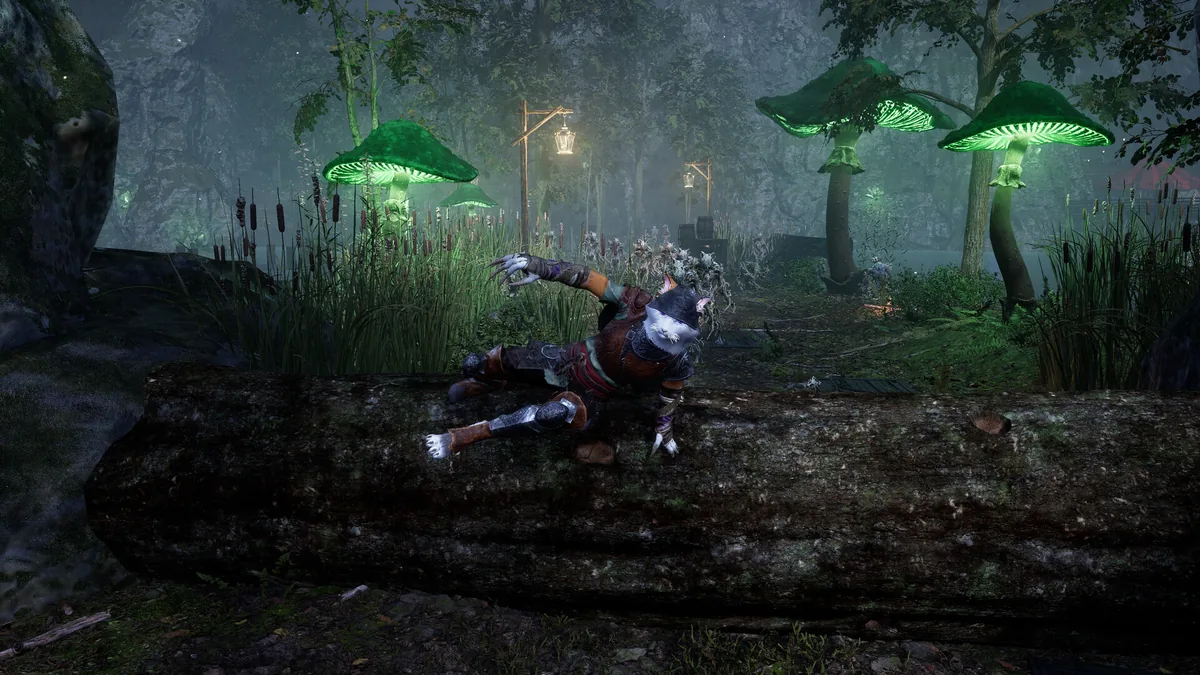
Boss arenas in Kristala include vertical space the parkour system can use. Several fights have platform options that change deflection angles and create repositioning opportunities standard Souls-like arenas don't offer. Going airborne mid-fight isn't always optimal, but it's sometimes the correct answer to reset a boss's combo pattern.
Before any boss, visit the nearest Ellarial Font and rebuild your spell set for the encounter. Don't bring your exploration loadout. AoE spells for fast phase 1 kills, single-target for sustained fights, burst for tight timing windows. Adjust between attempts based on what the fight actually demanded.
GODEEPER: Mana-through-melee is the core of every boss attempt: if the loop isn't second nature yet, the Kristala Combat Guide has the deflection timing breakdown that makes boss phases manageable.
Boss 1: Lophi the Lost
Type: Spellcaster / Melee hybrid
Phases: 2
Community difficulty: Low,Medium
Lophi the Lost is the first named boss most players hit. The demo was built around this fight. It's Kristala's tutorial for how the combat rules differ from what Souls-like experience predicts, and a lot of that lesson comes from one thing most players get wrong immediately.
The critical detail: Lophi's yellow-marked attacks can be parried. Most players see a yellow signal and switch to dodge by reflex. That's the wrong call here. His melee attacks (except the jump attack) can all be deflected, including the yellow-tagged ones. Testing this on your first attempt removes a major source of failure.
The jump attack is the exception. Dodge it at the peak of his jump, not as he begins descending. Timing the dodge on the way down will get you clipped by the landing impact. Most players dodge too late by waiting for visual confirmation that he's falling. Commit earlier.
In phase 1, the rhythm is straightforward: deflect his melee combos, counter, cast during recovery windows. He moves with a consistent stutter in his animation transitions. That stutter is not random: once you identify the cadence, your deflect inputs land on it cleanly.
Phase 2 adds an AoE spell. That AoE cast is your only safe healing window in the fight. Lophi also teleports regularly, and that's the other one. Outside of teleport and AoE moments, trying to heal during his standard attack strings gets you hit before the animation finishes. Two windows total. Use them.
All of Lophi's spells (including the phase 2 AoE) can be dodged through with I-frames. You don't need to run from them. A well-timed dodge roll through the AoE gives you time to land your counter-strike and bank mana before he recovers.
Eminence note: Fast enough to skip phase 2 before AoE becomes a problem on repeated runs.
Malediction note: Curse stacks pay off well into phase 2 given the fight's extended length.
Boss 2: Grottorot Golem
Type: Heavy physical
Phases: 2
Community difficulty: Medium
The Grottorot Golem is a large armored construct reached at the end of a dungeon. The dungeon resets on each failed attempt: which is the fight's most frustrating mechanic before the boss itself becomes readable. Learn the dungeon route efficiently before going serious on the fight.
The environmental mechanic is real: pushing the Golem off the arena edge counts as a kill. This isn't a bug the developers intend to patch: the arena design includes edges that function as environmental hazards. Whether you use this is a personal choice, but it's documented community knowledge worth knowing.
The Golem received new attack patterns in the full release compared to the Early Access build. Players who beat the Golem in EA and returned at full release found additional moves in the pattern set. If you're following old fight guides, account for this. The core loop (dodge slams, deflect strikes during recovery) remains the same, but the attack variety expanded.
For the build approach: Eminence burst-fires work during the Golem's recovery windows between heavy attacks. Malediction curse stacking accumulates throughout the fight's longer time-to-kill: this is one of the few early bosses where Malediction outperforms Eminence in raw efficiency.
GODEEPER: Stat investment affects how much punishment you can absorb between Golem slams: the Kristala Character Build Guide covers the Vitality-first priority that makes boss tanking viable.
Boss 3: Hiratrola
Type: Physical brute
Phases: 2
Community difficulty: Medium,High
Hiratrola is a large humanoid built around strength attacks. The community calls it a brute, and that's accurate. Most attacks are wide and heavy, with longer wind-ups than you've seen on earlier bosses, which sounds easier to deflect until one connects and you realize how much damage a misread costs.
The tradeoff: the hits that connect deal significant damage. One misread can bring you from full health to dangerous territory without a follow-up. If your Vitality investment didn't track with your current zone's enemies before reaching this fight, you'll feel it here.
Don't try to win your first two attempts. Practice each attack type instead. Hiratrola's pattern set is finite, and once you've mapped it, the fight rewards aggressive deflect-and-counter rhythm more than anything earlier. It also runs long enough for Malediction curse stacks to reach their ceiling, which makes this one of the best fights in the game for a Myrtuna build.
On PS5 at launch, this fight had documented input issues affecting deflect responsiveness. Patch status varies: check current community notes if you're experiencing uncharacteristic control lag here specifically.
Boss 4: Elder Samwise, Shard of Ursul
Type: Humanoid hybrid, phase-shifted
Phases: 2
Community difficulty: High
Community opinion on Elder Samwise runs hard. Most players calling it the game's toughest fight are specifically citing phase 2, where a spinning combo pattern requires sustained evasion rather than deflection. That's a different ask than what earlier bosses trained.
Phase 1 is manageable with standard deflect-and-counter rhythm. Elder Samwise is visually distinct ("emerald glass leprechaun" describes the aesthetic accurately enough) and phase 1's pattern set gives you the tools to read the approach before phase 2 changes the fight's logic.
Phase 2 shifts toward a spacing game. The spinning attack doesn't offer clean deflect windows. You run the arena perimeter and look for the recovery frames after the spin ends, then close in for counters. This feels wrong coming from the deflection-focused rhythm of earlier bosses, and that friction is intentional: or at least what you get when the fight's design requires a pattern break.
Eminence note: Burst damage during recovery windows helps shorten phase 2. The goal is reducing the time you spend in the spin-evasion loop.
Malediction note: Curse pressure from phase 1 carries into phase 2. If your stacks are solid coming out of phase 1, Elder Samwise's phase 2 health depletes faster than it looks.
If you're on Xbox and encountering the locked menu issue that prevents skill investment, you're fighting Elder Samwise at a disadvantage. The patch addressing this shipped after launch: verify you're running the current build.
Boss 5: Elder Satine, Shard of Morda
Type: Greatsword specialist
Phases: 2
Community difficulty: High
Elder Satine is the most deflection-heavy boss in the game. Almost every attack can be parried, which sounds like good news until you realize it means the whole fight is decided by whether your deflect window is reliable under pressure. The moveset references earlier greatsword-wielding enemies you've already fought, which makes previous encounters feel like preparation once you notice it.
There's an attack the community calls the "jumpscare." Specifics vary by game version, but the shape of it is consistent across posts: at some point in the fight, there's a move that breaks the expected rhythm and catches players who thought they'd read the full pattern. First attempt (you eat it. Second attempt) you see it coming. Know that it exists before you go in so it doesn't feel like a bug when it happens.
Hitless runs on Elder Satine exist in the community: the fight is learnable to that degree. But it's the kind of fight that requires several attempts to map fully before it becomes consistent.
Spell loadout recommendation: High-damage single-target spells for the deflect-and-burst windows that Elder Satine's recovery frames allow. Malediction works here given the fight's length, but Eminence burst during deflect openings is arguably the most efficient approach.
Step-by-step: Kristala boss guide pre-fight checklist
Run this before any boss attempt:
- Visit the nearest Ellarial Font. Equip your spell set for the encounter: single-target burst for fast phases, AoE for grouped patterns, sustain spells if you expect a long fight
- Set your healing items. Know how many you have. Budget them to teleport and AoE windows only
- Check your Vitality threshold. If standard enemies in the current zone two-shot you, you need more Vitality before this fight. The boss hits harder than trash mobs
- Identify the phase 1 pattern before trying to win. First two attempts: learn the attack set. Third attempt: apply what you learned
- Note which attacks are deflectable vs which require dodge. Ground slams and wide sweeps usually need a dodge. Test the yellow-marked attacks rather than assuming they're unparryable
Tips
Don't swap spell sets during a boss fight. The menu opens, but the attention cost isn't worth it. Set your loadout at the Font before you enter.
If you're running out of mana by phase 2, you're probably dodging instead of deflecting. A player who keeps backing away has no mana income. Getting close and landing counter-hits is how the pool stays topped. It feels wrong when the boss hits hard, but it's the correct answer.
Malediction players: run two curse spells before any major boss, not one. A single curse in rotation underperforms. Two curses stacking together is what makes Malediction feel as strong as the build promises.
Arena edges kill you too, not just the Golem. Check the layout before the fight starts. Getting knocked off by a boss attack ends the run just as cleanly as a health bar reaching zero.
After a failed attempt, ask where you tried to heal. Most Kristala boss deaths trace back to healing during an attack string instead of a teleport or AoE window. Fix the healing timing before adjusting stats: it's a cheaper solution and usually works.
Frequently asked questions
How many bosses are in Kristala? Kristala has 5 main Chapter I bosses: Lophi the Lost, Grottorot Golem, Hiratrola, Elder Samwise (Shard of Ursul), and Elder Satine (Shard of Morda). Chapter II and later updates added additional bosses: check the Steam page for the current full roster as Astral Clocktower continues development.
Can you parry yellow attacks in Kristala boss fights? Yes: at least with Lophi the Lost, yellow-marked attacks can still be parried. This surprises most players because Souls-like conventions treat yellow or orange signals as 'unparryable.' In Kristala, yellow typically signals a different timing window, not an undodgeable attack. Test each boss's yellow attacks rather than automatically dodging them.
Which build is better for Kristala bosses: Eminence or Malediction? Eminence builds perform better in shorter boss phases because damage lands immediately. Malediction builds outperform in extended encounters where curse stacks have time to accumulate: which describes most of Kristala's multi-phase fights. Eminence tends to be more forgiving on a first run. Malediction pays off more on repeated attempts once phase patterns are memorized.
When should I heal during Kristala boss fights? Heal only during guaranteed safe windows: when a boss teleports, when a boss commits to a long AoE or channel animation, or immediately after finishing a phase and before the next begins. Attempting to heal during a boss's standard attack string will get you hit. Lophi specifically: heal only when he teleports or when he's casting the phase 2 AoE spell.
How do I beat Lophi the Lost in Kristala? Parry all of Lophi's melee attacks except the jump attack: including yellow-marked ones. For the jump attack, dodge at the peak of his jump, not as he descends. In phase 2, his AoE spell is the safe window to heal. All his spells can be dodged through with I-frames. His movement stutters are consistent: learn the stutter timing and your deflect inputs land cleanly.
How do I beat the Grottorot Golem in Kristala? The Grottorot Golem can be pushed off arena edges: the community calls this an environmental kill. Arena awareness matters as much as its attack patterns. The fight requires clearing a dungeon to reach it, so every failed attempt costs you that traversal. Study the route and the fight's phase structure before committing to serious attempts.
Related Reading
- Kristala Lophi Boss Guide: Parry Timing & How to Win: Kristala Lophi boss guide: why his yellow attacks should be parried not dodged, when to dodge the jump....
- Kristala Grottorot Golem Boss Guide: the golem fight, its weak points, and the timing windows that make it manageable.
- Kristala Hiratrola Boss Guide: how to read and counter the Hiratrola fight, with the openings to punish.
- Kristala Elder Satine Boss Guide: the Elder Satine encounter broken down phase by phase.
- Kristala Elder Samwise Boss Guide: the Elder Samwise fight, attack patterns, and the gear that helps most.
- Windrose Israel Hands Boss Guide: Foothills Fight & Loot: Windrose Israel Hands boss guide: how to beat the Foothills boss, parry his combo, dodge the Poison Dash....
- How Long to Beat Kristala: Story, 100%, and All Clans: How long to beat Kristala: 20-30 hours for main story, 60-80 hours for all 50.
- Kristala Clans: Eminence, Malediction, and Which to Pick: Kristala clans guide: the Eminence vs.
- Kristala Feline Skill Tree Guide: Node Order and Parkour: Kristala Feline Skill Tree guide: parkour nodes unlock hidden Fonts.
References
- Kristala on Steam: official page with current patch notes
- r/Kristala: community boss discussion and fight documentation
- Kristala Spells Guide: how Eminence and Malediction affect boss fights
- Kristala Combat Guide: deflection timing fundamentals
- Kristala Character Build Guide: stat priorities before attempting each boss
- Kristala Beginners Guide: Font upgrade order and early game prep
- Kristala complete guide: all builds, bosses, clans, spells, and guides for the 2026 EA release
Was this guide helpful?
About the author

Games Critic
Games writer and reluctant optimist who has reviewed over 400 titles across 9 years. Irish, currently in Berlin. Has strong opinions about tutorial design.
- 400+ games reviewed across 9 years
- Platformer and horror specialist
- Narrative design focus


Disclaimer
This article is published for informational and entertainment purposes. It does not constitute professional financial, legal, or technical advice. Game performance, online services, patch schedules, and store listings change. Verify critical details (pricing, system requirements, regional availability) with publishers and storefronts before you buy. Affiliate links, where present, help support our editorial work and are labelled in our affiliate disclosure.