
Category
Indie Game Guides
Build guides, tier lists, boss strategies, and beginner walkthroughs for the indie and mid-tier games we actually play through. Every roster, mechanic, and number is checked against an official source before it goes live.
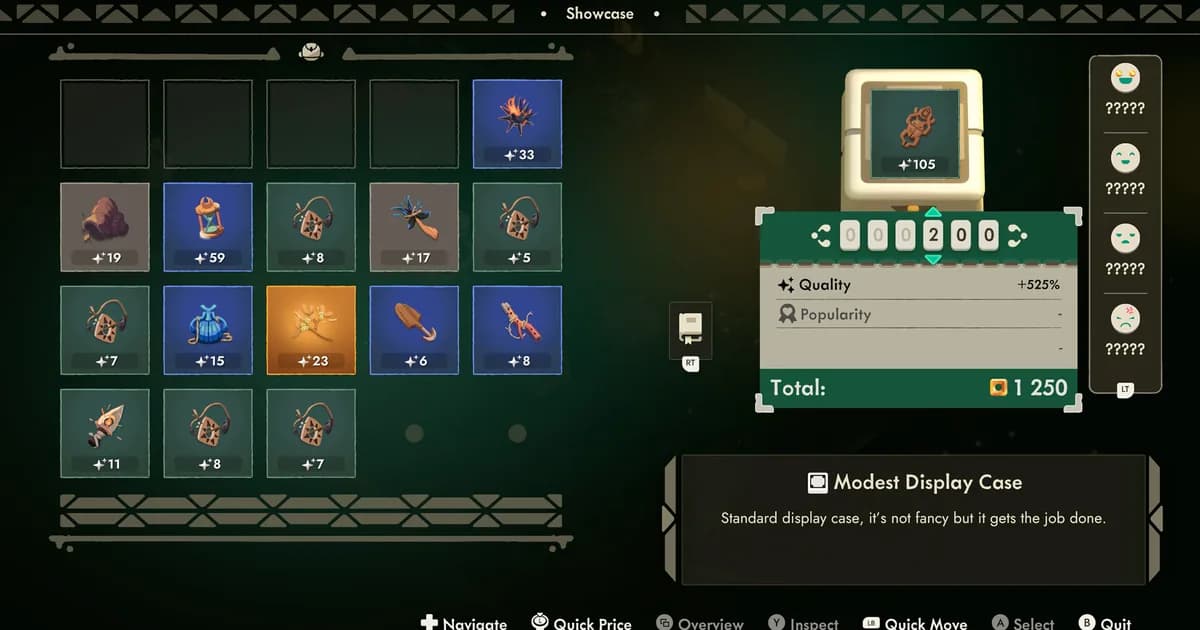
GuideMoonlighter 2
Moonlighter 2 Weapons Tier List: 4 Types Ranked (2026)
Moonlighter 2 weapons tier list ranks the 4 verified core types, explains each documented combat loop, and flags named aspects that lack full public data.
By Finn Calloway9 min read
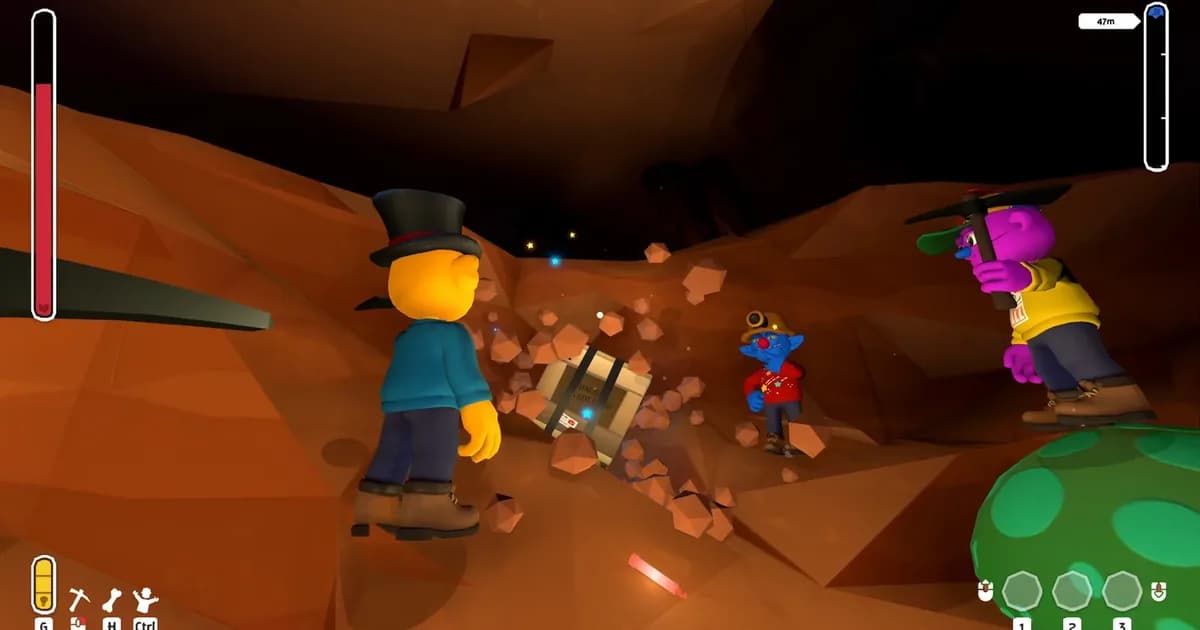
GuidePratfall
Pratfall Mods 2026: 7 Workshop Picks Are Now Removed
Pratfall mods audit: seven Workshop picks are now marked removed or incompatible, so here is what changed, what to avoid, and how to check safer listings.
By Finn Calloway10 min read

GuideSubnautica 2
Subnautica 2 Tadpole Upgrades: 7 Locations and Effects
Subnautica 2 Tadpole upgrades: find all 7 survival unlocks, from Scout Ray and Haul chassis to five modules, with current datacard routes and limits.
By Finn Calloway14 min read
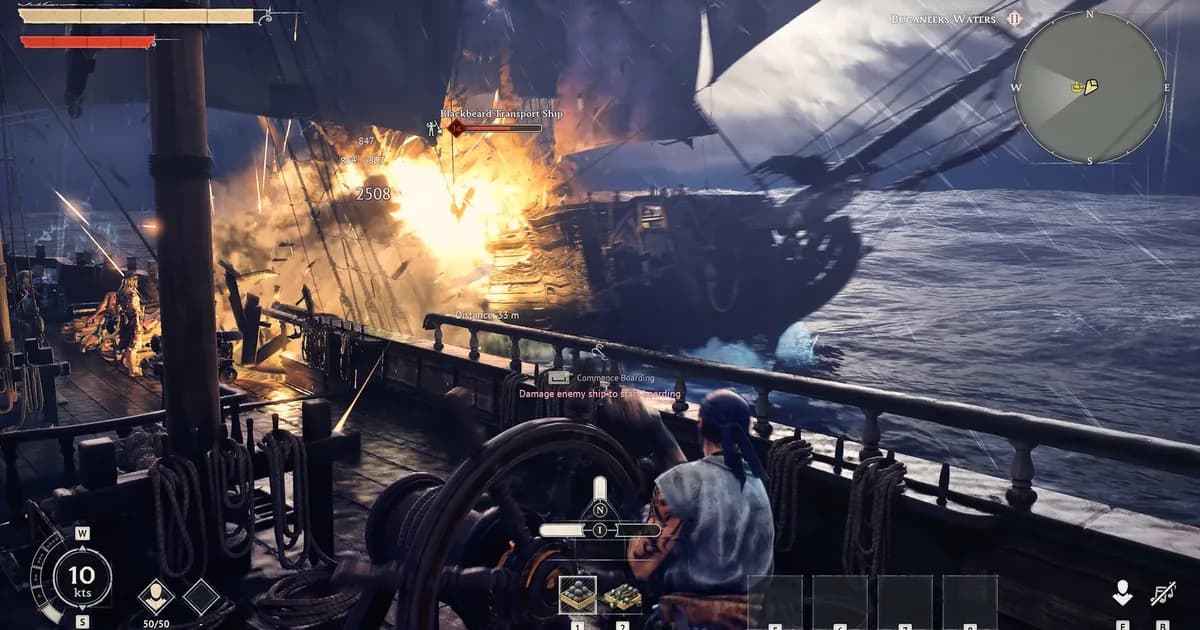
GuideWindrose
10 Best Windrose Mods for Patch 0.10.0.9: 2026 Picks
Best Windrose mods for 0.10.0.9: 10 verified Nexus and CurseForge picks for storage, building, travel, servers, and a tougher pirate sandbox.
By Finn Calloway14 min read
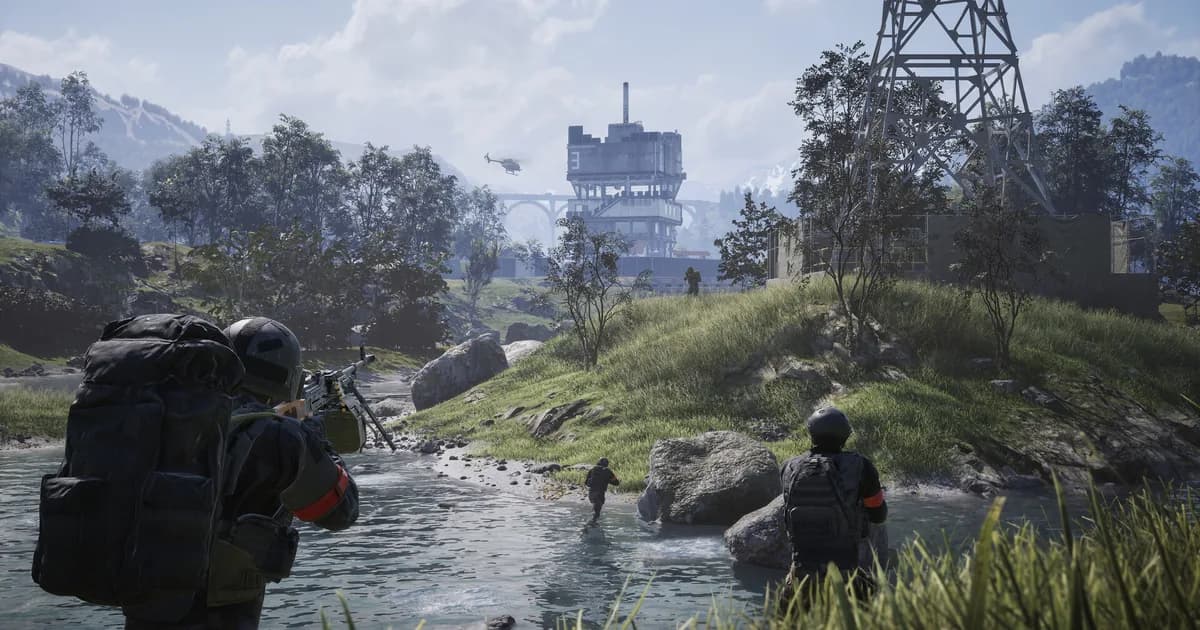
GuideWARDOGS
WARDOGS Maps Guide: 3 Playable Maps and Rotation (2026)
WARDOGS maps currently number three in public map references, but BULKHEAD has not published a fixed rotation. Here are the names, settings, and roadmap.
By Dani Torres12 min read
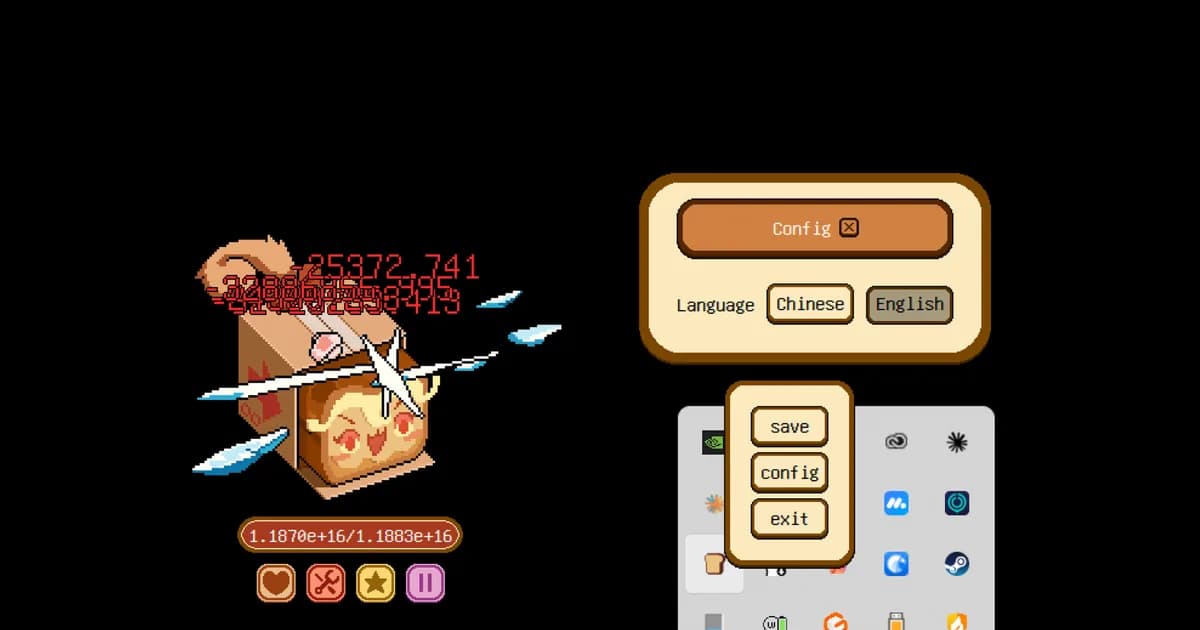
GuideKill Spewy
Kill Spewy Beginner Guide: Components and Enhancing
Kill Spewy beginner guide: no Steam reviews yet, but the confirmed component, rarity, and enhance systems are worth understanding before you start.
By Marcus Vasquez9 min read
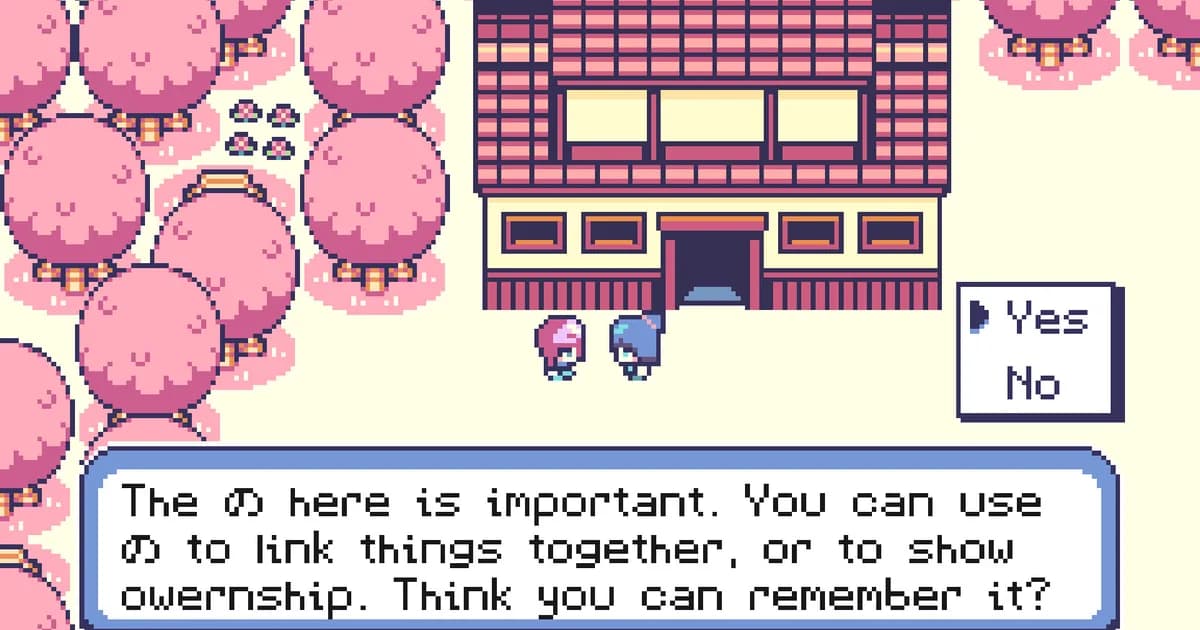
GuideTinymon Rpg
Tinymon RPG Beginner Guide: Monsters and Language Learning
Tinymon RPG beginner guide: how the optional Japanese flashcard system works, the 80-plus monster roster, and battle basics for new players.
By Priya Nair9 min read
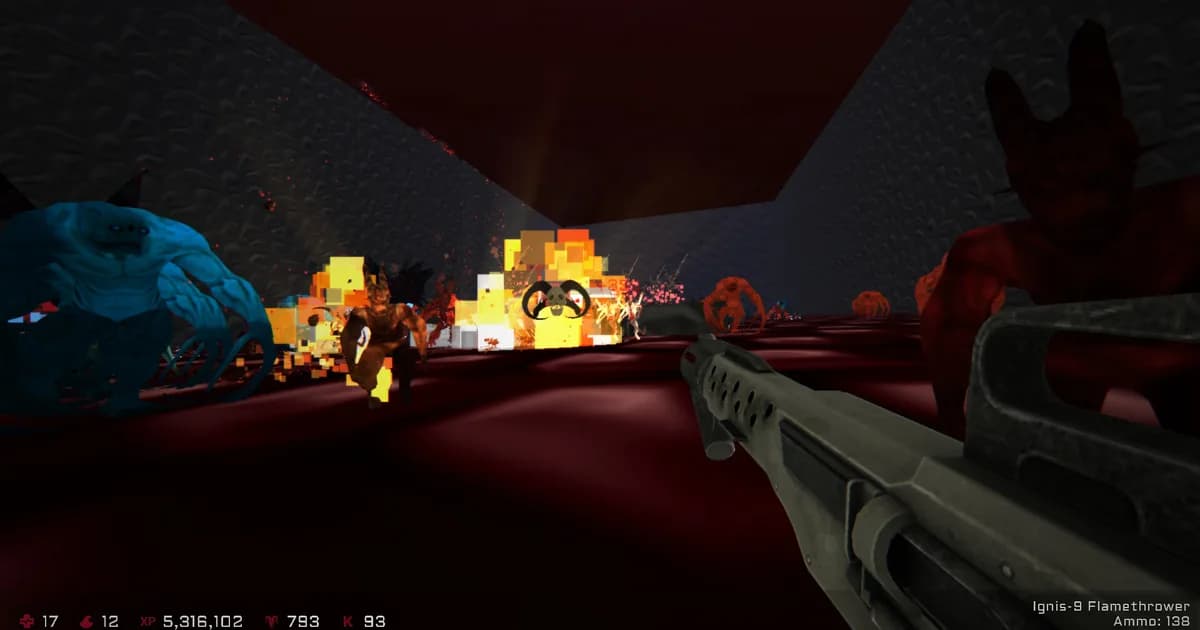
GuideSteeled
Steeled Beginner Guide: 3 Confirmed Weapons, Co-op
Steeled beginner guide: 3 confirmed weapons, online co-op survival mechanics, and what to expect from this new solo-developer boomer shooter.
By Finn Calloway9 min read
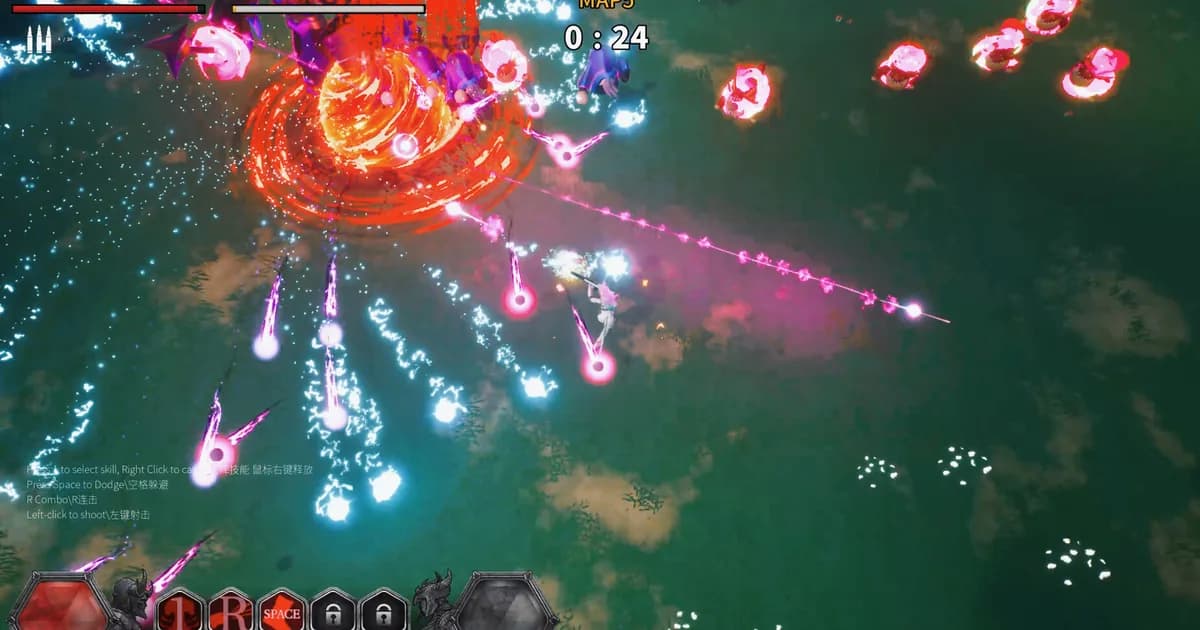
GuideMiss Killer
Miss Killer Dream Rhythm Island Beginner Guide: Combat
Miss Killer Dream Rhythm Island beginner guide: dodge, combo, and skill-cast controls confirmed, plus what to expect from this new action roguelike.
By Finn Calloway9 min read
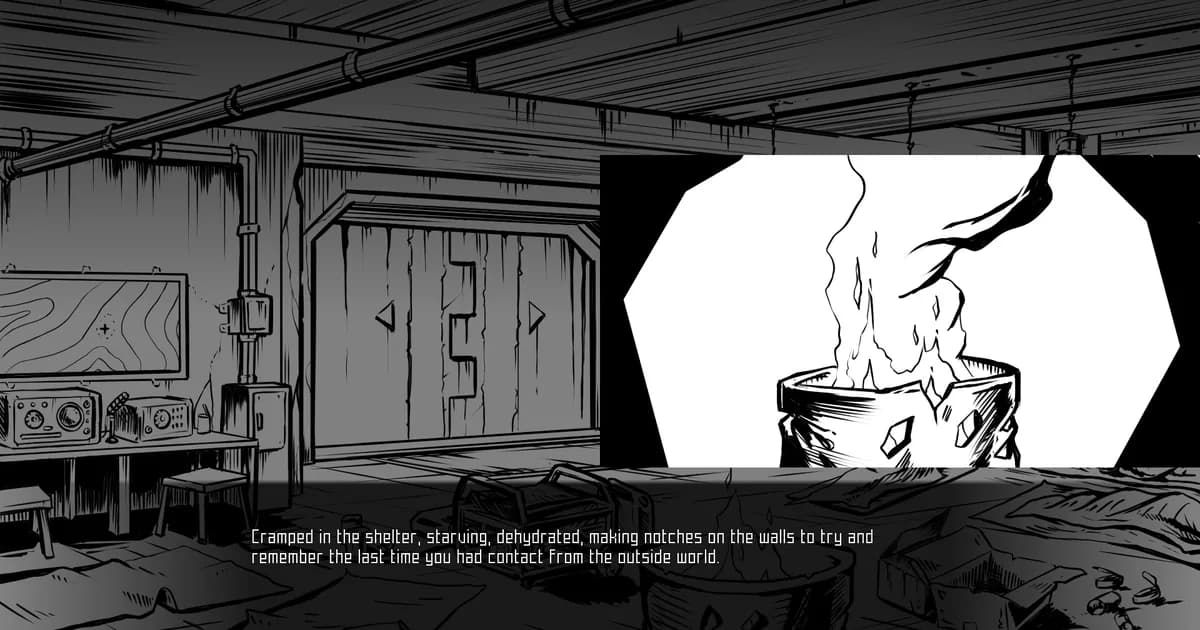
GuideNano Punk Mecht
Nano Punk Mecht Beginner Guide: 3 Characters & Choices
Nano Punk Mecht beginner guide: no Steam reviews yet, but the confirmed characters, ethics system, and art style are worth knowing before you dive in.
By Priya Nair9 min read
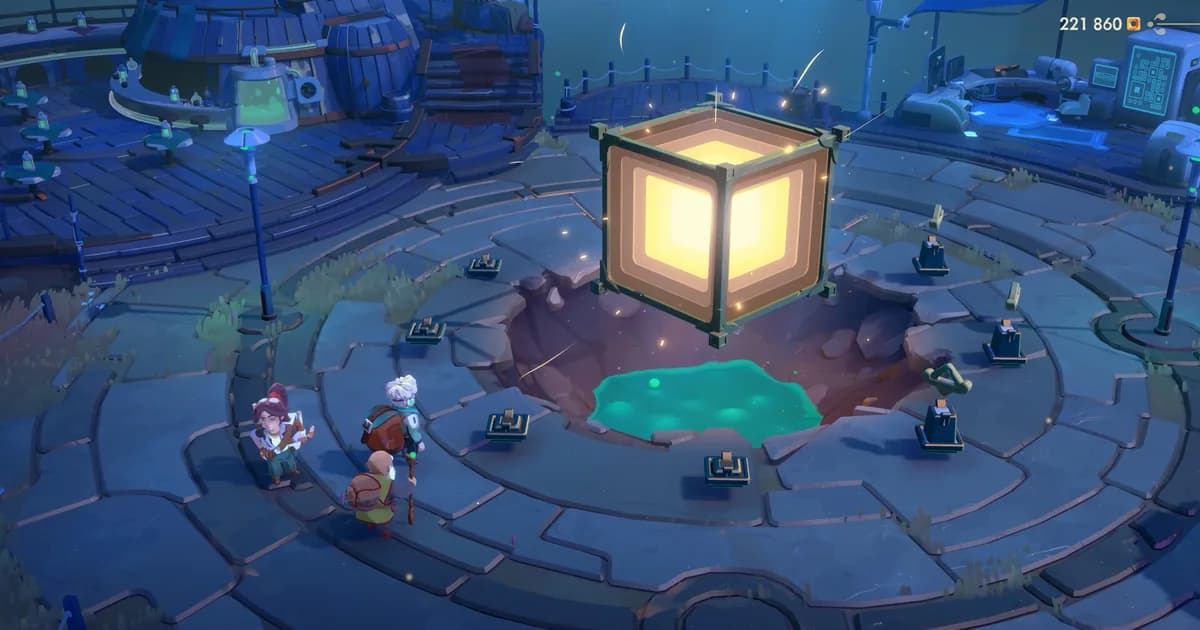
GuideMoonlighter 2
Moonlighter 2 Price Guide: Tiers, Perks and Relic Effects
Moonlighter 2 price guide: Cheap and Perfect tiers unlock Shop Perks, Overpriced never does. How relic effects and backpack layout multiply profit.
By Marcus Vasquez16 min read

GuideYushou Xianmen
Yushou Xianmen Mortal Realm Beginner Guide: Factions
Yushou Xianmen Mortal Realm beginner guide: Early Access cultivation tower defense, the 3 confirmed factions, and how card drafting actually works.
By Priya Nair9 min read