
GameBrief · Guides
Subnautica 2 Tadpole Upgrades: 7 Locations and Effects

Reviewing
Subnautica 2
Unknown Worlds Entertainment · Unknown Worlds Entertainment
Subnautica 2 Tadpole upgrades are split between two chassis attachments and five vehicle modules. That makes seven survival upgrades in the current Early Access build, each with a different fragment or datacard route. This guide focuses on where to find them, what each one does, and which slots or depth limits matter after the latest official hotfix.
TL;DR: Scan the Scout Ray at the Tadpole Pens and three Haul fragments to unlock the two chassis. Find the five module datacards at Needler Nest, Research Outpost, Cicada Wreck, and the Karakorum Metal Farms worksite. The stock Tadpole reaches 250m, Depth Module Mk.1 reaches 450m, and four module bays are available. Depth Module Mk.2 is not a confirmed survival unlock.
How many Subnautica 2 Tadpole upgrades are in survival? (quick answer)
There are 7 confirmed survival upgrades in the current build: Scout Ray Chassis, Haul Chassis, Depth Module Mk.1, Engine Efficiency, Photovoltaic Charger, Cavitation Muffler, and Strike Armor. The first two replace the Tadpole's chassis at a Vehicle Fabricator. The five modules are crafted and installed through a Modification Station.
That count deliberately leaves out Depth Module Mk.2. Its 800m effect and recipe are documented, but no survival datacard location is confirmed in the current build. It is therefore a Creative-only or otherwise unavailable item for a normal save, not an eighth upgrade you can route through the map. The Subnautica 2 complete guide hub keeps the wider Early Access progression index alongside this route-specific list.
Key Takeaways
- The current survival roster is 2 chassis plus 5 modules, for 7 total Tadpole upgrades.
- Scan one Scout Ray fragment at the Tadpole Pens to unlock the Scout Ray Chassis.
- Scan three Haul fragments from the current Haul sites to unlock the cargo chassis.
- The stock Tadpole has a 250m crush depth and four module bays.
- Depth Module Mk.1 raises the vehicle limit to 450m and is found beside a crashed Tadpole in Needler Nest.
- Engine Efficiency stacks to four copies for a maximum 80% energy reduction; the other four modules do not stack.
- Adaptations are a separate Angel Comb system. The existing Angel Comb locations guide covers those four character upgrades instead of mixing them into this vehicle count.
Overview: how Tadpole upgrades work
The Tadpole has two upgrade lanes. Chassis attachments change the outside frame, handling, seats, storage, and hardpoints, with only one chassis active at a time. Upgrade modules occupy four top-panel bays and add depth, efficiency, noise reduction, solar charging, or damage protection. You can combine one chassis with any legal four-module loadout.
The base vehicle still comes first. Scan three Tadpole fragments, then craft the Tadpole at a Vehicle Fabricator. The current blueprint uses two Titanium Ingots, Glass, a System Chip, and a Power Cell. The stock vehicle has a 250m crush depth, and its four module bays are separate from the rear hardpoint used by chassis attachments and mounted utility items. If the scan-first progression is still unfamiliar, the Subnautica 2 beginner guide explains the early blueprint loop.
This is the useful distinction from the broader Subnautica 2 vehicles guide: that guide explains the vehicle roster and general piloting context, while the sections below are a route list for the upgrade fragments and datacards. Depth numbers are approximate map depths. Use the named structure or wreck as your landmark because Early Access map markers and coordinate displays can shift between builds.
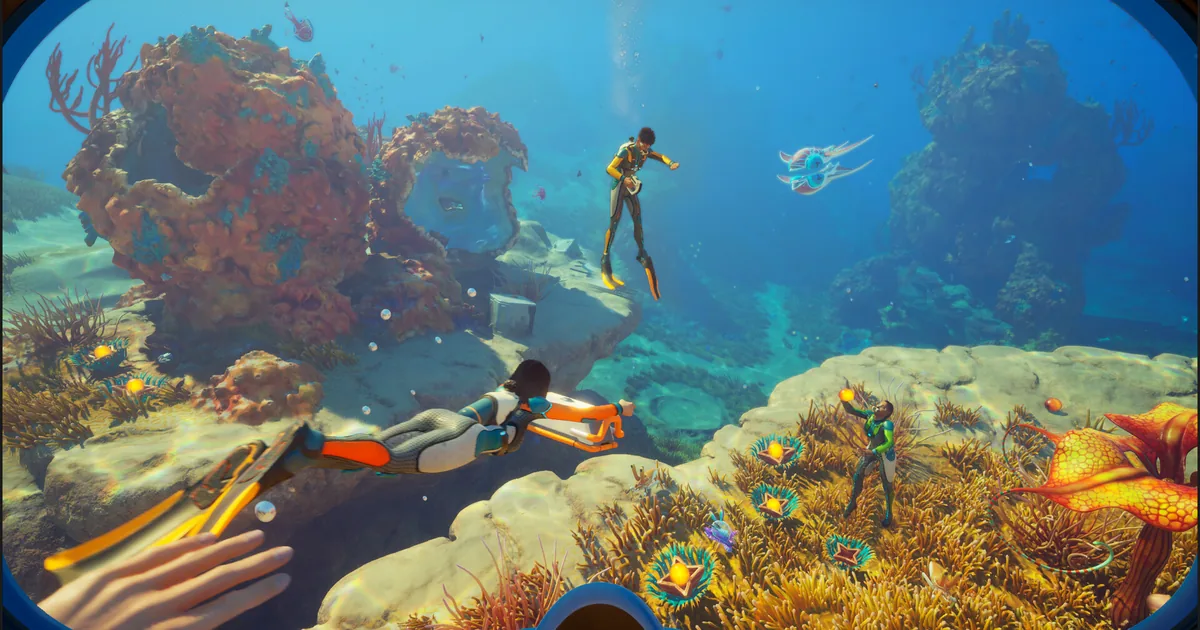
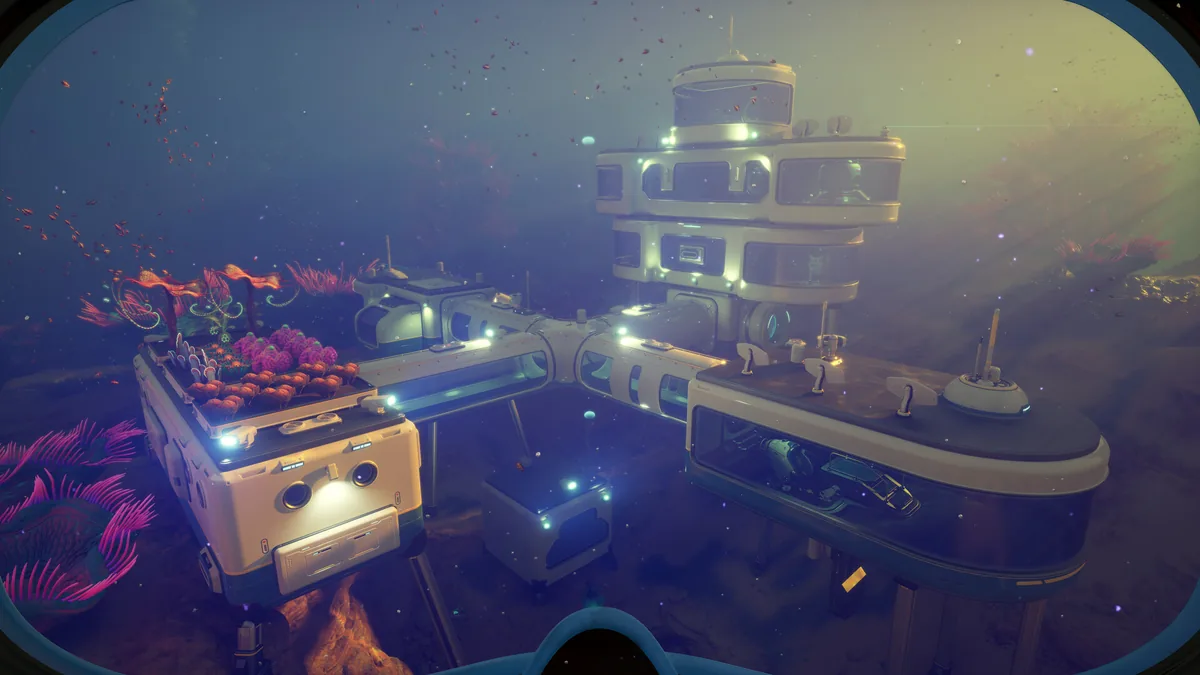 A Subnautica 2 base with a docked submersible, the kind of staging point that makes Tadpole upgrade runs safer. Source: Steam store media.
Tadpole chassis upgrades: Scout Ray and Haul
The two chassis are structural Tadpole upgrades, not cosmetic skins. Scan their fragments, craft the finished chassis at a Vehicle Fabricator, and install it by docking the Tadpole. The Scout Ray is the mobility choice. The Haul is the group-transport and storage choice. Both occupy the chassis position, so you cannot run them together.
Scout Ray Chassis
The Scout Ray Chassis is the fast option and the simplest chassis to unlock. Find its fragment at the Tadpole Pens, attached to a docked Tadpole. Scan that single fragment, return to a Vehicle Fabricator, and craft the chassis with 2 Plasteel Ingots, an Advanced Wiring Kit, a Dedicated Core, and Strong Acid.
The completed Scout Ray reaches 10 m/s, compared with the base Tadpole's 8 m/s. Its hydrofoil wings improve acceleration and make it the better choice for scouting unfamiliar routes or escaping a dangerous patrol. It has one rear hardpoint and does not add cargo storage, so it is a speed upgrade rather than a hauling upgrade.
Haul Chassis
The Haul Chassis takes three fragment scans. Current fragment sites include the southwest side of Karakorum Metal Farms at about 465m, south of Stairway to Heaven at about 205m, Needler Nest at about 290m, outside the Therapy Room at about 220m, and near Axum Vision at about 455m. You only need any three of these sites, not every listed location.
Craft the Haul Chassis at a Vehicle Fabricator with 4 Titanium Ingots, 3 Strontium, 3 Enameled Glass, and a Dedicated Core. It keeps the 8 m/s top speed but adds 30 storage slots, two rear hardpoints, and seating for up to four players. Its acceleration is lower than the Scout Ray's, so choose it for a resource ferry or co-op transit run rather than a quick survey. The Subnautica 2 co-op multiplayer guide has the wider party-planning context for that four-seat use case.
GODEEPER: The chassis is only one part of a safe vehicle plan. The Subnautica 2 vehicles guide covers oxygen behavior, storage decisions, co-op vehicle staging, and the current vehicle roster so you can choose a frame before spending rare materials.
Module locations: all five current survival finds
The five module datacards below are the current survival module roster. Craft each recipe at a Modification Station after scanning the datacard, then place the result in one of the Tadpole's four top-panel bays. The table prioritizes a recognizable structure and depth over unstable coordinate strings.
| Module | Where to find the datacard | Effect and limit |
|---|---|---|
| Depth Module Mk.1 | Beside a crashed Tadpole in Needler Nest, about 295m | Raises crush depth from 250m to 450m. Nonstackable. |
| Engine Efficiency | Inside Research Outpost, about 140m | Cuts energy use by 20% per copy, up to 80% with four copies. Stackable. |
| Photovoltaic Charger | Inside the Cicada Wreck in EVA Prep, about 110m | Recharges the Tadpole in daylight while it is above 40m. Nonstackable. |
| Strike Armor | Worksite near Research Outpost, about 195m | Reduces incoming physical damage by 50%. One copy. |
| Cavitation Muffler | Worksite southwest of Karakorum Metal Farms, about 375m | Reduces vehicle noise. Nonstackable. |
Depth Module Mk.1
The Depth Module Mk.1 is the first module to prioritize because it turns the Tadpole from a 250m vehicle into a 450m vehicle. Its datacard is next to a crashed Tadpole in Needler Nest at roughly 295m, so bring a working oxygen plan and do not treat the wreck as a shallow stop. The current listed recipe is 3 Celestine, 2 Enameled Glass, and 1 System Chip at a Modification Station.
Mk.1 is nonstackable. Installing a second copy does not provide a second depth increase, so leave the other three bays for modules that solve a different problem. The extra 200m is what makes the deeper Cavitation Muffler route practical in the same progression arc.
Engine Efficiency
The Engine Efficiency datacard is in the Research Outpost at about 140m. Each module cuts Tadpole energy use by 20%, and the current cap is four copies for an 80% reduction. It is the only module in this roster that the current dedicated wiki marks as stackable.
Use it on long-distance collection runs or when a co-op group is making several stops away from a base. The listed recipe is 2 Titanium Ingots, 2 Glass, and 1 System Chip. Four copies consume every module bay, so this is a deliberate endurance loadout rather than a default answer for deep combat zones.
Photovoltaic Charger
The Photovoltaic Charger datacard sits inside the Cicada Wreck in EVA Prep at about 110m, in the side room inside the bent section. It recharges the Tadpole in daylight when the vehicle is above 40m depth, with the current wiki describing a 15% to 30% charge return per hour depending on conditions.
Its recipe is 1 Copper Ingot, Strong Acid, and Troilite. The charger is useful for shallow scouting and base-to-base travel, but it is not a deep-biome battery replacement. Below its depth threshold, plan around charged Power Cells and Engine Efficiency instead.
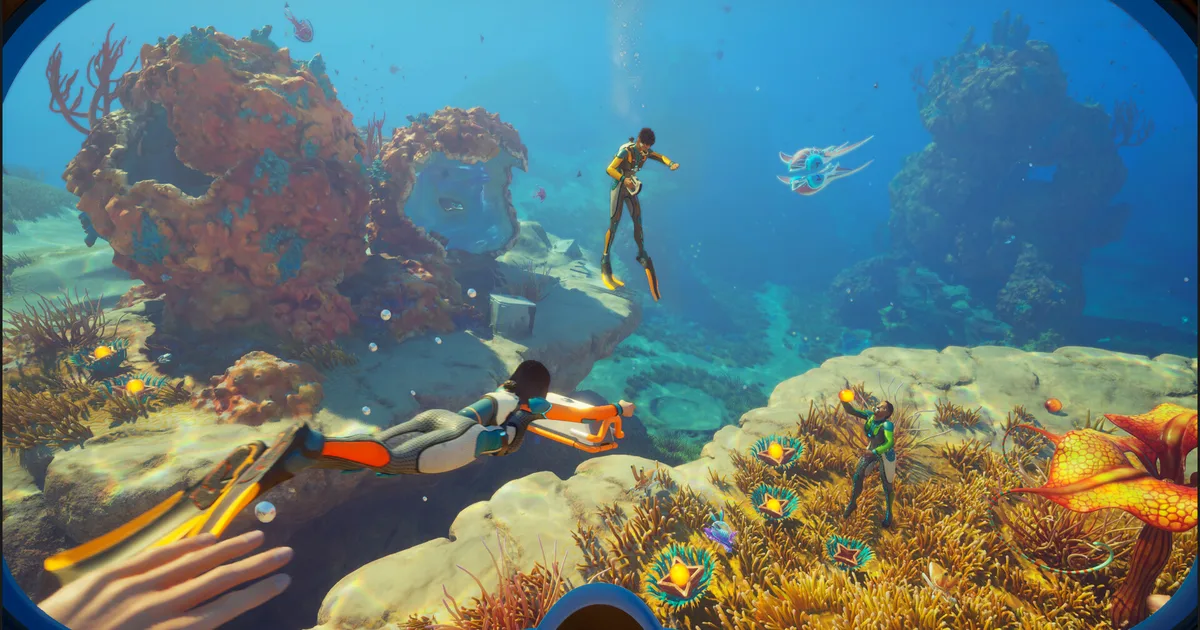
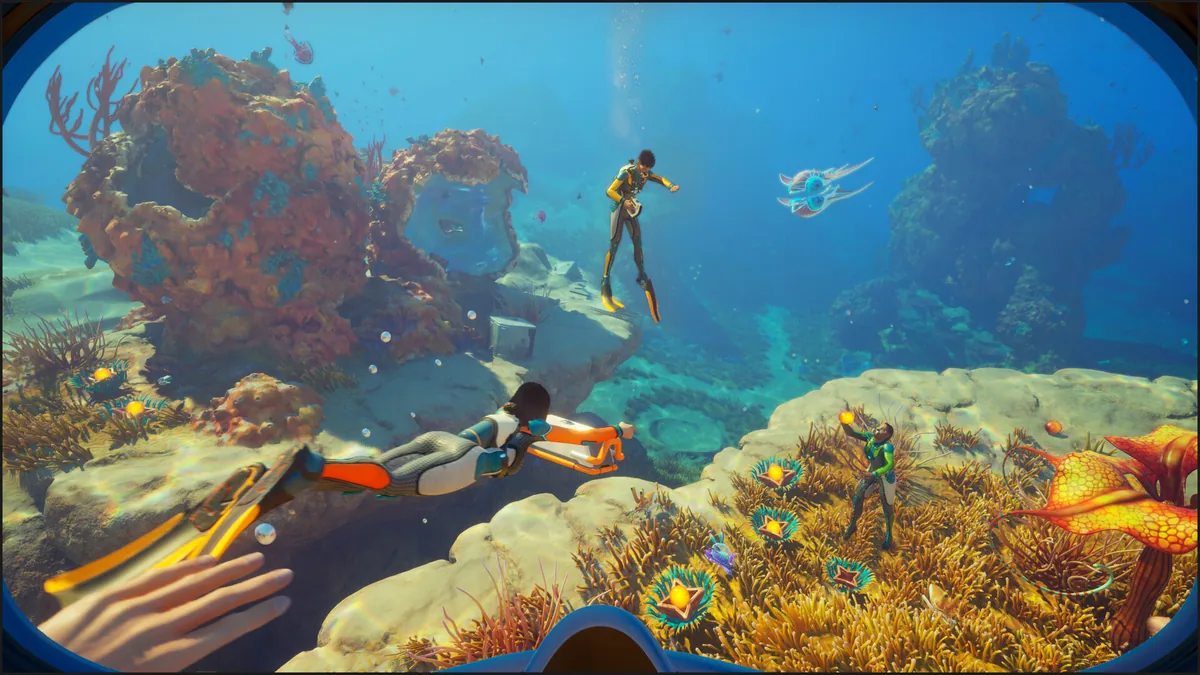 A co-op exploration route through a bright reef. Group travel is where the Haul Chassis has its clearest advantage. Source: Steam store media.
Strike Armor
The Strike Armor datacard is at a worksite near the Research Outpost at about 195m. It reduces incoming physical damage by 50%, making it the defensive module to take when a route passes through aggressive fauna rather than simply ending at a deeper resource node.
Craft it with 2 Enameled Glass and 2 Strontium at the Modification Station. Strike Armor is nonstackable and the current listing supports one copy. Pair it with Depth Module Mk.1 for a cautious first deep run, or with the Scout Ray when leaving a dangerous area quickly matters more than cargo volume.
Cavitation Muffler
The Cavitation Muffler datacard is at a worksite southwest of Karakorum Metal Farms, around 375m. Its job is to reduce Tadpole noise, which makes it a route-specific stealth tool rather than a raw speed or health upgrade. The current recipe is 3 Titanium and 2 Strontium.
It is nonstackable. Because the worksite is deeper than the stock Tadpole's 250m limit, bring Depth Module Mk.1 before making this a dedicated trip. That progression dependency is easy to miss if you only read the crafting recipe and not the datacard location.
GODEEPER: These locations sit inside a resource loop, not isolated treasure rooms. Use the Subnautica 2 resources guide to plan Celestine, Strontium, Titanium, and Enameled Glass gathering before you commit a four-bay vehicle loadout to a deep run.
Step-by-Step: unlock and install Tadpole upgrades
The reliable unlock loop is scan, craft, route, and install. Start with the vehicle blueprint and a Modification Station, then collect the shallow datacards before spending a dive on the 295m and 375m sites. This order keeps the first depth upgrade ahead of the deepest module route.
1. Scan three Tadpole fragments: Explore the early vehicle sites until the base Tadpole blueprint unlocks. Scanning is the trigger; simply seeing a vehicle or opening a nearby container is not enough. The Scanner Room guide is useful once your base can support map-assisted searching.
2. Craft the base Tadpole: Use the Vehicle Fabricator with 2 Titanium Ingots, Glass, a System Chip, and a Power Cell. The stock vehicle is rated to 250m and has four module bays. Build that station as part of the wider base-building setup, not as a freestanding recipe hunt.
3. Scan the chassis fragments: Scan the Scout Ray fragment at the Tadpole Pens. For the Haul Chassis, scan any three fragments from the five current site options listed above. The finished chassis recipes then appear at the Vehicle Fabricator.
4. Build a Modification Station: The station is where the five module recipes are crafted. A scanned datacard unlocks the recipe, but it does not install the finished module automatically.
5. Collect the safe-depth datacards first: The Photovoltaic Charger at about 110m, Engine Efficiency at about 140m, and Strike Armor at about 195m are reachable before the 295m Depth Module Mk.1 trip. Treat these depths as route planning anchors, not guarantees of safety.
6. Get Depth Module Mk.1 before the deepest module: The Needler Nest datacard at about 295m raises the Tadpole to 450m. With Mk.1 installed, the Cavitation Muffler worksite around 375m becomes a normal route instead of an out-of-bounds dive.
7. Install only the modules that stack: The Tadpole has four bays. Engine Efficiency can fill multiple bays up to four copies. Depth Module Mk.1, Photovoltaic Charger, Strike Armor, and Cavitation Muffler should each use one bay at most.
8. Swap chassis at the dock: Undock and redock after choosing the Scout Ray or Haul frame. Keep in mind that only one chassis can be active, while the module bays remain your separate loadout.
9. Check the current patch state before troubleshooting: Unknown Worlds' Buddy System update and Buddy System Hotfix 1 include fixes for Tadpole chassis docking, oxygen and rack interactions, and duplicate nonstacking upgrades. Update before assuming a missing slot or stuck chassis is an unlock failure.
Best Tadpole upgrade loadouts by route
There is no single best Tadpole loadout. The best choice depends on whether the trip needs depth, endurance, cargo, or a safer escape. The following recommendations are practical combinations of the confirmed effects, not extra named upgrades.
| Objective | Chassis | Suggested modules | Why it works |
|---|---|---|---|
| First deep route | Base Tadpole or Scout Ray | Depth Module Mk.1, Strike Armor, Engine Efficiency | Reaches 450m, has protection, and preserves energy for the return trip. |
| Shallow daylight scouting | Scout Ray | Photovoltaic Charger, Engine Efficiency | The Scout Ray covers ground quickly, while the charger works above 40m in daylight. |
| Co-op resource ferry | Haul | Engine Efficiency, Strike Armor, Depth Module Mk.1 | Four seats and 30 slots matter more than top speed; the modules cover distance and risk. |
| Karakorum Metal Farms worksite | Scout Ray or Haul | Depth Module Mk.1, Cavitation Muffler, Strike Armor | The site is around 375m, so Mk.1 is required; the other two address noise and physical damage. |
Do not copy a module because a slot is empty. Four Engine Efficiency copies are valid when endurance is the whole mission, but a mixed loadout is usually more flexible. Likewise, the Haul Chassis and Photovoltaic Charger solve different problems: one changes the vehicle's carrying role, while the other only helps in shallow daylight. For deeper party routes, compare this loadout advice with the advanced co-op tips guide before splitting roles across players.
What does not count as a Tadpole upgrade?
The current build has two common sources of count confusion: Depth Module Mk.2 and DNA Adaptations. Neither should be added to the seven-item survival roster.
Depth Module Mk.2 has an 800m effect and a listed recipe, but the current dedicated Mk.2 entry gives no survival location. Current community testing also reports that 800m demonstrations use Creative mode. Until the game exposes a survival datacard or official patch note confirms one, treat Mk.2 as unavailable in a normal save.
Adaptations are character progression from Angel Comb Bloom Cores, not vehicle equipment. The current build has four confirmed names: Pressure Tolerance, Digestion, Heat Tolerance, and Axum Vision, with two additional codex slots still unrevealed. Find their exact comb routes in the Subnautica 2 Angel Comb locations guide. For scan-based Biomods, use the separate Subnautica 2 DNA modification guide.
This distinction matters because the systems use different unlock objects. Tadpole upgrades come from vehicle fragments and module datacards. Adaptations come from Angel Combs. A scan-based Biomod is neither one of those, even though all three appear in the game's broader progression language as upgrades.
Tips for finding Subnautica 2 Tadpole upgrades
The fastest upgrade route is to treat the map as a depth ladder. Get the chassis scans when you pass the Tadpole Pens and early Haul sites, then collect the 110m, 140m, and 195m datacards on ordinary exploration loops. Make the 295m Needler Nest trip for Depth Module Mk.1 before targeting the 375m Cavitation Muffler worksite. The wider Subnautica 2 tips guide is useful for the no-map navigation habits that make these landmarks easier to reach.
- Leave a staging locker near deep routes. Store spare food, batteries, and materials before driving into Needler Nest. A failed retrieval costs less when the route is staged. The oxygen survival guide covers the air discipline that makes these staging runs practical.
- Carry the Sonic Resonator and scanner. These are datacard and structure runs, not just resource runs. Scan the fragment or datacard as soon as you identify it so a death does not leave you unsure which unlock registered.
- Use the hardpoint separately from the four bays. A rear hardpoint is not a fifth module slot. The Scout Ray has one, while the Haul Chassis has two, so plan mounted utility items without stealing a module bay.
- Do not install duplicate nonstacking modules. The current Buddy System hotfix addressed a bug where some nonstacking upgrades could be equipped multiple times. One copy is the legal and useful limit for those modules.
- Use depth as the hard stop. The Tadpole's display and the route's named structures are more useful than a copied coordinate if a patch shifts the map. At 450m, Mk.1 is the limit. Do not assume the module protects the player from every environmental hazard.
- Recheck the official feed after a patch. This is an Early Access roster. Unknown Worlds can add a survival location, change a recipe, or expose another chassis without the older wiki pages changing at the same time.
Frequently Asked Questions
How many Tadpole upgrades are in Subnautica 2? There are seven survival upgrades in the current build: the Scout Ray Chassis, Haul Chassis, and five Modification Station modules. Depth Module Mk.2 is not counted because it has no confirmed survival location and is currently treated as Creative-only.
Where do you find the Scout Ray Chassis? Scan the Scout Ray fragment at the Tadpole Pens attached to a docked Tadpole. The completed chassis recipe appears at the Vehicle Fabricator. It gives the Tadpole a 10 m/s top speed and one rear hardpoint, but no extra cargo.
How many Tadpole module bays are there? The Tadpole has four module bays on its top panel. Install modules at the Modification Station, and remember that Depth Module Mk.1, Photovoltaic Charger, Cavitation Muffler, and Strike Armor are nonstackable. Engine Efficiency is the stackable exception.
Can you get Tadpole Depth Module Mk.2 in survival? Not from a confirmed survival location in the current build. The module has an 800m effect and a listed recipe, but its location is unknown. Current community testing and the dedicated wiki treat it as Creative-only, so it is excluded from the seven-item survival count.
What does the Haul Chassis add to the Tadpole? The Haul Chassis keeps the 8 m/s top speed, adds seating for up to four players, 30 storage slots, and two rear hardpoints. Scan three Haul fragments from the current fragment sites, then craft the chassis at a Vehicle Fabricator.
Are Subnautica 2 Adaptations Tadpole upgrades? No. Adaptations come from Angel Comb Bloom Cores and change your character, while Tadpole chassis and modules change the vehicle. Four Adaptations are currently obtainable: Pressure Tolerance, Digestion, Heat Tolerance, and Axum Vision.
Related Reading
- Subnautica 2 Creature DNA: Bioscanner and Biomods Guide: Subnautica 2 creature DNA guide covering the Bioscanner, Biomods, Biolabs, and missing alien eggs.
- Subnautica 2 Deep-Sea Base Guide: Power and Co-op Tips: plan Solar, Hydroelectric Turbines, Power Transmitters, storage, and co-op layouts.
- Subnautica 2 Early Access: What the Launch Includes: launch content and the Early Access systems that surround vehicle progression.
- Subnautica 2 Creature Evasion: 4 Biomods That Actually Work: Biomod-based defense for creature-heavy routes.
- Subnautica 2 Biomes Guide: All 13 Zones Ranked: depth, danger, and route context for the structures named in this guide.
References
- Subnautica 2 on Steam: current Early Access listing, vehicle context, and official media.
- Subnautica 2 Steam news feed: official patch and update archive.
- Subnautica 2 Early Access Buddy System Update: official 1.2 notes, including Tadpole and Angel Comb fixes.
- Subnautica 2 Early Access Buddy System Hotfix 1: official September hotfix notes for chassis, oxygen, racks, and module behavior.
- Unknown Worlds Buddy System Hotfix 1: developer-hosted patch summary.
- Tadpole wiki entry: current module bays, chassis behavior, fragment requirements, and base vehicle limits.
- Scout Ray Chassis wiki entry and Haul Chassis wiki entry: current fragment routes, recipes, and chassis effects.
- Depth Module Mk.1 wiki entry, Engine Efficiency wiki entry, and Photovoltaic Charger wiki entry: current datacard locations, effects, limits, and recipes.
- Strike Armor wiki entry, Cavitation Muffler wiki entry, and Depth Module Mk.2 wiki entry: current defensive, stealth, and excluded-module records.
- Subnautica 2 Adaptations wiki entry: current four-name Adaptation roster and unrevealed slots.
- Subnautica 2 Early Access 1.2 update vlog: official developer video checked for the current multiplayer update context.
Was this guide helpful?
About the author

Games Critic
Games writer and reluctant optimist who has reviewed over 400 titles across 9 years. Irish, currently in Berlin. Has strong opinions about tutorial design.
- 400+ games reviewed across 9 years
- Platformer and horror specialist
- Narrative design focus
Keep reading
Disclaimer
This article is published for informational and entertainment purposes. It does not constitute professional financial, legal, or technical advice. Game performance, online services, patch schedules, and store listings change. Verify critical details (pricing, system requirements, regional availability) with publishers and storefronts before you buy. Affiliate links, where present, help support our editorial work and are labelled in our affiliate disclosure.
Comments
Loading comments…