
GameBrief · Guides
WARDOGS Beginner Guide: Your First Match, Explained
Reviewing
WARDOGS
BULKHEAD
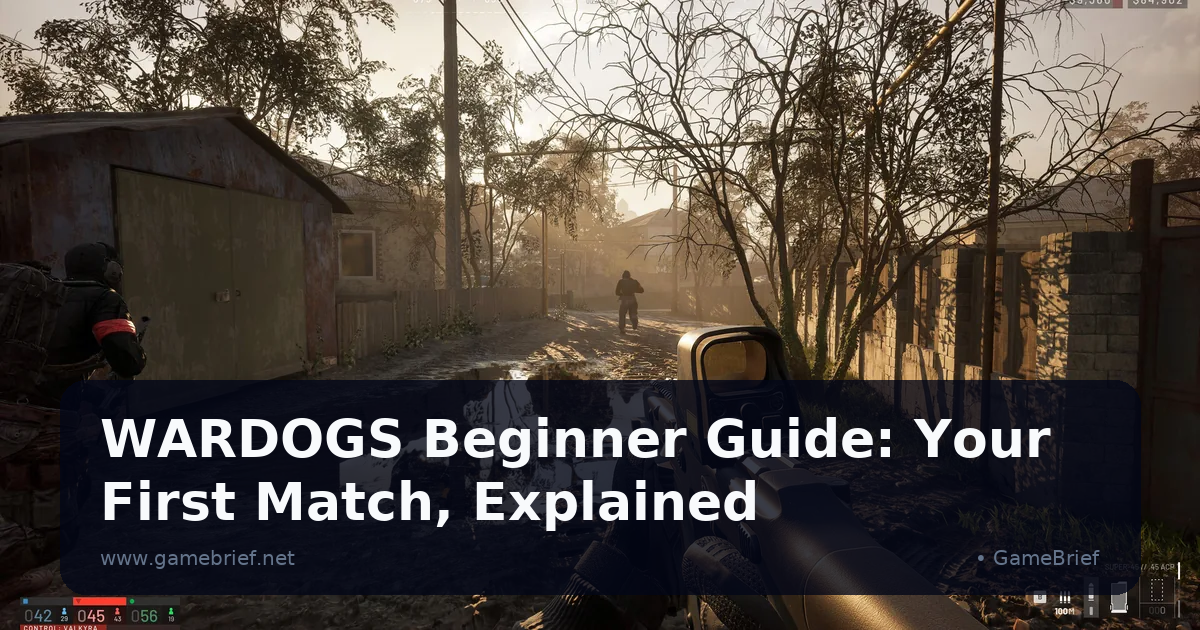
This WARDOGS beginner guide covers what actually matters in your first few matches: understanding the Control Zone objective, picking a starting loadout you can afford to lose, and not getting caught out by the game's three-team structure. WARDOGS throws you into a 100-player match with almost no tutorial beyond the firing range, so knowing this before your first spawn saves you several confusing, expensive lives.
TL;DR: WARDOGS is a King-of-the-Hill-style shooter with three teams fighting for one randomized Control Zone at once, first to 100 points wins. Start with a cheap loadout (the free Bushmaster M17S or $600 T-21), practice on the free firing range first, and watch for the third team approaching from quiet directions instead of just the loudest gunfire. Persistent cash means every life is a real decision, not a throwaway.
How does the Control Zone objective actually work? (quick answer)
Three teams of up to 100 total players fight over a single randomized 2x2km Control Zone within a larger map. Whichever team has the most players physically standing inside the zone earns points continuously, and the first team to reach 100 points wins the match. That means holding the zone with numbers matters more than racking up kills outside it, a genuine shift from deathmatch instincts if you're coming from a more traditional shooter.
Key takeaways
- WARDOGS matches run three teams simultaneously, not two, so gunfire from one direction doesn't mean the whole enemy presence is accounted for
- Every player starts each life with a loadout purchase, cash persists between matches, so overspending on a single life has real consequences
- The free firing range gives full access to every weapon, attachment, and vehicle with zero risk, a critical stop before your first live match
- Looting upgraded gear from dead players lets you enter cheap and leave rich, but looting in the open mid-fight risks losing everything at once
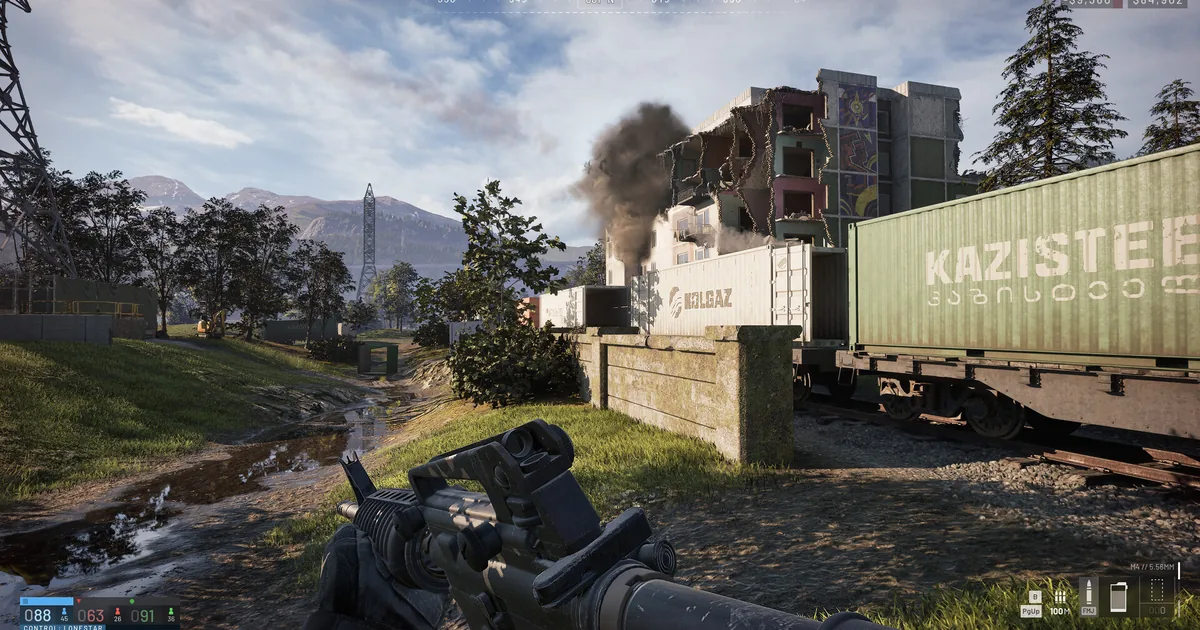
- Control Zones are individually named (Valkyra, Lonestar, and others confirmed so far) and relocate every match, so memorizing one map layout isn't enough
Step-by-Step: your first live match
1. Spend real time on the firing range before your first live match: it gives completely free access to every weapon, attachment, and vehicle in the game, no risk to your starting cash. New players who skip straight into a live 100-player match are learning weapon handling and the Control Zone objective at the same time, which is a genuinely harder way to start.
2. Buy a cheap starting loadout, not your best-looking one: the free Bushmaster M17S or the budget $600 T-21 are both solid starting weapons, paired with at least two spare magazines, several bandages, and one class gadget. The goal for your first several lives isn't maximum firepower, it's staying funded. Spending less than you realistically expect to earn back is the single most repeated piece of community advice for a reason.
3. Move toward the Control Zone with people, not alone: spawn where you can actually rejoin the fight, confirm the current Control Zone location on your map, and move with nearby allies rather than sprinting solo toward the loudest gunfire. A lone player reaching the zone first often just dies before their team catches up to actually hold it.
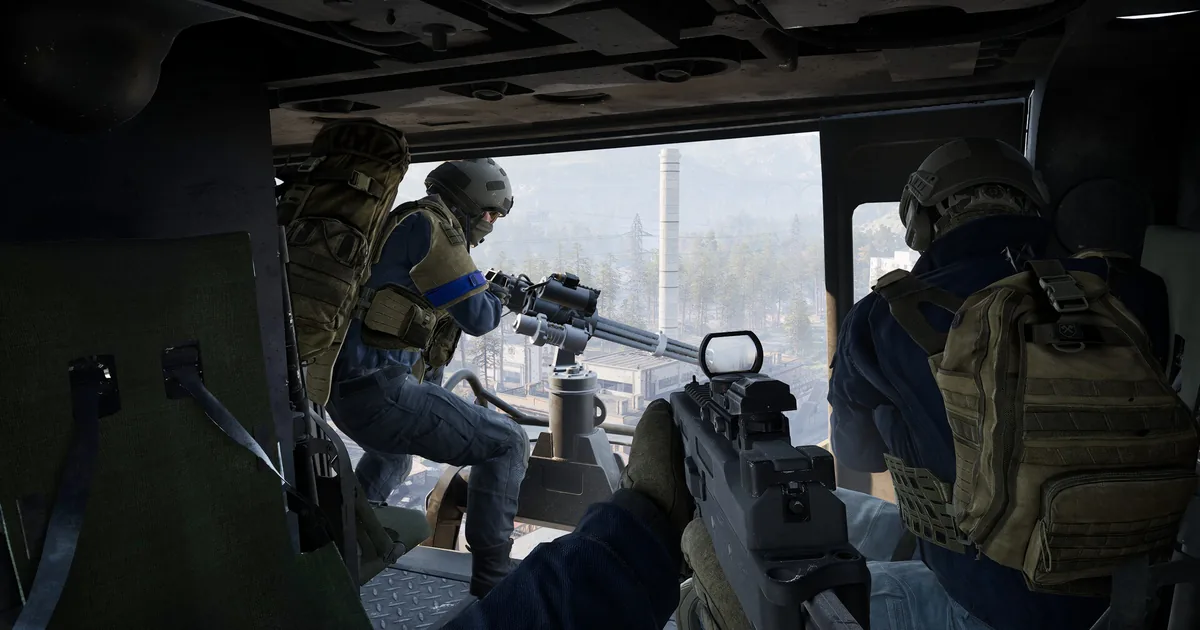
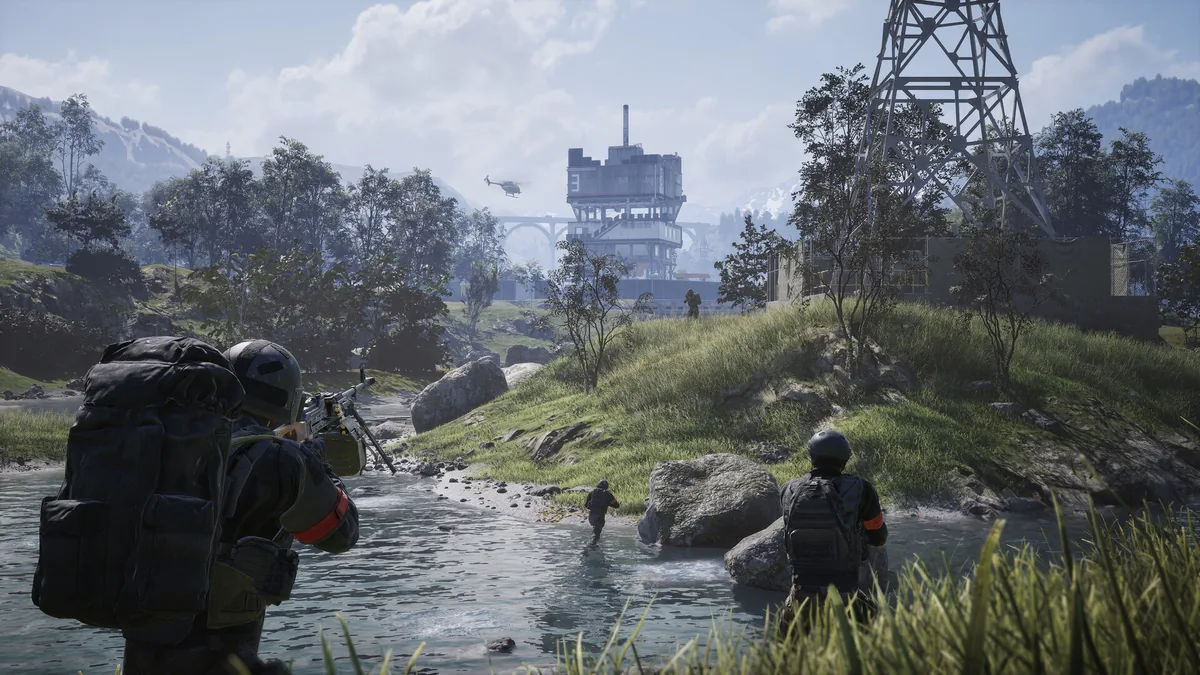 Caption: Moving toward a Control Zone as a group, the industrial tower in the distance is the kind of landmark that helps orient a randomized zone location.
4. Do one useful job when you arrive, instead of freelancing: reviving a downed teammate, ferrying supplies, or simply holding a defensible position inside the zone all contribute directly, both to the match and to your own cash balance, since teamplay actions pay out. Wandering the edges looking for kills contributes to neither.
5. Watch the quiet direction, not just the loud one: WARDOGS runs three teams at once, and new players consistently make the mistake of pointing their attention entirely at whichever fight is loudest. The third team is frequently approaching from wherever nothing has happened for a while. Checking that direction periodically, especially once you're holding a zone, catches flanks the sound design alone won't warn you about.
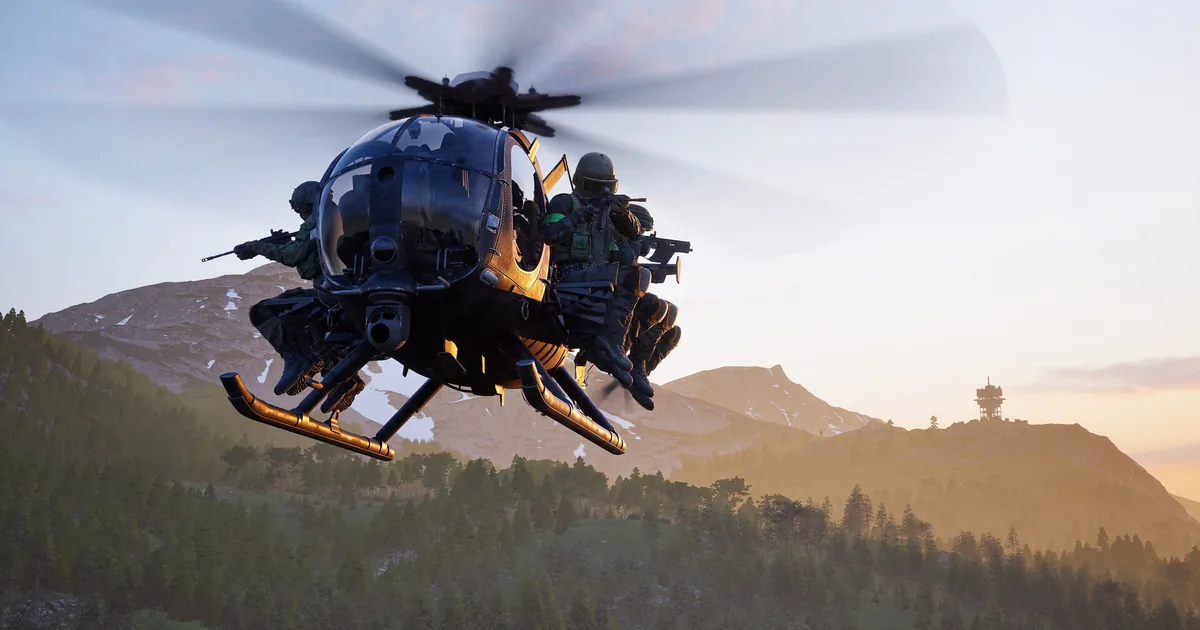
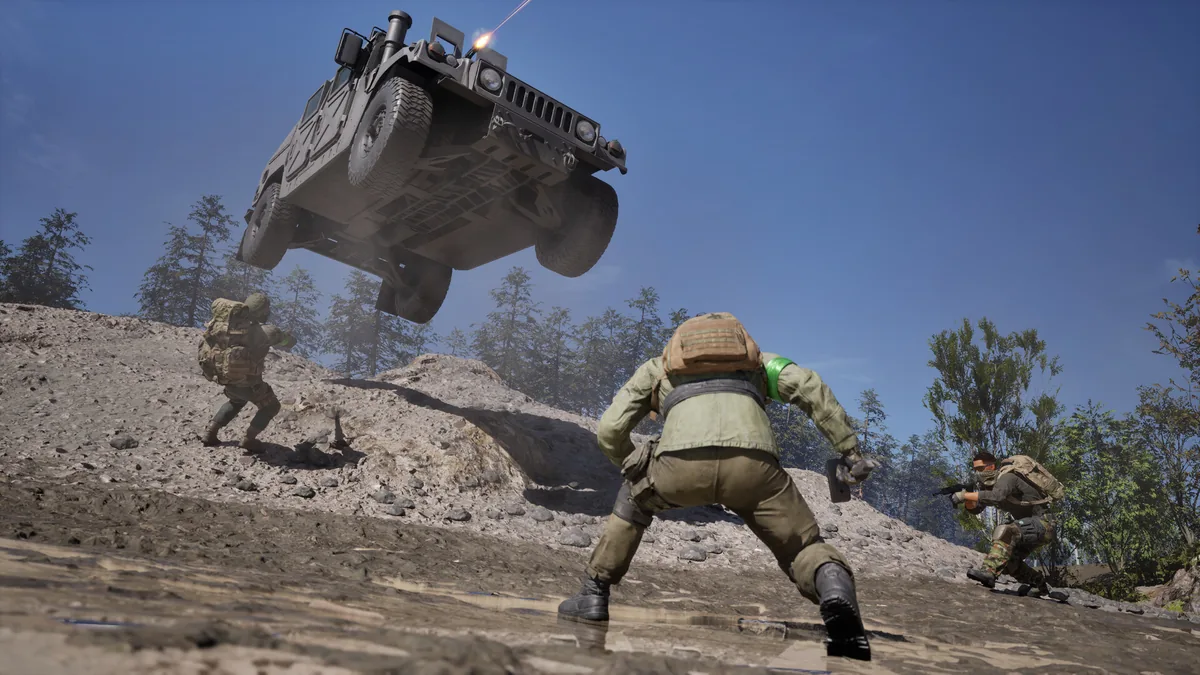 Caption: Vehicle combat adds a fast, chaotic layer on top of the ground fight, worth learning once your basic loadout habits are solid.
GODEEPER: Once you've got your first few matches down, our WARDOGS money and loadout guide covers the specific cash-farming methods and vehicle prices that turn a cautious start into real firepower.
The budget strategy that keeps you playing
The persistent cash economy is the part most new players underestimate. Because money carries between matches instead of resetting, a string of overspent, quickly-dead lives can leave you genuinely broke and locked out of good gear for several matches in a row. The community-tested approach: enter each life with inexpensive equipment, and upgrade mid-match by looting gear from players you've killed rather than buying expensive kits upfront. You risk less money per death this way, and a successful life can still end with you carrying high-value looted equipment.
The catch worth knowing before you try it: looting a body in an exposed position while the fight is still ongoing is one of the fastest ways to lose both your original loadout and the gear you were trying to steal. Loot when the immediate area is actually clear, not the moment an enemy drops, the same patience our WARDOGS review notes separates players who actually bank their earnings from ones who bleed cash every life.
GODEEPER: For the full picture of what your cash actually buys, from the cheapest starting weapons up to the $500,000 Artillery Tank, our WARDOGS money and loadout guide breaks down real prices and the fastest ways to earn them back.
Why the three-team structure changes everything
If you're coming from a two-team shooter, the biggest adjustment isn't a new weapon or vehicle, it's the constant awareness that a third team exists. Fights that look like a clean two-way exchange for the Control Zone frequently get decided by whichever team was patient enough to let the other two wear each other down first. This isn't a hidden mechanic exactly, BULKHEAD's own framing describes the format as inspired by King of the Hill, but it's genuinely easy to forget mid-firefight when your instincts are trained on a different genre, the same adjustment period our Ground Branch coverage noted for players coming from more traditional two-side tactical shooters. Reading the map's Control Zone indicator and noticing which of the other two teams has gone quiet is a skill that develops faster than most of WARDOGS's other systems, and it pays off immediately once it clicks.
What to expect from your first ten matches
Nobody plays WARDOGS well immediately, and that's a fair expectation to set going in. The firing range teaches weapon handling, but it can't teach you Control Zone timing, when to push, when to fall back, when a fight is actually winnable with your team's current numbers. That only comes from repetition in live matches, and the persistent cash economy means your early mistakes have real, if recoverable, consequences.
A realistic first-ten-matches goal isn't winning, it's surviving long enough each life to actually contribute: transporting a squadmate, holding a corner of the zone, reviving someone who went down nearby. Those actions pay out cash directly, so even a match your team loses can still leave you better funded than you started. Players who chase kills exclusively in their first several matches tend to bleed cash faster than they earn it back, since dying with an expensive loadout costs more than it returns.
One habit worth building early: check the scoreboard's three-team breakdown before committing to a fight, not just your own team's numbers. If your team and one other are both near full strength while the third has taken heavy losses, that's useful information, the weakened team's zone control is the easiest to contest. WARDOGS doesn't surface this insight directly, it's something you have to actively track yourself, but it's one of the fastest ways to turn a losing push into a winning one, the same scoreboard-reading habit our WARDOGS review points to as the real skill separating consistent winners from players still fighting the game's three-team structure ten matches in.
Related Reading
- WARDOGS Review: 100-Player Chaos Worth the Rocky Launch: the full verdict on the game, including how its launch-week issues have resolved.
- WARDOGS Money and Loadout Guide: specific cash-farming methods, vehicle prices, and loadout economics for once you've got your first matches down.
- WARDOGS Week One: 428K Players and the Queue Crisis: the story behind the game's massive early player count, and why the servers struggled at first.
- WARDOGS Early Access Preview: the full mechanics breakdown from before launch, covering combined arms and the Team17 partnership.
Frequently Asked Questions
How do you win a match in WARDOGS? Your team needs to reach 100 points before the other two teams. Points come from having the most players standing inside the randomized 2x2km Control Zone, so holding the zone matters more than raw kills.
What should new players buy for their first loadout? A cheap primary weapon like the free Bushmaster M17S or the $600 T-21, at least two spare magazines, several bandages, and one useful class gadget. Spending less than you expect to earn back protects your persistent cash balance.
Where can I practice WARDOGS without risking my cash? The firing range gives full, free access to every weapon, attachment, and vehicle in the game. New players intimidated by a live 100-player match should spend real time there first.
Is WARDOGS a battle royale? No. BULKHEAD built it around a King-of-the-Hill-style Control Zone objective with three teams fighting simultaneously, not a shrinking play area or last-player-standing format.
Why do I keep dying to a team I never saw? WARDOGS has three teams active at once, not two. New players tend to stare at whichever direction has the loudest gunfire; the third team is often approaching from a quiet direction while the other two trade fire.
References
- WARDOGS on Steam: official store page, price, and feature description cited throughout this guide.
- WARDOGS Steam Community discussions: the game's community hub, active with beginner questions given how new the release is.
Was this guide helpful?
About the author

Indie & JRPG Critic
Indie game evangelist and lifelong JRPG fan covering small studios since 2017. Mumbai-born, London-based. Writes the way she talks.
- 7 years indie games coverage
- JRPG and visual novel specialist
- Narrative design focus
Keep reading


Disclaimer
This article is published for informational and entertainment purposes. It does not constitute professional financial, legal, or technical advice. Game performance, online services, patch schedules, and store listings change. Verify critical details (pricing, system requirements, regional availability) with publishers and storefronts before you buy. Affiliate links, where present, help support our editorial work and are labelled in our affiliate disclosure.
Comments
Loading comments…