
GuideKiller Bean
Killer Bean Advanced Guide: Combat, Conquest, and Builds
This Killer Bean advanced guide covers the mid-to-late game combat techniques and Conquest mode strategy that the beginner tips guide doesn't get to. If you're newer to the game, start there. For weapon specifics, the weapon tier list guide covers rankings in detail. The early access overview covers the game's initial launch state.
Sponsored

About the game
Killer Bean
Killer Bean Studios LLC · Killer Bean Studios LLC
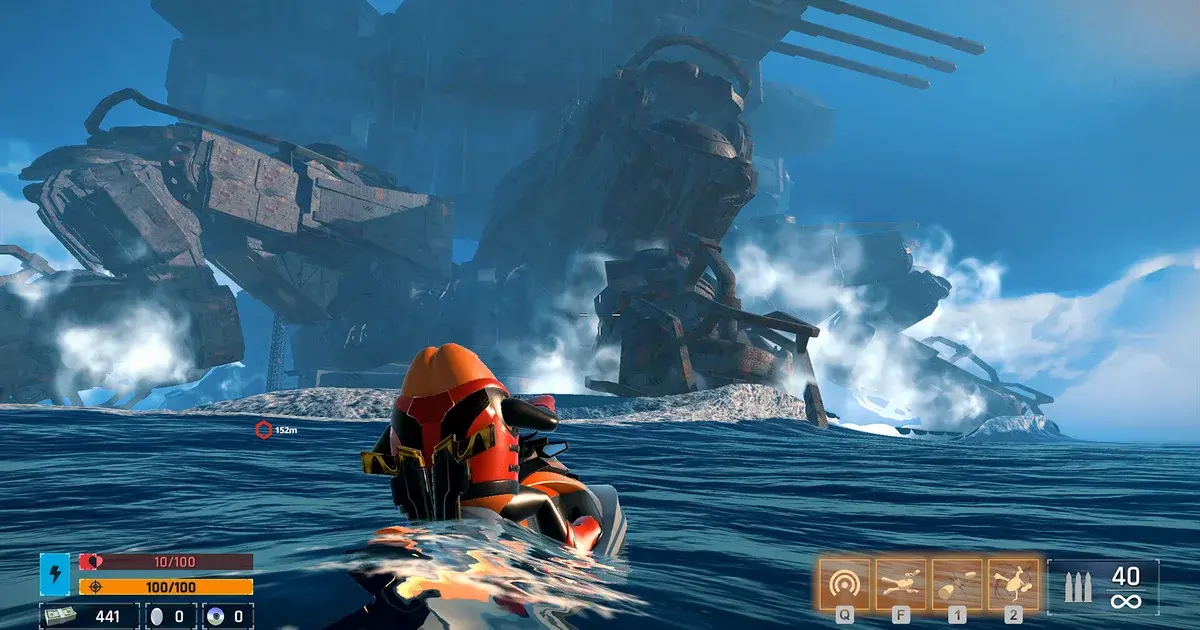
Killer Bean is a 3D action roguelite shooter from Killer Bean Studios LLC, built on Jeff Lew's original Killer Bean animations. The mechanical depth in the late game comes from the Dive system: the game rewards players who trigger bullet time as part of their attack pattern rather than only as a panic button.
TL;DR: Dive, the slow-motion bullet-time ability, is the advanced mechanic that changes everything: time an acrobatic dive against a boss's melee slam to trigger an I-Frame Dodge and refund your focus meter, rather than saving Dive purely as an escape. Conquest mode needs a committed weapon pairing, not adaptive switching. The Melee, Parkour, and Stealth trees matter in mid-to-late content once Guns Blazing's early nodes are covered.
Sponsored

Killer Bean advanced guide: what separates mid from late game performance (quick answer)
The transition from mid-game to late-game effectiveness in Killer Bean comes from one habit change: using Dive to chain bullet time during attack sequences, not just after taking damage.
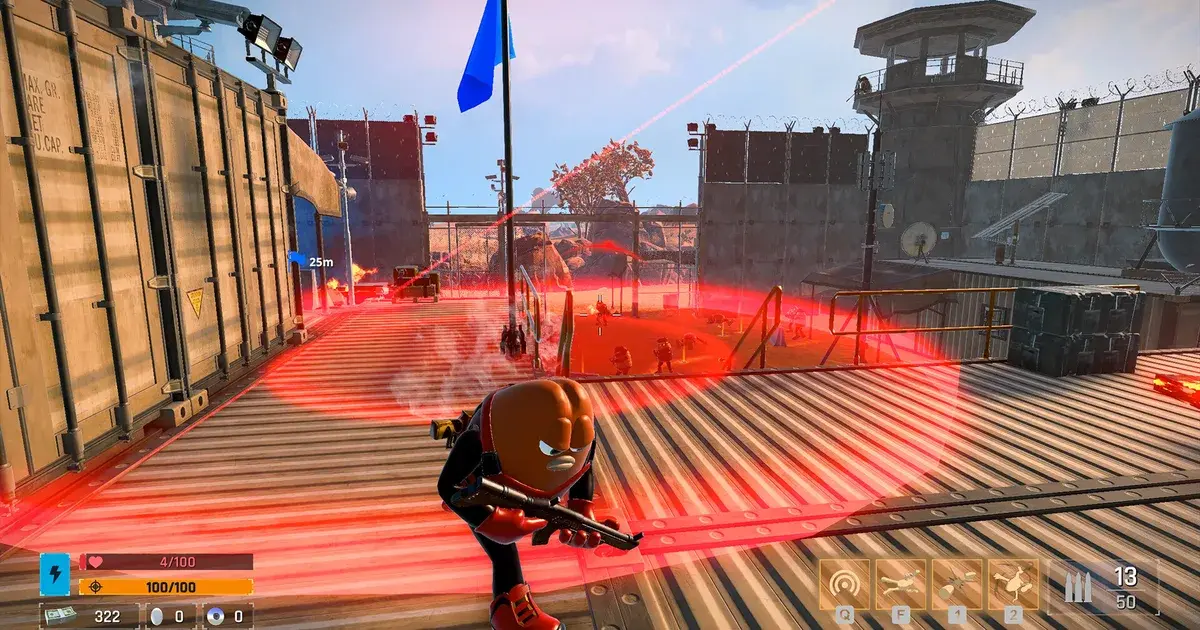
The tips guide correctly identifies dive as "your best boss tool." The advanced application of that is the I-Frame Dodge: timing an acrobatic dive to land during a boss's melee slam grants invincibility frames and a focus meter refund, which lets you re-trigger bullet time far sooner than a player who only dives reactively.
Players who only dodge reactively burn through their focus meter and spend time in normal-speed combat recovering it. Players who land I-Frame Dodges consistently stay in bullet time far more of the fight while avoiding most incoming damage.
Key takeaways
- I-Frame Dodge: time an acrobatic dive against a boss melee slam for invincibility frames and a focus meter refund
- Conquest mode rewards weapon-pairing consistency, not adaptive switching
- The Melee, Parkour, and Stealth trees matter at mid-to-late content once early Guns Blazing nodes are covered
- Dual pistols remain viable through the full game with Guns Blazing investment
- Shotguns are mid-to-late game value picks against high-health enemies
- Boss phase transitions should trigger preemptive repositioning, not reactive dodging
The I-Frame Dodge: the combat technique that changes mid-game
The tips guide covers Dive's basic role as a slow-motion bullet-time tool. The deeper mechanic is understanding its defensive timing window.
In Killer Bean, landing an acrobatic dive right as a boss's melee slam connects triggers an I-Frame Dodge, a brief invincibility window that also refunds a chunk of your focus meter. Miss that window and Dive just behaves like a normal dodge, no refund.
How to practice it: In a room where you have health to spare, wait for a telegraphed melee attack and dive into the swing instead of away from it. If you take no damage and see your focus meter tick up afterward, you landed the I-Frame Dodge. That's the timing you're chasing in real fights.
When to use it in fights: Against enemies with telegraphed attacks (a windup animation before a hit), aim to dive as the hit connects, not the moment the windup starts. Diving too early just wastes the invincibility frames on nothing.
Against bosses: Boss phases usually have a pattern where the boss is briefly vulnerable (post-attack recovery window) and then enters an attack phase. Landing the I-Frame Dodge on the melee slam lets you stay in bullet time through the vulnerability window instead of running your focus meter dry.
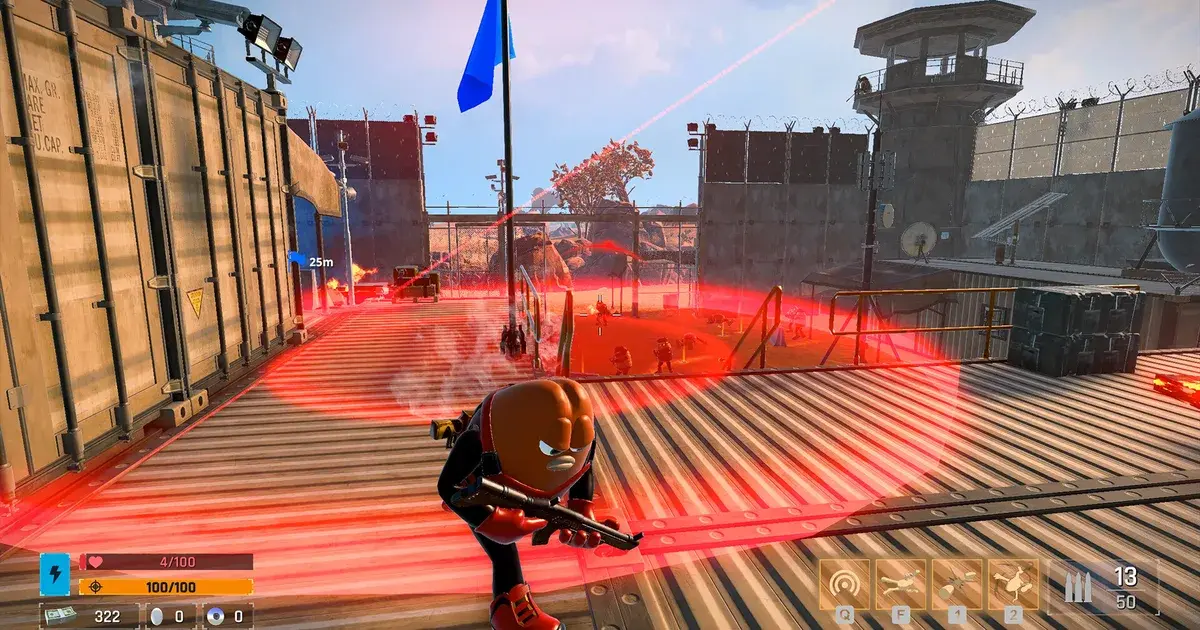
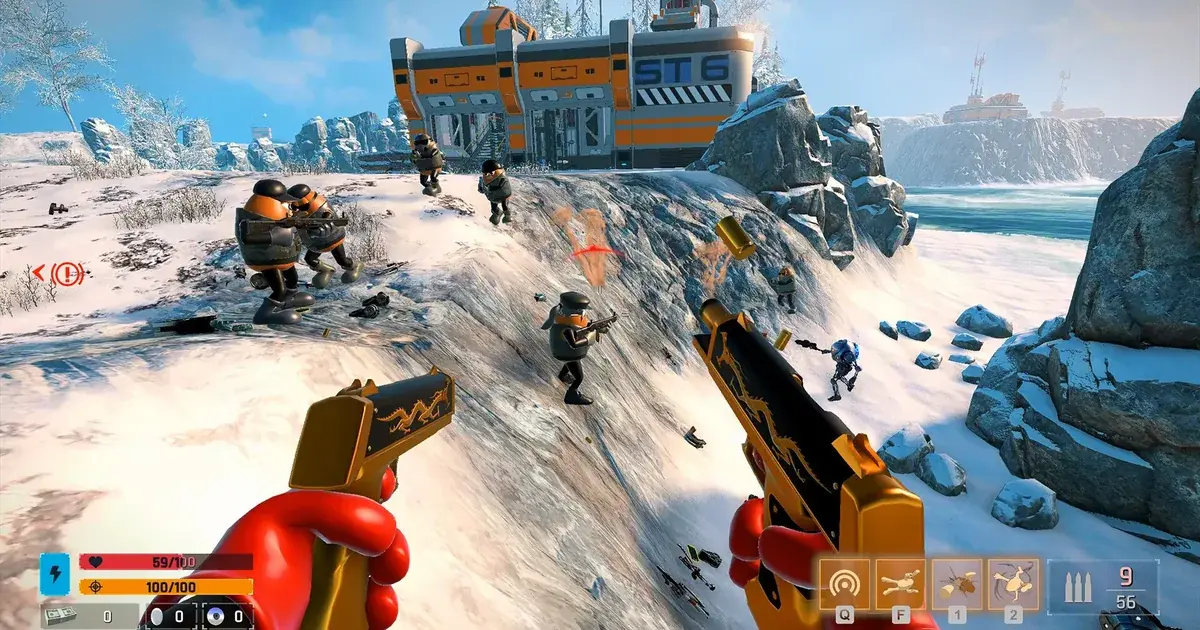
Standard engagement range is where dual pistols do most of their work. The I-Frame Dodge timing matters most once enemies close to melee range and start telegraphing slams.
Conquest mode: how it changes your build approach
Conquest mode's design is distinct from the main campaign in ways that matter for build choices.
The modifier system: Conquest mode applies modifiers to encounters that change damage profiles, enemy health, and sometimes spawn patterns. A weapon that performs reliably in campaign encounters may hit edge cases in Conquest mode where its specific damage profile is less effective. The builds that perform consistently in Conquest mode are those with enough reliability to function across modifier variations rather than peak performance builds tuned for specific encounter types.
Weapon pairing consistency: The tips guide's advice to try Conquest mode with a different build applies here. The advanced approach is to choose your Conquest mode weapon pairing deliberately rather than reactively. The two-weapon setup should have complementary damage profiles: one weapon that handles standard engagement ranges and one that covers the gap (close quarters or burst required). Changing weapons mid-run based on what's available in a room introduces inconsistency without compensating reliability.
Enemy timing patterns: Some enemy types in Conquest mode have faster attack windows than their campaign equivalents. Knowing which encounters will stress your I-Frame Dodge timing is useful for preparing the right defensive response before entering the room.
GODEEPER: The boss guide covers each main boss's phase patterns, which provides the foundation for understanding when to commit to offense versus the I-Frame Dodge in boss fights. Killer Bean Boss Guide: All 4 Main Bosses →
Step-by-step: skill tree investment after Guns Blazing
The tips guide's recommendation to prioritize Guns Blazing first is correct. Killer Bean has three other trees: Melee, Parkour, and Stealth. Here's where to go after the initial investment.
Step 1: Figure out what's actually killing you
After your first Guns Blazing investment, test whether your death rate comes from getting cornered with no escape (a Parkour problem), from close-range enemies you can't create distance from (a Melee problem), or from getting spotted before you're ready to engage (a Stealth problem). The answer points you at your second tree.
Step 2: Melee tree priorities
Melee covers close-range fists and finishing moves, useful when an enemy closes distance faster than you can reposition with guns alone. It gives you a real answer to being cornered instead of relying on Dive to bail you out every time.
Step 3: Parkour tree priorities
Parkour covers traversal, including the double jump. This is the tree that makes room layouts work for you instead of against you, letting you break line of sight, reach elevated positions, or just get out of a bad spot faster than a straight sprint would.
Step 4: Stealth tree priorities
Stealth covers hiding and disguise. It's the slowest-paced of the three, and it rewards players who'd rather avoid a fight than win it fast. Less useful if your build leans hard into Guns Blazing burst damage, more useful if you're struggling with encounters that punish going in loud.
GODEEPER: The tips-builds guide covers the early Guns Blazing investment in detail, including which nodes within that tree produce the best early returns. Killer Bean Tips and Builds Guide →
A Stealth-tree situation: staying out of a detection radius when your health is already low is exactly the scenario that tree is built to handle better than Guns Blazing alone.
Weapon combinations for mid-to-late content
The tips guide establishes that dual pistols are reliable early. Mid-to-late content has different demands.
Dual pistols + shotgun: The highest-use combination in mid-to-late content. Pistols handle standard engagement distance and sustained fire. Shotgun handles the high-health close-range encounters where pistol fire rate doesn't produce fast enough results. The gap between the two weapons is small enough that switching is natural rather than disruptive.
Dual pistols + RPG: High ceiling against grouped enemies and bosses, but requires specific positioning. The tips guide's note about RPG use (get close before firing at helicopters) applies generally: RPGs in Killer Bean are effective when used in specific position windows, less so as a general-purpose backup. This combination works in Conquest mode when the modifier set happens to favor burst over sustained fire, and is harder to use reliably otherwise.
Shotgun + RPG: Maximum burst potential, lower reliability. For players who have internalized I-Frame Dodge timing well, this combination can clear rooms faster than pistol builds. The risk is higher against enemies that require sustained positioning pressure rather than burst windows.
Tips: mid-to-late game mistakes
Using Dive only reactively. Saving Dive purely as a panic button means running your focus meter dry instead of chaining bullet time. Building the I-Frame Dodge habit turns boss melee attacks into a resource, not just a threat.
Switching weapons based on what's available in a room. In Conquest mode especially, weapon consistency is a significant factor in performance. Committing to your paired setup and staying with it outperforms opportunistic weapon switching that disrupts the skill tree investment you've made.
Ignoring enemy windup animations. Late-game enemies have more distinct windup animations than early enemies. Learning which windup means which attack is the prerequisite for preemptive positioning rather than reactive dodging. 30 seconds of observation in a room often prevents 3 deaths in the same room.
Over-investing in early Guns Blazing. The tips guide is right that Guns Blazing should be first. After the initial investment, Melee, Parkour, or Stealth (whichever addresses your actual death pattern) produces more return per point than continuing to deepen Guns Blazing. The first 4-5 Guns Blazing nodes are high-value; further investment has diminishing returns compared to opening a second tree.
Related Reading
- Killer Bean Tips and Builds Guide: the foundational guide covering the 9 core tips including dive ability basics, dual pistols, and Conquest mode introduction
- Killer Bean Boss Guide: All 4 Main Bosses: phase patterns and attack windows for each main boss, which pairs with I-Frame Dodge timing
- Killer Bean Weapon Tier List Guide: full weapon rankings and which setups perform best in specific content types
- Killer Bean Complete Guide: All 4 Bosses, Weapons, Tips: the full hub tying bosses, weapons, and builds together in one reference
Frequently Asked Questions
What's the most important advanced technique in Killer Bean? The I-Frame Dodge. Timing an acrobatic dive against a boss's melee slam grants invincibility frames and refunds focus meter, letting you chain bullet time far more than reactive dodging alone.
How is Conquest mode different from normal play? It has a modifier system, different enemy patterns, and persistent progression. The build commitment matters more because modifiers can create edge cases for narrowly tuned builds.
When should I invest in secondary skill trees? After the initial Guns Blazing investment, look at what's actually killing you. Melee helps if you're getting cornered at close range, Parkour if positioning and escape routes are the problem, Stealth if you're getting spotted before you're ready to fight.
What's the best weapon pairing? Dual pistols plus shotgun for most content. Reliable sustained damage plus burst option for high-health encounters.
Is the I-Frame Dodge hard to learn? The timing window is generous. The habit is harder to build than the technical execution: diving into a melee attack instead of away from it feels wrong at first. Start practicing in mid-game rooms where dying isn't critical.
Do the secondary skill trees matter a lot? Meaningfully, yes. Melee, Parkour, and Stealth each solve a different failure mode that Guns Blazing alone doesn't cover, and picking the one that matches your actual death pattern changes how fast late-game encounters resolve.
References
- Killer Bean on Steam: official store page with current version and content
- r/KillerBean community: fan art, animation discussion, and community content for the Killer Bean franchise
Was this guide helpful?
About the author

Systems & Economy Desk
GameBrief's byline for roguelikes, strategy and simulation. Reads patch notes, wiki tables and Steam stats and puts the numbers on the page.
- Roguelikes, strategy and simulation
- Builds, progression and economy
- Sources listed per article
Keep reading
Killer Bean Weapon Tier List: Best Guns Ranked 2026
General · 7 min
Killer Bean Review: 9 Missions, 4 Bosses, One Dive
General · 6 min
Killer Bean Boss Guide: All 4 Main Bosses Explained
General · 9 min
Killer Bean Complete Guide: All 4 Bosses, Weapons, Tips
General · 15 min
Killer Bean Early Access: 4 Modes and What Comes Next
General · 7 min
Killer Bean Tips: 9 Things to Know Before You Play
General · 8 min
Sponsored
Disclaimer
This article is published for informational and entertainment purposes. It does not constitute professional financial, legal, or technical advice. Game performance, online services, patch schedules, and store listings change. Verify critical details (pricing, system requirements, regional availability) with publishers and storefronts before you buy. Affiliate links, where present, help support our editorial work and are labelled in our affiliate disclosure.
Comments
Loading comments…