GameBrief · General
Killer Bean Boss Guide: All 5 Campaign Bosses Explained
Reviewing
Killer Bean
Killer Bean Studios LLC
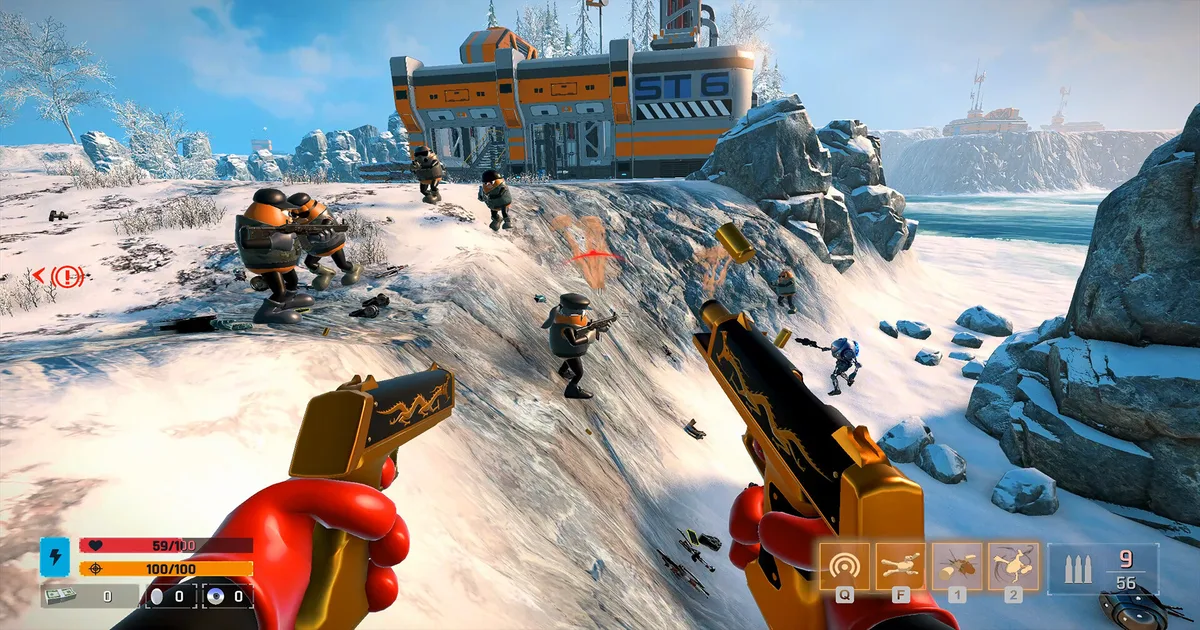
This Killer Bean boss guide covers all five campaign encounters. Every fight ends the same way: you secure the mission objective, something large spawns, and the game stops explaining itself. Nine missions, same pattern. Objectives first, boss gate second, resolution third. This guide covers the five named bosses, what each phase looks like, and where the dive matters versus where it doesn't.
Two things hold across all of them. The dive (slow-motion free-fall) is useful in every boss fight except one. And saving your ammo crate visits for post-phase resets is almost always worth the restraint.
TL;DR: Five campaign bosses, each behind a mission objective gate. Warlord and Bullet Eyes are dive-dependent fights; the Overseer requires a generator mechanic before standard damage registers; B.O.S. punishes standing still; the Monitor runs three phases and has arena ammo crates to exploit between them. Dual pistols with infinite ammo clear all five with the right approach. RPGs are optional on Warlord and Monitor Phase 2; don't rely on them if you're low on explosive rounds.
How many bosses are in Killer Bean? (quick answer)
Five named bosses in the campaign: Warlord, Toy Maker, the Overseer, Bullet Eyes, and the Monitor. A helicopter sequence caps Mission 1 but isn't listed as a named boss in community discussions. It functions as a combat gate rather than a designed encounter. All five are available in the current Early Access build.
Mission 3: Warlord
Warlord is the first boss that actively punishes passive play. The fight takes place on an island filled with wrecked vehicles, which provide cover but also block your movement options if you're not thinking about escape angles before the fight starts.
Two attack types dominate the encounter. Warlord fires missiles that deal heavy damage on direct hit, and periodically deploys drones that track your position and shoot independently. The drones are the bigger threat. A player focused on Warlord who ignores deployed drones is getting hit from two angles simultaneously.
Approach: destroy drones as soon as they spawn. Don't wait for them to accumulate. Then use dive windows on Warlord directly, firing your clip during slow-motion before repositioning. The dive doesn't give you unlimited safety time. It gives you a burst window. Use it to place shots, not to stand still.
Dual pistols handle this fight adequately. If you have RPGs from earlier exploration, they help with the drone phase, but they're not required. The bigger issue is movement: stay mobile between dives, use the wrecked vehicles as temporary cover rather than static positions, and prioritize drone clearing over raw damage on Warlord.
 Warlord's drone phase is the real threat; prioritize clearing spawned drones before committing dive windows on Warlord directly.
GODEEPER: The dive ability is central to boss encounters throughout the campaign. Killer Bean Tips: 9 Things to Know Before You Play →
Mission 4: Toy Maker
Toy Maker is the simplest boss in the campaign and the most misleading one to approach. The fight isn't a slow-motion window encounter. It's environmental problem-solving where your main concern is what NOT to get close to.
Toy Maker launches explosive vehicles at you. The instinct is to shoot them at range; that's correct. Get close to one and you're taking explosion damage. The fight is about keeping distance and shooting incoming vehicles before they reach you, rather than the sustained pressure you use against other bosses.
B.O.S. (Mission 6) and Bullet Eyes (Mission 7) are where slow-motion burst windows become critical again. Toy Maker is the breather between them. Treat it accordingly: don't burn dive energy or special move bar resources here that you'll want for the harder fights ahead.
One thing to note: Mission 4 is where the game introduces the helicopter-plus-ground-enemy split. The lesson from Mission 2's helicopter sequence (get close before firing RPGs, use splash damage rather than precision at distance) applies again here for any airborne elements. Toy Maker's vehicles are a simpler version of that teaching.
Mission 5: The Overseer and the Generator Trick
The Overseer is the only boss in Killer Bean that requires an environmental interaction before standard damage registers. Standard weapons do nothing until the surge armor comes down. Figuring this out during the fight rather than before it costs several minutes and probably a death.
The mechanic: the Overseer has surge protection that absorbs all standard weapon damage. Power generators are positioned around the arena. Lure the Overseer close to a generator, then shoot the generator. The overload destroys the surge armor, after which your normal loadout works.
Scout the generator positions before engaging the Overseer. They're fixed in the arena (three or four, depending on the layout). Know which one you're heading toward before the fight starts, so you're luring the Overseer in a direction rather than running in circles figuring it out mid-fight.
After the surge armor drops, the fight resolves like a standard encounter. The Overseer's remaining attacks are manageable. All the difficulty is front-loaded in the generator phase.
Mission 5 also has a laser-dodge section on the control panel walkway during the disarming phase, running alongside the boss encounter. Plan your path through that area before you pull the Overseer's attention. It doesn't interact with the boss fight directly, but getting caught in the laser section while the Overseer is right behind you is a fast death.
Mission 7: Bullet Eyes
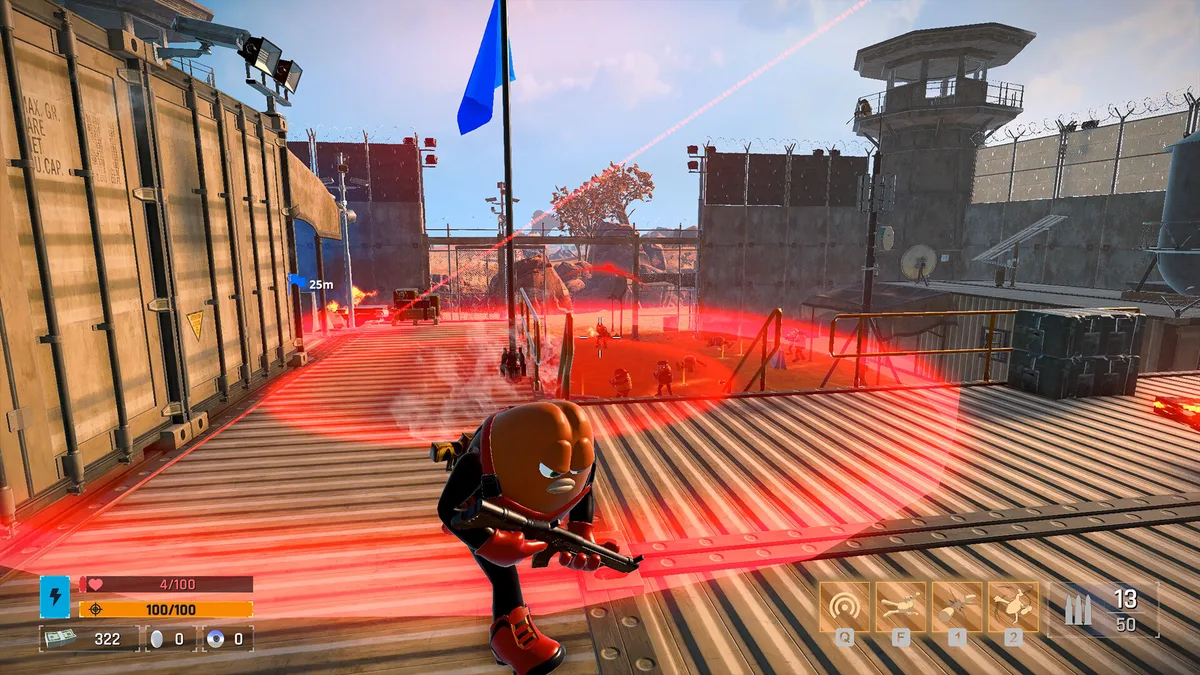
Bullet Eyes is the most mechanically demanding boss before the final encounter. The attack pattern is constant: orbs fired toward you on a tight cycle, with limited windows where the attack rate drops. Standing still for longer than a second or two ends the fight quickly.
The dive approach is the solution. Dive activates slow-motion, which gives you time to dodge incoming orbs and place return fire simultaneously. The challenge is that Bullet Eyes' orbs are fast enough that dodging them without slow-motion is unreliable. This is the boss where players who skipped dive practice on earlier fights pay the most for it.
The platform structure during Mission 7 complicates things. Bullet Eyes occupies elevated terrain, and the ascent gives you natural dive windows: fall toward the boss, fire during slow-motion, land and reposition. The vertical element works in your favor once you stop treating it as an obstacle and start treating it as a dive trigger.
Weapon choice: the KRG-25 Assault Rifle handles sustained pressure during dive windows better than the dual pistols here, because the fire rate during slow-motion is higher. If you have it, use it. If you don't, the dual pistols still clear this fight, it just takes more dive cycles.
 Bullet Eyes' constant orb fire makes standard movement unreliable; dive-triggered slow-motion is the only way to consistently dodge and return fire simultaneously.
GODEEPER: Weapon choice affects how these dive windows play out. Killer Bean Early Access: What the New Roguelike Gets Right →
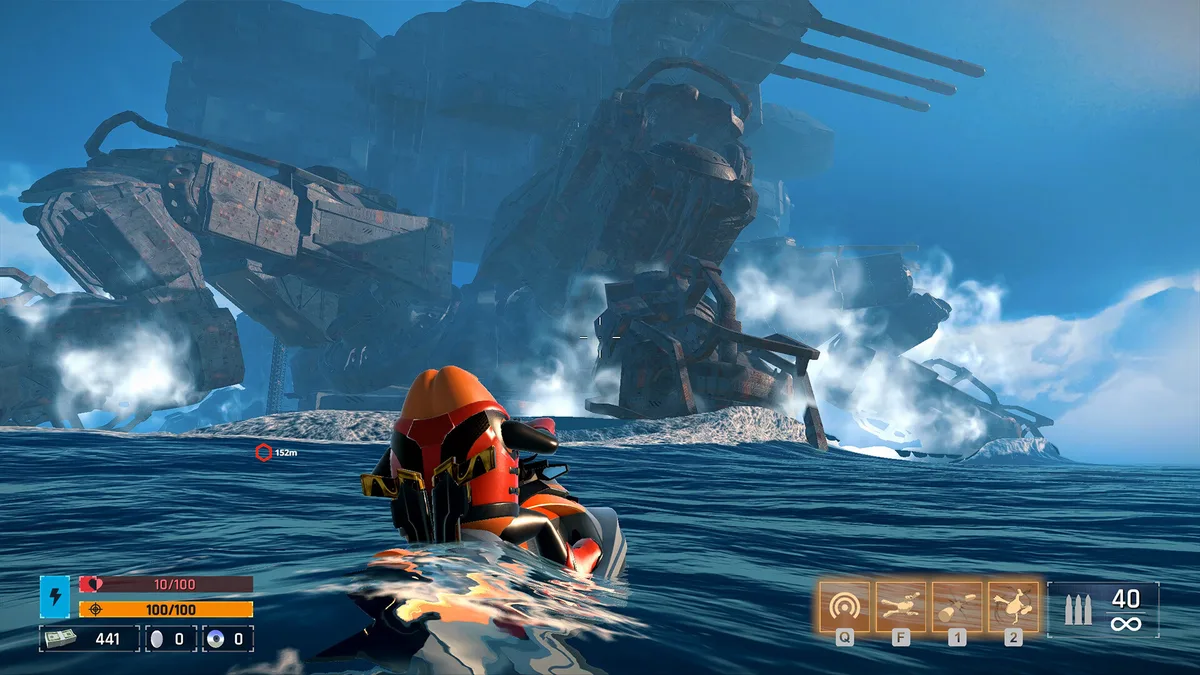
Mission 9: The Monitor (Three Phases)
The Monitor is the longest boss fight in the campaign and the only one with three distinct mechanical phases. Each phase introduces new attacks; each transition gives a brief window to hit ammo crates in the arena before pressure resumes.
Phase 1: The Monitor uses two gun types (standard bullets and green projectiles) while maintaining a protective shield. Minions spawn throughout this phase and should be your secondary priority. Letting minions accumulate while focusing entirely on the Monitor results in damage from multiple angles. Clear them when they appear, fire on the Monitor during gaps, use the shield as a timer rather than a target: it drops periodically.
Phase 2: The Monitor adds shoulder-mounted grenade launchers. This changes the arena pressure significantly: you're now dodging missiles, bullets, and green projectiles simultaneously. RPGs and explosive weapons are useful here for burst damage, but check your reserves before committing. If you burned your explosives on earlier enemies, the dual pistols with dive windows still clear the phase; it just takes longer.
Phase 3: The Monitor shifts to a flying form with two tentacle types: a mace tentacle for melee-range attacks and a laser-shooting pyramid tentacle for ranged fire. This is the phase where new players most often stall. The flying form changes the targeting geometry: you need to track aerial movement while dodging both tentacle types.
Dive is critical in Phase 3. The slow-motion window lets you track the Monitor's position and place shots on a moving aerial target. Without it, the fire rate you need to deal meaningful damage while staying mobile is difficult to sustain. After tracking the dive rhythm against Bullet Eyes in Mission 7, this phase feels like a variation on the same problem rather than something new.
The ammo crates placed throughout the Monitor's arena are the clearest example of the game expecting you to use the environment. The fight's long enough that you'll run low on something. Knowing where the crates are before Phase 3 starts is preparation, not luck.
One thing that catches players before the fight even starts: the mission objective in Mission 9 doesn't end the mission. Completing it triggers the Monitor. If you push the objective while low on ammo or special move energy, you enter a three-phase boss fight already behind. Check your resources before activating the final objective, not after.
Boss difficulty ranking
From most demanding to most forgiving in the current Early Access build:
- The Monitor (Mission 9): three phases, aerial movement, ammo management across transitions. The only fight that demands all three simultaneously.
- Bullet Eyes (Mission 7): constant pressure, dive-dependent, platform movement complicates positioning
- Warlord (Mission 3): drone accumulation punishes passive play, and the missiles will end runs that got comfortable
- The Overseer (Mission 5): hard wall behind a single mechanic; trivial once you know the generator trick
- Toy Maker (Mission 4): environmental distance fight, lowest skill ceiling of any named boss
The Mission 1 helicopter isn't ranked. It's a combat gate, not a designed encounter.
Related Reading
- Killer Bean Tips: 9 Things to Know Before You Play: Covers the dive ability in full, both energy bars, skill tree priorities, and the shop firing bug that catches new players off guard.
- Killer Bean Early Access: What the New Roguelike Gets Right: Post-launch review of the current build including permadeath removal and the faction system in Conquest mode.
- Killer Bean Early Access Launches June 8: What's in It: Full mode breakdown, roadmap details, and faction overview for context on where the campaign fits.
- Best Roguelike Games 2026: Where Killer Bean sits against other FPS roguelites launching this year.
- Early Access Games Worth Buying in 2026: Assessment of which EA launches delivered on their premise at the current build state.
- Lost Castle 2 Boss Guide: All 12 Bosses & How to Beat Them: Lost Castle 2 boss guide: all 12 bosses in order, from the Goblin Champion to Steward the Demon....
References
- Killer Bean on Steam: official store page with patch notes and current game build information
- Killer Bean walkthrough (IntoIndieGames): mission-by-mission walkthrough used to verify boss encounter structure and attack patterns
- Killer Bean community feedback thread: developer responses on the Bullet Trick cinematic issue and melee redesign
- Possible weapons discussion thread: developer notes on weapon balance and upcoming additions
Frequently Asked Questions
How many bosses are in Killer Bean's campaign? Five main bosses across the 9-mission campaign: Warlord (Mission 3), Toy Maker (Mission 4), the Overseer (Mission 5), Bullet Eyes (Mission 7), and the Monitor (Mission 9). Mission 1 ends with a helicopter fight that functions as a boss gate but is not listed as a named boss in community discussions.
Does the dive ability work on all bosses in Killer Bean? Yes. Every named boss in Killer Bean has attack windows where diving and triggering slow-motion is the optimal damage approach. The dive is especially critical on Warlord (drone phase), B.O.S. (projectile waves), Bullet Eyes (constant orb spam), and the Monitor Phase 3 (tentacle attacks). Toy Maker is the exception: the fight is largely environmental rather than a slow-motion burst scenario.
What weapons are best for boss fights in Killer Bean? Dual pistols with infinite ammo are reliable for every boss. RPGs and rocket launchers are best for Warlord's drone clearing and the Monitor Phase 2 grenade launcher phase. The KRG-25 Assault Rifle is useful for sustained pressure on Bullet Eyes. Never bring heavy weapons into a boss fight without checking your ammo first, because boss arenas have ammo crates but reaching them mid-fight costs more than it saves.
How does the generator mechanic work on the Overseer in Mission 5? The Overseer has surge armor that standard weapons cannot penetrate. To strip it, lure the Overseer next to one of the power generators in the room and shoot the generator. The overload destroys the surge protection, after which regular guns work normally. The generators are fixed positions in the arena, so scout them before engaging the Overseer directly.
What are the three phases of the Monitor boss fight? Phase 1: two guns firing standard bullets and green projectiles, with a protective shield and summoned minions. Phase 2: adds shoulder-mounted grenade launchers, increasing the number of projectile threats. Phase 3: the Monitor shifts to a flying form with mace tentacle and laser-shooting pyramid tentacle. Each phase transition resets the arena pressure, so using the post-phase ammo window is important.
Is there a bug with the Bullet Trick camera during boss fights? Yes. As of the current Early Access build, the Bullet Trick triggers a forced slow-motion cinematic on each activation. In boss fights it's disruptive because it interrupts player-controlled positioning. The developer has confirmed they'll add an option to reduce or disable the cinematic frequency. Until then, use the manual dive for slow-motion rather than relying on Bullet Trick triggers.
Do bosses appear in Conquest mode? Not as scripted campaign encounters. Conquest places Killer Bean on a procedurally generated island controlled by factions, and the enemy roster there does not include named story bosses. Mini-bosses and heavy-class enemies appear in Conquest, but the five campaign bosses are exclusive to the Campaign mode missions.
Was this guide helpful?
About the author

Games Critic
Games writer and reluctant optimist who has reviewed over 400 titles across 9 years. Irish, currently in Berlin. Has strong opinions about tutorial design.
- 400+ games reviewed across 9 years
- Platformer and horror specialist
- Narrative design focus


Disclaimer
This article is published for informational and entertainment purposes. It does not constitute professional financial, legal, or technical advice. Game performance, online services, patch schedules, and store listings change. Verify critical details (pricing, system requirements, regional availability) with publishers and storefronts before you buy. Affiliate links, where present, help support our editorial work and are labelled in our affiliate disclosure.