GameBrief · General
Lost Castle 2 Boss Guide: All 12 Bosses & How to Beat Them

Reviewing
Lost Castle 2
This Lost Castle 2 boss guide covers all 12 bosses in the order you meet them, from the Goblin Champion in the first forest to the demon waiting behind Steward in the Black Castle. Each entry gives you the tactic that actually wins the fight, sourced from full-clear walkthroughs of the 1.0 build, so you know what is coming before the arena gate slams shut.
TL;DR: Lost Castle 2 has 12 bosses across 5 areas: 3 in the Black Forest, 3 in the Abandoned Village cemetery (including the Eugene and Bobby duo), 3 in Crystal Mountain, the Wandering Knight on the bridge, then Steward and the final demon back-to-back in the Black Castle. Most fights reward attacking during rest windows and punishing greed kills runs. Thunder Sprite is the dodge check, Steward's ultimate cannot be dodged, and ranged weapons trivialize the Wandering Knight.
How many bosses are in Lost Castle 2? (quick answer)
Twelve on the core story path, spread across five areas. Black Forest: Goblin Champion, Mad Gardener, Forest Guardian. Abandoned Village: The Last Guardian, Mutated Priest, and the duo Eugene and Bobby. Crystal Mountain: Crystal Devourer, Behemoth, Thunder Sprite. Black Castle Bridge: the Wandering Knight. Black Castle: Steward the Demon Sealer, then the final demon immediately after. Official 1.0 patch notes name additional bosses (Lord Alfred, The Deceitful Chaos God, Frost Colossus) tied to later content and Nightmare difficulty that aren't part of this 12-boss story-path count.
Key Takeaways
- 12 bosses total across 5 areas, ending with a back-to-back Steward + demon finale
- Almost every boss has a rest window: that is your damage phase, not mid-combo
- Eugene and Bobby is the one 2-on-1 fight; kill Eugene first, from behind
- Thunder Sprite is the run-killer: crystals break its shield, then it is a pure dodge check
- Steward's ultimate cannot be dodged; break his sequence or eat it at full health
- Bring a bow for the Wandering Knight; melee makes that fight far harder than it needs to be
BETTER PRICE: Lost Castle 2 is $17.99 on Steam (no active discount). $8.39 on Loaded → (sponsored): same Steam key, a meaningfully better price.
All 12 bosses at a glance
| # | Boss | Area | The fight in one line |
|---|---|---|---|
| 1 | Goblin Champion | Black Forest | Dodge thumps and leaps, punish the recovery |
| 2 | Mad Gardener | Black Forest | Avoid scissor charges, burst during wilting rests |
| 3 | Forest Guardian | Black Forest | Bombs early, destroy poison bulbs at half health |
| 4 | The Last Guardian | Abandoned Village | Punish the gap between charge and whirlwind |
| 5 | Mutated Priest | Abandoned Village | Focus the left hand, throw the red explosives |
| 6 | Eugene & Bobby | Abandoned Village | The duo: kill Eugene first, from behind |
| 7 | Crystal Devourer | Crystal Mountain | Hit-and-run on the tail, respect the lightning |
| 8 | Behemoth | Crystal Mountain | Throw crystal orbs and stones at the weak point |
| 9 | Thunder Sprite | Crystal Mountain | Crystals break the shield, then pure dodge check |
| 10 | Wandering Knight | Black Castle Bridge | Bring a bow, dodge wide on horseback charges |
| 11 | Steward the Demon Sealer | Black Castle | Stay behind him; the ultimate cannot be dodged |
| 12 | Final demon | Black Castle | Head only, after attack sequences end |
Black Forest bosses
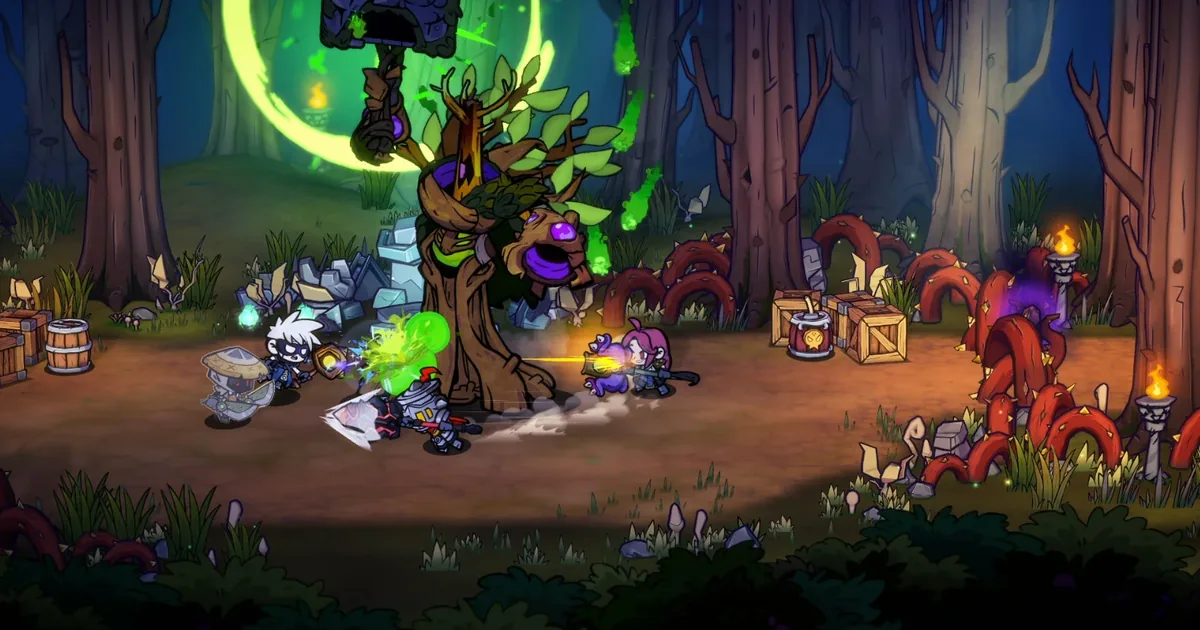
Goblin Champion. The tutorial boss in practice. He thumps the ground and leaps at you, and both moves leave him stalled for a beat afterward. Dodge the thump shockwave, sidestep the jump, and strike during those brief recovery windows. If you learn one habit here, make it "damage after the move, never during."
Mad Gardener. Scissor charges across the arena are the threat. Stay off his line, attack from behind, and save your burst for his wilting rest periods, when he stops to droop and is fully punishable. Chasing him mid-charge is how you trade health for nothing.
Forest Guardian. The first fight with a phase change. Bombs and charge attacks do the heavy lifting early, then at half health it sprouts poison bulbs: destroy them immediately or the arena fills with damage zones, and keep moving to avoid the roots it summons. Bulbs first, boss second.
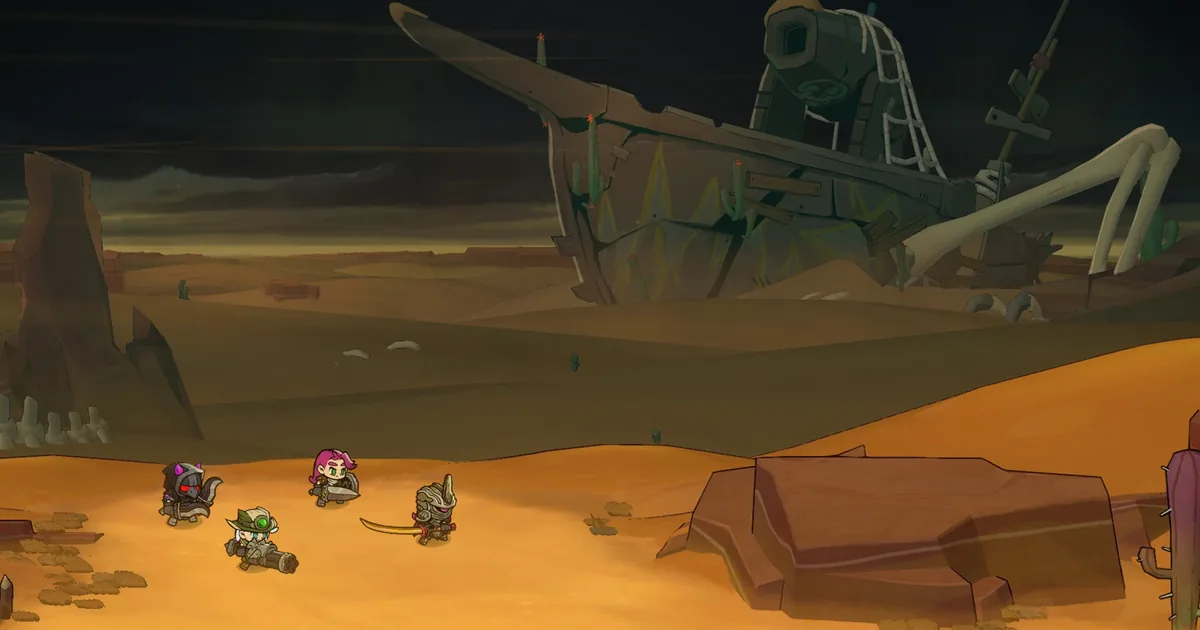
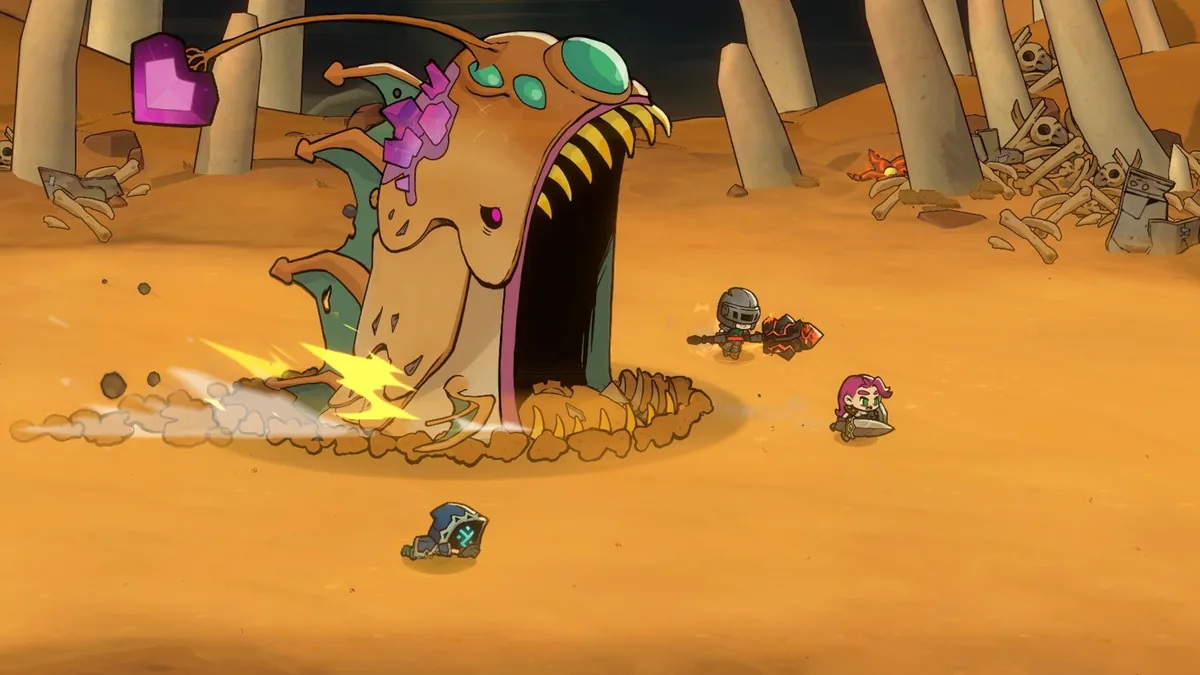 Not every Lost Castle 2 boss is in this guide's core 12. This desert-dwelling lure worm is one of several encounters tied to areas and difficulties beyond the main story path.
Abandoned Village bosses
The village's ruined cemetery hosts the game's mid-tier wall, including its only duo fight.
The Last Guardian. Sword swings and charges in sequences. The opening you want is between the end of a charge and the start of his whirlwind: that gap is your reliable damage window. Everything else is dodge discipline.
Mutated Priest. Focus the left hand, which is the actual target. The arena drops red explosives: pick them up and throw them at him for big chunks of damage, and clear the minions he summons before they overwhelm you. This fight rewards arena awareness over raw aggression.
"Alchemist" Eugene and "Mad Dog" Bobby. The 2-on-1. Kill Eugene first, attacking from behind while Bobby is distracted, because when Bobby transforms he starts throwing fire trails that cut the arena into slices. One target throwing fire is manageable; two targets with alchemy support is not.
GODEEPER: The right weapon category makes half these fights easier before they start. Lost Castle 2 Weapons Tier List →
Crystal Mountain bosses
Crystal Devourer. The tail is the weak point. Hit-and-run is the whole strategy: dart in, hit the tail, dart out before the lightning circles bloom and the stomps land. Extended melee commitments get punished hard here.
Behemoth. An arena-mechanics fight. Pink crystal orbs and blue stones spawn around the edges: throw them at his weak point, dodge the falling rocks he triggers, and lay on damage during his rest periods. Your own weapon matters less than your throwing arm.
Thunder Sprite. The hardest boss for most players. Its shield is invulnerable until you grab the diamond crystals around the arena to break it, and while you chase crystals it saturates the floor with glowing blue circles and lightning strikes, every one of which must be dodged. Break the shield, take your short damage window, and reset. Patience clears it; greed during the lightning phases is what actually kills runs.
Black Castle Bridge and the Black Castle
Wandering Knight. A horseback duelist on the bridge, and the clearest weapon check in the game: ranged weapons, ideally a bow, turn this fight from brutal to routine. Dodge wide when he charges on horseback (a narrow sidestep still clips you), and throw bombs when he stalls. Melee-only builds should expect a long, ugly fight. Our Lost Castle 2 weapons tier list covers which bows earn the slot.
Steward the Demon Sealer. The gatekeeper of the finale. Stay behind him as much as the fight allows and save your damage for his rest periods. The one rule that matters: his ultimate attack cannot be dodged. Either break his sequence with damage before it fires, or make sure you eat it at high health. Do not burn your healing early.
The final demon. Beating Steward triggers the true final boss immediately, so enter the Steward fight with reserves. The demon fights with its arms, lasers, lightning, and sweeping appendages, and the only safe damage is on the head after specific attack sequences end. Learn the rhythm: arms sweep, lasers rake, pause, punish. Beating it and saving Nia rolls credits on the main story.
Boss fights in co-op vs solo
The 12 fights change character depending on party size, and a few are dramatically easier or harder with friends.
Co-op makes the mechanics fights easier. Behemoth and the Mutated Priest both revolve around arena objects (crystal orbs, red explosives), and a second player turns them into an assembly line: one person feeds throwables while the other holds aggro. The Eugene and Bobby duo also flips in co-op, since you can split the targets instead of juggling both.
Co-op makes the dodge fights messier. Thunder Sprite's lightning saturation scales badly with bodies in the arena: four players means four sets of blue circles to track, and a downed teammate in the middle of a lightning phase is usually a lost revive. The same goes for the final demon's sweeping appendages, which clip whoever drifted out of position. In full groups, agree on revive priority before the Black Castle, because Steward into the demon leaves no breathing room between attempts.
Solo players should overweight survivability. With nobody to pick you up, the shield-and-block approach from the Single-Handed weapon line is worth keeping all the way to the bridge, then swapping toward burst for the finale. A solo Thunder Sprite clear is the skill gate of the whole game: if you can do that fight alone, nothing after it will stop you.
How to prepare for the boss ladder
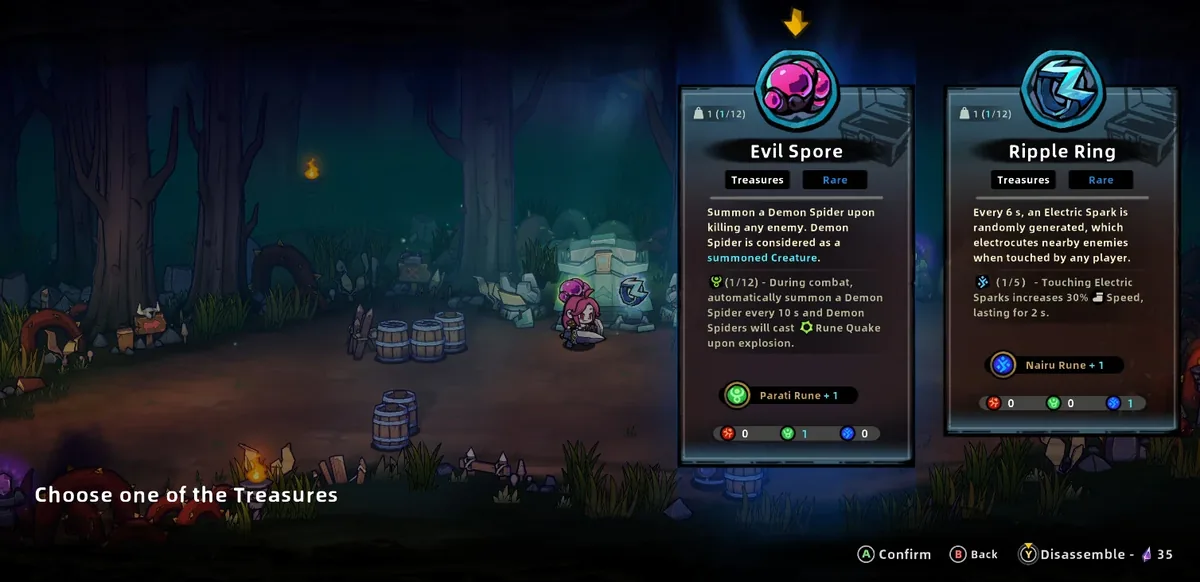 Treasure picks between fights decide your boss damage. Effects like Evil Spore's spider summons keep pressure on during your dodge phases.
Three preparation rules carry across all 12 fights. First, build for rest-window burst: almost every boss alternates pressure with a punishable pause, so weapons that frontload damage in short windows (Dual Blades especially) outperform slow drip damage. Second, keep a ranged option for the Wandering Knight and for Thunder Sprite's crystal phases; our Lost Castle 2 beginner guide covers setting Serena's preferences so one actually drops. Third, stock Alchemy Amulets with survival mixes before the Black Castle, because Steward into the demon is a double feature with no shop break.
GODEEPER: Rune and build choices decide how big your rest-window punishes hit. Lost Castle 2 Builds Guide →
The difficulty curve, area by area
Knowing the shape of the ladder helps you decide when a run is ready to push forward and when to bank progress instead. The Black Forest trio teaches the grammar: every fight there is "dodge the telegraph, hit the rest window," and dying to them just means the lesson has not landed yet. The Abandoned Village is the first real wall, mostly because the Mutated Priest and the duo fight add arena management on top of dodging, and a build that coasted through the forest on raw damage starts feeling thin here.
Crystal Mountain is where mechanics mastery decides everything: all three bosses gate their damage windows behind objects or shields, so a run with poor mobility or no ranged option should farm and re-gear rather than push. The bridge is a pure build check, and the Black Castle is an endurance exam, two bosses deep with no shop between them. If your run reaches Steward with thin healing and no burst, the honest play is often to treat it as a scouting trip.
Related Reading
- Lost Castle 2 Weapons Tier List: which categories and standout weapons carry the boss ladder.
- Lost Castle 2 Beginner Guide: Serena's chest odds and the survivable first build.
- Lost Castle 2 Builds Guide: rune theory for bigger damage windows.
- Lost Castle 2 Review: whether the 1.0 build earns your time.
Frequently Asked Questions
How many bosses are in Lost Castle 2? Twelve on the core story path across five areas, ending with Steward and the final demon back-to-back. Additional named bosses tied to later content and Nightmare difficulty exist beyond this count.
Who is the final boss? A demon that appears right after Steward falls; attack the head after its sequences, and saving Nia ends the story.
How do you beat Steward? Stay behind him, punish rest periods, and remember his ultimate cannot be dodged.
How do you beat the Thunder Sprite? Grab diamond crystals to break the shield, dodge every blue circle and lightning strike, punish briefly.
What is the hardest boss? Thunder Sprite for most players; the Wandering Knight if you have no ranged weapon.
Is there a duo fight? Yes: Eugene and Bobby in the Abandoned Village. Eugene dies first, from behind.
References
Was this guide helpful?
About the author

Senior Critic & Analyst
Former game data analyst turned critic with 11 years covering indie and mid-tier games. Based in Austin. Runs spreadsheets on games most people just play.
- 11 years games criticism
- Former game economy analyst
- Roguelike and strategy specialist
Keep reading

Disclaimer
This article is published for informational and entertainment purposes. It does not constitute professional financial, legal, or technical advice. Game performance, online services, patch schedules, and store listings change. Verify critical details (pricing, system requirements, regional availability) with publishers and storefronts before you buy. Affiliate links, where present, help support our editorial work and are labelled in our affiliate disclosure.