
Tag
Game Guides
477 posts with this tag.
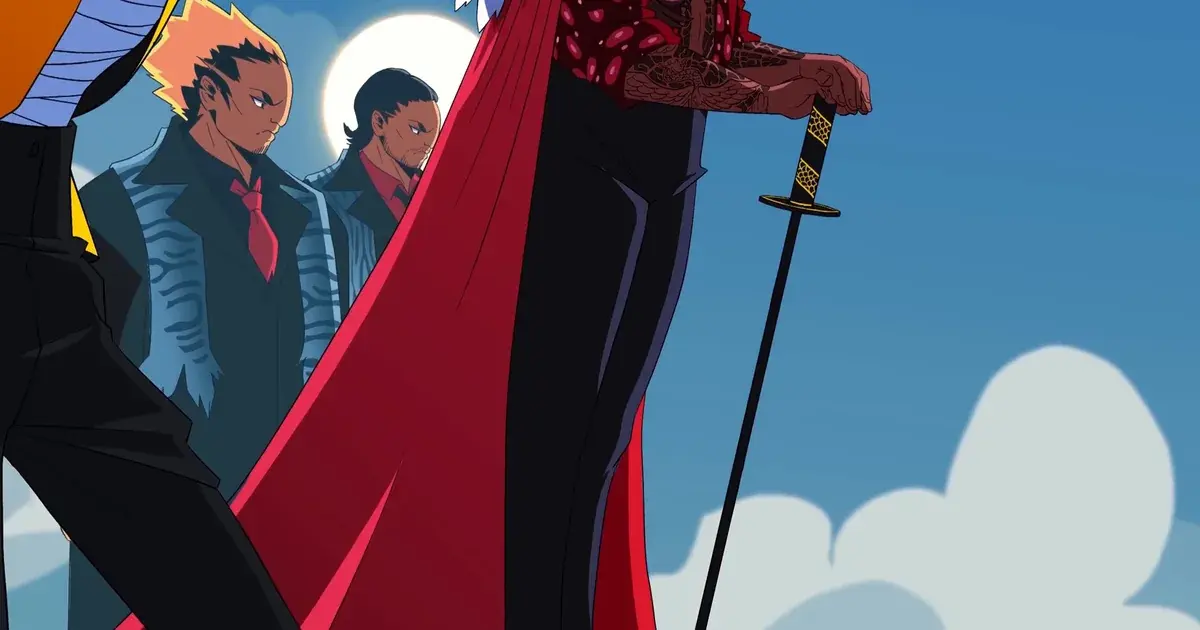
GuideDenshattack!
Denshattack Boss Guide: All 9 Chapter Bosses Explained
Denshattack boss guide: all 9 chapter bosses, their gangs, and fight gimmicks, from Yoshie's Dashing Queens to the final VACTRAIN showdown against Molty.
By Finn Calloway10 min read
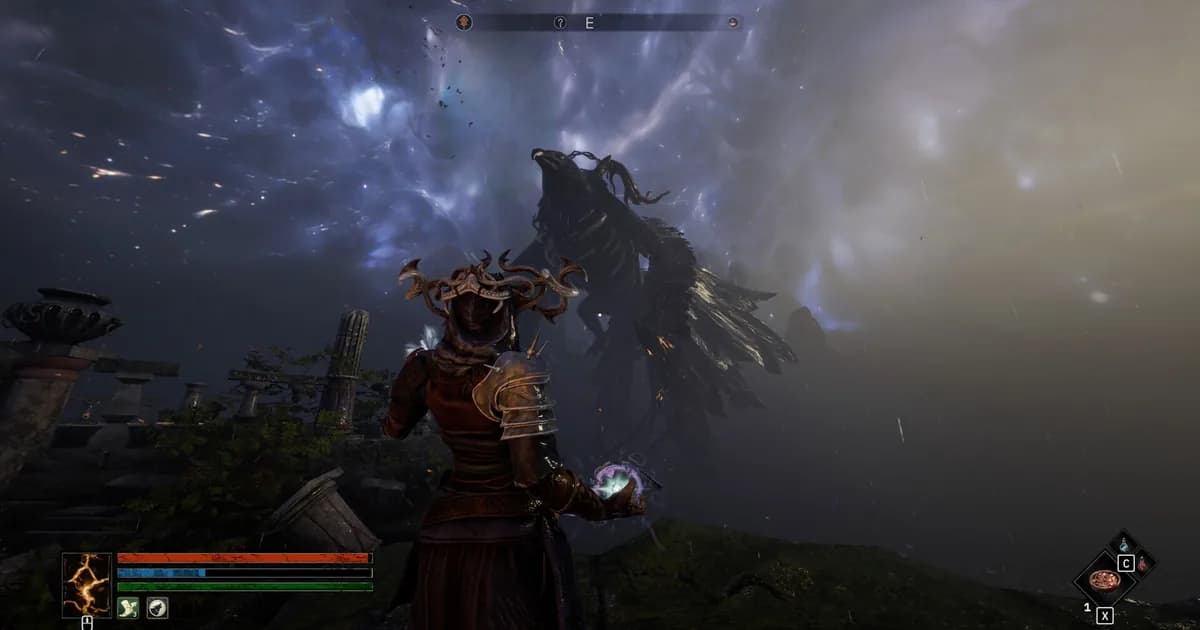
GuideTainted Grail Fall of Avalon
Tainted Grail Summoner Build: Spirituality Minion Guide
Tainted Grail summoner build guide: stat priority, which summons to run, and the one skill that makes minion builds sustainable in longer fights.
By Priya Nair11 min read
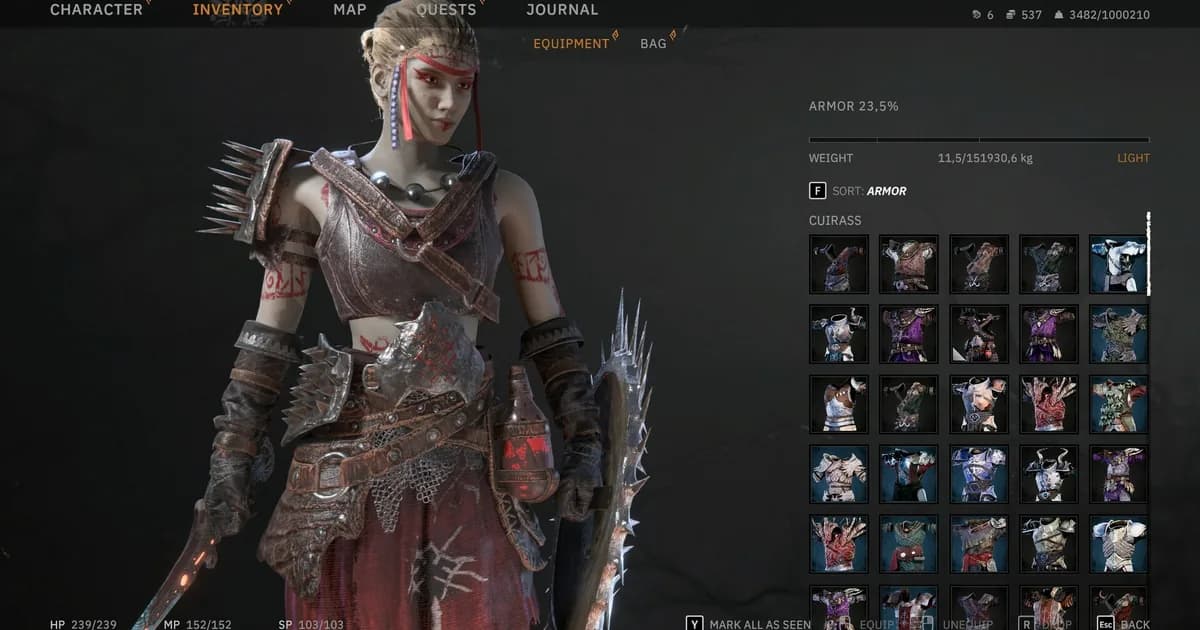
GuideTainted Grail Fall of Avalon
Tainted Grail Best Gear: Patch 1.30 Weapons and Armor
Tainted Grail best gear for patch 1.30: the crit axe we'd take first, Big Bonk and Giant's Sword done right, the new fist weapons, and caster sets.
By Finn Calloway12 min read

GuideFar Far West
Far Far West Jokers Tier List: All 149 Cards Ranked
Far Far West Jokers tier list: 149 cards across six rarity tiers, with Legendary, Unique, and Frostburn picks ranked for current builds and triggers.
By Finn Calloway14 min read
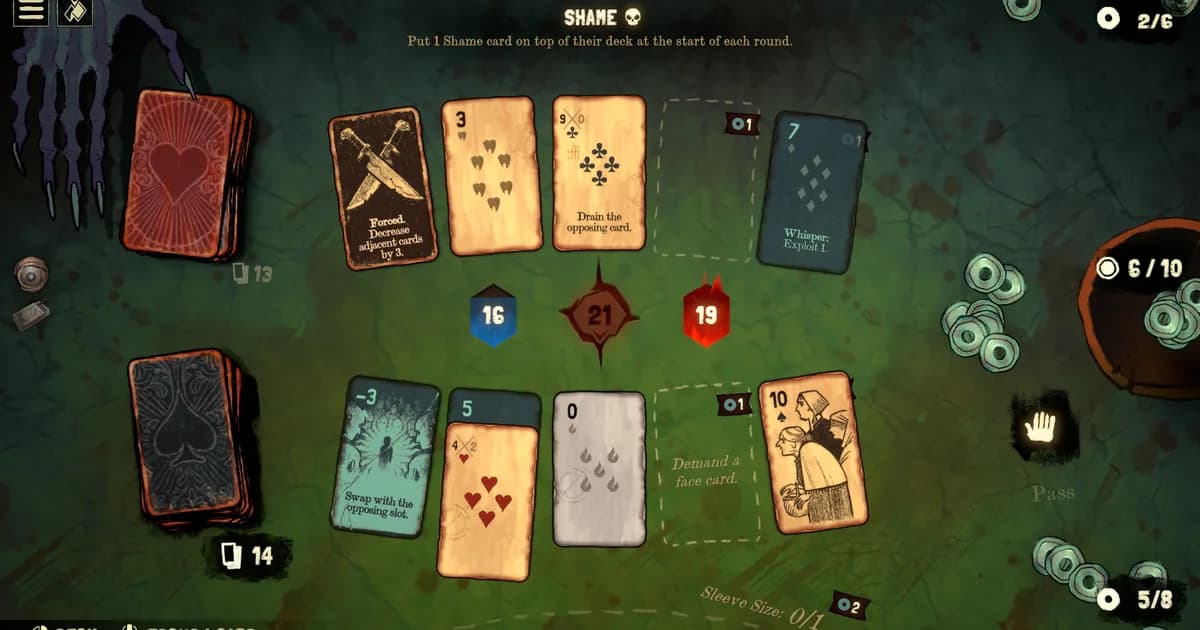
GuideBlack Jacket
Black Jacket Achievements: All 42, Ranked by Rarity
Black Jacket achievements guide: all 42 listed with live global completion rates. The rarest, Journey 21's final boss clear, sits at just 1.6%.
By Priya Nair9 min read
GuideBlood West
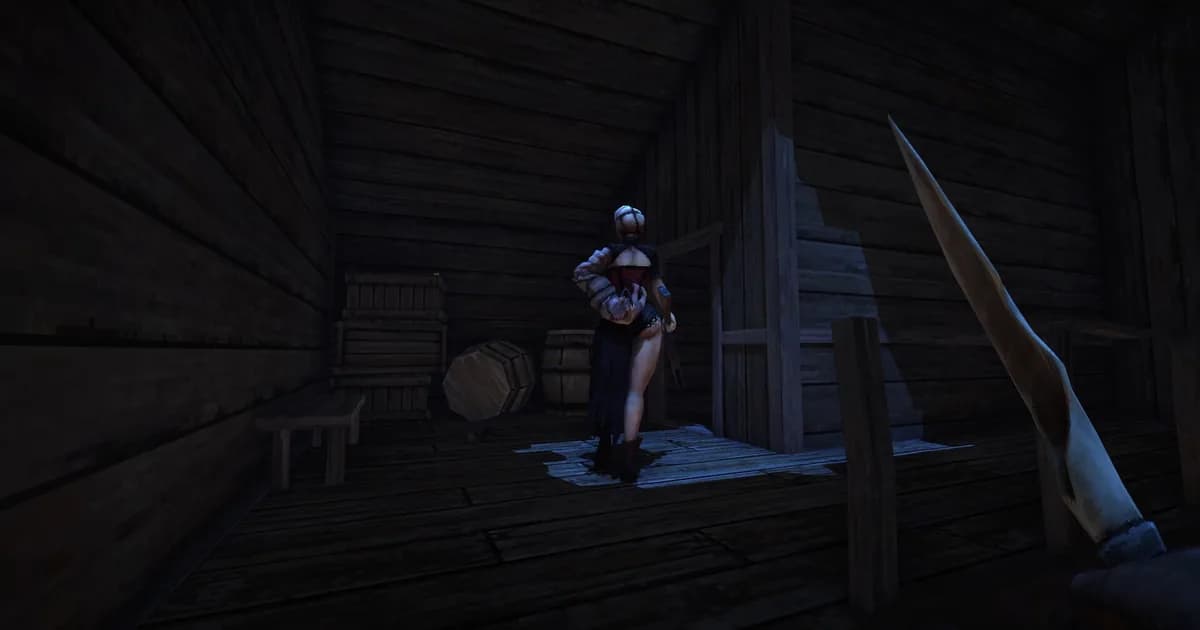
Blood West Weapons Tier List: Best in Every Category
Blood West weapons tier list ranks the best melee, bow, revolver, shotgun, and rifle picks across 50+ named weapons, base game and Scavengers DLC.
By Marcus Vasquez9 min read
GuideLost Castle 2
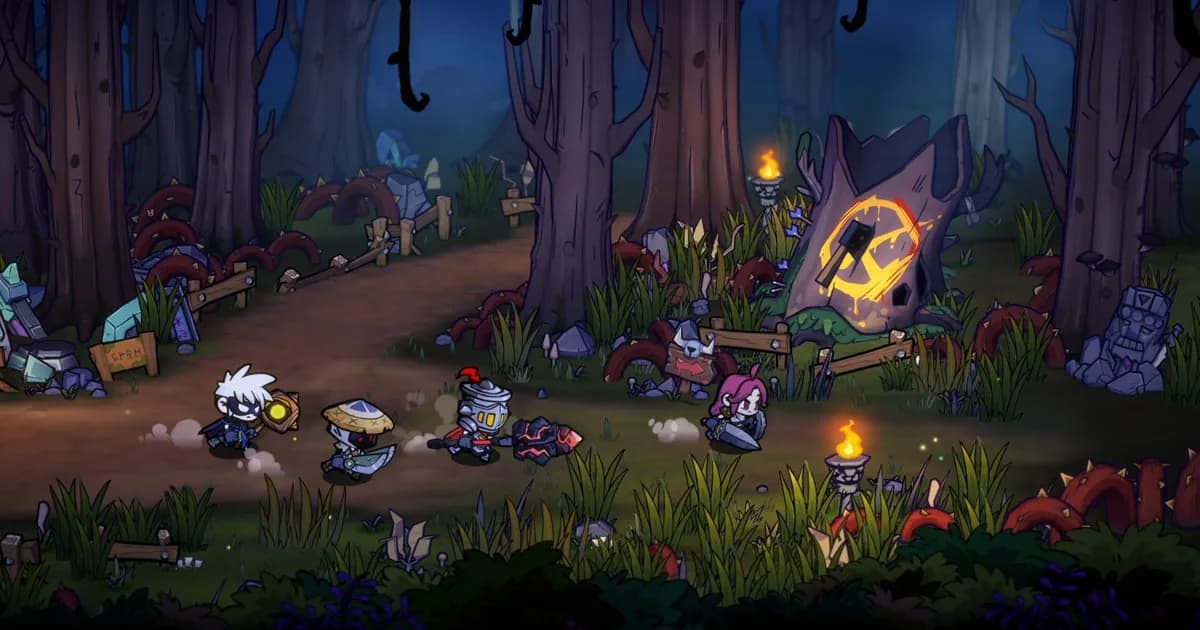
Lost Castle 2 Co-op Guide: All 4 Player Modes Explained
Lost Castle 2 co-op guide: up to 4 players, confirmed directly by Hunter Studio. Online, split-screen, and Remote Play Together, plus real team tips.
By Finn Calloway8 min read

GuideValheim
Valheim Bosses in Order: All 8 and How to Summon Each
Valheim bosses in 1.0: all 8 in order, with the summon item for each one, where to farm it, and the one weakness that ends every fight faster.
By Marcus Vasquez13 min read
GuideArknights Endfield
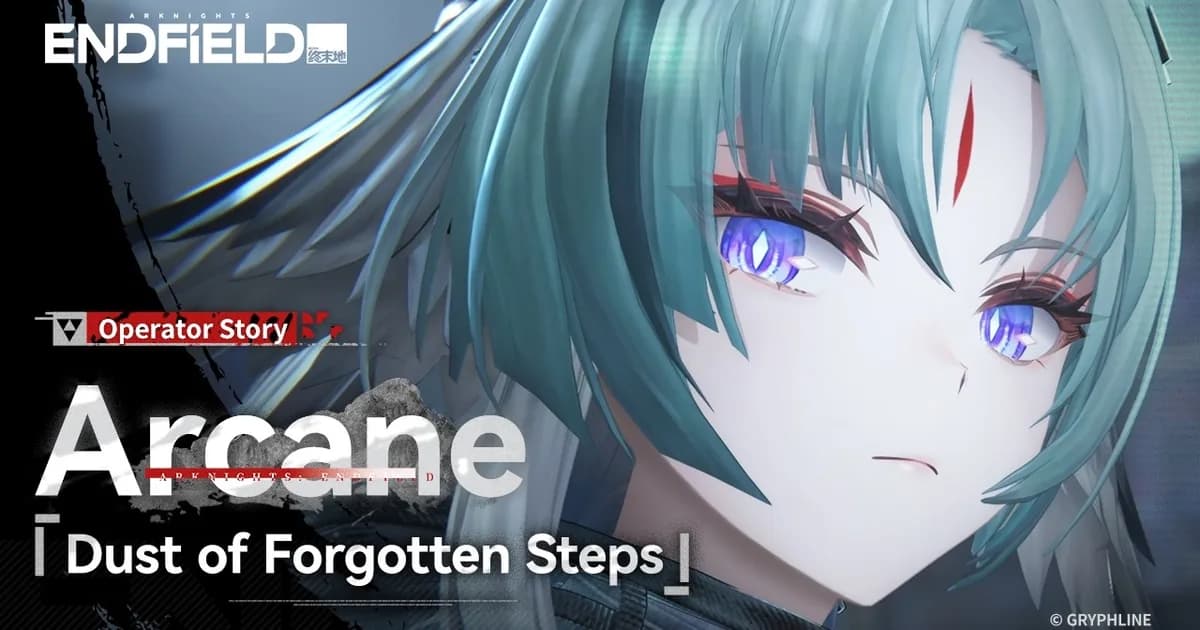
Arknights Endfield Tier List: Best Operators, 29 Total
Arknights Endfield tier list: Arcane leads a 29-operator roster after the July 16 Homecoming patch. Team synergy, not raw stats, decides who actually wins.
By Zara Chen8 min read

GuideTask Bar Hero
Task Bar Hero Tier List: All 6 Classes Ranked 2026
Task Bar Hero tier list: Priest and Ranger top, both free. All 6 class prices, live Mixed review score, and the Steam Market saga most guides skip.
By Marcus Vasquez9 min read
GuideSlay the Spire 2
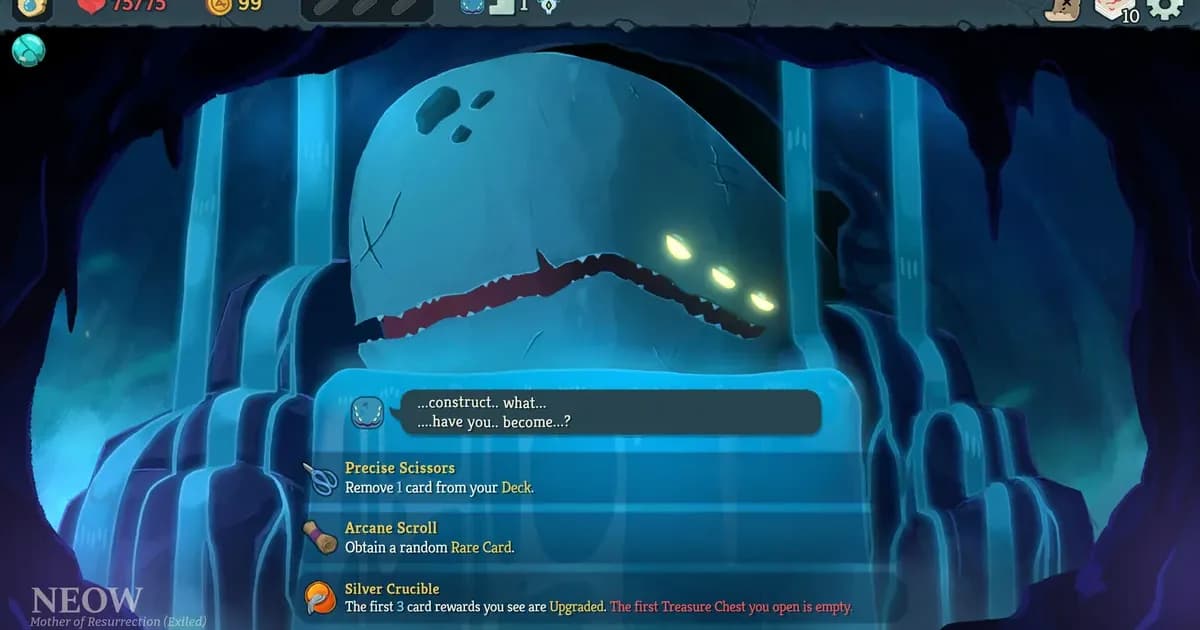
Slay the Spire 2 Beginner Guide: All 10 Ascension Levels
Slay the Spire 2 beginner guide: Ascension tops out at 10 levels, not 20 like the original. What each modifier does, plus the mistakes new runs die to.
By Marcus Vasquez11 min read
GuideDark Scrolls
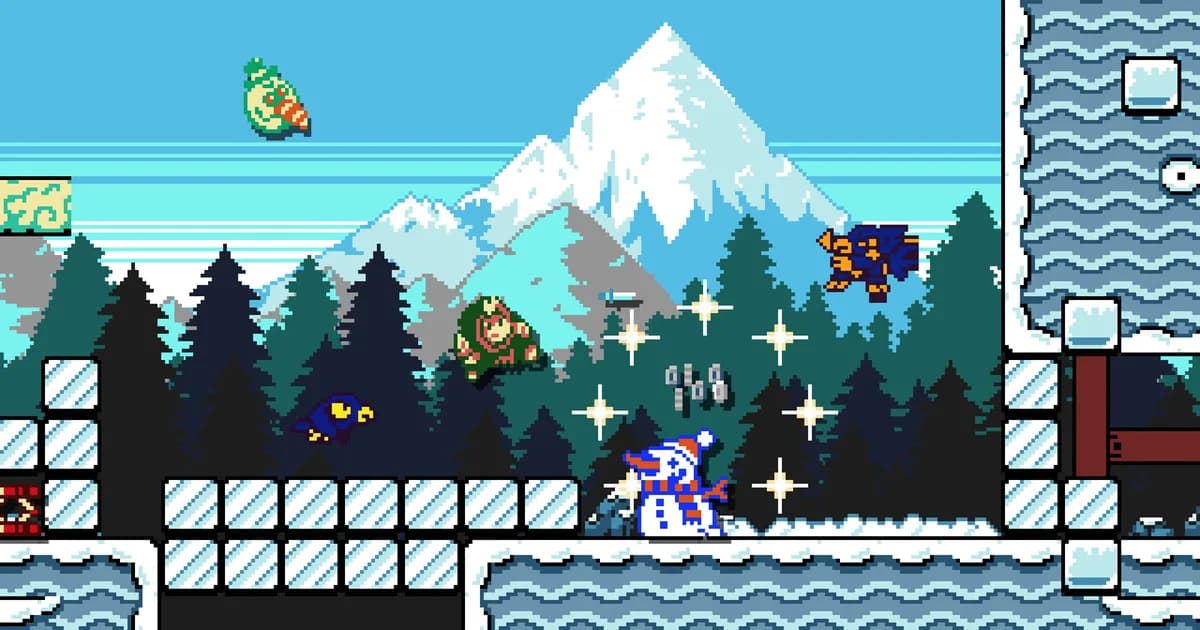
Dark Scrolls Unlock Heroes Guide: All 9 Characters
Dark Scrolls unlock heroes guide: exact official triggers for Biscuit, Quinn, Confit, Ironbeard, Saturn, Nezumi, and the three default heroes.
By Marcus Vasquez8 min read