
GuideTainted Grail Fall of Avalon
Tainted Grail Best Gear: Patch 1.30 Weapons and Armor
Gear in Tainted Grail is a trigger, not a number: pick the item whose effect your build fires every fight.
VerdictMelee: Ravencrest Executioner first. Casters: Spellslinger's Jacket plus Waning Moon. Fists: Unburdened Hands until the T5 wraps.
Tainted Grail best gear comes down to one question: which item effect will your build trigger in every fight? For a melee run our answer is Ravencrest Executioner as soon as you can carry it, because every hit on a full-health enemy is a crit. Casters should wear Spellslinger's Jacket with the Amulet of the Waning Moon, archers should build the Scalesong set, and since patch 1.30 a fist build has real weapons, with Unburdened Hands carrying you until the three top-tier wraps.
Sponsored

About the game
Tainted Grail: The Fall of Avalon
Questline
Updated 2026-10-15: Giant's Sword restores 60 Stamina on a killing blow (it does not double strong-attack damage), Big Bonk's heavy-attack shockwave is real, the patch 1.30 fist weapons and jewelry now have their effects listed, and the Autumn Sale price is gone.
Sponsored

Our picks by build
| Build | Pick | Effect | Where to get it |
|---|---|---|---|
| Melee crit, Act 1 | Ravencrest Executioner (one-handed axe) | Attacks against targets at full Health are always Critical; ignores enemy blocks | Drop from Bromhar No Face, Horns of the South |
| Melee crit, Act 2 | Shadowfang Reaver (axe) | Critical Hits deal an extra 200% Damage | Act 2 |
| Two-handed, crowds | Big Bonk (hammer) | Heavy Attacks send a shockwave for 50% weapon Damage around the impact | Dig spot near the Wyrmtoe The Wise Statue |
| Two-handed, stamina | Giant's Sword | Restores 60 Stamina on a killing blow | Drop from Senán The Giant, Abandoned Village |
| Unarmed | Unburdened Hands, then a T5 wrap | Full Stamina on a kill or a parry | Added in patch 1.30 (Fists of Fury) |
| Caster | Spellslinger's Jacket + Amulet of the Waning Moon | Spell Power; Spell Power, Critical Damage and Max Mana | Bandit camp chest, Horns of the South |
| Archer | Scalesong set + Orchard Warden | Ranged Damage from Armor; +50% Damage under 3m | Blacksmiths, Wyrdnight loot |
| Bleed mage | Dolorous Pilgrim set + Applewood Wand | Bleed on attacks and spending; Spell Power per Bleed stack | Blacksmiths, Wyrdnight loot |
| Everyone | True All-Mother's Mercy Amulet | Survive one fatal hit at full Health; +35 Max Health | Offer three All-Mother's Mercy Amulets |
BESTPRICE: Want Tainted Grail: The Fall of Avalon? These stores list it: Buy on Eneba → Buy on Gameseal → Buy on Kinguin →
Melee: the crit axe first, the hammer for crowds
Ravencrest Executioner is a one-handed axe, not a sword, whatever older lists say. The community wiki's item table gives it two lines: attacks against full-health targets are always Critical, and it ignores enemy blocks. That makes it an opener weapon. The first swing on every fresh enemy crits, and a shield-holder can't turtle against it. It needs 10 Strength, 3 Perception and 4 Endurance, and it drops from Bromhar No Face in the Horns of the South. We'd take it into any crit build, and our Tainted Grail crit build guide covers the Perception side.
Shadowfang Reaver is the Act 2 step up: its Critical Hits deal an additional 200% Damage, for 13 Strength and 3 Perception. Answering a player who asked whether to upgrade Act 1 gear, one r/taintedgrail commenter put it on a short list: "Shadowfang Reaver Axe (bought), Shard of the Fallen Sky sword (free once you get there!), Star Catcher warpick (bought)." The thread is worth a read before you spend upgrade ore on Act 1 gear.
Big Bonk earns its silly name. Earlier versions of this guide called its area shockwave invented; it isn't. The wiki lists "Heavy Attacks create a powerful shockwave that deals 50% weapon Damage around the point of impact." It's a very heavy two-handed hammer for 12 Strength, dug up near the Wyrmtoe The Wise Statue in the Horns of the South. Take it if your fights are packs of weaker enemies and you already swing heavy. Skip it if you play parry-and-poke.
Giant's Sword is a stamina weapon, not a damage one: it "Restores 60 Stamina when delivering a killing blow." Senán The Giant drops it in the Abandoned Village, and it only needs 8 Strength. It's good when you're clearing trash and chaining kills. Against a boss you'll land one killing blow per fight, so it does next to nothing there.
Screenshot: Steam store page
Fists of Fury: the patch 1.30 unarmed weapons
Patch 1.30 shipped on October 1 with the free Fists of Fury DLC, and Questline's notes give the whole category one rule: "attacks made with a Fistfighting weapon still count as Unarmed attacks." Every unarmed bonus from gear and talents keeps working while you wear them. The tiers come from the wiki's weapon table.
| Weapon | Effect (patch 1.30 notes) | Tier |
|---|---|---|
| Brawler's Gloves | The starting point, no special effect | T1 |
| Unburdened Hands | Killing an enemy restores full Stamina, and so does a successful parry | T2 |
| Unbroken Motion | Each consecutive hit adds 2% Critical Hit chance, up to 50% | T3 |
| Patient Grasp | Physical attacks regenerate 20% of damage dealt as Stamina | T4 |
| Bitter Lesson | Hits apply Poison; each Poisoned enemy within 15m adds 10% Melee Retaliation | T5 |
| Still Touch | Hits apply Chill; each Frozen enemy within 15m adds 10% Melee Critical Chance | T5 |
| Charred Discipline | Hits apply Burn; each Burning enemy within 15m adds 1% Lifesteal | T5 |
Our call: Unburdened Hands is the pair we'd wear the longest, because a full Stamina refill on every kill and every parry is what keeps a fist build dodging. At the top tier, pick by the status your build already spreads. Charred Discipline goes with fire, Still Touch with frost. One caution: the wiki's current tooltips differ from the notes on several of these (it lists Charred Discipline as +5% Critical Damage per burning enemy, and Bitter Lesson as +10% Unarmed Damage), so read the in-game tooltip before you pour upgrades into one.
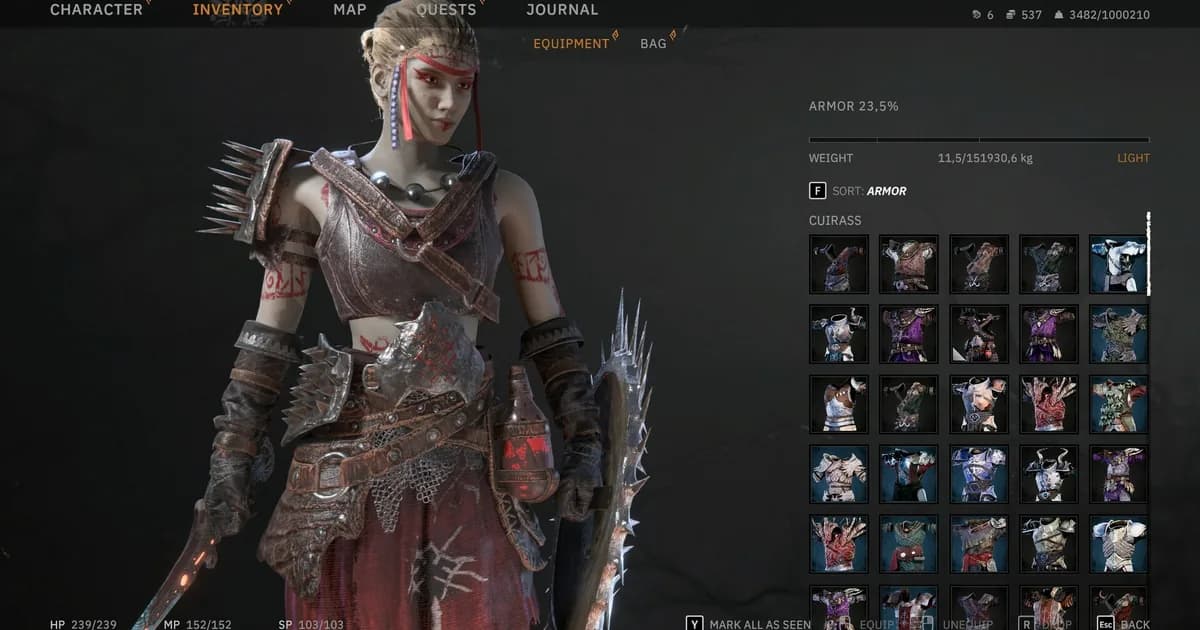
The armor is the Hermit's Garb in seven variants "from Ivory up to Onyx," plus Hermit's Arm Bindings and Hermit's Leg Bindings (attack speed, dash economy, a chance to restore health on hit) and the Headband of the First Disciple, which pays off below 10% health. The six new jewelry pieces have names on the wiki now:
- Flowing Motion Ring: lets you Dash while Overexerted. Questline says it "quietly fixes the biggest weakness of the playstyle", and we'd equip it first.
- Quickstep Ring: a dodge with a Dash gives +20% Attack Speed for 3 seconds.
- Bare Hand Ring: +15% Unarmed Damage and +10% Attack Speed, the plain pick.
- Unarmed Truth Amulet: +10% Melee Critical Chance and +5% Critical Damage while unarmed. It's the one for crit fists.
- Bruised Knuckle Amulet: +50% Unarmed Damage, but you take 25% more damage. Only wear it if you rarely get hit.
- Open Palm Amulet: halves the first hit you take while Knocked Down or Overexerted. It's the defensive slot.
The official trailer is under two minutes, and the gear shows up near the end. At 1:18 it holds on the new Strength tree with the Untouchable Motion tooltip open: while unarmed, 10% less incoming damage for 2 seconds after Dashing. A monk's outfit then cycles through its color variants, and at 1:22 the Open Palm Amulet card fills the screen, followed by the Quickstep Ring a second later. For the questline itself, see our Fists of Fury update guide.
GODEEPER: Stat priorities and perk order for the main archetypes, so the gear above has a build to sit in. Tainted Grail best builds guide →
Caster gear: Spellslinger's Jacket and Waning Moon
Spellslinger's Jacket is light armor from the Spellslinger's Set. It needs 6 Spirituality, and the wiki lists Spell Power 30% that rises with each upgrade level. You can find one in a chest in a small bandit camp between the Abandoned Stronghold and the Abandoned Village (Horns of the South), or on a body near Theud Village in the Forlorn Swords. Light armor matters for a caster beyond the stat line. In a thread about armor weight, one player summed it up: "Mages want light armor for better mana regen and also the perks that add movement speed to spell power" (r/taintedgrail).
Amulet of the Waning Moon is the caster amulet we'd wear from Act 1: +10% Spell Power, +10% Critical Damage and +10% Max Mana. For a summoner the Max Mana line counts double, since summons hold a slice of your mana pool while they're alive. See the Tainted Grail summoner build guide.
Screenshot: Steam store page
Archer and bleed mage: the patch 1.25 sets
Patch 1.25 (Bonus Content #4, July 20) added two armor sets, seven bows and five wands. Questline says every new weapon "can be purchased from blacksmiths and can be found during Wyrdnight, as unidentified loot."
Scalesong is for an archer who stands in the scrum in heavy armor. The Helm adds Ranged Damage equal to 50% of your Armor value, the Cuirass cuts incoming damage by 40% while you aim, the Bracers add 30% Ranged Damage for each enemy within 6m, and the Legguards add 40% draw speed at Heavy Equipment Load. Pair it with Orchard Warden (+50% Damage when the enemy is under 3m away), which wants exactly the same fight. Skip the whole set if you like to kite from range in light armor.
Dolorous Pilgrim is a bleed mage that hurts itself on purpose. While you bleed, the Vestments make all your attacks apply Bleed, every 100 Mana you spend bleeds you and the enemies near you, and the Boots double bleeding damage. Applewood Wand (+2% Spell Power per Bleed stack on nearby enemies) is the natural partner. We'd also carry The Wicker Bride, which heals you for 2% of the Mana you spend and adds 15% Spell Power, because that set's main threat is your own health bar.
Safety net: the True All-Mother's Mercy Amulet
This one belongs in every build's bag. Fatal damage leaves you at 100% Health instead of killing you, the amulet is destroyed, and you keep +35 Max Health. The wiki lists three ways to get one: offer three ordinary All-Mother's Mercy Amulets at a bowl in the All-Mother's Temple, open a chest in a coffin in the Corrupted Temple Ruins (Cuanacht), or offer the Confession of Perceval at an All-Mother Statue. Don't mix it up with the ordinary shrine amulet. On Reddit, one player wrote "its 35 - which at the end of Act 1 is still a good amount in my opinion and well worth it" (thread).
GODEEPER: Which bosses punish which builds, and where a one-time revive buys you the most. Tainted Grail boss guide →
Mistakes we'd avoid
- Replacing gear just because it's newer. Named Act 1 pieces hold up longer than you'd think. "Pretty much any act 1 can stay relevant till the end," one player wrote, and another added that "one upgrade to this set makes up the difference" in base armor.
- Trusting old effect text. Giant's Sword and Big Bonk both circulated with the wrong effect. The tooltip wins over any list, including this one after a patch.
- Wearing Bruised Knuckle without a defensive answer. Taking 25% more damage on a build that eats hits is a net loss.
- Mixing set pieces for the name. Scalesong wants heavy armor and short range, and Dolorous Pilgrim wants you bleeding. Half a set usually means half the trigger.
If you're carrying a favorite piece into a second run, the Tainted Grail New Game Plus guide explains what scales.
How we checked this
Item effects, requirements and locations come from the community wiki (taintedgrail.wiki.gg item tables and item pages) and from Questline's patch 1.25 and 1.30 notes, all read on October 15, 2026. Where the two disagree, we give the notes and flag the difference. We watched the Fists of Fury trailer frame by frame for the timestamps above. Steam listed the game at $44.99 with no discount and Very Positive from 36,172 reviews on October 15. We haven't played these builds ourselves.
Related Reading
- Tainted Grail best builds guide
- Tainted Grail complete guide hub
- Tainted Grail crit build guide
- Tainted Grail summoner build guide
- Tainted Grail Fists of Fury update guide
- Tainted Grail boss guide
- Tainted Grail New Game Plus guide
- Tainted Grail zones and exploration guide
- Tainted Grail survival tips
References
- Free DLC Fists of Fury + Patch 1.30 (Steam announcement): fist weapons, Hermit's gear, jewelry groups.
- Free DLC Bonus Content #4 + Patch 1.25 (Steam announcement): Scalesong, Dolorous Pilgrim, bows and wands.
- Weapons table, Tainted Grail wiki: weapon effects, tiers and requirements.
- Jewelry table, Tainted Grail wiki: amulet and ring effects.
- Spellslinger's Jacket, Tainted Grail wiki: requirement, scaling and locations.
- True All-Mother's Mercy Amulet, Tainted Grail wiki: the three ways to get it.
- Fists of Fury trailer (Awaken Realms, YouTube)
- Tainted Grail: The Fall of Avalon on Steam
Was this guide helpful?
About the author

Action & Design Desk
GameBrief's byline for platformers, horror and action games. Dry, short paragraphs, strong opinions about tutorials and boss design.
- Action, platformers and horror
- Tutorials, onboarding, boss design
- Sources listed per article
Keep reading
Tainted Grail Summoner Build: Spirituality Minion Guide
General · 11 min

Tainted Grail Lore Guide: Arthurian World Explained
General · 8 min
Tainted Grail Survival Guide: Combat, Rest, and Threats
General · 8 min
Tainted Grail Regions Guide: The Real 5 Areas (2026)
General · 11 min
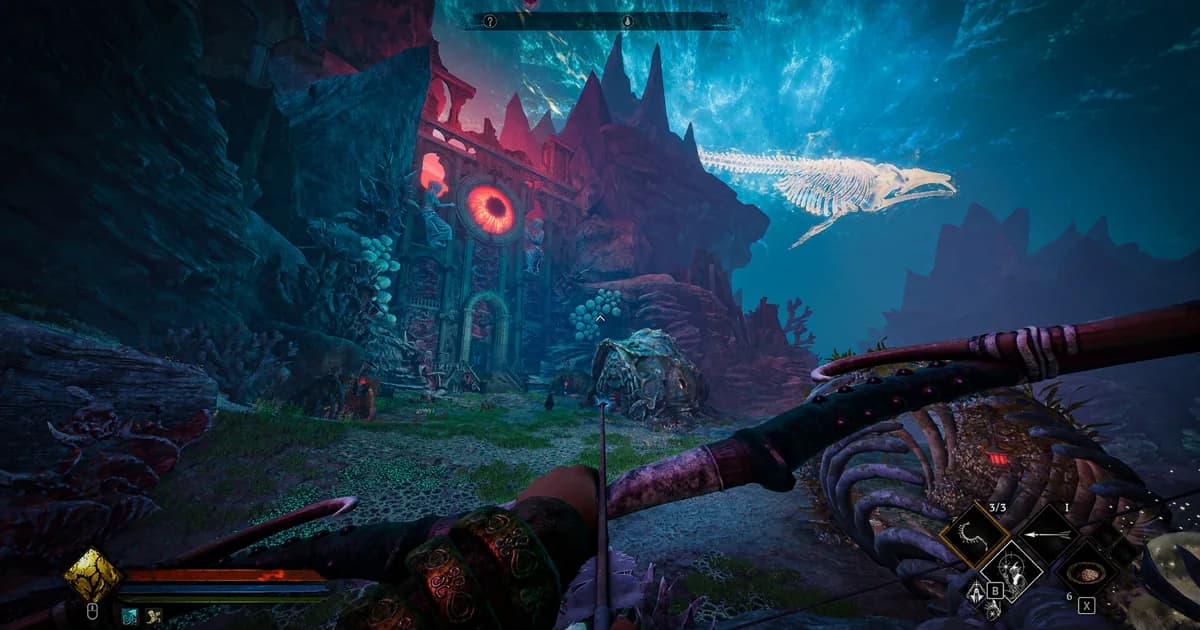
Tainted Grail Sanctuary of Sarras Guide: What's New
General · 10 min
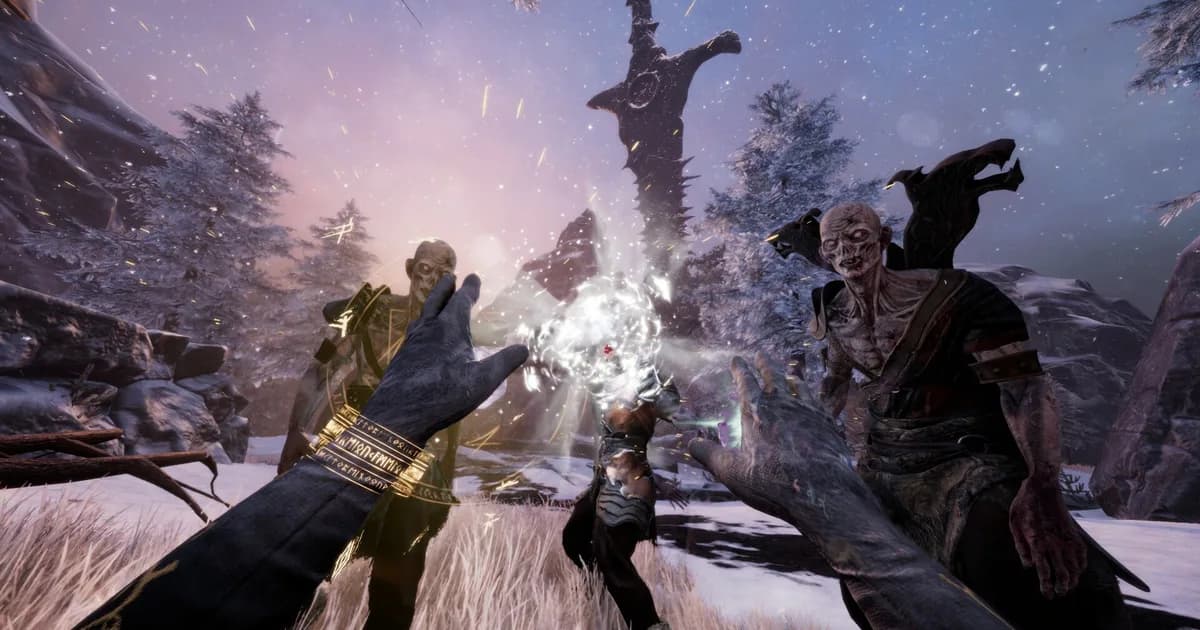
Tainted Grail Crit Build: Perception and Bleed 2026
General · 12 min
Sponsored
Disclaimer
This article is published for informational and entertainment purposes. It does not constitute professional financial, legal, or technical advice. Game performance, online services, patch schedules, and store listings change. Verify critical details (pricing, system requirements, regional availability) with publishers and storefronts before you buy. Affiliate links, where present, help support our editorial work and are labelled in our affiliate disclosure.
Comments
Loading comments…