
GameBrief · General
Tainted Grail Survival Guide: Combat, Rest, and Threats
Reviewing
Tainted Grail: Fall of Avalon
Questline · Awaken Realms
This Tainted Grail survival guide covers the specific threat mechanics that the general tips guide treats as short entries: stamina management is the full combat explanation, the Wyrdstalker is worth understanding in detail, and alchemy is your healing system. If you're newer to the game, start with the general tips guide first. For the full game overview, the Tainted Grail review covers the broader picture.
Tainted Grail: Fall of Avalon is a dark fantasy RPG set in corrupted Arthurian Britain. You survive the early game by learning combat basics. Later regions, Cuanacht and Forlorn Swords, require systems understanding, not just reflexes.
TL;DR: Stamina is your real HP bar in combat because it determines whether attacks hit your health. The Wyrdstalker is a serious nighttime threat; rest before dark. Alchemy provides your field healing. Later regions favor a magic or spellsword build because pure melee can struggle to keep stamina high enough against multi-hit enemies at higher difficulty.
Tainted Grail survival guide: what actually kills you (quick answer)
Three failure modes account for most deaths in Tainted Grail:
- Stamina depletion in multi-enemy fights: Shield blocking spends stamina. Two enemies attacking simultaneously can empty your stamina bar before you can disengage, turning every subsequent hit into direct health damage.
- The Wyrdstalker at night: This nighttime hunter is not a standard open-world enemy. It's a boss-level threat in the field. Players who wander at night without preparation die to it repeatedly.
- Under-leveled healing items: Alchemy consumables are your field healing. Later-region enemy damage exceeds what generic food healing can cover. Not investing in alchemy skill means your healing items don't scale with regional difficulty.
Key takeaways
- Stamina is both your attack resource and your blocking resource (zero stamina means all hits land)
- Multi-enemy fights are the primary death scenario: one enemy breaks your guard, others deal full damage
- The Wyrdstalker only appears at night; rest before dark or prepare for a boss-level fight
- Alchemy provides the only reliable field healing in the later regions
- Spell-blade and magic builds survive mid-game content better than pure melee
- Kiting enemies apart from groups is more efficient than blocking multiple simultaneously
Stamina as the combat survival system
Most RPGs have health as the survival metric. Tainted Grail's combat works differently: stamina is the system that determines whether your health takes damage at all.
Every attack costs stamina. Shield blocks cost stamina. Dodge rolls cost stamina. When your stamina reaches zero and you attempt to block, the block fails and the attack lands directly on your health.
The practical implication: enemies that drain stamina quickly are more dangerous than enemies that deal high damage but hit slowly. A fast-hitting low-damage enemy that empties your stamina bar in five seconds will then kill you with the sixth and seventh hits that you can't block. A high-damage enemy that swings slowly gives you time to recover stamina between each hit.
The multi-enemy problem: Solo enemies are manageable once you learn their stamina drain rate. Two or more enemies attacking simultaneously creates a situation where each block spends stamina, but the attacks come faster than stamina recovers. Players who move aggressively into groups in the early game and survive by mashing through them often die in later regions to the same behavior, because those enemies deal enough damage that the uncovered hits from stamina depletion become lethal.
How to manage stamina in fights:
- Disengage from melee contact periodically to let stamina recover rather than blocking every incoming hit
- Kite individual enemies out of groups before engaging; the game AI is trackable and enemies don't coordinate attacks with each other
- Spellsword and magic builds have access to damage-at-range options that reduce the amount of blocking required per fight
- Invest in stamina upgrades early; the pool size and recovery rate are the bottleneck before build choice for most early-game deaths
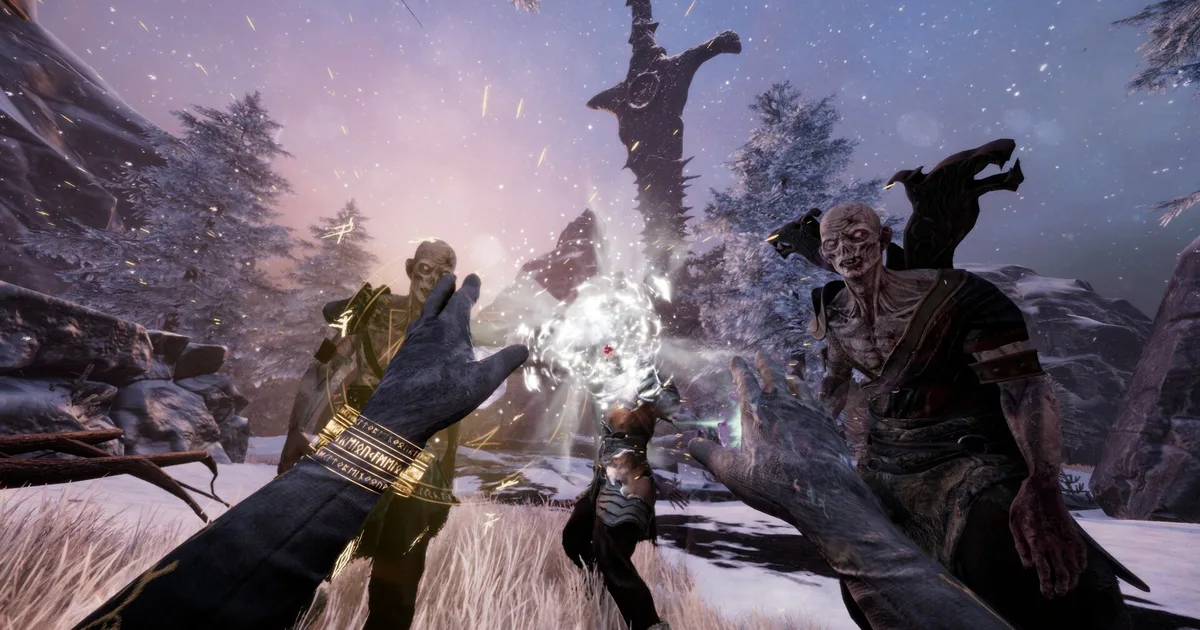
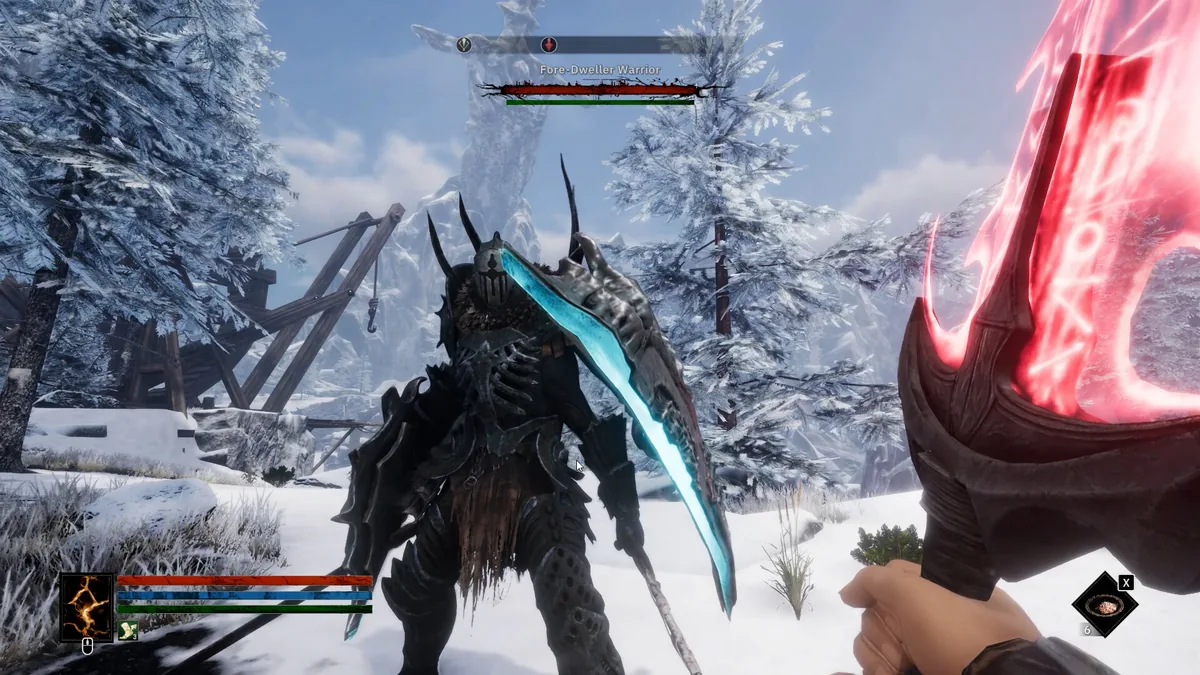 A stamina-draining fight against a Fore-Dweller Warrior, the exact multi-hit scenario that empties the blocking buffer fast.
GODEEPER: The boss guide covers boss-specific combat mechanics in detail, including which bosses are stamina-heavy fights and which require positional awareness over blocking. Tainted Grail Boss Guide →
The Wyrdstalker: night is a threat state, not a time of day
The Wyrdstalker is one of the first significant environmental threats in Tainted Grail that functions as a threat state rather than an encounter you can choose to initiate. Once nightfall hits, the Wyrdstalker can appear outside protected areas. Unlike standard enemies that occupy fixed zones, it actively hunts.
What makes the Wyrdstalker different from standard enemies:
- It tracks the player actively and doesn't lose interest after a short pursuit
- Its attack pattern is more complex than standard early-game enemies
- It doesn't have the same pre-fight pause that most enemies have (it can engage quickly from detection range)
The primary survival approach is to avoid outdoor night exposure entirely until you're specifically prepared for the fight. Before nightfall:
- Rest at a campfire (full heal, advances time to morning)
- Rest at an inn or indoor bed
- Reach a building interior you can stay in safely
The boss guide covers the Wyrdstalker's specific mechanics for players who want to fight it directly as part of zone progression. Fighting it intentionally is viable and necessary at specific story points. Fighting it accidentally while under-leveled and un-prepared is the scenario to avoid.
Later-region nighttime threats: Similar nighttime escalation mechanics appear as you progress. The pattern holds: nighttime outdoor exposure without preparation introduces threat-state enemies above the region's standard difficulty. Night is not just an aesthetic change.
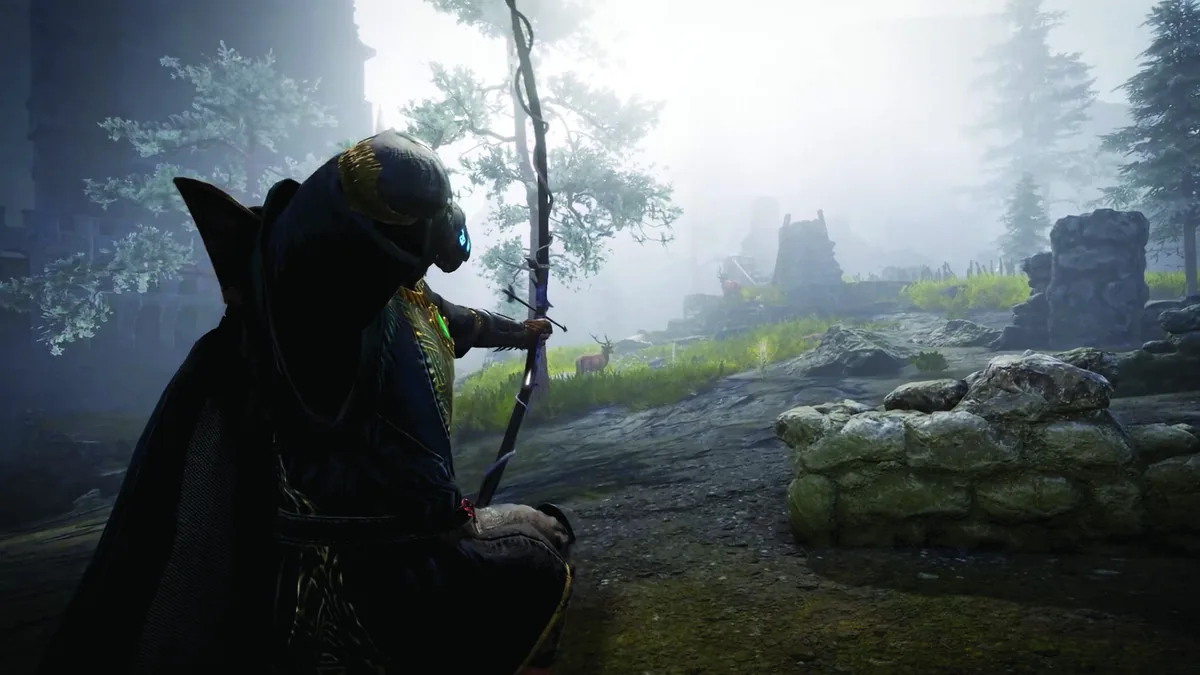 Exposed outdoor terrain like this is exactly where the Wyrdstalker becomes a threat once night falls.
Step-by-step: surviving the later regions with alchemy
Step 1: Invest in alchemy before pushing into later regions
The tips guide flags alchemy as an investment, not a side hobby. The specific reason: later-region enemy damage outpaces what generic food items can recover per fight. Alchemy-made healing consumables scale with skill investment, so the same item slot yields more healing per use as alchemy level increases.
Step 2: Know which alchemy recipes restore health in field
Not all alchemy recipes are healing items. Some provide combat buffs, some provide temporary resistances. Identify the healing recipes early and prioritize the ingredients for those. Later regions have ingredient sources that don't appear early on, which makes the strongest healing items accessible later than players expect.
Step 3: Carry enough healing items to cover a zone segment without a rest point
Later regions don't distribute rest points as generously as the earlier game. Some quest-driven exploration takes you through multiple fights without a campfire nearby. The rule: enter a zone segment with enough healing consumables to survive 5-7 fights. If you don't have that inventory, gather more before pushing deeper.
Step 4: Supplement with food, but don't rely on it
Food items provide short-term health restoration. They work but are slower to activate and provide less total healing per inventory slot than alchemy consumables. Food is the supplement; alchemy is the primary healing system.
GODEEPER: The real stat system, including which stat actually governs alchemy scaling. Tainted Grail Best Builds: 5 Real Community Setups →
Build considerations for later-region survival
Real community discussion suggests pure melee can underperform in the mid-game compared to spellsword or full-magic approaches. The survival-specific reason: pure melee doesn't have options to deal damage without entering blocking range.
Spellsword survival advantage: A weapon-plus-spell hybrid has a ranged damage option even at low investment. This lets them disengage from melee, recover stamina, and deal damage from outside block range during that recovery window. Pure melee has no similar option: every point of damage requires being in range where the enemy can hit back.
Magic build survival advantage: Full magic builds take more damage when hit but hit enemies before they can hit back. The survival model is different: take less damage total by killing enemies faster, not by blocking efficiently. This works in later-region content but requires the build to be sufficiently developed (Spirituality investment and the right spell selection) before it produces reliable kill speed.
When to transition: Early-game pure melee is survivable. Later regions are where pure melee starts showing its ceiling. If you haven't invested in Spirituality at all by that point, now is the time to add some before enemy density picks up.
Tips: specific threat management
Don't block multiple enemies at once. One at a time is the rule. Kite the second enemy away from the first before engaging either. The game's enemy aggro doesn't coordinate attacks, so a physically separated second enemy won't immediately attack you while you're fighting the first.
Check the time before exploring. Tainted Grail has a visible time indicator. Know how long you have before dark and whether you're near a rest point. Getting caught in the middle of a zone segment at night without a nearby campfire is preventable with a few seconds of awareness.
Don't sell healing ingredients. Early game inventory pressure tempts players to sell materials for gold. Alchemy ingredients are worth more to you as healing items than as vendor value in the early game. The vendor has limited stock and won't replenish specific rare ingredients.
Save manually before boss fights. The tips guide covers this as a general rule, but it matters most in the context of survival: boss fights in Tainted Grail have specific mechanics that kill you quickly if you don't know the attack pattern. Having a save just before the fight lets you retry without losing the progress you made to get there.
Fight at full stamina whenever possible. If your stamina is depleted from a previous fight, wait the 10-15 seconds for it to recover before initiating the next one. Entering a fight at half stamina means your blocking buffer is already reduced, and the fight follows the multi-enemy problem pattern from the start.
Related Reading
- Tainted Grail Tips: 12 Things to Know Before You Start: the complete beginner tips list covering alchemy, blacksmithing, NPC schedules, and the Anniversary DLC
- Tainted Grail Boss Guide 2026: covers the Wyrdstalker, Perceval, Cuanacht region bosses, and the final boss split with specific attack patterns
- Tainted Grail Best Builds: 5 Real Community Setups 2026: spellsword, full magic, stealth archer, and crit builds sourced from real community discussion
Frequently Asked Questions
What actually kills you in Tainted Grail? Usually stamina depletion in multi-enemy fights, the Wyrdstalker at night, or running out of field healing in the later regions. All three are preventable with system awareness.
Is the Wyrdstalker always around at night? Yes, once nightfall hits outside protected areas. Rest at a campfire or building before dark to advance time safely.
Why can't I heal fast enough in later regions? Later-region enemy damage outscales food healing. You need alchemy consumables at a sufficient level. Investing in alchemy skill before pushing forward is the fix.
Can pure melee survive the later regions? Yes but with significantly harder combat encounters. The stamina management issue is more punishing without any ranged options. Spell-blade is easier to survive with.
How do I recover stamina quickly? Disengage from melee contact. Stamina recovers while you're not actively blocking or attacking. Even 5-10 seconds of distance from enemies restores your blocking capacity.
Should I fight bosses underleveled? No. Each boss has a pre-fight rest point that heals you to full. Use it. If you're dying repeatedly, you're either in the wrong build tier or unfamiliar with the boss's attack pattern. The boss guide covers both.
References
- Tainted Grail: Fall of Avalon on Steam: official store page with current version and DLC details
- r/TaintedGrail community: player reports on later-region survival difficulty and alchemy build advice
Was this guide helpful?
About the author

Senior Critic & Analyst
Former game data analyst turned critic with 11 years covering indie and mid-tier games. Based in Austin. Runs spreadsheets on games most people just play.
- 11 years games criticism
- Former game economy analyst
- Roguelike and strategy specialist
Keep reading



Disclaimer
This article is published for informational and entertainment purposes. It does not constitute professional financial, legal, or technical advice. Game performance, online services, patch schedules, and store listings change. Verify critical details (pricing, system requirements, regional availability) with publishers and storefronts before you buy. Affiliate links, where present, help support our editorial work and are labelled in our affiliate disclosure.
Comments
Loading comments…