
GuideDenshattack!
Denshattack Controls and Movement Guide for Beginners
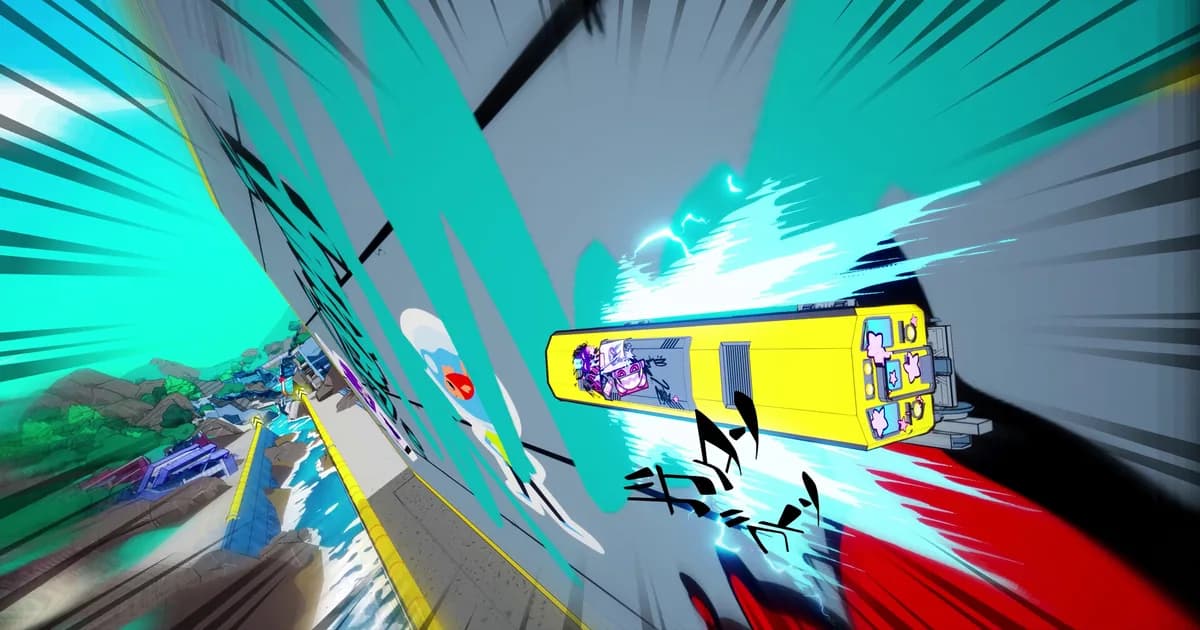
About the game
Denshattack!
Undercoders · Fireshine Games
If you are looking for Denshattack Controls, the useful answer is not one frozen button chart. The game supports remapping, the controller layout differs between Xbox and PlayStation, and the hard part is learning when to switch from navigation to a trick input. This guide gives you a dependable starting layout, explains the movement decisions behind it, and shows which habits make the first few regions feel less like a traffic accident.
TL;DR: Denshattack is built around lane movement, drift, jump, and airborne trick inputs. Use a controller if possible, confirm every binding in Settings, learn clean drift exits before chasing score, and treat wall rides, underwater tunnels, and route branches as movement problems before you turn them into combo opportunities.
Denshattack Controls: the quick answer
The official FAQ confirms remappable controller and keyboard inputs, keyboard-only support, and a strong controller recommendation. Current reference layouts use the left stick for lane movement, a trigger for drift and braking, the other trigger for jumping, and the right stick for tricks and manuals. Your own Settings screen is the final authority, but that mental model is the one to carry into every stage.
There is no class or party-role system hiding behind the control menu. You are driving a train through fixed tracks, choosing a route, and deciding whether the next safe action is a lane change, a drift, a jump, a grind, or a trick. That distinction matters because a flashy input at the wrong moment is still a missed checkpoint.
Key takeaways for new riders
- Confirm bindings before the first serious run. Denshattack lets you remap inputs, so copied charts can be wrong for your platform or save.
- Use the left stick for survival first. Lane changes are how you avoid hazards, choose branches, and line up with rails.
- Learn drift release timing before stacking tricks. A clean exit gives you speed and a better launch point for the next jump.
- Jump height is a choice. Short hops preserve control; longer holds buy air time for bigger trick sequences and transfers.
- Keep the right stick quiet until the train is airborne. Grounded flicks are wasted motion in the commonly documented layout.
- Practice difficult lines in Trick Parks. The official FAQ describes them as places for effectively infinite trick play, which makes them the safest lab for timing.
The controller layout that makes sense
The labels below describe the common Xbox reference layout, with the equivalent PlayStation trigger names in parentheses. They are a learning map, not a promise that every binding is identical on every platform.
| Input | Common action | What it is really for |
|---|---|---|
| Left stick | Move and change lanes | Avoid obstacles, choose a branch, line up a rail, and keep the train on the intended track. |
| LT (L2) | Drift and brake | Hold through a corner, then release at the exit when you want to carry speed. |
| RT (R2) | Jump | Tap for a short hop or hold longer when a transfer needs more height. |
| Right stick | Air tricks | Use it after takeoff, following the trick prompt or Tricktionary motion. |
| Right stick up or down | Manual on landing | Tilt as you touch down to keep a chain alive instead of ending the sequence. |
| LB (L1) | Horn | Use it when a Dare or environmental interaction asks for a honk. |
The important pattern is separation. The left stick solves the track. The right stick spends your airtime. The triggers change your speed profile. Beginners often try to solve all three jobs at once, then blame the game when a trick sends the train into a wall. Give each input a job and the track becomes much more readable.
The keyboard version follows the same logic, but the game does not require one universal keyboard chart. Bind movement, drift, jump, trick direction, manual, and horn where your fingers can reach them without leaving the movement keys. If a trick sequence feels impossible on your layout, test the same input in the Tricktionary before deciding that the trick itself is too demanding.
Step-by-Step: learn movement before score
1. Open Settings and test every binding: Move left and right, drift, jump, perform one trick, land a manual, and sound the horn. Do this in a safe menu or early track before you start a completion run.
2. Run one stage without tricks: Stay alive, watch how lanes split, and notice where the track asks for a jump or a drift. This first pass teaches the route language that the campaign reuses.
3. Add one drift at a time: Enter the corner while holding the drift input. Release when the train points toward the exit, not when the turn begins. If you release too soon, you lose the corner. If you hold too long, you bleed the speed you wanted to save.
4. Add short jumps: A tap is usually easier to steer than a long hold. Use short hops for low obstacles and rail transfers, then increase the hold only when the landing requires it.
5. Add one airborne trick: Jump, perform one right-stick motion, and land cleanly. Do not start with a complicated chain. The goal is to connect takeoff, input, and landing without changing your camera or lane decision halfway through.
6. Convert landings into manuals: Once a single trick is reliable, use the manual input as the train touches down. This is the bridge between the opening movement lesson and the longer chains covered in the Denshattack trick and combo system guide.
7. Revisit the stage for objectives: Score, time, Dares, and collectibles reward different lines. Do not force all of them into your first clear. The Denshattack complete guide is useful when you need to decide which kind of replay comes next.
Drift, jump, and lane changes
Drifting is a speed-management tool, not a decorative flourish. Enter a corner with enough room to release cleanly. The release is the part that separates a controlled line from a long slide into the scenery. On an unfamiliar track, sacrifice a little speed and learn the exit first. You can push the trigger timing once you know where the next rail or branch starts.
Jumping has two jobs. It clears hazards, and it creates the air window in which tricks happen. A long hold can help a difficult transfer, but it also gives the train more time to drift away from the lane you intended. Short hops are therefore the right default for new players. Hold longer only when the track or the Tricktionary asks for it.
Lane changes should happen before the obstacle becomes urgent. Look for the next rail, colored route, or branch as soon as the track opens. If you are already braking, drifting, and trying to trick, it is usually too late to make a clean lane decision. Survival creates the next opportunity; the combo can wait.
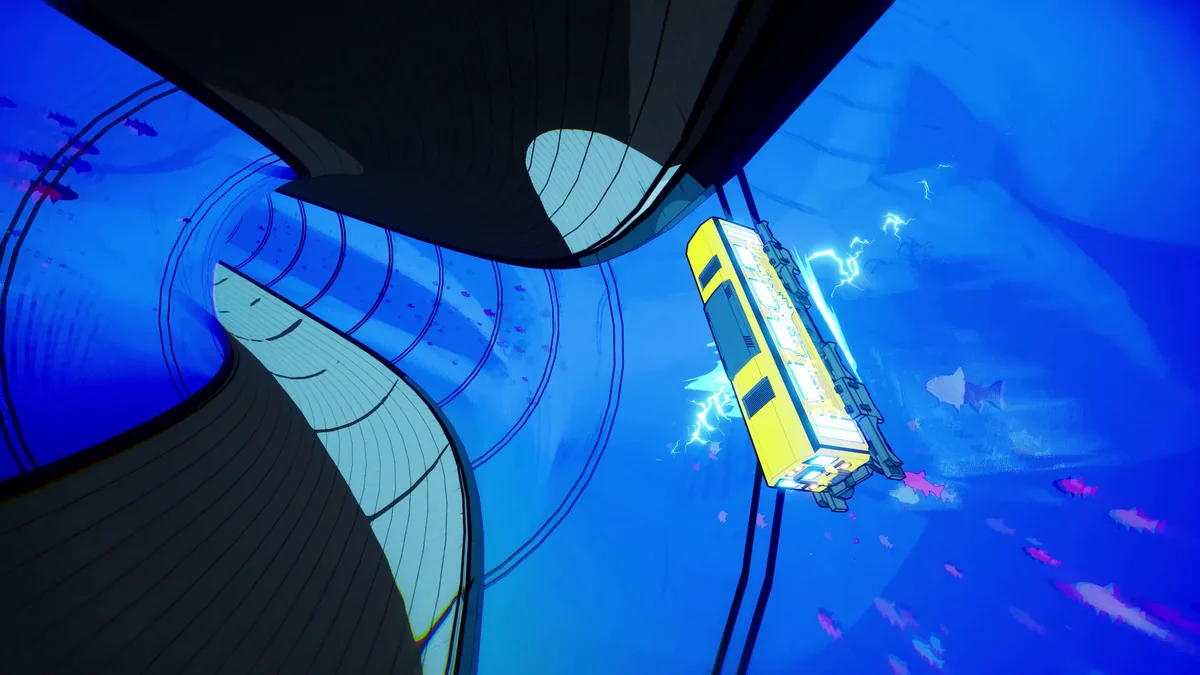 A tunnel section turns lane control into a timing test, so line up before the camera gets busy.
Wall rides, rails, and unusual track pieces
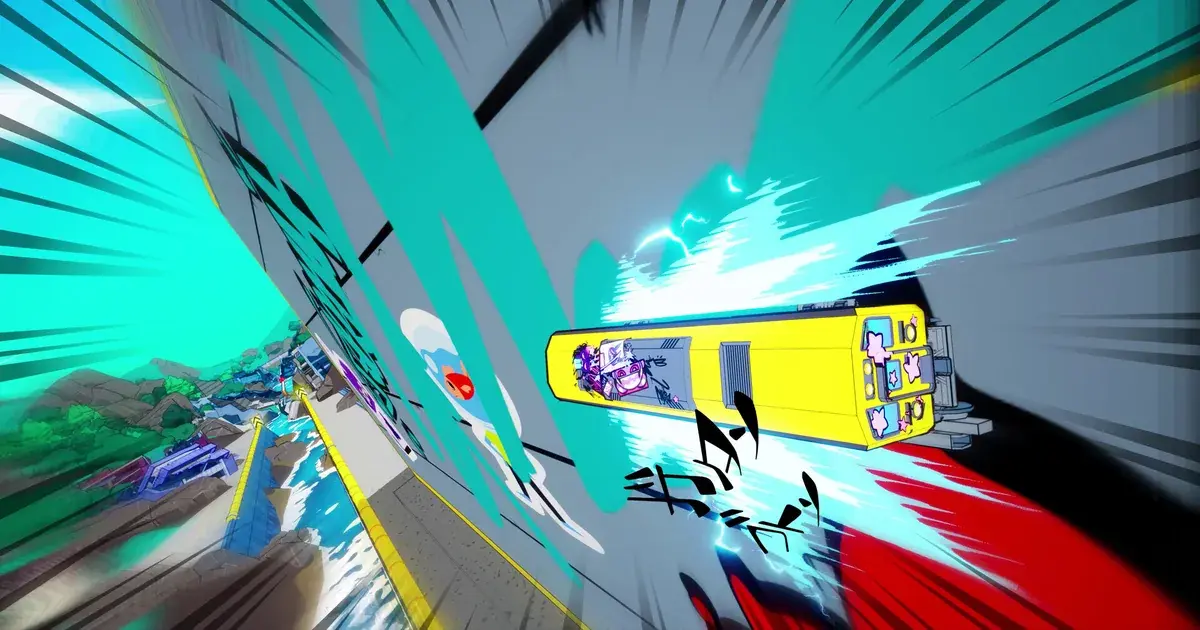
Wall rides look like a special trick, but the first skill is simply staying aligned. Approach with a lane that points toward the wall, keep your movement input small while the train attaches, and resist the urge to make a full correction immediately. The camera angle can make a stable line look more dangerous than it is.
Rails ask for a similar kind of patience. Pick the rail before the jump, then use the air time to make the transfer rather than improvising after the train has already started to fall. If you miss, note whether the problem was speed, lane position, or jump height. Changing all three at once makes the next attempt impossible to diagnose.
Underwater and tunnel sections remove some visual landmarks. Use the track edges, color changes, and the next visible rail as your reference points. The official accessibility notes also say that camera shake, bloom, blur, chromatic aberration, and speed lines can be adjusted. Turn down the effects that hide the lane you need to read.
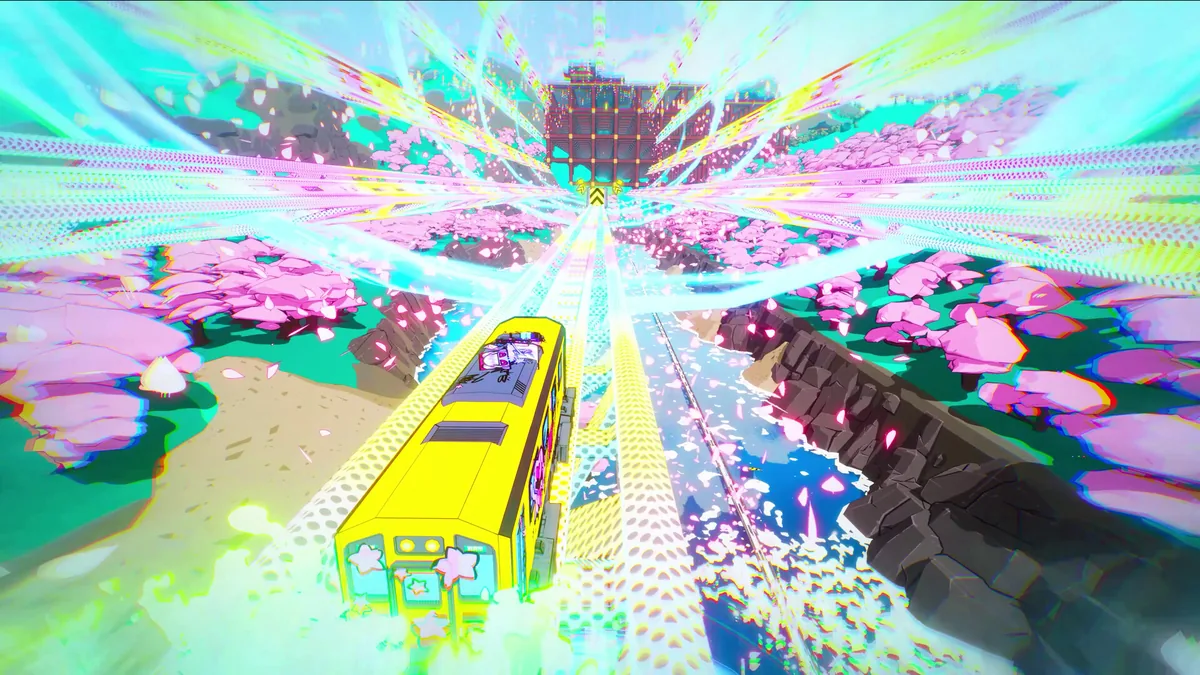 A bright route section rewards early alignment because the next track choice arrives before the visual effects settle.
GODEEPER: Once movement feels predictable, the next ceiling is the timed second input that extends a chain. Denshattack Trick and Combo System: How Chains Work →
How to practice without wasting a run
Use a three-pass loop. First, finish the level with no score target in mind. Second, repeat it for the movement line you want: clean drifts, safe transfers, and the route that avoids emergency corrections. Third, add tricks and Dares. This order keeps a missed trick from teaching you the wrong lesson about a corner.
Trick Parks are the best place to separate input practice from route pressure. Work on one motion until you can repeat it, then add the manual landing. Only after that should you combine different trick directions. The combo guide covers the chain math; this article's job is to make the train arrive at each jump in a state where that math is usable.
If the screen feels too loud, reduce camera shake and speed lines first. If the sound mix is distracting, the official accessibility notes list separate effects, music, and voice sliders. Subtitles and color-blind-friendly presentation are also available, and the game can be played without relying on sound cues.
Tips for smoother Denshattack movement
The first tip is almost boring: stop chasing the highest number during your first clear. Denshattack is designed around replaying levels for secondary challenges, and a safe route teaches more than a spectacular crash. The Denshattack achievements guide can wait until your basic line is repeatable. If you are still deciding whether the learning curve is your kind of fun, the Denshattack review gives the broader campaign context.
Next, use the Pause menu. The official accessibility guide says it can show the train ability, Dare progress, and the Tricktionary. That makes a pause a diagnostic tool, not a failure state. Check the information, restart from the track start if you need to, and try one controlled change.
Finally, separate platform problems from game problems. Denshattack supports full controller play on Steam Deck and controller input on the listed console platforms. If the input feels late, test another controller, lower visual effects, and confirm that the binding itself is correct before rewriting your route.
GODEEPER: Movement is only one part of a clean completion plan. Denshattack Achievements: All 39 Plus Creator Skin Codes → tracks the milestones that are worth saving for later.
Frequently Asked Questions
What are the basic Denshattack controls?
The core loop uses lane movement, drift, jump, and right-stick trick inputs. The exact bindings are remappable, so check Settings before copying any controller reference, especially on PlayStation or keyboard.
Can you play Denshattack with a keyboard?
Yes. The official launch FAQ lists keyboard-only play and remappable controls, although the developers strongly recommend a controller because tricks use directional timing.
How do you drift in Denshattack?
Hold the configured drift or brake input while steering into a corner, then release it as the train exits the bend. Practice the release timing before adding tricks, because a clean corner preserves speed and route control.
How do you do tricks in Denshattack?
Jump first, then use the configured trick input or right-stick motion while airborne. The trick guide and in-game Tricktionary are safer references than a fixed button chart because bindings can be remapped.
How do you wall ride in Denshattack?
Approach the angled wall or side rail with enough speed, use the movement input to line up with it, and avoid overcorrecting while the train is attached. Wall rides are route tools first, score opportunities second.
Does Denshattack have a multiplayer control scheme?
No multiplayer mode is confirmed on the official store page. Denshattack is listed as a single-player game, so this guide focuses on solo campaign, race, Trick Park, and score-run movement.
Related Reading
- Denshattack: Release Date, Platforms, and the July Delay: Denshattack moved from June 17 to July 15, 2026, then launched on PC, PS5, Xbox
- Denshattack Trick and Combo System: How Chains Work
- Denshattack Boss Guide: All 9 Chapter Bosses Explained
- Denshattack Achievements: All 39 Plus Creator Skin Codes
- Denshattack Review: Tony Hawk on Trains, 98% Positive
References
- Denshattack! on Steam, the official store page and current platform feature list.
- Denshattack! Pre-launch FAQs, the developer's controller, Trick Park, accessibility, and mode notes.
- Accessibility Info for Launch, the official settings and input guidance.
- Undercoders, the developer's official site.
Was this guide helpful?
About the author

Senior Critic & Analyst
Former game data analyst turned critic with 11 years covering indie and mid-tier games. Based in Austin. Runs spreadsheets on games most people just play.
- 11 years games criticism
- Former game economy analyst
- Roguelike and strategy specialist
Keep reading
Denshattack Complete Guide: Bosses, Tricks, Achievements
General · 8 min

Denshattack Achievements: All 39 Plus Creator Skin Codes
General · 9 min
Denshattack Trick and Combo System: How Chains Work
General · 9 min

Denshattack Boss Guide: All 9 Chapter Bosses Explained
General · 10 min
Denshattack Review: Tony Hawk on Trains, 98% Positive
General · 9 min
Denshattack: Release Date, Platforms, and the July Delay
General · 3 min
Game deals · affiliate links

Disclaimer
This article is published for informational and entertainment purposes. It does not constitute professional financial, legal, or technical advice. Game performance, online services, patch schedules, and store listings change. Verify critical details (pricing, system requirements, regional availability) with publishers and storefronts before you buy. Affiliate links, where present, help support our editorial work and are labelled in our affiliate disclosure.
Comments
Loading comments…