ARC Raiders · Guides
ARC Raiders Armor Guide: Tiers, Noise & Zone Choices
ARC Raiders armor guide: all three armor tiers compared by noise penalty, protection, and zone fit. Includes head vs chest trade-offs and upgrade priority.
ARC Raiders armor guide: because most players get this backwards. They buy the heaviest chest armor they can afford and wonder why every ARC patrol finds them before they reach the loot. Armor in ARC Raiders isn't just a damage sponge. It's a noise profile, a detection radius multiplier, and a movement modifier all at once. Getting the tier wrong costs more than getting shot.
If you're still working out how zones and gear slots fit together, the ARC Raiders beginner guide covers the fundamentals before you start optimizing armor choices.
TL;DR: Medium head + light chest is the default optimal build for Orange zones. Head armor exists to survive Sentinel headshots: that's its primary function. Heavy armor expands ARC detection radius and is only correct for stationary Red zone boss fights. Get S-tier Survival skills (Detection Radius Reduction, Movement Noise Reduction) before upgrading armor tiers.
Key Takeaways
- Three tiers: Light, Medium, Heavy: higher tier means more protection AND more noise
- Mix tiers: Medium head + light chest is the standard optimal build for Orange zones
- Heavy armor expands detection radius: the opposite direction from Survival skill investment
- Head armor absorbs Sentinel headshots: this is its primary mechanical function
- Don't upgrade past medium chest until Red zone boss runs where noise profile is irrelevant
- Armor upgrades slot separately: chest and head are independent choices
How Armor Works in ARC Raiders
Every raider loads into a zone with two armor slots: chest and head. Each slot has three tiers (light, medium, heavy) and each tier trades protection for noise.
The protection trade is intuitive. Light armor absorbs less damage than heavy. What most players underestimate is the other side of that trade. Higher armor tiers increase your movement noise output. Heavy armor, specifically, doesn't just make more noise: it directly expands your ARC detection radius. That means ARC units lock onto you from farther away, before you've had any chance to decide whether to engage.
This creates an arithmetic problem. If you run heavy armor and invest in Detection Radius Reduction from the Survival skill branch, you're partially canceling one of your most valuable upgrades. Light armor and Detection Radius Reduction stack in your favor. Heavy armor partially undoes that investment. The ARC Raiders skill tree tier list rates Detection Radius Reduction as S-tier specifically because it reshapes every patrol encounter: running heavy armor against it is a waste.
 Light armor keeps your detection radius low, letting you avoid ARC contacts before they start. Heavy armor expands the radius, partially undoing Detection Radius Reduction upgrades.
The Three Armor Tiers
Light Armor
- Protection: Low: absorbs baseline damage from standard ARC attack types
- Noise: Minimal: close to holstered-weapon baseline
- Detection radius: None: does not expand ARC detection radius
- Best zones: White, Orange, and most Red zone sessions outside boss encounters
Light armor is the default for players who've learned how detection works. The protection trade feels significant in your first few sessions: taking more damage from Hornet bursts, going down faster in ARC contact. It doesn't feel significant once you understand that most damage comes from fights you couldn't avoid, and light armor minimizes the fights you can't avoid by keeping your noise profile low.
The carrier and scout roles in ARC Raiders best squad loadouts both run full light armor specifically for this reason. The squad's noise profile is the sum of its members' profiles. Two light-armor players and one medium-chest player are far quieter than any combination that includes heavy.
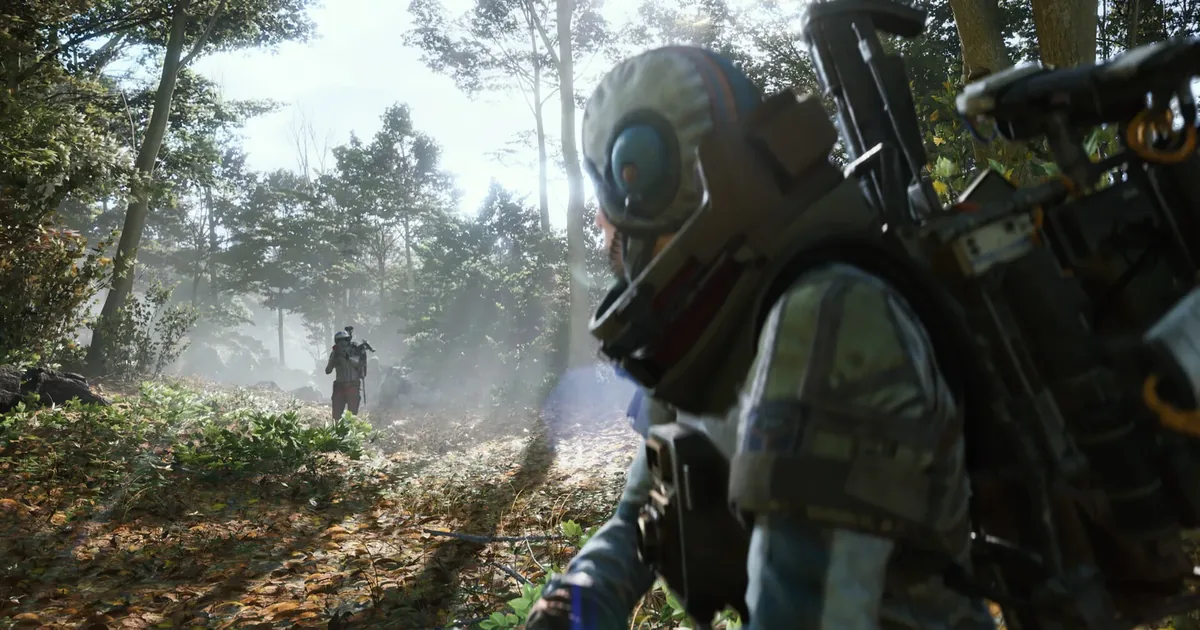
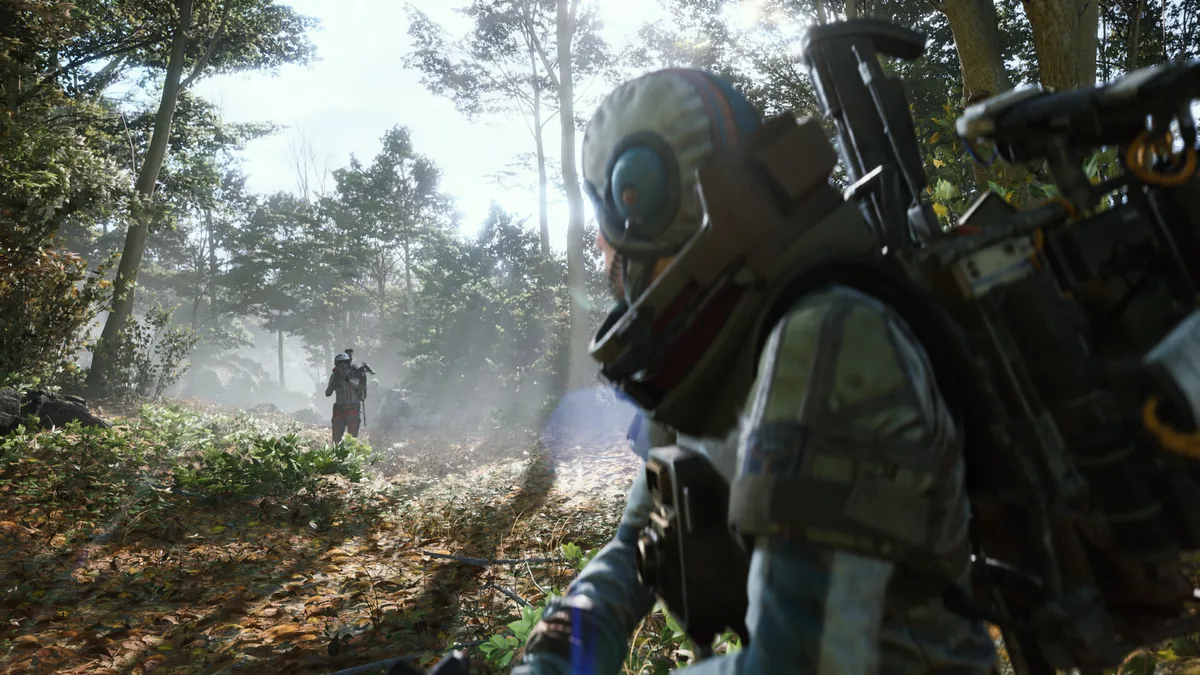
Light head armor is where the tier creates genuine risk. Sentinel headshots to light head armor deal enough damage to significantly damage or down a player in one shot depending on their health state. This is the one slot where upgrading to medium is nearly always worth it.
Medium Armor
- Protection: Moderate: meaningfully higher than light against ARC sustained fire
- Noise: Moderate: noticeably louder than light during movement
- Detection radius: Minor increase for chest; none for head
- Best zones: Orange zones for chest (frontline players); Orange+ for head (all players)
Medium chest armor is the right choice for one player per squad: the frontline. The player who leads ARC contact needs to stay in a fight long enough to close it, and medium chest provides the margin to do that. Running medium chest on every squad member makes the entire team louder than necessary and removes the option to avoid contact in patrol-dense areas.
Medium head armor, on the other hand, is correct for almost every player in any session that includes Orange zone content. Sentinels appear in Orange zones and attack the player's head. The gap between light and medium head protection against a Sentinel shot is large enough that it changes run outcomes. One Sentinel shot at the wrong moment (crossing exposed terrain, approaching extraction, moving to a new loot area) is the difference between a manageable situation and a dead raider.
The ARC Raiders enemy types guide covers Sentinel positioning behavior in detail. The short version: they sit at elevation and shoot heads before you've confirmed their location. Medium head armor exists to survive that first shot and give you time to respond.
For chest, the medium upgrade matters in Orange zones specifically because Hornet sustained fire in corridor encounters is the other main damage source that light armor can't manage well. The ARC Raiders best solo loadouts guide recommends medium chest for Orange zone solo kits for this reason.
Heavy Armor
- Protection: High: the most damage absorption available
- Noise: Significant: loudest movement profile in the game
- Detection radius: Large expansion: ARC units detect you from greater distances
- Best zones: Red zone boss encounters only
Heavy armor has one correct application: boss encounters in Red zones where the fight is stationary, the zone is already fully alerted to your presence, and additional detection radius doesn't change the outcome. The ARC Raiders enemy types guide notes that Equalizer builds for the Matriarch and Vaporizer are the right call: and for those fights, heavy armor's protection is worth the detection penalty because patrol avoidance is irrelevant once you're in a boss chamber.
For everything else, heavy armor's detection radius penalty costs more than it gives. A player in heavy armor moving through an Orange zone patrol route is audible to units that a light-armor player would pass undetected. The additional protection doesn't offset the additional contact it generates.
Three players in heavy armor makes a squad so loud that most stealthy approaches in Orange zones become impossible. This is the version of the mistake that ends runs before they start.
Head vs Chest: Why Mixing Tiers Is Often Correct
The head and chest slots are independent. There's no set bonus for matching tiers, and the protection profiles are different enough that mixing is frequently the right call.
The standard recommendation: medium head + light chest.
This combination gives you:
- Sentinel headshot survivability (medium head)
- Minimal movement noise (light chest)
- No detection radius penalty (light chest)
- Full compatibility with Detection Radius Reduction investment
The opposite combination (light head + medium chest) gives you more body protection but leaves Sentinel one-shot potential unchecked. Given that Sentinel encounters in Orange zones are one of the highest run-ending risks, protecting head before chest is the correct priority order.
Full medium (medium head + medium chest) is the frontline's kit in Orange zone sessions. It's louder than the mixed build but provides the sustained fight capability the frontline role requires. This is the exception to the "light chest default" rule, not the standard.
GODEEPER: Why Sentinels specifically are the reason medium head is non-negotiable in Orange zones: plus every other ARC unit threat profile. ARC Raiders enemy types guide →
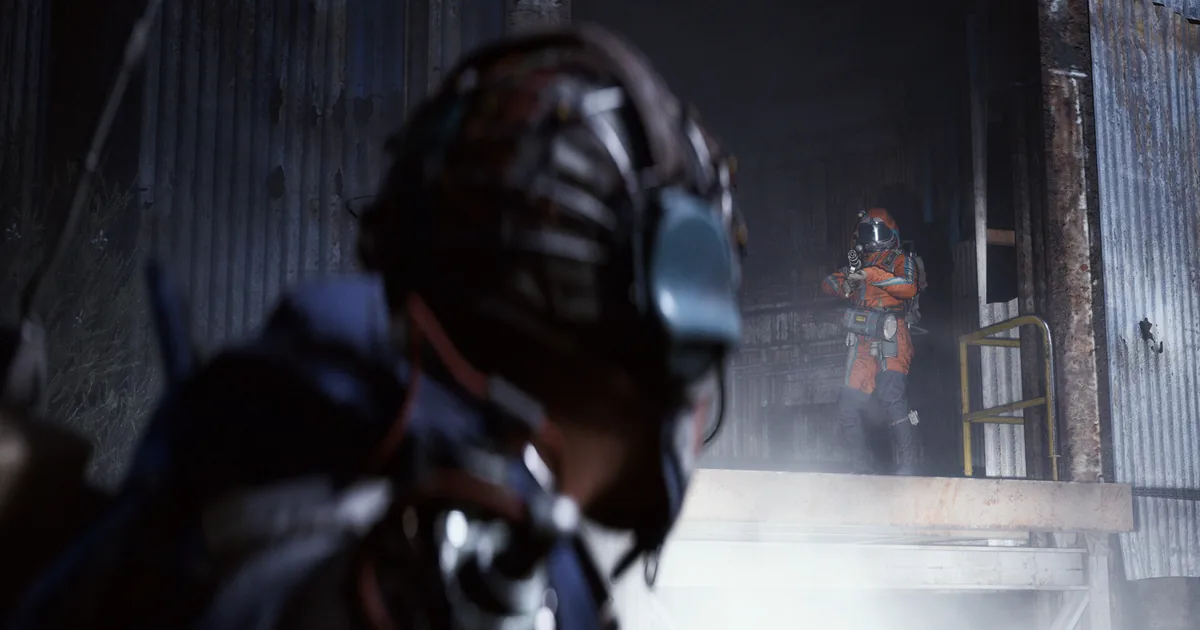
 The armor tier comparison: medium chest gives meaningful protection gains in Orange zones while keeping your noise profile manageable for patrol-dense areas.
Zone-Appropriate Armor Choices: ARC Raiders Armor Guide Quick Reference
| Zone | Head | Chest | Notes |
|---|---|---|---|
| White | Light | Light | No Sentinels; light armor sufficient for all encounters |
| Orange (scout/carrier) | Medium | Light | Sentinel presence justifies medium head |
| Orange (frontline) | Medium | Medium | Direct ARC contact requires chest upgrade |
| Red zone (non-boss) | Medium | Light or Medium | Detection radius matters; avoid heavy |
| Red zone (boss) | Medium or Heavy | Medium or Heavy | Stationary encounter; noise profile secondary |
| Storm conditions | Medium | Light | ARC aggression increases; Sentinel frequency doesn't change |
GODEEPER: What else changes during Electromagnetic Storm conditions: extraction restrictions, Trial point multipliers, and patrol behavior. ARC Raiders electromagnetic storm guide →
Step-by-Step: Choosing Your Armor Load
-
Check your zone tier. White zone runs don't need medium anything: the cost-to-benefit is wrong when Sentinels don't appear and Hornet density is low.
-
Determine your role. Frontline players take more contact than scouts or carriers. Match armor to role, not to zone tier alone.
-
Lock in medium head before chest upgrades. If you can only afford one upgrade from the light baseline, medium head comes first. The Sentinel encounter you don't survive in light head is the one you would have survived in medium.
-
Check your skill investment. If you've invested in Detection Radius Reduction, protect that investment by keeping your chest at light or medium. Heavy chest partially cancels the radius reduction you've built.
-
Evaluate storm conditions separately. ARC aggression increases during Electromagnetic Storm conditions, but armor choice doesn't change dramatically: medium head, light chest remains correct. Storm runs don't justify heavy armor. The ARC Raiders electromagnetic storm guide covers the other adjustments storm conditions require.
-
Reserve heavy armor for boss-specific kits. If you're planning a Red zone boss run, build a specific kit for it. Don't wear boss kit into the patrol routes leading to the boss: you'll generate contact you could have avoided.
Tips for Managing Armor Costs
Repair before replacing. Armor durability degrades over a run. Returning to Speranza with a heavily damaged chest piece and repairing it costs less than replacing with a fresh one. The ARC Raiders loot guide covers material sourcing for repairs: keeping repair materials on hand matters more for armor sustainability than constantly buying fresh pieces.
Light armor runs in White zones recover costs. Running full light in White zone loot sessions keeps kit cost near zero while building the materials to fund Orange zone gear. Players who kit up for Orange zone encounters on White zone runs spend more per run than they need to.
Track which slot you're actually dying in. If most run-ending damage is headshots, upgrade head first. If it's sustained ARC contact in corridors, upgrade chest. The upgrade that addresses your actual failure mode pays off faster than the one that feels intuitively correct.
Get Survival skills before armor upgrades. Two S-tier Survival upgrades (Detection Radius Reduction and Movement Noise Reduction) change more about your survival rate than any armor tier. Get those first. Armor upgrades matter more after Survival skills change your baseline encounter frequency.
Loadout Quick Reference
| Build | Head | Chest | Best For |
|---|---|---|---|
| Standard (scout/carrier) | Medium | Light | Orange zone default |
| Frontline | Medium | Medium | Orange zone direct combat |
| Budget (White zones) | Light | Light | White zone loot runs |
| Boss kit | Medium or Heavy | Medium or Heavy | Red zone boss encounters |
| Stealth (all roles) | Medium | Light | Late Orange, Red zone patrol navigation |
Frequently Asked Questions
What is the best armor in ARC Raiders? Medium head with light chest for most sessions. This protects against Sentinel headshots, keeps movement noise low, and preserves the detection radius benefit from Survival skill investment. Full medium for frontline players in Orange zones. Full light for White zone budget runs.
Does armor tier affect noise in ARC Raiders? Yes. Higher tiers are louder during movement, and heavy chest directly expands your ARC detection radius. Light armor produces the least noise. Detection Radius Reduction from the Survival branch and light armor both reduce how often ARC units notice you: they stack together.
Should I use heavy armor in ARC Raiders? Only for Red zone boss encounters (ARC Matriarch, ARC Vaporizer) where the fight is stationary and patrol avoidance is already irrelevant. For everything else, heavy armor's detection penalty generates more contact than its protection benefit is worth.
When should I upgrade armor in ARC Raiders? Head before chest. Medium head is the first armor upgrade worth buying: it changes Sentinel encounter outcomes. Then medium chest for frontline roles or Orange zone sessions with heavy ARC contact. Don't upgrade armor before having the S-tier Survival skills; they affect more encounters than any armor tier.
How does armor interact with Detection Radius in ARC Raiders? Light and medium armor have no detection radius penalty. Heavy chest expands the ARC detection radius, partially canceling Detection Radius Reduction skill investment. Run light or medium to stack armor noise profile and skill investment in the same direction.
What armor should scouts and carriers use in ARC Raiders? Both roles: medium head, light chest. The scout and carrier roles maximize movement and loot capacity: light chest preserves noise profile for patrol navigation while medium head absorbs the Sentinel headshot risk. See the ARC Raiders best squad loadouts guide for full role breakdowns.
Related Reading
- ARC Raiders 1.27.0: Riven Tides Map and All Changes: ARC Raiders 1.27 dropped May 5: Turbine visibility fixes, grenade exploit patched, audio overhaul, and Embark's direct response....
- ARC Raiders Dam Guide: Loot, Patrols & Extractions: ARC Raiders Dam guide: Alcantara Power Plant loot, patrol routes, close-quarters tips, and which extractions to use in....
- ARC Raiders Spaceport Guide: Towers, Loot & Vaporizers: ARC Raiders Spaceport guide: Acerra Spaceport POIs, where Vaporizers spawn on the towers, open-terrain extractions, and loadouts that....
- ARC Raiders Stella Montis Guide: Loot, Blueprints, PvP: ARC Raiders Stella Montis guide: endgame zone, night-exclusive Tempest and Wolfpack blueprints, free loadout strategy, and why it's....
- ARC Raiders Riven Tides Guide: Shockwave, Loot, and Secrets: ARC Raiders Riven Tides guide: Shockwave clears the coastal mist, the Panorama Azzurro hotel loot is deceptively light,....
- ARC Raiders Machine Types: How to Kill Every ARC Unit (2026): ARC Raiders machine types guide: Hornet, Wasp, Tick, Firefly, Rocketeer kill strategies with exact weak points, ammo picks,....
References
- ARC Raiders on Steam: official store page with equipment and armor documentation
- ARC Raiders Official Site: Embark Studios' official page with gear and armor tier details
Was this guide helpful?
Keep reading


Disclaimer
This article is published for informational and entertainment purposes. It does not constitute professional financial, legal, or technical advice. Game performance, online services, patch schedules, and store listings change. Verify critical details (pricing, system requirements, regional availability) with publishers and storefronts before you buy. Affiliate links, where present, help support our editorial work and are labelled in our affiliate disclosure.
About the author

Senior Critic & Analyst
Former game data analyst turned critic with 11 years covering indie and mid-tier games. Based in Austin. Runs spreadsheets on games most people just play.
- 11 years games criticism
- Former game economy analyst
- Roguelike and strategy specialist