ARC Raiders · Guides
ARC Raiders Dam Guide: Loot, Patrols & Extractions
ARC Raiders Dam guide: Alcantara Power Plant loot, patrol routes, close-quarters tips, and which extractions to use in this toxic waterlogged zone.

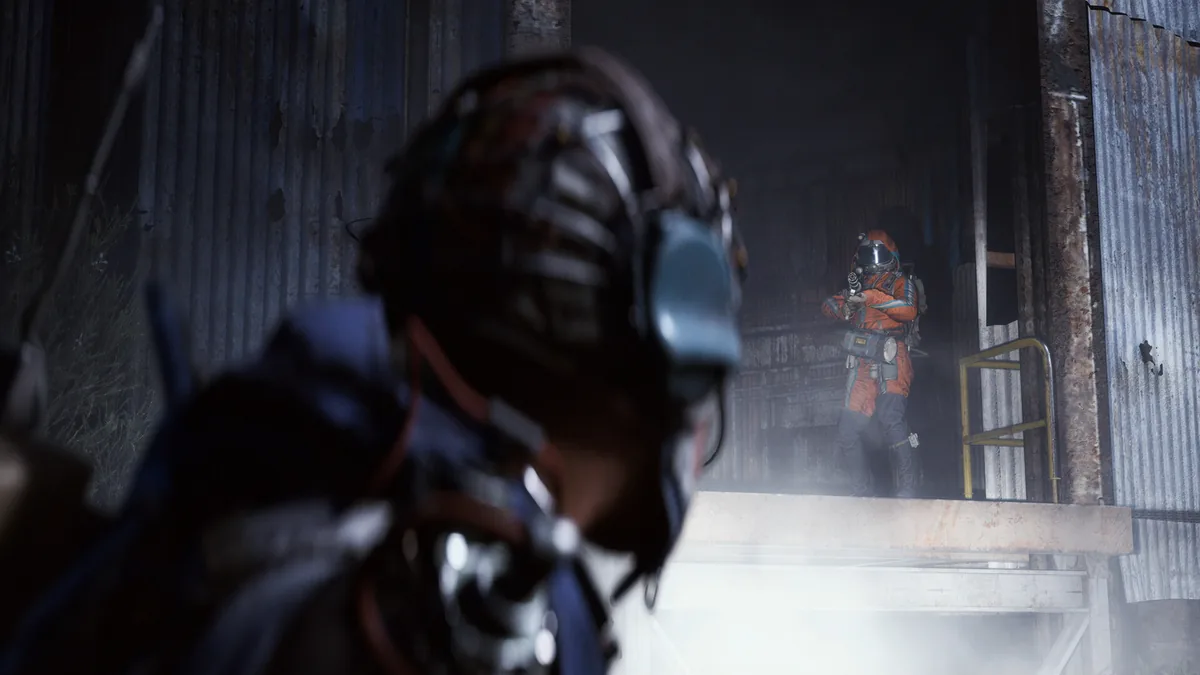
This ARC Raiders Dam guide covers the zone that separates players who learned extraction from players who learned how to fight. Blue Gate is a mountain pass: it gives you room to make mistakes, reset, and try again. Alcantara Power Plant takes that margin away. The corridors are narrow, the water pools cut your movement options, and the ARC units that patrol the catwalks have sightlines that cover the approaches to the best loot in the zone.
This ARC Raiders Dam guide covers the zone's layout, where loot concentrates, how patrols route, and the extraction approaches that work. If you haven't done Blue Gate runs yet, the ARC Raiders beginner guide covers the zone progression sequence and how extraction works before the interior difficulty of the Dam.
TL;DR: The Dam (Alcantara Power Plant) is a close-quarters, entry-to-mid zone where the Canto SMG and Dolabra shotgun beat rifles. Loot concentrates on the upper catwalks and generator control rooms, not the waterlogged exterior, and Sentinels hold the elevated positions, so bring binoculars and medium head armor. Interior extraction points are more defensible than the exposed exterior cargo elevators.
Key Takeaways
- Close-quarters zone: Canto SMG and Dolabra shotgun outperform rifles in the power plant interior
- Loot concentrates on catwalks and generator control rooms: not the waterlogged exterior sections
- Toxic water zones restrict your movement options: plan routes before entering each section
- Sentinels use elevation: binoculars before crossing the open generator halls
- Interior extractions are more defensible: use them over exterior cargo elevators if your loot route ends in the plant
- The Dam is training for Spaceport's open terrain: the methodical clearance habit it builds pays off in later zones
Zone Overview: Alcantara Power Plant
The Dam's story context is visible in the architecture. This was a Raider stronghold before ARC took it: the environment shows signs of prior human occupation in the form of improvised fortifications, cleared interior spaces, and remnants of Raider-era equipment scattered through the plant. ARC machines have since set up patrol routes through the same corridors the Raiders used.
Three distinct terrain layers define how you move through the Dam:
Exterior waterlogged sections: the outer areas of the plant where toxic water pools have accumulated. These zones restrict movement to elevated walkways and dry paths. They're lower loot density than the interior but easier to navigate without significant ARC contact if you stay on raised surfaces.
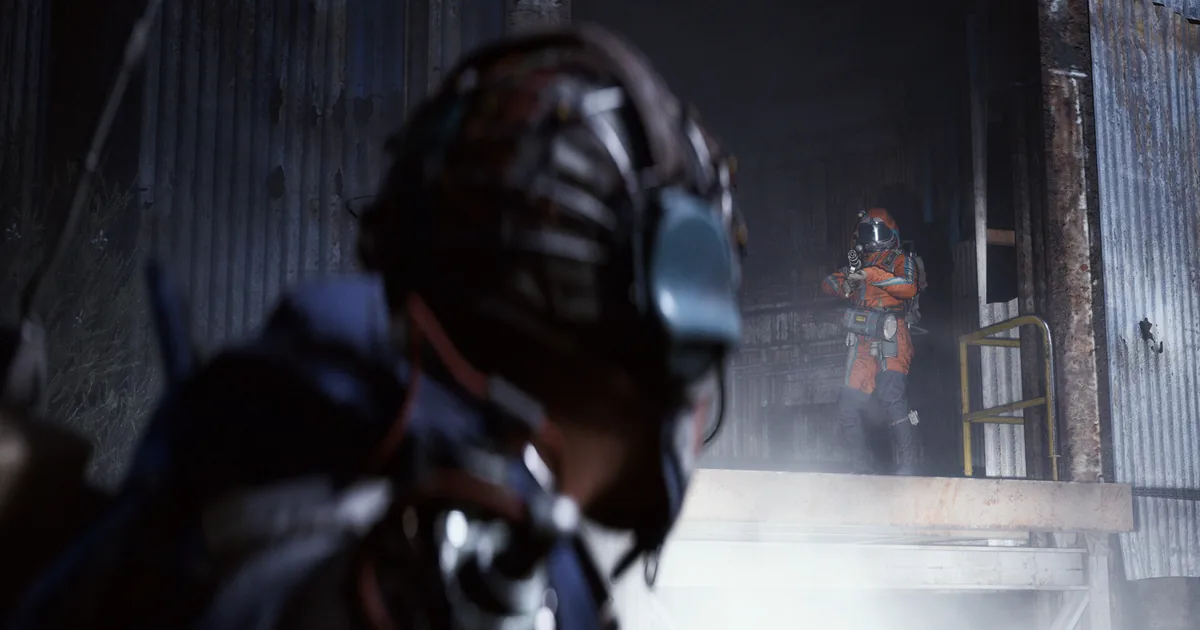
Power plant interior (the main attraction. Generator halls, control rooms, maintenance corridors. These are the zone's highest loot density areas and also where most of the ARC patrol activity concentrates. The interior is close-quarters by design) rooms connect through narrow doorways, hallways dead-end at control stations, and the ceiling height drops to create confined fight spaces.
Upper catwalks: elevated walkways above the generator floors. Loot quality is highest here, ARC units use the same routes, and a player on the catwalk has both better sightlines and more exposure than one on the floor. The catwalks are where the Dam's best material runs happen and where the most costly mistakes occur.
GODEEPER: The Dam is the second zone in the recommended progression sequence: how all six zones compare and what order makes sense. ARC Raiders maps guide →
 The Dam zone layout: generator control rooms hold the highest container density; catwalks above give access to valuable materials but concentrate ARC patrol presence.
Loot Priority Locations
Generator Control Rooms
The control rooms adjacent to each generator bank are the primary loot objective for most Dam runs. Container density here is higher than anywhere in the exterior sections, and the room structure (a main area with one or two entry points) means you can clear and loot methodically rather than managing contacts from multiple directions simultaneously.
The tradeoff: control rooms often have ARC units stationed inside or patrolling the approach corridor. Pre-scanning through doorways before entry (binoculars for elevated positions visible from the door frame, audio listening for Tick clicking or Hornet drone) is the correct approach before committing to entry.
Upper Catwalk Route
Following the catwalk network above the main generator floor gives access to the highest concentration of valuable materials in the zone. The catwalk route also has the most ARC presence: units that use elevated positions for patrol overlap with the routes players use to reach the best loot.
The geometry matters here. Catwalk fights are narrow and long: one enemy in front of you is manageable. Two enemies on a catwalk with you, one at each end, is a situation the SMG handles and the battle rifle doesn't. A Canto or Dolabra kit processes the close-range angles that catwalk encounters create.
Exterior Elevated Walkways
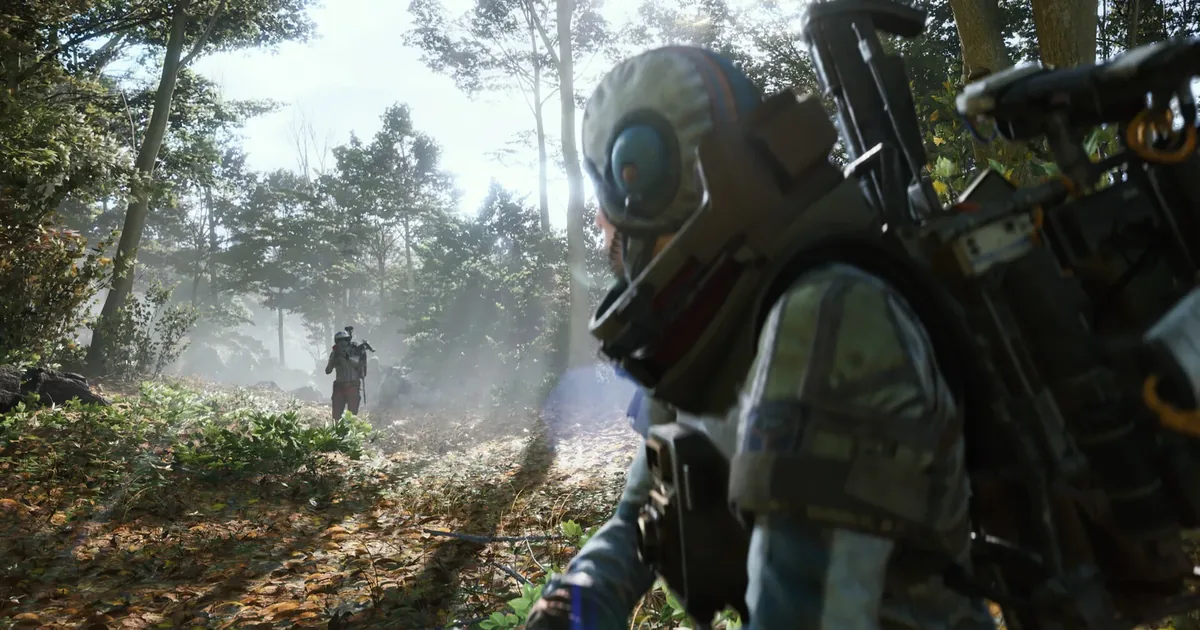
Lower loot priority than the plant interior, but useful for two reasons: they avoid the toxic water zones entirely, and they provide sightlines into the outer patrol routes that can help you route around contact before entering the plant. Players new to the Dam often underuse exterior elevated paths on the way in and pay for it by taking patrol contact at inopportune moments.
Patrol Behavior and ARC Unit Distribution
The Dam's ARC patrol distribution reflects the zone's former Raider occupation. Patrols route through the same corridors Raiders used, which means they concentrate in the interior's most useful spaces: control rooms, generator halls, catwalk access points.
Hornets are the primary aerial threat in the interior. Generator halls and the larger control room areas give them vertical space to operate. They move faster in corridor encounters here than in open zones. Two or three Hornets in a generator hall corridor is the scenario a frag grenade exists to solve: trying to rifle them individually gives each one time to deal damage. The ARC Raiders enemy types guide covers the frag-for-clusters approach in detail.
Sentinels are less frequent here than in Orange zone content like Spaceport, but they appear on the catwalks and exterior platforms. The Dam's enclosed geometry means Sentinel sightlines terminate at walls rather than covering the open ground they control at Spaceport: but approaching a catwalk entrance without checking the elevated position above you is the mistake that ends runs.
Wasps function as alert triggers in the exterior sections. Their patrol routes in the outer waterlogged areas can draw additional units if they detect you before you've entered the plant. The low-loot exterior sections aren't worth a Wasp-triggered response from the plant's interior patrols. Kill Wasps fast on approach or stay out of their detection zones entirely.
Ticks appear in confined interior sections: maintenance corridors, utility rooms branching off the main generator halls. Audio first in any doorway before entry. The clicking that accelerates as they approach is not ambiguous. Back away and shoot from range.
GODEEPER: Every ARC unit type: detection behavior, audio signatures, and the optimal counter for each class. ARC Raiders enemy types guide →
Weapon Choices for the Dam
The Dam is the zone where the Ferro battle rifle is not the obvious primary. The interior engagement ranges are close enough that its optimal performance window (40 to 80 meters, armor penetration against aerial types) appears only in the larger generator halls and not in most of the corridor network.
Canto SMG: The best Dam primary for most run types. Its effective range covers every engagement in the maintenance corridors and matches the catwalk fight geometry. Ammo efficiency in close-range is better than any rifle option at these distances.
Dolabra energy shotgun: For experienced players who've acquired it, the Dolabra's two-shot potential in corridor encounters is faster than anything else. Energy Clip management adds complexity that makes it less suitable for newer players in a zone they're still learning.
Ferro battle rifle: Still correct for the generator hall fights where space opens up, and as a secondary weapon system for players running hybrid kits. Switching to Ferro when you exit tight corridors and enter the larger rooms is a viable approach.
The ARC Raiders weapons tier list ranks these in full context across all zones: the Dam shifts those rankings toward the SMG and shotgun tier more than any other zone in the game.
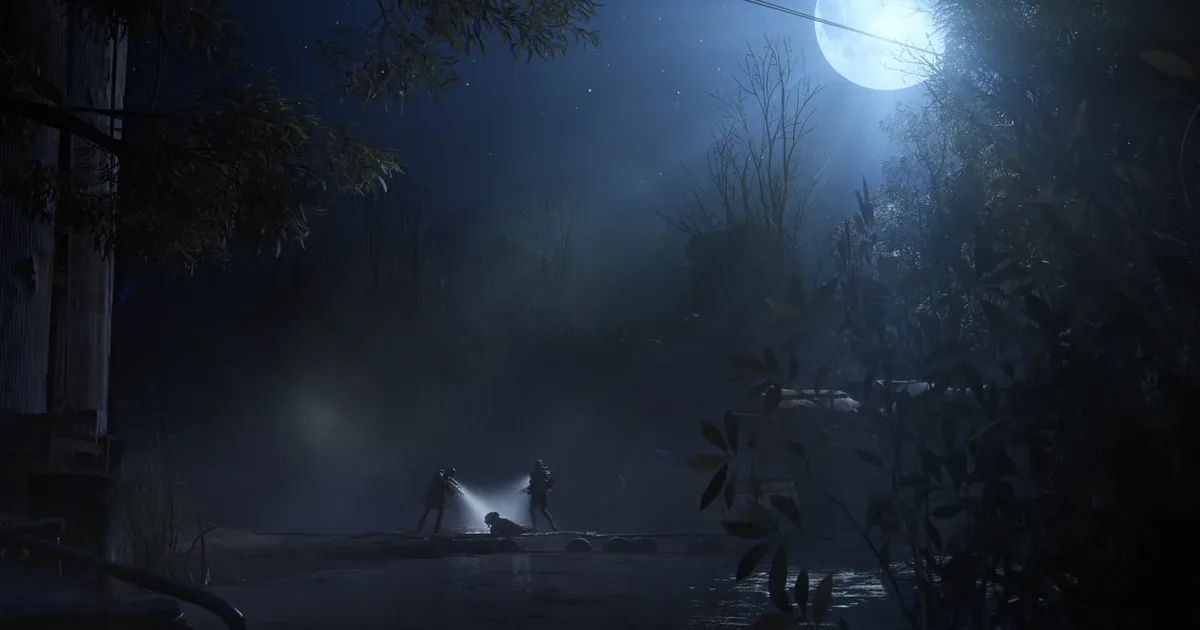
 Interior extractions use the plant structure for cover during the countdown. Exterior extractions are faster to reach but expose your squad on open terrain.
Extraction Strategy
The Dam has multiple cargo elevator extraction points. Their positions split between interior (inside or adjacent to the power plant) and exterior (outside the main plant structure).
Interior extractions are harder to reach if your run is focused on the exterior loot sections, but they're more defensible once you're in position. The plant structure itself provides cover during the 90-second wait that the open exterior doesn't. Pre-clear the immediate area before activating: the interior layout gives you the angles to do this before triggering the alarm.
Exterior extractions are faster to reach from runs that stayed in the outer sections but expose you to the open terrain during the countdown. If another team is in the zone and heard your run (from a Wasp alert or a fight that got loud) the exterior elevators are where they'll look for you.
Raider Hatches: If your run has gone well and you have a Hatch Key, the Dam's Raider Hatch locations offer the cleanest possible exit. No alarm, no 90-second exposure window. Pre-position your squad at the hatch before using the key. The ARC Raiders extraction guide covers the 15-second window and why pre-positioning is mandatory.
Step-by-Step: A Clean Dam Run
1. Enter via elevated exterior walkway. Avoid the ground-level toxic zones on approach. The walkway routes provide sightlines into the exterior patrol areas without forcing you through them.
2. Clear Wasps on approach before entering the plant. A Wasp alert that draws plant interior patrols to your entry point is a recoverable situation: but it costs time and ammo you'd rather spend on the generator halls.
3. Listen at every doorway before entry. Two seconds of audio identifies Tick clicking, Hornet drone, or nothing. The generator control rooms with Ticks inside are the most avoidable run-ending scenario in the zone.
4. Loot control rooms floor-by-floor. Start at the nearest control room to your entry point and work systematically rather than rushing to the catwalks. Players who skip to the catwalks immediately often get caught between catwalk ARC units and a patrol they've alerting on the way up.
5. Clear catwalk approach before ascending. Binoculars to scan the catwalk positions visible from the generator floor. An undetected Sentinel on the catwalk above the access stairs is a run-ending headshot. Medium head armor as passive insurance.
6. Choose extraction type before looting the final area. Know whether you're using interior or exterior cargo elevator, or a Hatch if you have a key, before your inventory is full. The decision under pressure is worse than the decision before pressure.
Tips for Dam Runs
The Dam punishes speed more than any other early zone. Rushing corridors to reach the high-value areas faster generates ARC contact that slows and costs more than methodical movement. The only exception is the catwalk: once you're on the catwalk and have identified the patrol positions, moving quickly through the route reduces exposure time.
Toxic water zones are movement puzzles, not hazards. The waterlogged sections don't deal damage if you stay on elevated surfaces: they restrict which routes are available. Players who treat them as terrain obstacles to route around rather than active threats handle them faster than players who try to move through them.
Grenades matter more here than in open zones. Corridor Hornet clusters are the Dam's signature combat scenario: three Hornets in a hallway. One frag grenade clears the cluster; trying to rifle them costs time, health, and potentially alerts the next room. Budget two grenades per Dam run of any serious depth.
Bring a frag AND an EMP. The frag handles Hornet clusters. The EMP handles Sentinels on catwalk approaches and any crossing where you need to pass through a Sentinel's sightline. Two EMP slots is the Red zone or boss kit; one of each is the correct Orange zone Dam kit.
The Dam's patrol routes reconstitute over time: clearing the generator control rooms doesn't permanently open them for the session's remainder. Efficient movement and a planned extraction route beats trying to "clear" the zone before looting. Run in, hit the priority areas, get out before the patrols reset. That rhythm, learned at the Dam, is what Spaceport and Buried City will test at higher difficulty.
Loadout Quick Reference
| Role | Head | Chest | Primary | Zone Note |
|---|---|---|---|---|
| Solo runner | Medium | Light | Canto SMG | Interior focus |
| Frontline (squad) | Medium | Medium | Canto SMG or Ferro | Generator halls |
| Scout (squad) | Medium | Light | Canto SMG or Bastinelli | Exterior patrol routes |
| Carrier (squad) | Medium | Light | Canto SMG | Catwalks + control rooms |
Frequently Asked Questions
What is the Dam zone in ARC Raiders? The Alcantara Power Plant: a former Raider stronghold now occupied by ARC machines. Close-quarters interior corridors, waterlogged exterior sections that restrict movement, and catwalk routes above the generator floors. It's the second recommended zone in the progression path, after Blue Gate.
What weapons are best for the Dam? Canto SMG for most runs: the interior engagement ranges are the shortest in the game outside of Buried City. Dolabra shotgun for experienced players who've acquired it. Ferro battle rifle for the larger generator halls where sightlines open up.
Where is the best loot in the Dam? Generator control rooms and upper catwalks. Both have higher container density and better material quality than the exterior waterlogged sections.
How do you extract from the Dam? Interior cargo elevators are more defensible; exterior ones are faster to reach from outer zone runs. Raider Hatches are silent exits for high-value runs. Full breakdown in the ARC Raiders extraction guide.
Are there Sentinels in the Dam? Yes: on catwalks and exterior platforms. Less frequent than in Spaceport or Orange zone content, but the enclosed geometry means you can enter their sightline before identifying their position. Medium head armor and binoculars on catwalk approaches.
What level should I be for the Dam? Entry-to-mid: second zone in the normal progression path. Blue Gate first to learn extraction and patrol avoidance; Dam second to apply those habits in a close-quarters interior environment with higher ARC patrol density.
Related Reading
- ARC Raiders 1.27.0: Riven Tides Map and All Changes: ARC Raiders 1.27 dropped May 5: Turbine visibility fixes, grenade exploit patched, audio overhaul, and Embark's direct response....
- ARC Raiders Loot Guide: What to Keep, Sell, or Scrap: ARC Raiders loot guide: which materials to keep for crafting, which to sell for vendor XP, and which....
- ARC Raiders Armor Guide: Tiers, Noise & Zone Choices: ARC Raiders armor guide: all three armor tiers compared by noise penalty, protection, and zone fit. Includes head....
- ARC Raiders Spaceport Guide: Towers, Loot & Vaporizers: ARC Raiders Spaceport guide: Acerra Spaceport POIs, where Vaporizers spawn on the towers, open-terrain extractions, and loadouts that....
- ARC Raiders Best Solo Loadouts: Weapons, Gear & Tips: ARC Raiders best solo loadouts: ranked weapon, armor, and gadget picks for surviving White, Orange, and Red zones....
- ARC Raiders Riven Tides Guide: Shockwave, Loot, and Secrets: ARC Raiders Riven Tides guide: Shockwave clears the coastal mist, the Panorama Azzurro hotel loot is deceptively light,....
References
- ARC Raiders on Steam: official store page with zone and map documentation
- ARC Raiders Official Site: Embark Studios' official game page with zone and progression details
Was this guide helpful?
Keep reading


Disclaimer
This article is published for informational and entertainment purposes. It does not constitute professional financial, legal, or technical advice. Game performance, online services, patch schedules, and store listings change. Verify critical details (pricing, system requirements, regional availability) with publishers and storefronts before you buy. Affiliate links, where present, help support our editorial work and are labelled in our affiliate disclosure.
About the author

Indie & JRPG Critic
Indie game evangelist and lifelong JRPG fan covering small studios since 2017. Mumbai-born, London-based. Writes the way she talks.
- 7 years indie games coverage
- JRPG and visual novel specialist
- Narrative design focus