ARC Raiders · Guides
ARC Raiders Skill Tree Tier List: Best Upgrades Ranked
ARC Raiders skill tree tier list for 2026: all three branches ranked by impact. Which upgrades to prioritize first and what to save for endgame.
ARC Raiders skill tree priority: six points into Survival before anything else. That's the standard recommendation from experienced players, and the Detection Radius Reduction it unlocks earns it: Orange zones become navigable instead of lethal once your threat bubble shrinks enough to walk past patrols you'd otherwise trigger.
This ARC Raiders skill tree tier list ranks every upgrade across all three branches by practical impact, weighted toward the first 30 hours of play where early choices matter most.
TL;DR: Spend your first five or six skill points on ARC Detection Radius Reduction in the Survival branch, then Safe Pocket Expansion. Those two S-tier upgrades make Orange zones navigable and protect loot on death, which matters more than damage or carry weight early. Conditioning (carry weight) is the second priority once you run Orange zones confidently; Mobility is third, with Sprint Speed the lone exception. Points are permanent, with no reset announced, so invest deliberately.
Key Takeaways
- Three branches: Survival, Mobility, Conditioning: you can't max all three in the early game
- S tier, unlock first: ARC Detection Radius Reduction (Survival), Safe Pocket Expansion (Survival)
- A tier, invest next: Carry Weight (Conditioning), Sprint Speed (Mobility), Looting Speed (Survival)
- Mobility is third priority for most builds: Sprint Speed is the one exception
- Health Pool underperforms early: detection avoidance keeps you alive better than extra HP until you're deep into Red zones
Overview
The ARC Raiders skill tree branches into three independent paths: Survival, Mobility, and Conditioning. Each path unlocks sequentially: deeper upgrades require earlier ones. In the first several sessions, skill points are scarce enough that investing heavily into all three simultaneously isn't realistic. You're deciding which benefits to access first.
Skill investments are permanent and can't be reassigned. The order you unlock them determines what tools you have during the learning curve where most players lose the most runs. Wrong early choices don't ruin a character, but they delay the point where the game starts feeling fair.
Rankings below weight first-session usefulness over theoretical endgame ceiling. A skill that peaks at 200 hours rates lower than one that helps immediately unless the early investment is trivial.
S Tier: Unlock These First
ARC Detection Radius Reduction (Survival)
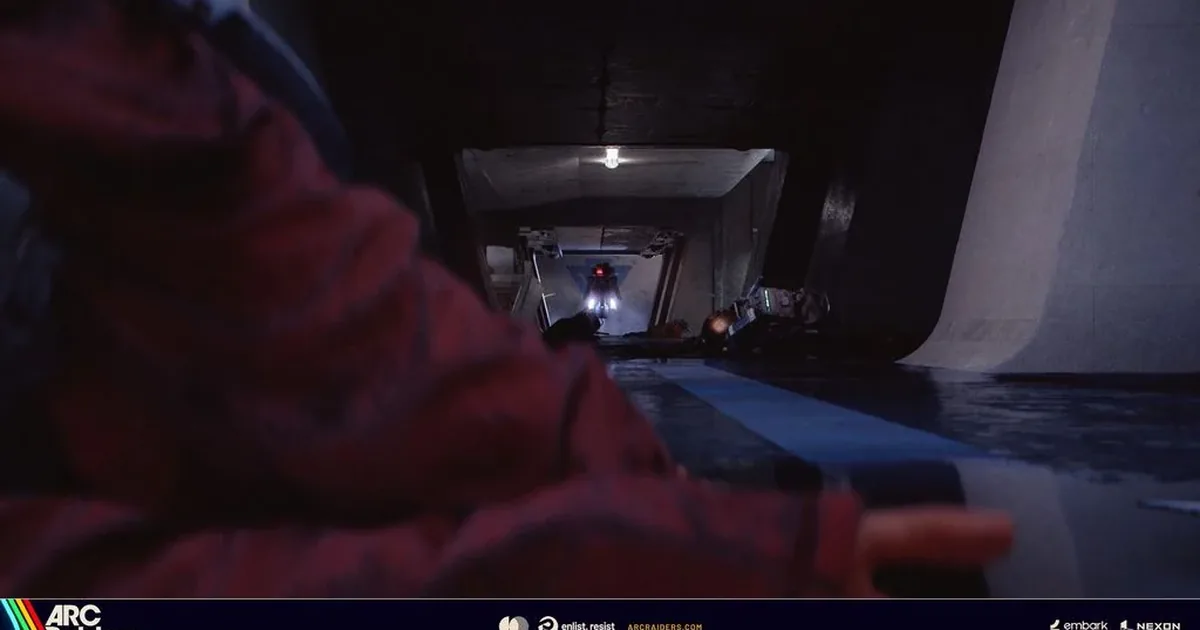
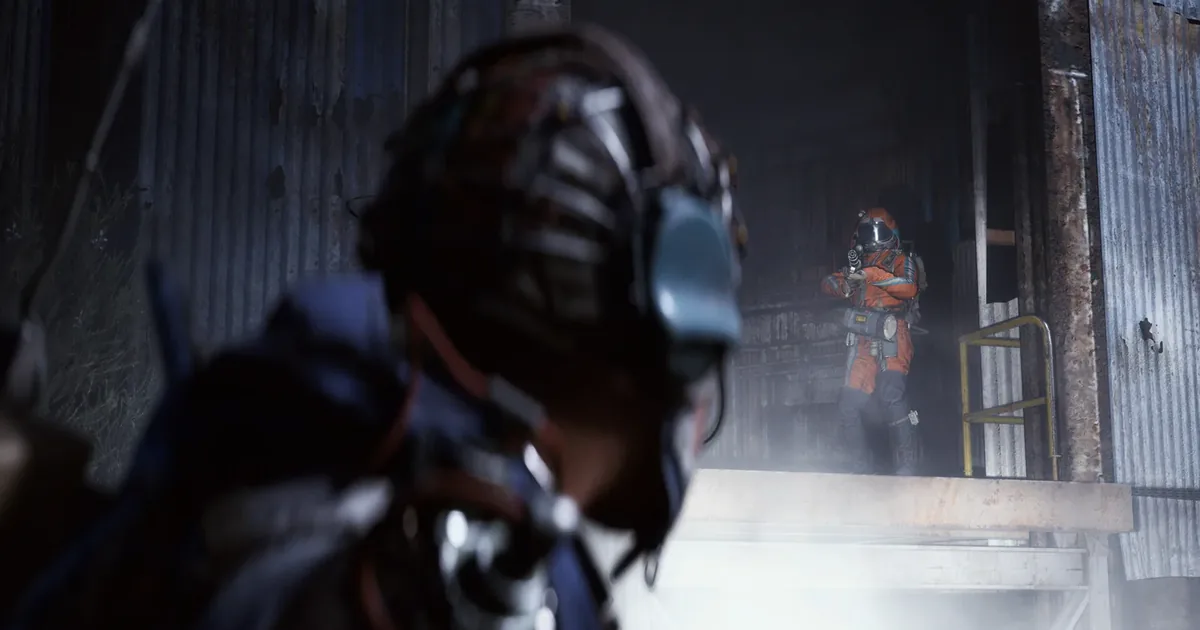
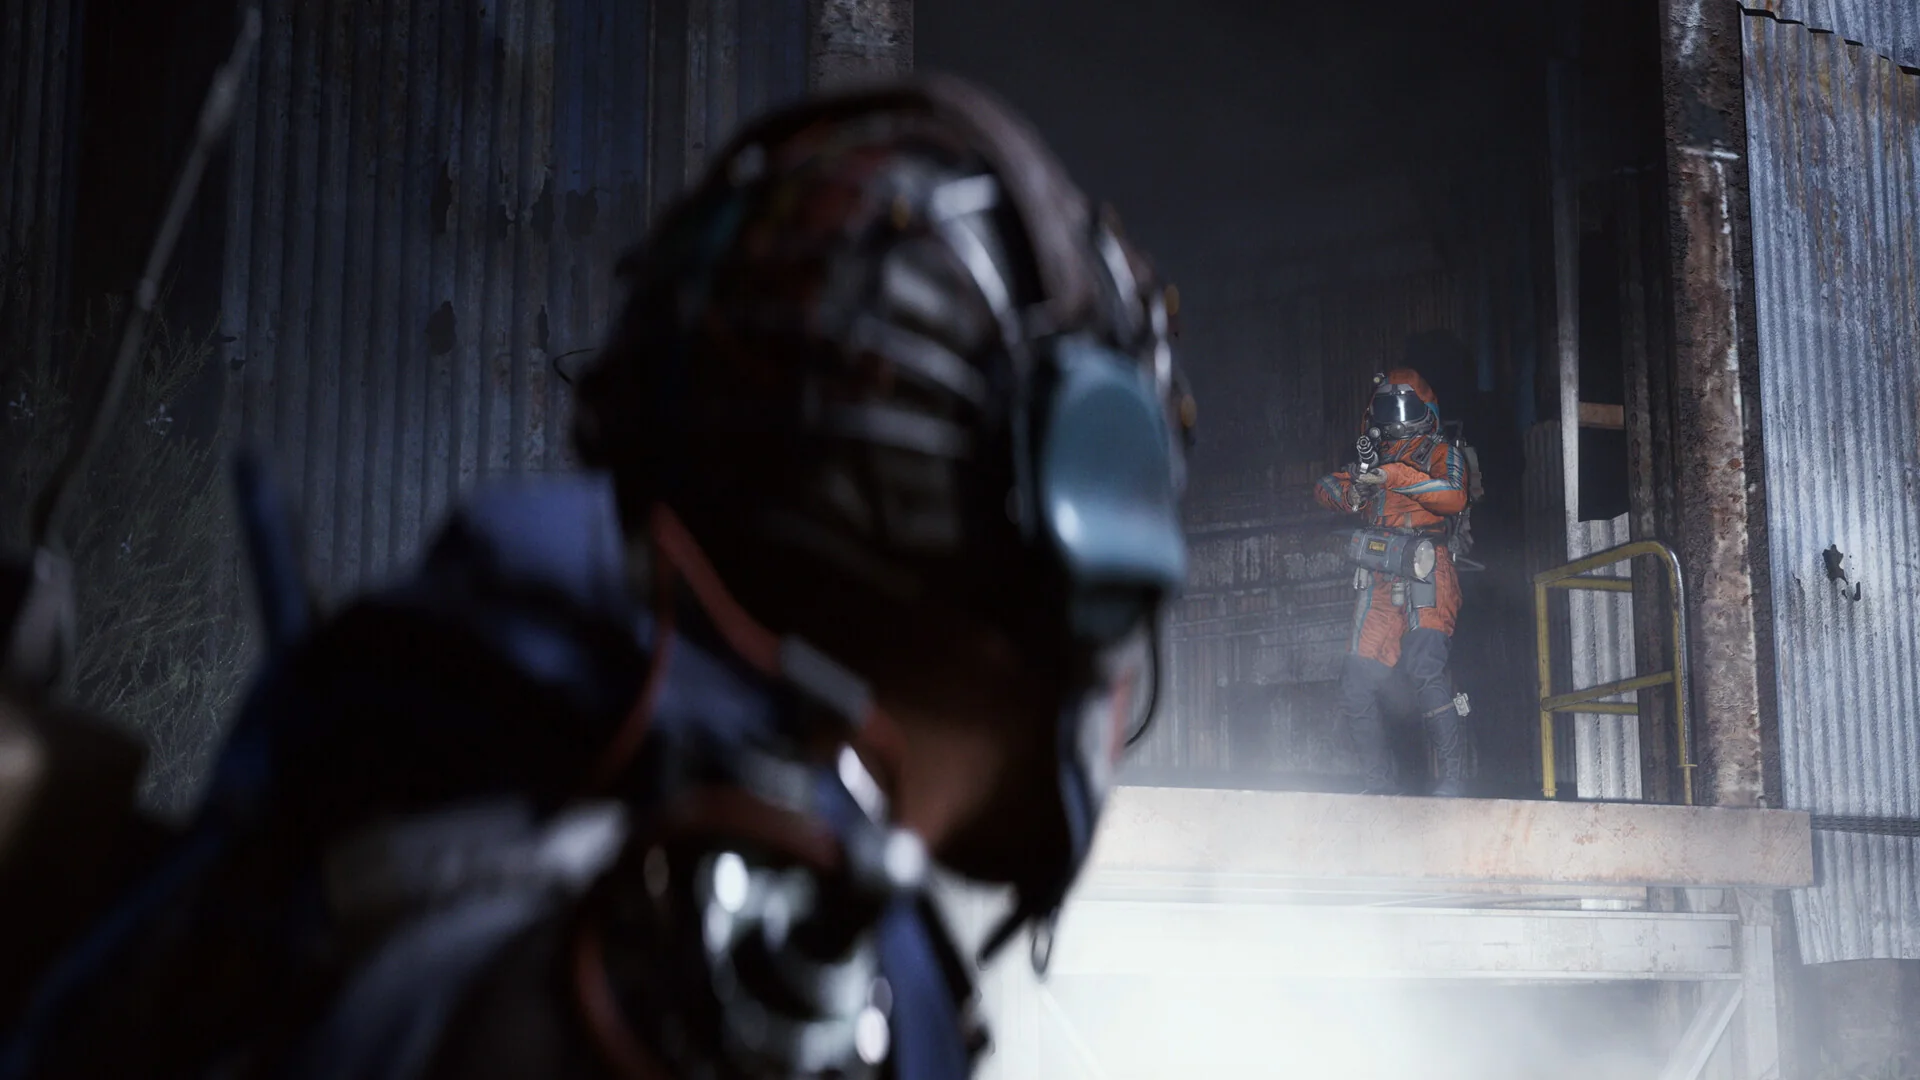
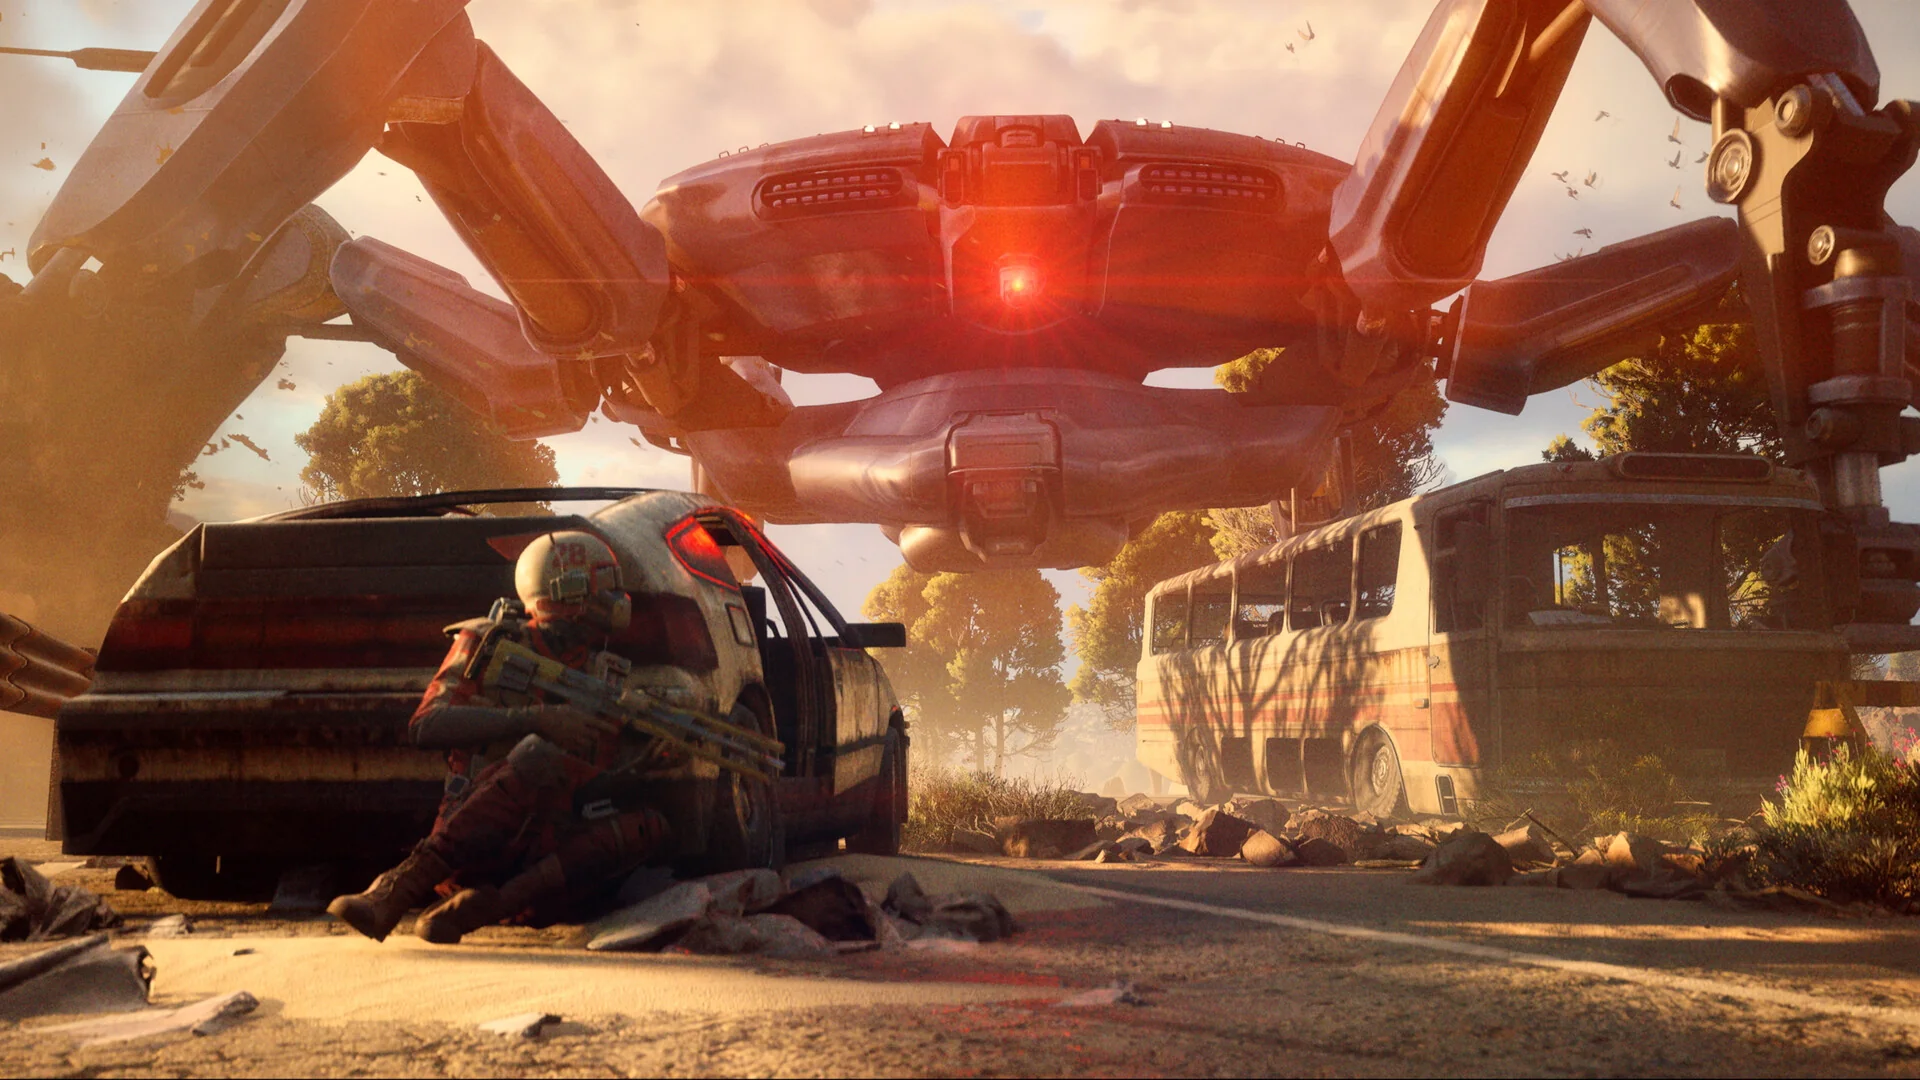
The single most impactful early upgrade in the game, bar none. ARC robots begin tracking you when you enter their detection range: a radius that's wide enough, at base, to create unavoidable engagements in areas you have to cross. Reducing that radius changes the threat geometry of every map.
After investing in detection radius reduction, you can pass within two or three meters of patrol units that would otherwise lock onto you before you'd even processed what triggered them. Routes that were combat gauntlets become corridors. In Orange zones, the difference is a session where you collect and extract versus a session where you fight for 20 minutes and die before reaching the extraction point.
The compounding value matters too. Fewer forced fights means less ammo spent, less health lost, less incentive to abort a run early. It doesn't just help you survive: it helps you loot more effectively by removing the interruptions.
Put your first five or six skill points here. Nothing else in the tree pays off as immediately.
Best for: Every playstyle. Detection radius reduction is equally valuable whether you're playing stealth, aggressive, or somewhere in between.
Safe Pocket Capacity (Survival)
The Safe Pocket expands as you progress through the Survival branch. Each additional slot is one more item that survives your death and makes it back to Speranza. In an extraction game where early progress lives and dies on what you can recover from bad runs, expanding the Safe Pocket directly shortens the recovery window after each death.
The decision logic is simple: the first slot holds quest items or exotic blueprints. The second holds rare crafting materials. By the time you have three or four slots, you're routinely extracting meaningful value even from failed sessions: the run that ends with a death in a Red zone still sends something home. Across 30 hours of play, the difference between a one-slot and three-slot Safe Pocket is substantial in cumulative resource terms.
Best for: All players. Expanding Safe Pocket capacity reduces the punishment of death at every stage of the game.
GODEEPER: How these two S-tier upgrades fit into your first 20 hours: vendor progression, zone routing, and when to branch to other skills. ARC Raiders beginner guide →
A Tier: Invest After S Tier Clears
Carry Weight (Conditioning)
The core extraction multiplier. Higher carry weight means more loot per run, more resources per session, and faster progress across every system downstream. Players in squads who are specifically assigned to hauling high-volume material runs should consider this their first non-Survival investment.
The reason it isn't S tier: early carry weight investment requires delaying detection radius and Safe Pocket upgrades, which is a bad trade when inventory capacity isn't the bottleneck: survival rate is. Once you're navigating Orange zones reliably and know at least two patrol routes per map, Conditioning becomes the correct second branch.
Best for: Mid-game players comfortable with Orange zones who want to scale loot income. Essential for squad members in the carrier role.
Sprint Speed (Mobility)
The Mobility branch's strongest early investment. Sprint speed affects extraction timing directly: faster movement between loot clusters and toward extraction points means fewer runs where the 30-minute timer is what kills you. On larger maps with significant traversal distances, the time saved over multiple zone rotations compounds.
Sprint speed also matters in PvP: breaking contact from an unfavorable encounter and reaching extraction before another squad closes in is a sprint speed problem as much as a combat problem. Most players underestimate how many deaths come from being too slow rather than too outgunned.
Best for: Players running large maps, players regularly under time pressure, and anyone whose playstyle involves deliberate avoidance over direct engagement.
Looting Speed (Survival)
Faster container animations in contested areas means less time crouched in a specific spot while patrols converge. In Red zones where every second in an exposed room carries increasing risk, the reduction matters. In White zones with room to breathe, it's noticeably less critical: but by the time you're pushing deeper, you'll want it.
Best for: Players regularly running Orange and Red zones who want cleaner loot windows between patrol cycles.
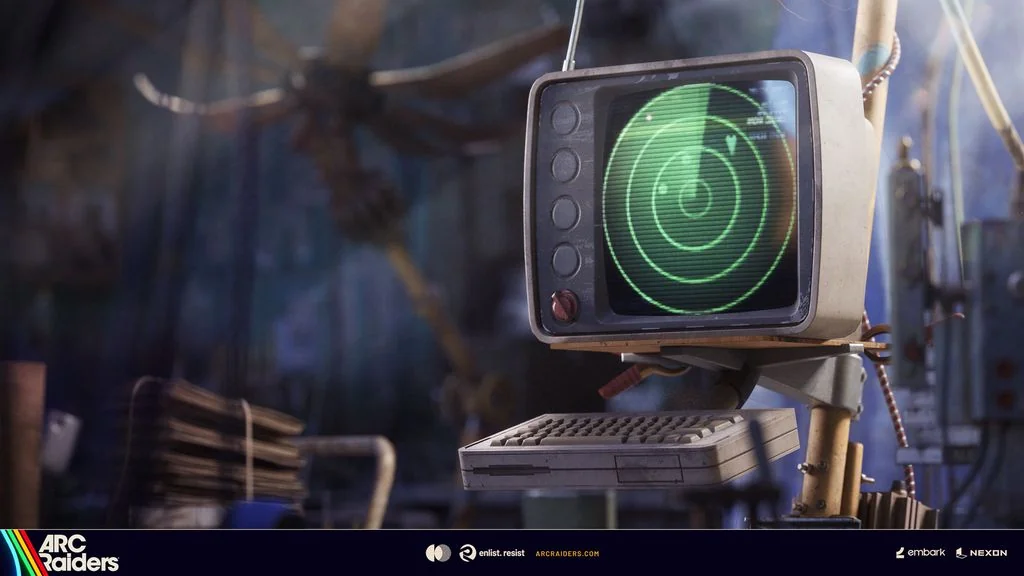 The satellite radar in Speranza tracks topside activity before you drop. The Detection Radius skill reduces how much of that activity finds you first once you're up there.
B Tier: Solid, Third Priority
Health Pool (Conditioning)
More health means more margin for mistakes. That's real value. The reason it sits at B tier rather than A is that players who've invested in detection radius and Safe Pocket encounter forced damage less frequently: the HP increase addresses a problem the S-tier skills partially prevent. Health Pool becomes an A-tier consideration once you're running Red zones regularly with unavoidable contact, but in the first 30 hours, detection avoidance is a more efficient survival mechanism.
Stamina Pool (Mobility)
A larger stamina pool lets you sprint longer without breaking pace, which matters on larger maps during extraction runs and in situations where you're covering distance under pressure. Less critical than sprint speed because the base stamina ceiling only becomes limiting once you're regularly exhausting it: which most early-game routes don't require.
Movement Noise Reduction (Survival)
The ARC Raiders beginner guide already covers holstering your weapon to reduce movement noise: that's a zero-cost baseline. This skill reduces noise further, beyond what weapon holstering provides. Useful in late Orange and Red zones where ARC patrol density is high enough that every noise variable matters. Complements detection radius reduction rather than replacing it; invest here after the S-tier Survival upgrades are secured.
C Tier: Endgame Quality of Life
Climbing Efficiency (Mobility)
Faster vertical traversal has real value on maps with significant elevation changes: Stella Montis in particular. On flatter maps, you'll rarely feel the difference. Worth having eventually; not worth delaying more impactful upgrades to get early.
Zipline Velocity (Mobility)
ARC Raiders has ziplines as movement options across certain map segments. Moving faster on them reduces time in a position where you can't return fire. The value is narrow: specific maps, specific routes. Once everything above it is purchased and you're routing through zipline-heavy sections deliberately, it becomes relevant.
Stamina Recovery (Conditioning)
Faster stamina regeneration after sprinting. A comfortable quality-of-life upgrade for sessions where you're sprinting frequently. The base recovery time isn't punishing enough to make early investment worthwhile: this gets picked up naturally as higher-priority upgrades run out.
Status Effect Resistance (Conditioning)
Reduces the duration or severity of status effects from certain ARC machine attacks: fire, shock, and similar. These come primarily from Red zone elite enemies and boss types. Not relevant until you're running Red zones and the specific enemies that apply status effects regularly. The same enemies that use status effects reward good detection and evasion first; addressing the detection radius keeps you out of more of those encounters than resistance reduces their impact once they hit.
ARC Raiders Flashpoint Update: Skill System Overview
The Flashpoint update introduced several of the current skill tree values referenced in this tier list. If you're returning from a break, this trailer covers the major balance pass on detection radius tuning and the changes to the Conditioning branch.
Branch Priority by Playstyle
Solo stealth: Heavy Survival investment through S and A tier before touching other branches. Detection radius and Safe Pocket are your core loop. Movement Noise Reduction at B tier becomes more valuable here than in other builds.
Solo aggressive: S-tier Survival first, then split toward Sprint Speed and Carry Weight. Health Pool at B tier becomes relevant sooner when you're taking fights intentionally.
Squad carrier: Carry Weight first after S-tier Survival. Your role is high-volume loot return: Conditioning serves that more directly than Mobility.
Squad scout: Sprint Speed and Looting Speed alongside S-tier Survival. You're covering distance quickly and clearing containers ahead of the carry.
For a complete picture of how skill tree choices fit into the broader extraction loop, the ARC Raiders beginner guide covers how branch investment interacts with vendor progression and zone routing. Weapon choices by playstyle are covered in the ARC Raiders weapons tier list. The ARC Raiders loot guide covers which materials to hoard to keep your Ferro crafting stack running while you invest in Survival.
GODEEPER: How branch investment translates into actual loadout choices: stealth builds, squad roles, and zone-by-zone priorities. ARC Raiders best solo loadouts →
Frequently Asked Questions
What is the best skill in ARC Raiders? ARC Detection Radius Reduction in the Survival branch. It changes how freely you can move through Orange zones by shrinking the radius at which ARC robots start tracking you. First five or six skill points, every build.
How many skill branches are there in ARC Raiders? Three: Survival, Mobility, Conditioning. They can't all be maxed simultaneously in the early game. Survival first, Conditioning second, Mobility third: unless your playstyle specifically demands otherwise.
Should I focus Survival or Conditioning first? Survival. The detection radius reduction pays off in every session from the moment you unlock it. Conditioning's carry weight is the right second investment, not the first.
Is the Mobility branch worth investing in? Yes, as a third priority. Sprint speed belongs in A tier and should be picked up after the core Survival and Conditioning investments. Zipline velocity and climbing efficiency have situational value that's map-specific.
Does the skill tree reset? No reset feature exists as of April 2026. Skill points are permanent. Survival branch first is the safest default regardless of playstyle.
When should I invest in Conditioning? Once you're running Orange zones reliably. Before that, survival rate is the bottleneck, not inventory capacity. Get Survival's S-tier upgrades first, then shift.
Related Reading
- ARC Raiders 1.27.0: Riven Tides Map and All Changes: ARC Raiders 1.27 dropped May 5: Turbine visibility fixes, grenade exploit patched, audio overhaul, and Embark's direct response....
- ARC Raiders Dam Guide: Loot, Patrols & Extractions: ARC Raiders Dam guide: Alcantara Power Plant loot, patrol routes, close-quarters tips, and which extractions to use in....
- ARC Raiders Armor Guide: Tiers, Noise & Zone Choices: ARC Raiders armor guide: all three armor tiers compared by noise penalty, protection, and zone fit. Includes head....
- ARC Raiders Machine Types: How to Kill Every ARC Unit (2026): ARC Raiders machine types guide: Hornet, Wasp, Tick, Firefly, Rocketeer kill strategies with exact weak points, ammo picks,....
- ARC Raiders Enemy Types Guide: ARC Units Ranked by Threat: ARC Raiders enemy types guide: ARC machine classes ranked by threat, with audio cues, detection behavior, and the....
- ARC Raiders Stella Montis Guide: Loot, Blueprints, PvP: ARC Raiders Stella Montis guide: endgame zone, night-exclusive Tempest and Wolfpack blueprints, free loadout strategy, and why it's....
References
- ARC Raiders on Steam: patch history, system requirements, and full release information
- ARC Raiders Official Site: Embark Studios' official game page with Flashpoint update details
Keep reading

Disclaimer
This article is published for informational and entertainment purposes. It does not constitute professional financial, legal, or technical advice. Game performance, online services, patch schedules, and store listings change. Verify critical details (pricing, system requirements, regional availability) with publishers and storefronts before you buy. Affiliate links, where present, help support our editorial work and are labelled in our affiliate disclosure.
About the author

Indie & JRPG Critic
Indie game evangelist and lifelong JRPG fan covering small studios since 2017. Mumbai-born, London-based. Writes the way she talks.
- 7 years indie games coverage
- JRPG and visual novel specialist
- Narrative design focus