ARC Raiders · Guides
ARC Raiders Best Solo Loadouts: Weapons, Gear & Tips
ARC Raiders best solo loadouts: ranked weapon, armor, and gadget picks for surviving White, Orange, and Red zones as a solo Raider with no backup.
ARC Raiders best solo loadouts solve one problem: you're planning for two different fights at once. ARC robots want you loud so they can triangulate. Other Raiders want you isolated so they can ambush (our other Raiders survival guide covers reading and surviving those player encounters). The loadout that handles both isn't the heaviest: it's the quietest one that still has enough burst damage to close a fight before it turns into a siege.
This ARC Raiders best solo loadouts guide ranks the loadouts that work across all five maps, ordered by zone difficulty. Every pick is built around the solo playstyle constraint: no teammate revives, no distraction plays, no one to cover an extraction.
TL;DR: Run the stealth-first Ferro + Canto loadout for most solo raids: a crafted Ferro battle rifle for mid-range, a Canto SMG for close quarters, light armor to stay quiet, two medkits and one stim. Light armor beats heavy on almost every solo build because detection radius keeps you alive more than damage mitigation does. Stick to the free Standard loadouts for your first 20-30 hours before crafting personal kits.
Key Takeaways
- Stealth-first Ferro + Canto is the default solo loadout for Orange zones: handles mid and close range without compromising movement noise
- Light armor beats heavy armor for almost every solo build; detection radius matters more than damage mitigation
- Two medkits plus one stim is the right consumable count: anything more displaces loot slots
- Standard loadouts stay viable until your first 20-30 hours are done: don't burn crafted gear learning maps
- Hatch Keys are non-negotiable for Orange and Red zone solo runs: the silent extraction pays for itself the first time a squad appears
Why Solo Loadouts Differ from Squad Loadouts
A squad can absorb one loud extraction. A solo player cannot. A squad can post one member on overwatch while two loot. A solo player is always the overwatch and the looter simultaneously. Loadout design has to account for that.
Three constraints matter more for solo than for squads:
Noise profile. Heavy armor, large-caliber weapons, and certain gadgets produce movement and firing audio that attracts ARC patrols and broadcasts your position to any other squad on the map. Solo players can't split attention to pre-clear the area after a noise event. The quieter build wins even when it pays a damage penalty.
Extraction independence. Solo players reach extraction alone. No one to cover the elevator activation window. Every loadout choice has to leave room for an emergency extraction option: specifically a Hatch Key and the inventory slot to carry it.
Sustained versus burst. Squads can take longer fights because three weapons deal more damage faster and revives reset the clock. Solo engagements should end in the first five to eight seconds or you should be actively breaking contact. That favors burst damage over sustained fire, and mobility over suppression.
GODEEPER: Running as a three-player squad changes the loadout math significantly: roles, weapon distribution, and shared extraction strategy. ARC Raiders best squad loadouts →
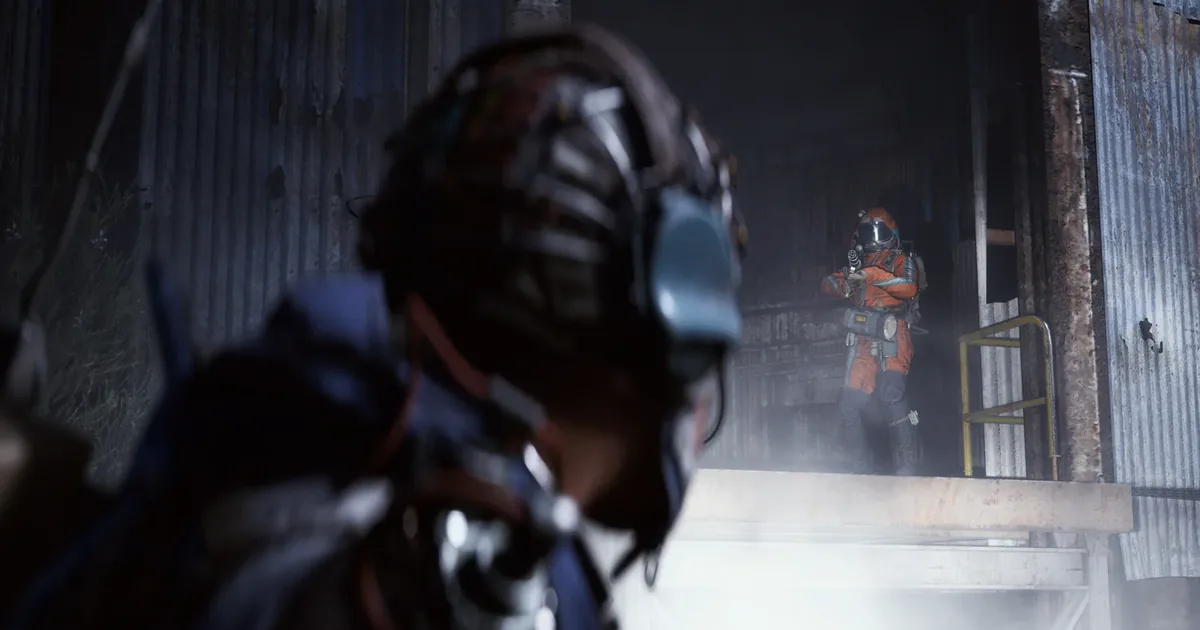
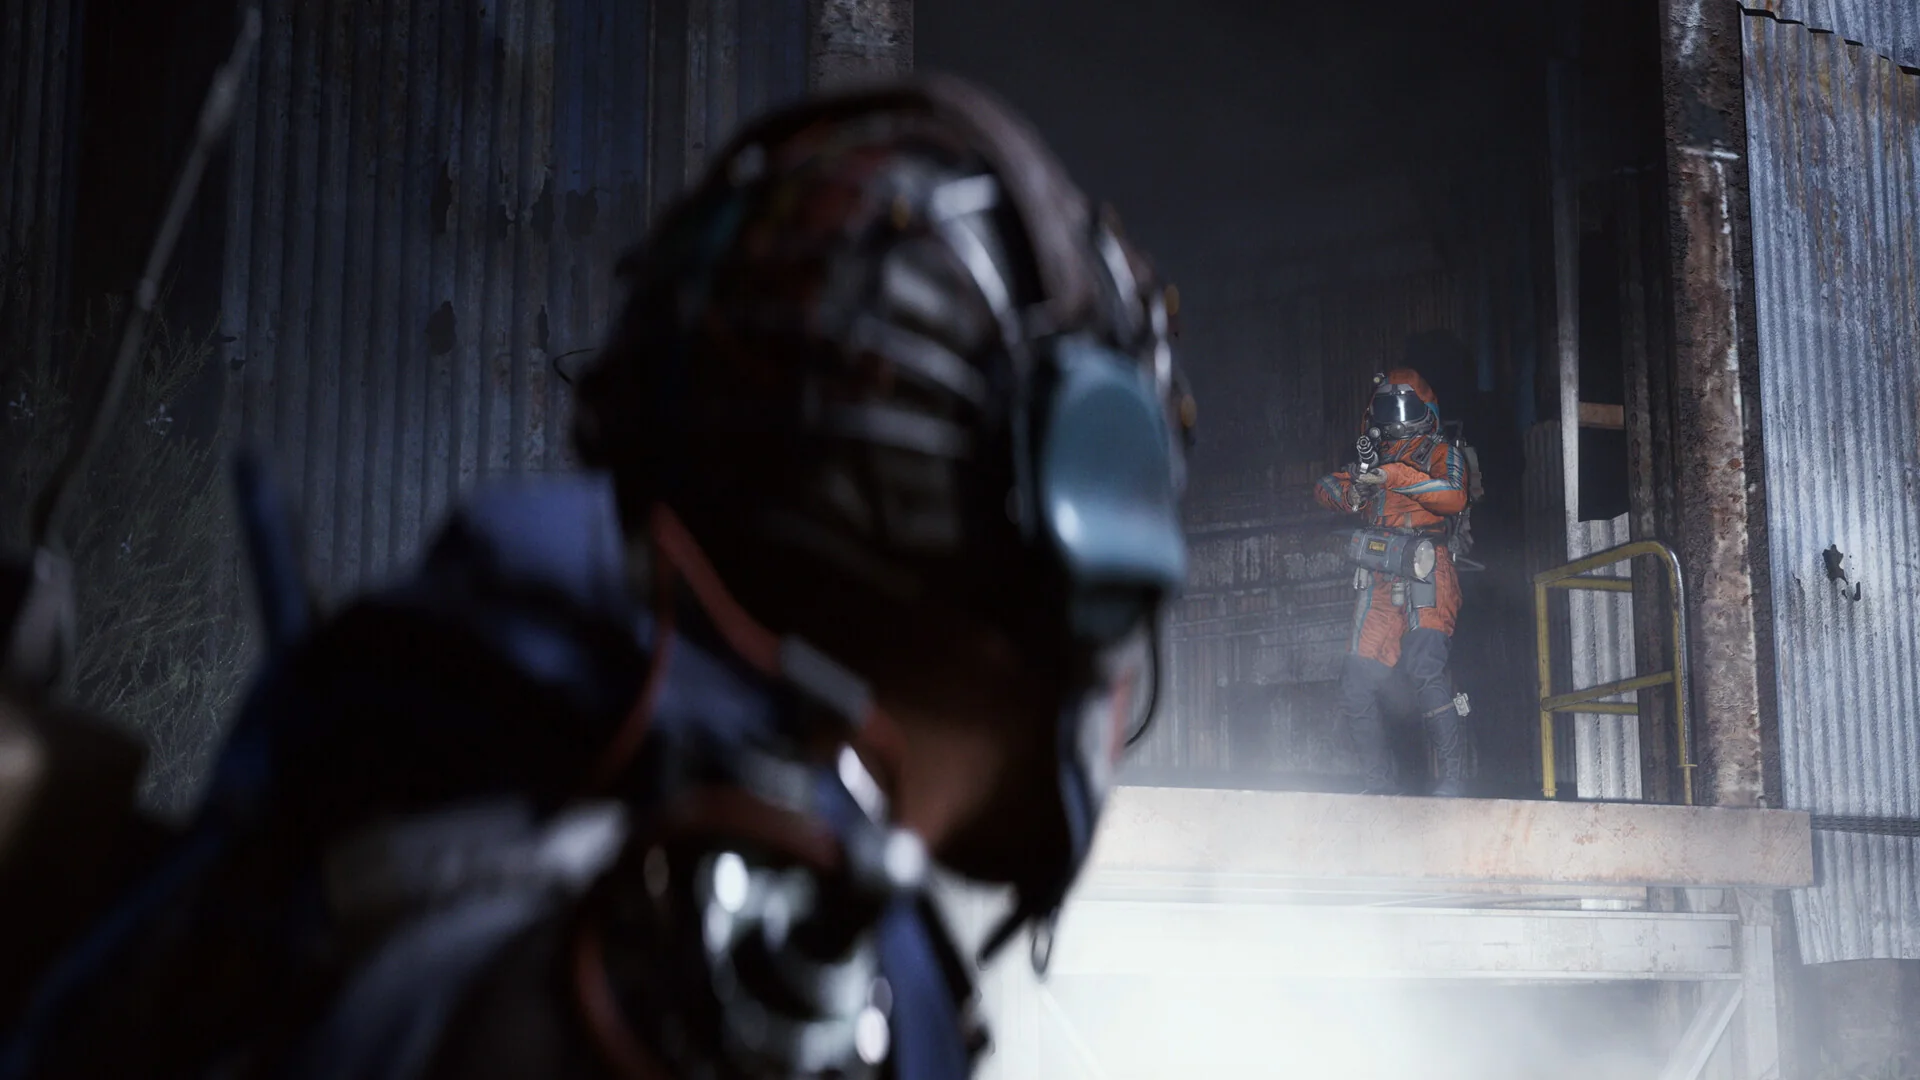
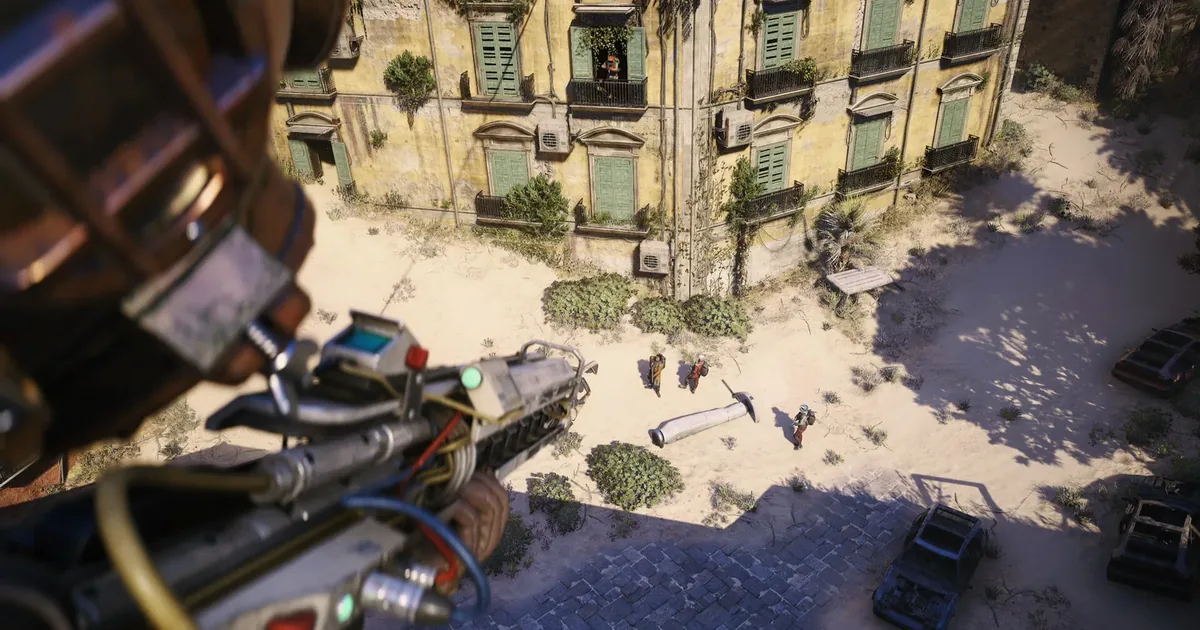 Pre-scanning an Orange zone courtyard before committing. Solo engagements should start at your preferred range, not theirs: weapon choice has to match the sightlines the map actually offers.
The Three Solo Loadouts That Cover Every Zone
1. Stealth Scavenger: White to Mid-Orange Zones
Primary: Ferro battle rifle (crafted) Secondary: Canto SMG Armor: Light chest + light head Gadgets: Binoculars, one EMP grenade Consumables: Two medkits, one stim Safe Pocket: One Hatch Key
The Ferro covers 20-50 meter ARC engagements reliably, the Canto handles the rare indoor surprise, and light armor keeps your detection radius small enough to walk past patrols the build is designed to avoid. This is the loadout you run when the session goal is volume loot, not combat.
The Hatch Key in the Safe Pocket is deliberate. If the run goes wrong, you extract silently through a Raider Hatch without activating a noisy Cargo Elevator. The key survives your death because the Safe Pocket survives your death: the cost to carry it is zero the moment you clear the map.
Best for: Solo sessions focused on material farming in White zones and opportunistic Orange zone loot. Avoid direct ARC contact whenever possible.
2. Mid-Range Specialist: Orange Zones
Primary: Bastinelli marksman rifle (or crafted Ferro if you don't have Bastinelli unlocked yet) Secondary: Canto SMG Armor: Light chest + medium head Gadgets: Binoculars, one EMP grenade, one frag grenade Consumables: Two medkits, one stim Safe Pocket: One Hatch Key, one quest item slot free
The Bastinelli extends the engagement range to 80+ meters, which matters in Orange zones where you need to end patrols before they close to the distance where their audio signature would alert adjacent patrols. The medium head piece trades a small noise penalty for the extra chance of surviving a Sentinel headshot: a trade worth making once Orange zone content is your standard loot target.
The frag grenade is the key addition over the stealth loadout. Orange zones produce occasional tight cluster encounters where three or four light ARC units spawn in a corridor. A frag grenade resolves that instantly; trying to solve it with sustained rifle fire brings every patrol within two rooms to your position.
Best for: Intentional Orange zone runs where you're accepting some combat but still prefer avoidance when possible. The Bastinelli's range lets you pick fights on your terms.
3. Red Zone Loadout: For Players Who Know the Map
Primary: Crafted Anvil (if vendor level 3+) or upgraded Ferro Secondary: Canto SMG or crafted shotgun Armor: Medium chest + medium head Gadgets: Binoculars, two EMP grenades, one frag grenade Consumables: Three medkits, two stims Safe Pocket: One Hatch Key, one quest item slot, one blueprint slot
This is not a loadout for your first solo Red zone run. It assumes you've already completed two or three Red zone runs in a squad, understand where the bosses and elites patrol, and can identify the audio signatures of every ARC enemy type you'll encounter. The medium armor protects against the elite burst damage you will take; the extra EMP grenades are for boss phase transitions.
The consumable count goes up to five because Red zone engagements last longer than Orange ones: you will take damage, and the question becomes whether you can absorb two engagements before extraction rather than one. Carrying three medkits converts that from a coin flip to a near-certainty.
Best for: Solo Red zone runs where you have a specific loot goal: an exotic blueprint, a quest item, a specific rare material drop. Not for exploration runs; if you don't know the route, run this in a squad instead.
GODEEPER: Full weapon rankings: which primary and secondary options perform best across zone tiers. ARC Raiders weapons tier list →
Step-by-Step: Building a Solo Loadout Before a Run
-
Check your session goal first. Material farming, quest progression, and boss runs each call for different loadouts. Don't build a generic "good for everything" kit: solo inventory is too tight for that.
-
Pick your primary weapon based on the map. Stella Montis and Buried City favor mid-to-long range picks (Ferro, Bastinelli). Blue Gate and Dam Battlegrounds have more close-quarters encounters where the Canto or a shotgun pulls more weight as a primary. The ARC Raiders Dam guide covers the zone-specific patrol layout and loot routing that changes weapon priority from the default.
-
Verify your armor tier matches the session. Running heavy armor into a stealth session wastes the armor and kills your mobility. Running light armor into a Red zone run gets you killed in the first elite contact.
-
Fill consumable slots before gadget slots. Medkits first, stim second, then gadgets. An emergency medkit is worth more than a third gadget you'll never deploy.
-
Leave one Safe Pocket slot open. Quest items and high-value loot that appear mid-run need a home. Pre-filling every Safe Pocket slot with a Hatch Key and two blueprints means the rare drop you find in a Red zone container goes into your regular inventory, where it dies with you.
-
Confirm extraction route before dropping. The loadout you bring has to match the extraction point you intend to reach. A stealth loadout drops near a Raider Hatch route; a Red zone loadout drops near the Cargo Elevator closest to your boss target.
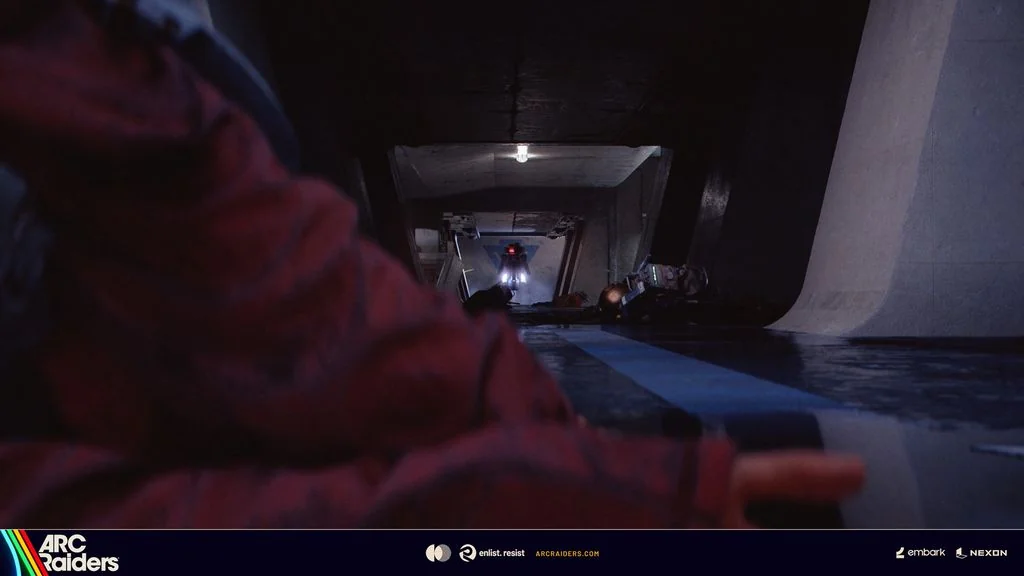
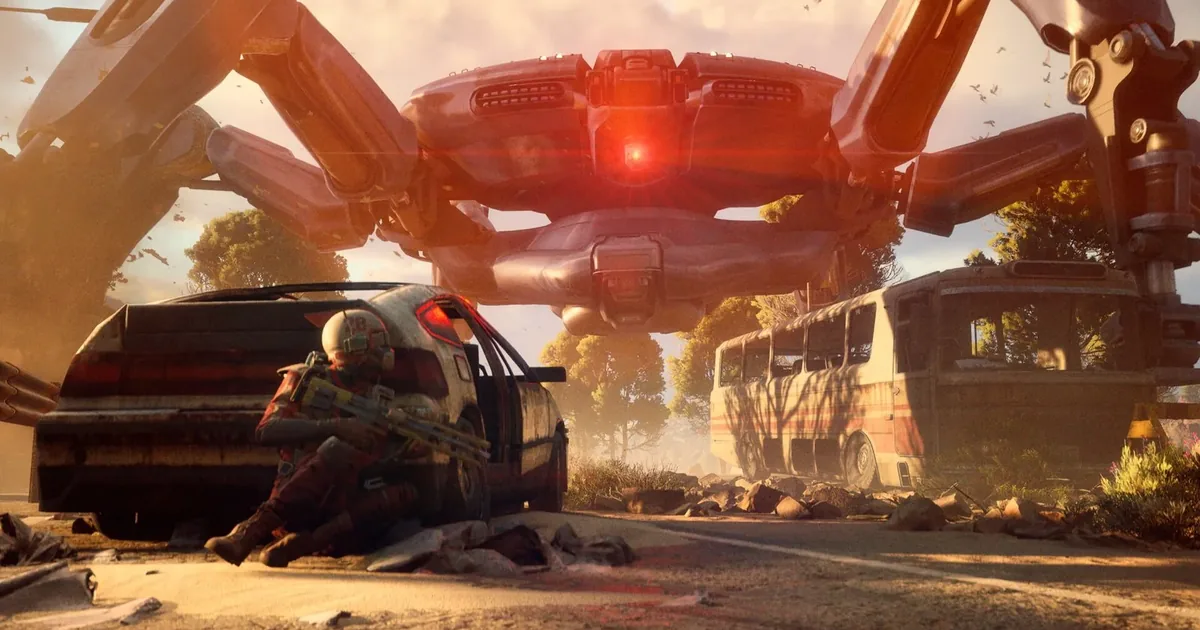
 Night movement at extraction. The extraction route you can reach quietly is worth more than the route that's closer but louder: loadout and route plan together.
Tips for Running Solo Loadouts
Track your death cost per session. Solo players who don't monitor their loadout cost burn through materials faster than they realize. Before each run, note the approximate cost of the loadout: weapons, armor, consumables, gadgets. If a session consumes three crafted loadouts, the session was a net resource loss regardless of what you extracted.
The ARC Raiders loot guide covers which materials to keep for rebuilding these loadouts versus which to sell for vendor XP. Solo players burn materials faster than squads: the guide's priorities apply more urgently to solo play.
Skill tree investment matters more for solo builds. Detection radius reduction and Safe Pocket expansion are the two skills that directly compound with stealth-first loadouts. The ARC Raiders skill tree tier list ranks every upgrade, but for solo play the first five or six points should all go to Survival branch regardless of playstyle.
Don't bring what you can't afford to lose. If the crafted Anvil is your only Anvil and losing it sets back a week of material grinding, don't bring it into a Red zone run you're not confident in. The best loadout on paper is worse than the adequate loadout you can replace tomorrow.
Pair weapon choice with armor noise profile. A loud rifle on a light-armor stealth build defeats the point. Match the system: quiet loadouts are quiet everywhere; loud loadouts commit to the fight being detectable.
Take the Practice Range seriously. Before running a new primary weapon into a real map, test it in the Practice Range. Recoil patterns, reload timings, and effective range all matter more when you can't ask a teammate to swap with you mid-run. The ARC Raiders beginner guide walks through the Practice Range use case in detail.
Save the Bastinelli for Orange+ runs. The marksman rifle is expensive per-round and less useful in White zones where engagement ranges rarely exceed 30 meters. Carrying it into White zones wastes a crafted weapon on low-tier encounters.
Rotate armor between runs. Heavy armor stockpiles faster than you use it because most runs should be light-armor stealth runs. If your inventory is filling with unused heavy chests, sell them to Tian Wen for vendor XP rather than letting them occupy crafted storage.
Loadout Quick Reference
| Loadout | Armor | Primary | Secondary | Zone |
|---|---|---|---|---|
| Stealth Scavenger | Light | Ferro | Canto SMG | White → Mid-Orange |
| Mid-Range Specialist | Light + Med head | Bastinelli | Canto SMG | Orange |
| Red Zone Solo | Medium | Anvil / Ferro | Canto / Shotgun | Red (map-known) |
| Standard Starter | Borrowed | Borrowed | Borrowed | First 20-30 hours |
Frequently Asked Questions
What is the best solo loadout in ARC Raiders? The stealth-first Ferro + Canto loadout with light armor, two medkits, and a Hatch Key in the Safe Pocket. It handles White and Orange zones and keeps your escape option intact if a squad shows up.
Should I run light or heavy armor solo? Light armor by default. Heavy armor increases noise and detection radius, which are the metrics solo survival depends on. Heavy armor makes sense only for specific Red zone runs where you've planned the fight.
What weapons should a solo player use? Mid-range primary (Ferro or Bastinelli) plus close-range secondary (Canto SMG). Skip LMGs and heavy weapons: their reload and movement penalties are lethal without a teammate to cover you. Full rankings in the ARC Raiders weapons tier list.
Is it worth running Standard loadouts as a solo? Yes, for your first 20-30 hours. Zero death cost lets you learn maps without resource bleed. Transition to crafted only after you have reliable extraction routes on at least three maps.
How many medkits should I bring? Two medkits and one stim. Three total consumables fits without displacing loot slots. More than that means the loadout is over-provisioned for combat and under-provisioned for loot.
What gadgets help a solo player? Binoculars, one EMP grenade, one Hatch Key in the Safe Pocket. Add a frag grenade for Orange+ runs. Skip ziplines and traps unless you've planned a specific map choke point.
Related Reading
- ARC Raiders 1.27.0: Riven Tides Map and All Changes: ARC Raiders 1.27 dropped May 5: Turbine visibility fixes, grenade exploit patched, audio overhaul, and Embark's direct response....
- ARC Raiders Armor Guide: Tiers, Noise & Zone Choices: ARC Raiders armor guide: all three armor tiers compared by noise penalty, protection, and zone fit. Includes head....
- ARC Raiders Spaceport Guide: Towers, Loot & Vaporizers: ARC Raiders Spaceport guide: Acerra Spaceport POIs, where Vaporizers spawn on the towers, open-terrain extractions, and loadouts that....
- ARC Raiders Machine Types: How to Kill Every ARC Unit (2026): ARC Raiders machine types guide: Hornet, Wasp, Tick, Firefly, Rocketeer kill strategies with exact weak points, ammo picks,....
- ARC Raiders Enemy Types Guide: ARC Units Ranked by Threat: ARC Raiders enemy types guide: ARC machine classes ranked by threat, with audio cues, detection behavior, and the....
- ARC Raiders Stella Montis Guide: Loot, Blueprints, PvP: ARC Raiders Stella Montis guide: endgame zone, night-exclusive Tempest and Wolfpack blueprints, free loadout strategy, and why it's....
References
- ARC Raiders on Steam: official store page with patch notes that affect weapon balance
- ARC Raiders Official Site: Embark Studios' official game page with vendor and crafting documentation
Was this guide helpful?
Keep reading

Disclaimer
This article is published for informational and entertainment purposes. It does not constitute professional financial, legal, or technical advice. Game performance, online services, patch schedules, and store listings change. Verify critical details (pricing, system requirements, regional availability) with publishers and storefronts before you buy. Affiliate links, where present, help support our editorial work and are labelled in our affiliate disclosure.
About the author

Senior Critic & Analyst
Former game data analyst turned critic with 11 years covering indie and mid-tier games. Based in Austin. Runs spreadsheets on games most people just play.
- 11 years games criticism
- Former game economy analyst
- Roguelike and strategy specialist