ARC Raiders · Guides
ARC Raiders Extraction Guide: All 4 Types Explained
ARC Raiders extraction guide: how to use all 4 extraction types, what each alarm radius covers, when to use a Raider Hatch Key, and how not to waste one.

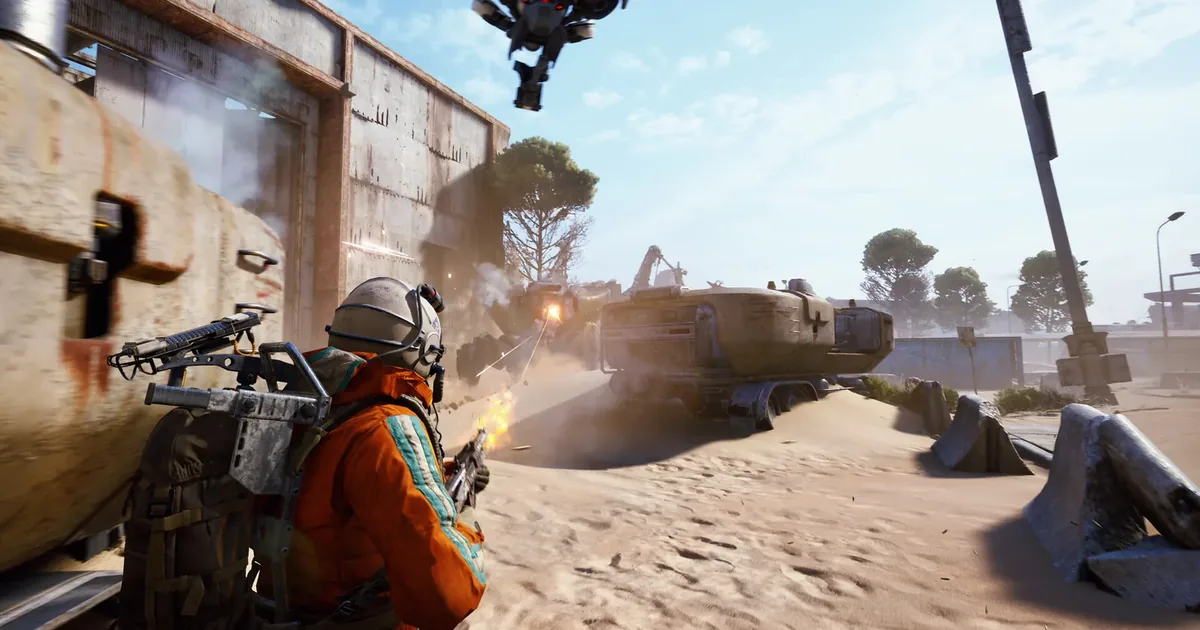
This ARC Raiders extraction guide covers all four extraction types, timers, alarm radii, and when to use a Raider Hatch Key. The console is right there. You press E. An alarm screams across the zone. Every ARC unit and every other Raider now knows exactly where you are. Now you wait 90 seconds.
That gap between calling extraction and actually leaving is where most gear gets lost. Understanding how each type works (what it broadcasts, how long it takes, when to use which one) is the difference between clean runs and expensive ones. New to ARC Raiders entirely? The ARC Raiders beginner guide covers gear slots, zone tiers, and Speranza before you start worrying about extraction timing.
TL;DR: ARC Raiders has four extraction types: cargo elevators (~90s, loud), airshafts (60-70s, loud), Metro stations (Buried City, elevator-like), and silent Raider Hatches that need a single-use key and stay open only 15 seconds. Pressing any console triggers an alarm that tells every ARC unit and Raider where you are, so the wait is where most gear gets lost. Raider Hatches are disabled during electromagnetic storms, so always plan a backup exit.
Key Takeaways
- Press E on any extraction console to call extraction: triggers a loud alarm (except Raider Hatches)
- 4 extraction types: cargo elevators (~90s), metro stations (Buried City), airshafts (~60-70s), Raider Hatches (15s, silent, key required)
- Raider Hatch window is only 15 seconds: miss it and the key is consumed with no extraction
- All 3 squad members extract together from one console activation
- Storm conditions disable Raider Hatches and reduce total extraction points available
- 2-minute passive timer: staying in an extraction zone that long sends you back to Speranza automatically
How Extraction Works
Every extraction in ARC Raiders starts the same way: find a console, press E. That interaction starts two things simultaneously: a timer counting down to your departure, and an alarm that announces your location.
The alarm radius is zone-wide for cargo elevators. ARC units within hearing range respond to the alert. Other Raiders in the zone hear it, and how they react is its own discipline (see the other Raiders guide for handling player pushes). If anyone was on their way to that extraction point already, now they know you're there and on a countdown clock.
You and your squad need to stay inside the extraction zone until the timer expires. Moving outside the zone cancels the extraction: you don't lose a "charge" on the console, but you have to restart the timer when you get back in. During a contested extraction, this is the mechanic raiders use to stall defenders who stepped outside the zone boundary to take cover.
One person activates, everyone extracts. Your squadmate doesn't need to touch the console separately: being inside the extraction zone when the timer completes is enough. This is load-bearing for squad coordination: whoever reaches the console first activates it, then calls the rest of the team in.
The 4 Extraction Types
Cargo Elevators
Timer: ~90 seconds
Noise: Loud siren broadcast across the zone
Key required: No
Storm availability: Yes
Cargo elevators are the default extraction. No key, no special requirement: press E and wait. The tradeoff is the noise. A cargo elevator siren is unmistakable and reaches far enough that any player or ARC unit with reasonable positional awareness in the zone will hear it.
90 seconds is a long time to hold a position against enemies who know exactly where you are. The viable approaches are either to pre-clear the area before activating (expensive in time and ammo), to activate and immediately take cover at the zone boundary (creates crossfire for anything rushing your position), or to accept that you'll take pressure and have enough HP and medkits to weather it.
Cargo elevators are available on all maps and are the backup plan when every other extraction type is unavailable or compromised.
Metro Stations
Timer: ~90 seconds (similar to cargo elevator)
Noise: Loud, similar broadcast profile to cargo elevator
Key required: No
Storm availability: Yes
Map: Buried City only
Metro stations are the Buried City variant of the cargo elevator. Mechanically they function the same way (press E, wait for the train, broadcast your position) but their placement is specific to Buried City's street network. They're positioned near the major district nodes in the city layout, which makes them more accessible from the interior loot areas than some cargo elevator positions.
If you're running Buried City, knowing which metro station is closest to your loot route saves time relative to crossing open terrain to reach a cargo elevator.
Airshafts
Timer: ~60-70 seconds
Noise: Engine sound, less broadcast than cargo elevator siren
Key required: No
Storm availability: Yes
Airshafts are faster than cargo elevators and quieter, though not silent. The engine noise from the dropship is audible to nearby players, but it doesn't broadcast as far as the cargo elevator's dedicated siren. The practical difference is that an airshaft extraction doesn't announce itself to the entire zone: players on the far side of the map may not hear it at all.
For runs where you want to limit exposure time and don't have a Raider Hatch Key, airshafts are often the better choice over cargo elevators. The 20-30 second reduction in exposure window is significant when ARC units are converging, and the quieter alarm profile means players on the far side of the zone may not respond at all.
Check which zones have airshafts before planning your run: not every map has equal airshaft distribution. The ARC Raiders maps guide breaks down extraction point availability by zone.
Raider Hatches
Timer: 15-second window
Noise: Silent
Key required: Yes (single-use Raider Hatch Key)
Storm availability: No: disabled during electromagnetic storm
Raider Hatches are the cleanest extraction in the game and the most unforgiving to use. Silent: no alarm, no broadcast. Other Raiders don't know you're extracting unless they physically see you enter the hatch. ARC units don't respond. You're just gone.
The conditions:
- You need a Raider Hatch Key in your inventory. Single-use.
- You use the key at the Raider Hatch location.
- The hatch opens. You have 15 seconds to enter.
- If you don't make it in 15 seconds, the key is consumed and the hatch closes. No refund.
- During electromagnetic storm conditions, Raider Hatches are completely disabled regardless of whether you have a key.
The 15-second window sounds tight because it is tight. The hatch doesn't stay open long enough to fumble approaching it or to wait for a squadmate who's 200 meters away. If you're planning a Raider Hatch exit, everyone in your squad needs to be at or near the hatch before you use the key.
When to use a Raider Hatch Key:
- You have high-value loot worth protecting and can't afford the ambush risk of a noisy extraction
- You're in a position where other Raiders are actively looking for you
- You've pre-positioned your squad at the hatch location before popping the key
- Storm conditions are not active
When not to use a Raider Hatch Key:
- Your squad is split across the map and needs 3 minutes to regroup
- Electromagnetic storm is active
- You're not sure where the nearest Raider Hatch is on this map: panic-using a key with no plan wastes it
GODEEPER: Hatch Keys are highest-priority Safe Pocket items on high-value runs: and the Safe Pocket only has so many slots. ARC Raiders loot guide →
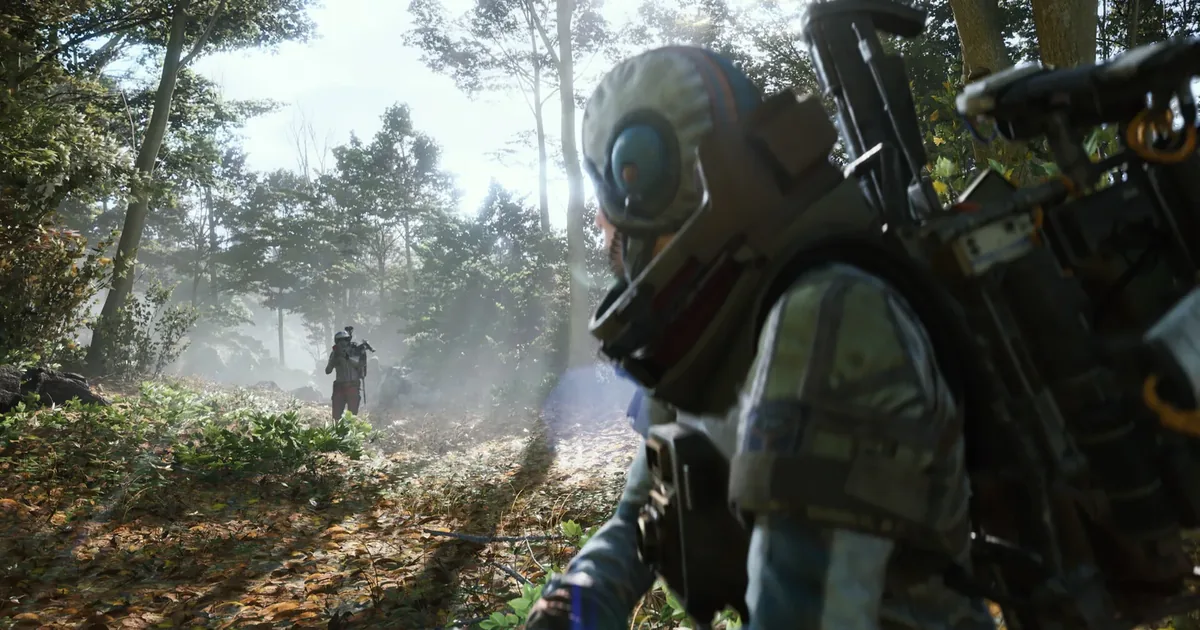 Getting to extraction before a squad closes in. A pre-chosen route to your exit point beats picking one under pressure with gear on your back.
Step-by-Step: Calling a Safe Extraction
1. Identify your extraction type before you start your loot route. Know which extraction point you're using before you're loaded down with gear and under pressure. Check the map for the nearest option from your planned loot area.
2. Pre-clear if you have time. For cargo elevator extractions, clearing the immediate area of ARC units before activating reduces the initial wave. You can't pre-clear every unit that hears the alarm, but removing the ones already nearby helps the first 30 seconds.
3. Position your squad in the extraction zone before activating. One player activates, everyone else is already inside the zone. This prevents the scenario where a squadmate is caught outside the zone when extraction completes.
4. Activate and immediately cover. Don't stand at the console after pressing E. Take a defensive position inside the zone that covers the most likely approach vectors. For cargo elevators, the elevator platform itself often provides cover.
5. Hold until the timer hits zero. ARC units will arrive. Other Raiders may arrive. The goal is not to eliminate everything: it's to stay alive inside the zone until extraction completes. Aggressive pushes outside the zone to "clean up" often result in missing the extraction.
6. Raider Hatch: no hesitation. Key goes in, squad enters within 15 seconds. Brief everyone before the key is used.
GODEEPER: Extraction point distribution varies by zone: how many are active per map, which types appear, and how storm conditions reduce the count. ARC Raiders maps guide →
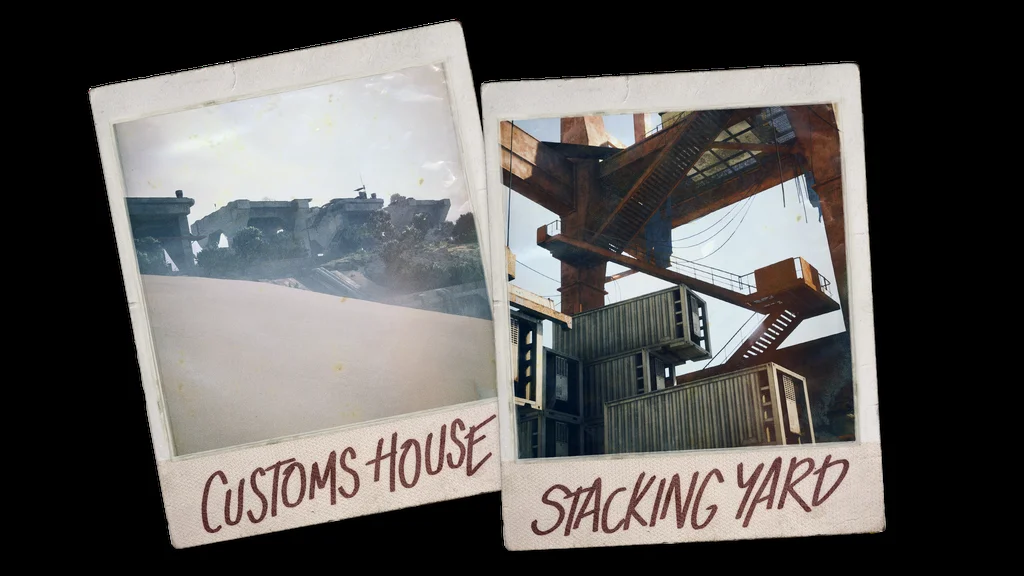 Official Embark scout report cards for Buried City: the Customs House and Stacking Yard areas each sit within reach of metro station extraction points, making them reliable loot-then-exit pockets.
Common Extraction Mistakes
Activating before your squad is ready. The timer starts when you press E, not when everyone's assembled. If your squadmates are two minutes away, wait.
Leaving the zone during the countdown. Stepping outside to fight from better cover cancels your position in the extraction. Any ARC kill outside the zone isn't worth losing the extraction over.
Using a Raider Hatch Key during a storm. Hatches are disabled in storm conditions. The key is consumed when used: the game won't warn you that the hatch won't respond. Check map conditions before using consumables.
Forgetting the 2-minute passive timer. If you stay in an extraction zone for 2 minutes without activating a console, you're returned to Speranza automatically: but this is not a successful extraction. Activate the console the moment you decide to extract rather than idling inside the zone.
Frequently Asked Questions
How do you extract in ARC Raiders? Press E on any extraction console to start the timer and trigger the alarm. Stay inside the extraction zone until it completes. One activation covers the whole squad.
How long does extraction take in ARC Raiders? Cargo elevators: ~90 seconds. Airshafts: 60-70 seconds. Raider Hatches: 15-second window from key use. Metro stations (Buried City): similar to cargo elevators. Staying in an extraction zone for 2 minutes without activating sends you back to Speranza automatically.
What is a Raider Hatch Key in ARC Raiders? A single-use item that opens a Raider Hatch extraction point. No alarm, no broadcast: the only silent extraction type. The hatch stays open for 15 seconds. Miss the window and the key is consumed. Disabled entirely during electromagnetic storm conditions.
Can your whole squad extract together in ARC Raiders? Yes. One player activates the console; all squad members inside the extraction zone when the timer ends extract together.
What happens if you die during extraction in ARC Raiders? You lose the loot you were carrying. The console stays active for surviving squad members. No second chance: death during extraction means that run's loot is gone.
Are Raider Hatches available during the electromagnetic storm? No. Raider Hatches are completely disabled during storm conditions. Use cargo elevators or airshafts instead. The storm also reduces total active extraction points on the map.
Related Reading
- ARC Raiders Vendor Leveling Guide: Fastest Route 2026: ARC Raiders vendor leveling guide: five vendors, one priority order. Tian Wen 2 for the Ferro, Lance 2....
- ARC Raiders Augments Guide: Best Frames Ranked: ARC Raiders augments guide: the three frames (Combat, Looting, Tactical) and the best Mark III picks....
- ARC Raiders Turbine Guide: How to Kill the Aerial ARC: ARC Raiders Turbine guide: read its red, yellow, blue light phases, hit the core only when it lands....
- ARC Raiders Matriarch Boss: Break Armor, Hit the Core: ARC Raiders Matriarch boss: shatter the armor with a Hullcracker, shred the Head Core, stop firing when the....
- ARC Raiders Vaporizer Guide: Down the Flying Laser ARC: ARC Raiders Vaporizer guide: shoot the rotors to ground it, hit the belly core, break line of sight....
- ARC Raiders Currency Guide: Credits and Progression: ARC Raiders currency guide: how credits work, which vendors to prioritize, crafting vs.
- ARC Raiders Crafting Guide: Workbenches, Recipes, Materials: ARC raiders crafting guide: workbench recipes, the Ferro stack, how to level vendor relationships, and.
- ARC Raiders Endgame Guide: Trials, Expeditions & Season 4: ARC Raiders endgame starts at purple loadout: Trials scoring thresholds, Season 4 challenge breakdowns, Expeditions,.
- ARC Raiders Frozen Trail: What the October Expansion Adds: ARC Raiders Frozen Trail is the next big expansion, due October 2026.
References
- ARC Raiders on Steam: official store page with extraction mechanic documentation
- ARC Raiders Official Site: Embark Studios' official page with Raider Hatch and extraction point details
- ARC Raiders maps guide
- ARC Raiders best solo loadouts
- ARC Raiders electromagnetic storm explained
Was this guide helpful?
Keep reading


Disclaimer
This article is published for informational and entertainment purposes. It does not constitute professional financial, legal, or technical advice. Game performance, online services, patch schedules, and store listings change. Verify critical details (pricing, system requirements, regional availability) with publishers and storefronts before you buy. Affiliate links, where present, help support our editorial work and are labelled in our affiliate disclosure.
About the author

Indie & JRPG Critic
Indie game evangelist and lifelong JRPG fan covering small studios since 2017. Mumbai-born, London-based. Writes the way she talks.
- 7 years indie games coverage
- JRPG and visual novel specialist
- Narrative design focus