ARC Raiders · Guides
ARC Raiders Other Raiders: Survive Player Encounters
ARC Raiders other Raiders guide: how to avoid, outmaneuver, and survive contested extractions. Extraction types ranked by silence and run behavior.

Reviewing
ARC Raiders
Embark Studios
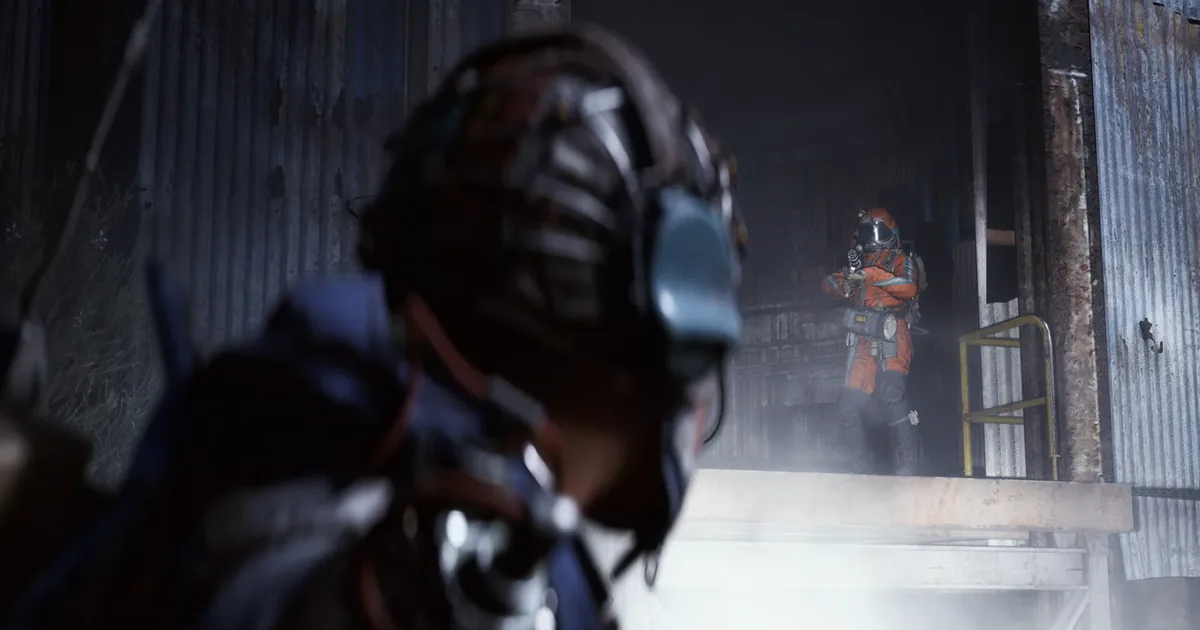
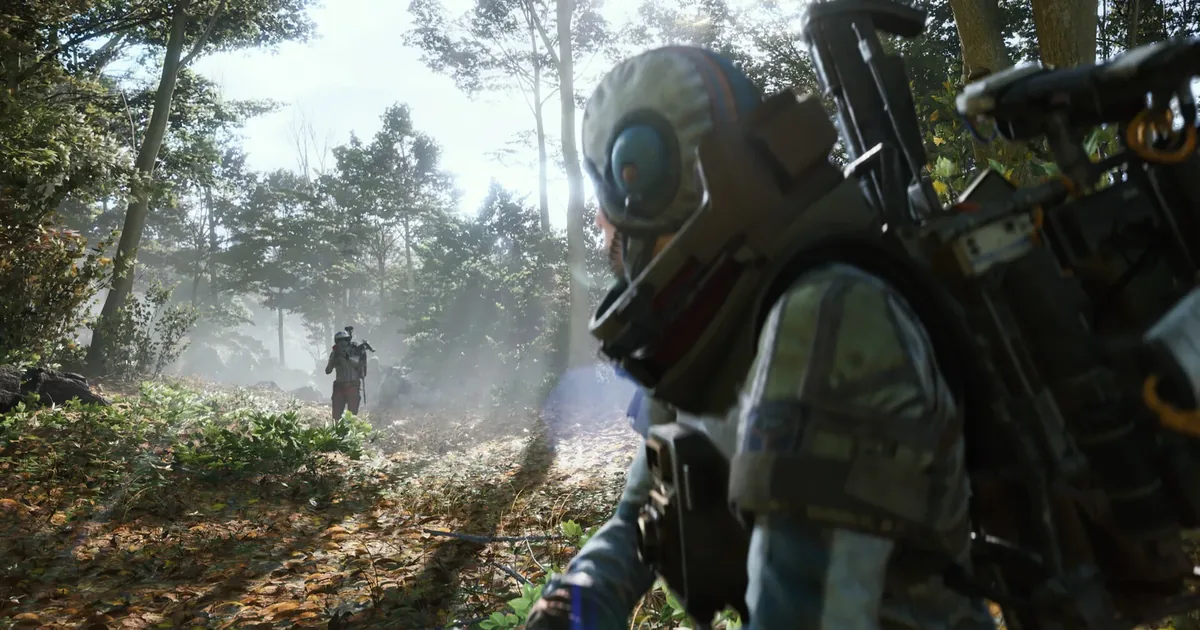
ARC Raiders other Raiders are a different kind of threat from the robots. ARC units follow patrol logic: learn the patterns, predict the behavior, route around them. Other Raiders don't have patterns. They react, adapt, and they're specifically looking for what you're carrying.
TL;DR: Most player encounters are avoidable. Use Raider Hatches (15 seconds, no alarm) for extraction on profitable runs. Cargo elevators broadcast your location zone-wide for 90 seconds. Safe Pocket items survive death; everything else is at risk. Storm conditions disable Raider Hatches, forcing contested extractions on fewer exit points.
The good news: most player encounters in ARC Raiders are avoidable. The bad news: the moment you call extraction, you've told everyone in the zone where you are and started a clock.
ARC Raiders other Raiders: key takeaways
- Raider Hatches are the safest extraction: 15 seconds, no alarm, no broadcast: spend Hatch Keys on profitable runs
- Cargo elevators trigger a zone-wide alarm for roughly 90 seconds: every player in the zone knows your location
- The extraction timer pauses when you step outside the zone boundary: useful for both offense and defense in contested exits
- Safe Pocket protects inventory on death: everything outside it is lootable
- Stealth loadouts reduce ARC detection radius, which indirectly reduces how often you push other Raiders into the same contested space
- Storm conditions disable Raider Hatches: plan extraction fallbacks before inserting into storm zones
- Avoidance beats fighting in most situations: the profitable extraction is the silent one
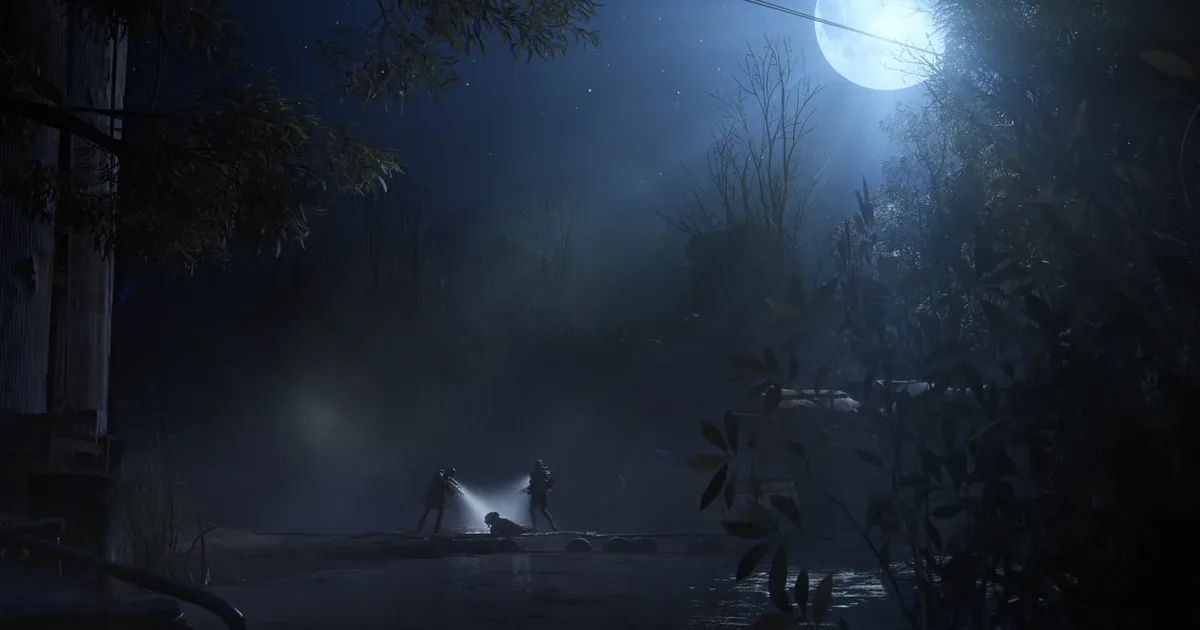
How other Raiders find you
Most player encounters in ARC Raiders aren't ambushes that start from nothing. They start from a sound cue.
Calling extraction is the loudest thing you can do in the game. Cargo elevators broadcast a zone-wide alarm. Any other player in the zone hears it, knows roughly where you are, and knows you're on a 90-second clock that you can't leave without losing your run. That's the most common setup for extraction fights: you activated something, they heard it, now they have 90 seconds to reach you before you're gone.
The second most common trigger is combat noise: prolonged ARC fights draw attention. A player who hears sustained gunfire and explosion audio knows someone is working that area. If they were heading that direction anyway, you've confirmed you're there and in a fight. The stealth-first builds that reduce ARC detection radius help here, not because they hide you from players directly, but because fewer forced ARC engagements means less noise across the session.
Calling a cargo elevator extraction broadcasts your position zone-wide for the full countdown. If another squad is in range, this is when they start moving toward you.
GODEEPER: Full breakdown of all four extraction types, timers, and when to use each. ARC Raiders Extractions Guide: Timers, Alarms, and Hatch Keys →
Extraction types ranked by exposure to other Raiders
Raider Hatches are the safest option. 15-second countdown, no alarm. Other players have no audio cue that you're extracting unless they're physically close enough to see the interaction. Hatch Keys cost resources; save them for runs where what you're carrying is worth protecting.
One hard rule with Hatches: the 15-second window is strict. Miss it (still outside the zone, interrupted by a fight) and the key is consumed with nothing to show for it. Don't activate a Raider Hatch while someone is shooting at you.
Airshafts run ~60-70 seconds with a loud alarm. Faster than cargo elevators, still announces you. On maps with limited options, they're the best fallback once Hatches are gone.
Cargo elevators are the noisiest option: ~90-second countdown, zone-wide alarm. This is what most players default to when they're not thinking about alternatives. Fine when you're alone in the zone or far from any other squad's last known position. A problem once another squad is within audio range, which in contested zones is most of the time.
Metro stations (Buried City) work the same way as cargo elevators in terms of alarm and exposure.
What to do when an ARC Raiders other Raiders encounter is forced
Avoidance is the goal, but sometimes it fails.
Position matters more than aim in extraction fights. The player who forces the other into the open generally wins. If you're caught in the extraction zone while someone's pushing in, you have 90 seconds before you leave: but you have to survive them. Stay inside the zone boundary (your timer keeps running) and use whatever cover the extraction point offers.
Extraction timers pause when you leave the zone boundary, not just when you're shot. If you're the one attacking, you can push the defending squad outside the boundary to reset their countdown. It doesn't win the fight (they just have to re-enter to resume) but it buys time to reposition.
Before any run where you're expecting contact, check your Safe Pocket. If the most valuable items are already in there, the downside of losing the fight is capped. Items outside the Safe Pocket are gone the moment someone kills you.
GODEEPER: Loadout choices for runs where you expect player contact: which builds stay viable in both ARC and player fights. ARC Raiders Best Solo Loadouts: Quiet Builds for Contested Zones →
Storm conditions and player encounters
Storm zones disable Raider Hatches and reduce the number of active extraction points. Fewer extraction options across the same player population means more contested exits: multiple squads converging on fewer valid points is exactly the setup that produces forced fights.
The ARC Raiders storm guide covers the full mechanics. From the other-Raiders perspective: storm runs trade the safest extraction option (Raider Hatches) for the doubled Trial points. That's a meaningful tradeoff if your run has gone well and you don't want to lose it.
Before inserting into a storm zone, plan at least two extraction fallbacks and accept that the Hatch Key option is gone. Cargo elevator and airshaft timing under storm conditions: more players per fewer exits, so factor in the probability of a contested extraction when deciding whether your kit can handle a fight.
During an active extraction alarm, moving away from the console into cover costs countdown time but may be necessary if another squad is pushing in. The zone boundary is what pauses the timer: not distance from the console.
Step-by-step: planning a low-exposure run
- Your first few minutes on the map tell you a lot. Gunfire, alarm audio, movement near extraction points: listen before committing to a route.
- Carry Hatch Keys on any run where your inventory has things you can't afford to lose.
- After activating an extraction, don't stand at the console. Stay inside the zone boundary so your timer keeps running, but take cover and watch the approach paths.
- Know your fallback extraction before you activate your primary. If your first choice gets rushed, canceling and relocating is better than holding a bad position.
- In storm zones: the double Trial points come with no Raider Hatch option. Make that call before you're on the ground with a good run and nothing to extract silently with.
Tips
Most player encounters in ARC Raiders are not random. They come from sound: extraction alarms, sustained ARC fights, footstep audio in tight spaces. A session where you minimize those signals is a session with fewer forced encounters.
The Safe Pocket expansion in the Survival skill tree is one of the highest-value investments in the early game. It doesn't stop encounters: it limits the damage of losing one. You keep the items that matter most, even if the fight goes wrong.
Raider Hatches are worth the cost of the key on any run where your loot is worth more than the key cost. Many experienced players treat the key as mandatory kit on anything they care about finishing cleanly.
Contested extractions where the other squad activated first: stepping outside the zone boundary makes their timer pause. It doesn't win the fight: but it denies them the exit, which buys you time to reposition or get more players in. Know the zone boundary marker for every extraction point you use regularly.
Related Reading
- ARC Raiders Extractions Guide: Full breakdown of all four extraction types with exact timers and when each one is the right call.
- ARC Raiders Best Solo Loadouts: Loadout setups that minimize noise and ARC contact, including augment choices for low-exposure play.
- ARC Raiders Storm Mechanic Guide: How storms disable Raider Hatches and shift the extraction risk calculus for every squad in the zone.
- ARC Raiders Vendor Leveling Guide: Fastest Route 2026: ARC Raiders vendor leveling guide: five vendors, one priority order. Tian Wen 2 for the Ferro, Lance 2....
- ARC Raiders Queen Boss Guide: Weak Points & How to Kill: ARC Raiders Queen boss guide: break a leg to expose the joints, burn the head core, and fight....
- ARC Raiders Turbine Guide: How to Kill the Aerial ARC: ARC Raiders Turbine guide: read its red, yellow, blue light phases, hit the core only when it lands....
- ARC Raiders Maps Guide: All 6 Zones and Extractions: ARC Raiders maps guide covering all 6 zones with extraction points, key POIs, difficulty ratings,.
- ARC Raiders Matriarch Boss: Break Armor, Hit the Core: ARC Raiders Matriarch boss: shatter the armor with a Hullcracker, shred the Head Core, stop.
- ARC Raiders Crafting Guide: Workbenches, Recipes, Materials: ARC raiders crafting guide: workbench recipes, the Ferro stack, how to level vendor relationships, and.
- ARC Raiders Endgame Guide: Trials, Expeditions & Season 4: ARC Raiders endgame starts at purple loadout: Trials scoring thresholds, Season 4 challenge breakdowns, Expeditions,.
References
- ARC Raiders on Steam
- ARC Raiders Official Site
- ARC Raiders extractions guide
- ARC Raiders best solo loadouts
- ARC Raiders storm guide
Frequently asked questions
Q: How do you deal with other Raiders in ARC Raiders? A: Avoidance first: use Raider Hatches for silent exits and keep noise low to avoid broadcasting your position. When an encounter is unavoidable, the player who controls position at the extraction zone has the advantage. Contesting from cover inside the zone boundary keeps your timer running while you hold the point.
Q: Can other Raiders steal your loot in ARC Raiders? A: Yes. Anything outside your Safe Pocket is lootable if you're killed. Items inside the Safe Pocket return to Speranza regardless of how you died.
Q: What is the safest extraction type when other Raiders are in the zone? A: Raider Hatches. No alarm, 15-second countdown. Cargo elevators broadcast a zone-wide alarm for 90 seconds: that's 90 seconds for any other Raider to reach you.
Q: What extraction type makes the most noise in ARC Raiders? A: Cargo elevators. Zone-wide alarm, ~90 second countdown. Airshafts are somewhat faster (~60-70 seconds) with a similar alarm. Raider Hatches are the only silent option.
Q: Does the storm affect encounters with other Raiders in ARC Raiders? A: Yes. Storm conditions disable Raider Hatches, which removes the silent extraction option. Fewer extraction points during a storm concentrate players: contested extractions become more likely.
Q: How do you contest an extraction in ARC Raiders? A: Forcing the activating squad outside the extraction zone boundary pauses their countdown. They need to re-enter to resume the timer. This gives you time to reposition or force a fight from a better angle.
Q: Can you play ARC Raiders without engaging other Raiders? A: Yes. Low-noise loadouts with Raider Hatch extractions can avoid most player encounters across many sessions. Red zones have higher contention. Green and orange zones with stealth approaches are the most viable for avoiding player contact.
Was this guide helpful?
Keep reading

Disclaimer
This article is published for informational and entertainment purposes. It does not constitute professional financial, legal, or technical advice. Game performance, online services, patch schedules, and store listings change. Verify critical details (pricing, system requirements, regional availability) with publishers and storefronts before you buy. Affiliate links, where present, help support our editorial work and are labelled in our affiliate disclosure.
About the author

Critical game theorist with a background in film criticism. Writing for print and digital outlets since 2015. Specialises in genre analysis and design heritage.
- Background in film criticism
- 10 years games coverage
- Genre theory and design history specialist