Loading…
GameBrief · General
Murim Survival Tips: Beginner Guide for the First 3 Hours
9 min readBy Priya Nair

Reviewing
Murim Survival
Sunwood Games
Murim Survival tips for beginners start with the thing the tutorial doesn't say plainly enough: the mastery system doesn't reset. That one fact changes how the first three hours should feel.
Most wave-survival roguelites treat every run as an island. You survive, reset, start fresh. Murim Survival runs on the same basic structure as Vampire Survivors (15-20 minutes per expedition, escalating passive power, short sessions), but there's a progression layer underneath that carries everything between runs. Miss it and you spend hours grinding accidentally instead of building deliberately. It happened to me across the first four runs before I finally read the mastery screen properly.
This guide covers what actually matters in runs 1 through 10: the foundation, not builds and Ascension synergies. Those come later.
TL;DR: Run 1 is observation only (learn the structure, not the meta. Mastery is permanent across runs: pick 2-3 techniques in run 2 and stay consistent. Don't pick companions randomly) read the description first. The mid-run difficulty spike is the calibration point for whether your build works. Ascension is roughly 8-15 hours away; the route there is deliberate technique investment from run 2 onward.
Murim Survival tips for beginners: mastery system explained (quick answer)
The mastery screen in Murim Survival shows every martial arts technique your character knows. When you use a technique in combat, it gains experience. Level it past a threshold and new move variants unlock: changes to attack patterns, range, timing windows, chain behavior. These levels stay between runs. Always.
That means run 1 and run 7 are part of the same progression path, not separate attempts. A chain-attack technique you leveled in runs 2, 3, and 4 hits meaningfully differently by run 7. The game doesn't interrupt an expedition to tell you this: you have to check the mastery screen between runs and recognize that the numbers are cumulative.
Spend runs 1-5 randomly trying different techniques on every expedition, and you'll reach run 8 with a scattered mastery pool where nothing is particularly leveled. Pick 2-3 techniques in run 2 and stay with them, and those techniques are noticeably stronger by run 5. Same time, very different result.
Three technique directions worth early investment for beginners: chain-attack patterns (for shortsword builds, these scale well mid-run because each correct position generates multiple hits), kite-and-fire sequences (the core ranged loop rewards staying ahead of the wave, and leveled technique makes movement feel precise rather than frantic), and dodge-counter (feeds into the defensive pattern you'll need in Ascension later, so worth leveling regardless of build direction).
Pick one primary direction by run 2. You don't have to commit forever, but any single direction consistently invested beats five directions scattered.
GODEEPER: Once you've got your first technique direction locked in and want to understand the full build system, including the 3 confirmed Ascension-level archetypes, the deeper tips guide has you covered. Murim Survival Tips, Mastery, Builds, and Early Survival →
What to do in run 1 (stop trying to optimize)
Run 1 has one goal: understand the structure. Not the meta, not the builds, not which technique is strongest.
Every expedition has a moment roughly mid-run where enemy density increases sharply and whatever techniques you've been using get tested for real. The first time you hit that spike it's usually sudden: by run 3 you'll feel it coming from two minutes out. Understanding that timing is more useful than any specific equipment pick in run 1.
Murim Survival has 60+ permanent equipment types, but individual runs only surface a subset. In run 1, skip the highest-damage item and take the item you'll actually use long enough to understand what it does. Equipment knowledge compounds over runs; first-run damage optimization doesn't.
When an NPC companion appears during the expedition, take whoever shows up. Just see how the companion system works: how their moveset interacts with yours, whether they're useful going into the spike, what happens when they're not. Run 1 is observation.
When it's over, open the mastery screen. Look at what leveled. The techniques you used without thinking are probably already the ones that feel natural. Run 2 is about confirming that instinct and staying with it.
Murim Survival tips: companion selection for beginners
Companions in Murim Survival have fixed movesets. There's no way to modify them between runs, no upgrade path per companion, no way to adjust their behavior mid-expedition. What you recruit is what you get.
The game shows you a description for each companion before recruitment. Read it. This sounds obvious but most players don't do it consistently in the first three hours. The description tells you whether the companion is tuned for melee aggression, ranged support, defensive behavior, or something specific to a build type. A melee-forward companion with a ranged kite build will charge ahead of your position, pull enemy attention toward you instead of away, and die at the spike because they're engaging a pattern they weren't built for.
The timing rule: approaching the spike without a companion, take whoever appears. Presence matters more than synergy at that moment. A suboptimal companion is still extra hits and split attention before the spike lands. After the spike, a mismatched companion costs less because your passive pickups are usually far enough along to carry the run regardless.
Flip that rule early in the expedition. With time before the spike, be pickier. A companion that matches your build pays off for the full second half.
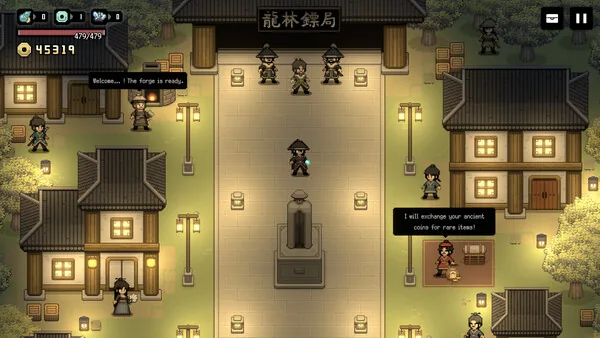
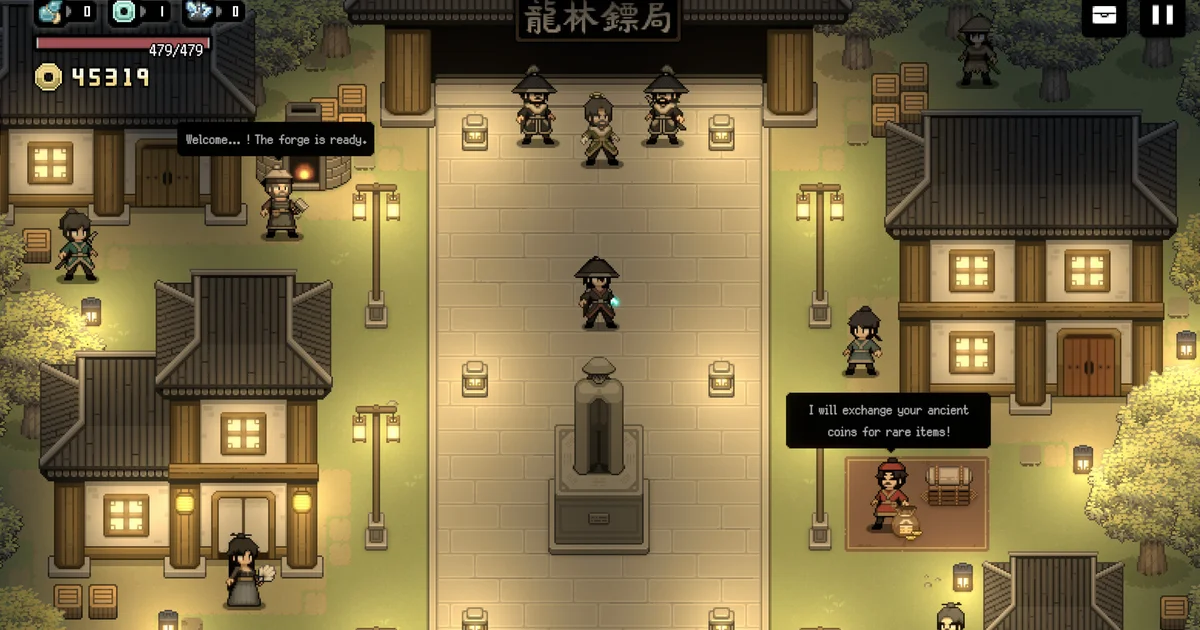
 Caption: The companion description panel before recruitment: moveset summary tells you whether this companion supports ranged or melee positioning before you commit.
Common first-hour mistakes
Ignoring position. Wave-survival games look like they reward standing still and spamming attacks, and some of them do. Murim Survival has actual positioning consequences from run 1. Techniques have optimal ranges and activation distances. A shortsword chain-attack needs the enemy close. A ranged kite sequence needs the enemy at a specific distance to fire. Players who don't adjust position to technique range die at the spike consistently, because the spike is exactly when optimal-range enemies stop being forgiving.
Picking equipment by damage number alone. Two items that share a synergy outperform two individually high-damage pieces with no interaction. The community-documented example is a shortsword that unlocks a parry window, paired with an armor set that extends the parry into chain attack. That's a real interaction, not a stat multiplication. In the first three hours, whenever two items look vaguely related by description, test the combination.
Recruiting the first companion without reading anything. This is the single most common reason a beginner run falls apart at the spike. The companion was ranged-support; the player was running shortsword-chain. The companion contributed nothing useful at the moment it mattered most.
Skipping the mastery screen between runs. Players who skip it are the same ones who wonder why run 8 doesn't feel stronger than run 2. The mastery screen is why runs compound. Check it every time. Decide which techniques to push in the next expedition before launching it.
GODEEPER: The companion system has more depth than most beginners see: specific companion archetypes that pair with each of the 3 main build directions, and how to swap companions mid-campaign. Murim Survival Companion Guide →
How to tell if your build is working
Two calibration points per expedition, both available without any menus.
The mid-run difficulty spike is the clearest test. A working build survives it, not easily but it stays alive. A build that isn't working collapses because the techniques aren't leveled enough or the equipment synergy isn't producing the pattern you need. If the spike kills you on 5 consecutive runs with the same build direction, the direction isn't the problem. The investment depth or equipment match is.
The second signal is what your techniques do after the spike. Once you've survived it, passive pickups are usually strong enough to carry most runs regardless of build direction. So watch whether your techniques produce visible combo chains or just individual hits. Chain-attack at higher mastery creates sequential hits from a single correct position. You can see it. Isolated hits with no follow-up at the same run stage means the technique isn't leveled enough to generate the pattern yet.
Both signals are in every run. Using them cuts the first-hour learning curve significantly.
When to stop a run versus push further
Short answer: stop when the mastery screen has something to check.
In the first 10 hours, runs that end at the spike because you tested something new are more useful than runs that limp to the end with a build you already understood. The mastery screen after a short run that tested a new technique direction gives you real data about what leveled. That data affects how you invest in the next run.
The exception: runs where your build clearly clicked by stage 2 are worth finishing. If the equipment synergy is active, the companion is a good match, and the techniques are producing combo output, see it through. Those runs are when the mastery progression makes the biggest gains because you're using your primary techniques at high intensity for the full session.
Avoid grinding long runs on builds that feel broken from stage 1. The mastery gains from a broken build run are scattered across techniques you probably won't continue investing in.
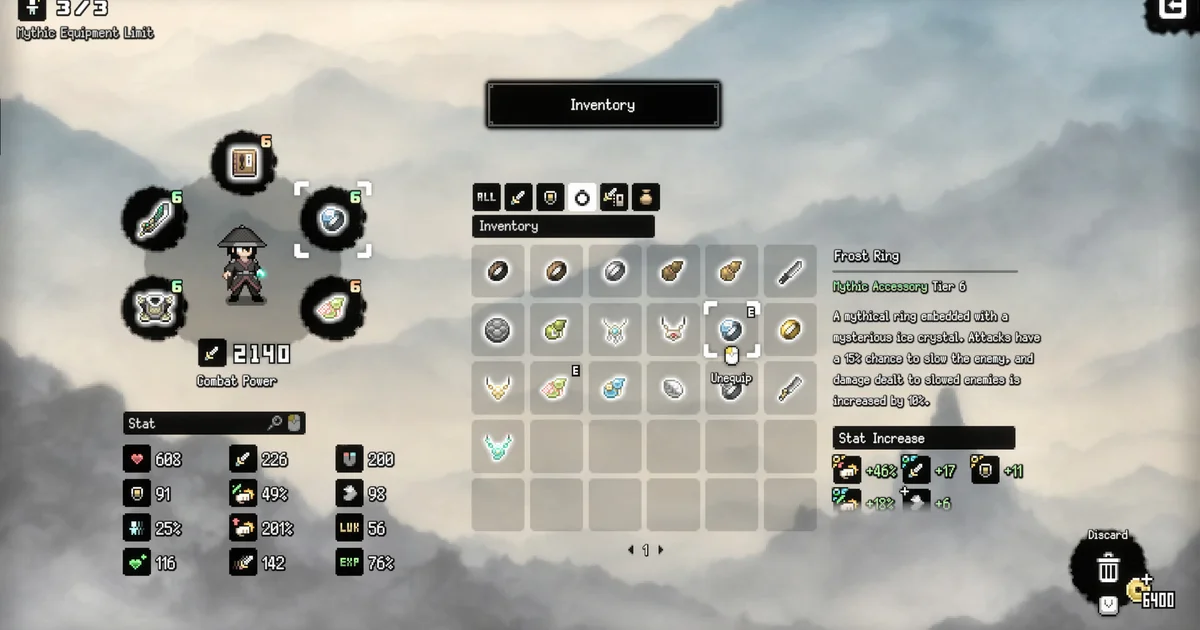
 Caption: The mastery screen after a run is where your technique investment shows up. Short runs that test new directions give better data than grinding a broken build to completion.
What Ascension mode is and how far away it is
Ascension is a harder difficulty mode that unlocks after you complete the main campaign objectives. It's not a secret (the game tells you it exists) but it doesn't spell out which objectives trigger the unlock, and the community hasn't fully documented it either. The working consensus: clear the main progression path of expeditions and it becomes available.
Your mastery levels and equipment carry into Ascension with no reset. That's the part that matters for beginners. Ascension is designed around the assumption that you've been building deliberately. Players who scattered mastery across 15 different techniques find Ascension immediately punishing. Players who developed 3-5 techniques to meaningful depth find it hard but readable.
The three build archetypes documented at Ascension level are shortsword chain, ranged kite, and heavy weapon momentum. None of them are available to execute well without the mastery investment that precedes them. Ascension isn't a separate game mode you unlock and then figure out from scratch: it's a continuation of the same build you've been constructing since run 2.
For everything about what Ascension builds look like and how to prepare: the Murim Survival builds guide covers all three archetypes with the exact mastery and equipment setup each one requires.
Related Reading
- Murim Survival Tips (Mastery, Builds, and Early Survival) the intermediate-level guide for runs 6-20, covering mastery investment strategy and the full equipment synergy map.
- Murim Survival Builds Guide 2026: all three Ascension-level build archetypes with mastery investment paths and equipment setups.
- Murim Survival Companion Guide 2026: full companion breakdown by moveset archetype, including which companions pair with each build direction.
- Murim Survival Review 2026: whether the 1.0 launch version is worth playing, including context on the AI art disclosure and 14-month Early Access period.
Frequently Asked Questions
What should I do on my first run in Murim Survival? Don't optimize. Run 1 is for learning the structure: when the mid-run difficulty spike hits, what equipment drops look like, how companion recruitment feels. Use whatever techniques come naturally and look at the mastery screen after. That baseline makes run 2 deliberate.
Does mastery reset between runs in Murim Survival? No: mastery is permanent across every expedition. Techniques you level in run 1 are still leveled in run 10. The tutorial doesn't make this clear enough, which is why the first few hours of compounding benefit get wasted by players treating every run as a clean slate.
Which mastery skills should beginners unlock first? Focus on whichever techniques you used most naturally in run 1, then stay with them across runs 2 and 3. Chain-attack, kite-and-fire, and dodge-counter are the three worth early investment. Pick one direction; scattered investment in the first five runs is slower to pay off than any single consistent path.
How do I pick the right companion? Read the description before recruiting. Companions have fixed movesets: a melee-forward companion with a ranged build creates gaps it can't fill. If you're heading into the mid-run spike without a companion, take whoever appears. Before the spike, be selective.
When should I stop a run versus push further? Stop when you have something to check on the mastery screen. Runs that end early because you tested a new technique direction give useful data. Long runs grinding a broken build waste the same time with no useful mastery gains.
How far away is Ascension mode? Roughly 8-15 hours depending on playstyle. It unlocks after completing the main campaign progression. Your mastery and equipment carry in: deliberate investment from run 2 onward makes Ascension hard but readable instead of immediately punishing.
How do I know if my build is working? Two signals: the mid-run difficulty spike should be survivable (not easy, just survivable), and your techniques should be producing combo chains rather than isolated hits. Dying at the spike on 5 consecutive runs means the build needs adjustment: check whether your equipment matches your highest-mastery techniques.
References
- Murim Survival on Steam: store page with developer info, review score, AI disclosure, and system requirements
- Vampire Survivors on Steam: the wave-survival genre reference point that Murim Survival's structure builds on
Was this guide helpful?
About the author

Indie & JRPG Critic
Indie game evangelist and lifelong JRPG fan covering small studios since 2017. Mumbai-born, London-based. Writes the way she talks.
- 7 years indie games coverage
- JRPG and visual novel specialist
- Narrative design focus


Disclaimer
This article is published for informational and entertainment purposes. It does not constitute professional financial, legal, or technical advice. Game performance, online services, patch schedules, and store listings change. Verify critical details (pricing, system requirements, regional availability) with publishers and storefronts before you buy. Affiliate links, where present, help support our editorial work and are labelled in our affiliate disclosure.