GameBrief · General
Murim Survival Tips: Mastery, Builds, and Early Survival

Reviewing
Murim Survival
Sunwood Games
Murim survival tips start with one fact the tutorial buries in run 3: the mastery system doesn't reset between expeditions.
Most players spend the first two runs treating Murim Survival like any other wave-survival roguelite: pick up equipment, survive the timer, start over. By run 3, you've probably noticed the technique list on the side of the screen leveling up, but haven't connected it to a deliberate strategy. That connection is the entire game.
This guide covers the mastery system, the equipment combinations that build real play patterns (not just stat boosts), and what to do before Ascension mode opens up.
TL;DR: The one thing the Murim Survival tutorial buries: the mastery system never resets between expeditions, so every run is permanent character progress, not a fresh start. Pick a technique direction early and feed mastery into it instead of grabbing whatever equipment drops. Build equipment combinations that create a play pattern, not just stat boosts, and concentrate your investment before Ascension mode unlocks (it opens without warning after the final campaign contract).
Key takeaways
- Martial arts mastery does not reset between runs: it's a permanent progression layer
- Use specific techniques deliberately across runs to level them faster
- Roughly 12-15 of 60+ equipment items create distinct build patterns; the rest are stat variants
- Read NPC companion descriptions before recruiting: movesets are fixed and must match your build
- Ascension mode unlocks after main campaign completion, with your mastery and gear carrying in
Murim Survival tips overview
Murim Survival 1.0 launched May 4, 2026 after 14 months in Early Access (started March 17, 2025). Developer and publisher: Sunwood Games. Current review score is 74% positive across 247 Steam reviews (recent reviews trending lower at 48% positive, reflecting post-1.0 difficulty spike feedback). Runs last 15-20 minutes. The game runs on a Vampire Survivors structure (wave-survival, escalating passive power, short sessions) but adds a 60+ item equipment system and the mastery progression that makes this guide necessary.
These tips target runs 1-20 and the gap between "I understand the structure" and "I understand why mastery changes everything."
GODEEPER: Our full review covers the mastery system's context, AI art disclosure, and whether the launch version is worth the price. Murim Survival Review →
The Mastery System: What the Tutorial Doesn't Show
The mastery system runs in the background of every expedition. When you use a martial arts technique in combat, it gains experience. Level it up enough and new move variants unlock: changes to attack patterns, range, chain behavior. The techniques carry full levels between runs with no reset.
Here's what the tutorial fails to land clearly: this means every run is both an expedition and a training session. You're not just surviving: you're investing in technique levels that make future runs meaningfully different. A run where you deliberately used chain-attack techniques 40 times is worth more for your long-term mastery than a run where you randomly pulled whatever triggered the most kills.
By run 3 or 4, this becomes visible. If you've been using the same two techniques consistently, those techniques are noticeably stronger than the ones you picked up once. The game never shows you a mastery investment screen before an expedition: you have to form the habit of checking your technique levels between runs and deciding which ones you want to advance.
The balance gap between techniques is real: some martial arts are clearly stronger than others, and the techniques you start investing in early compound over everything else. The system doesn't correct for this. Early investment in the wrong technique isn't ruinous, but it does slow down the runs where your build clicks.
 Caption: The mastery screen between runs: chain-attack techniques leveled consistently in early runs show a clear lead by run 6, with new move variants unlocked that change how combat pacing works.
Step-by-step: setting up your mastery investment
Step-by-step: mastery across your first five runs
-
Run 1: Don't try to optimize. The goal is expedition structure: how the mid-run difficulty spike works, when companion recruitment triggers, what equipment drops look like. Use whatever techniques feel natural. Afterward, open the mastery screen and see what leveled up.
-
Run 2: Pick 2-3 techniques you used most in run 1 and use them deliberately. When multiple techniques are available, choose those. After the run, check whether the techniques you focused on are noticeably ahead of everything else. They should be.
-
Run 3: Make a direction choice. If chain-attack techniques feel right, commit to them. If ranged feels more natural, go that way. Deliberate technique use levels faster than scattered use: the game won't force the choice, but it rewards making it.
-
Runs 4-5: The mastery advantage from runs 2 and 3 becomes visible. Techniques you invested in hit differently. This is when equipment starts mattering more: you want gear that synergizes with your high-mastery techniques, not gear that's statistically strong but pulls your build sideways.
-
Before Ascension: Your mastery carries in. A coherent build with leveled techniques handles the difficulty gap better than a scattered collection of mid-tier techniques. These first five runs are the foundation for everything after.
Murim Survival tips: equipment and builds
Out of 60+ equipment items, roughly 12-15 create play patterns that are genuinely distinct. The rest are stat variants: more damage, more range, percentage boosts that compound but don't change how the run feels.
The most documented synergy: a shortsword combined with a specific armor set unlocks a parry window and a chain attack pattern. Parry rewards precise timing during enemy approaches; chain attack converts a successful parry into a multi-hit sequence. This is a real interaction, not a stat multiplication. A run built around this feels different from a run where you equipped the shortsword alone.
Weapon type also affects positioning incentives. Ranged builds reward kiting (staying ahead of the enemy wave and picking off targets from range. Shortsword builds punish over-extension) moving into a crowd that's denser than your technique level can handle gets you killed fast. Pick equipment with your movement behavior in mind, not just the damage number.
The equipment that looks strongest in the drop menu isn't always the right pick. Two or three items that share a synergy outperform a collection of individually strong pieces with no interaction.
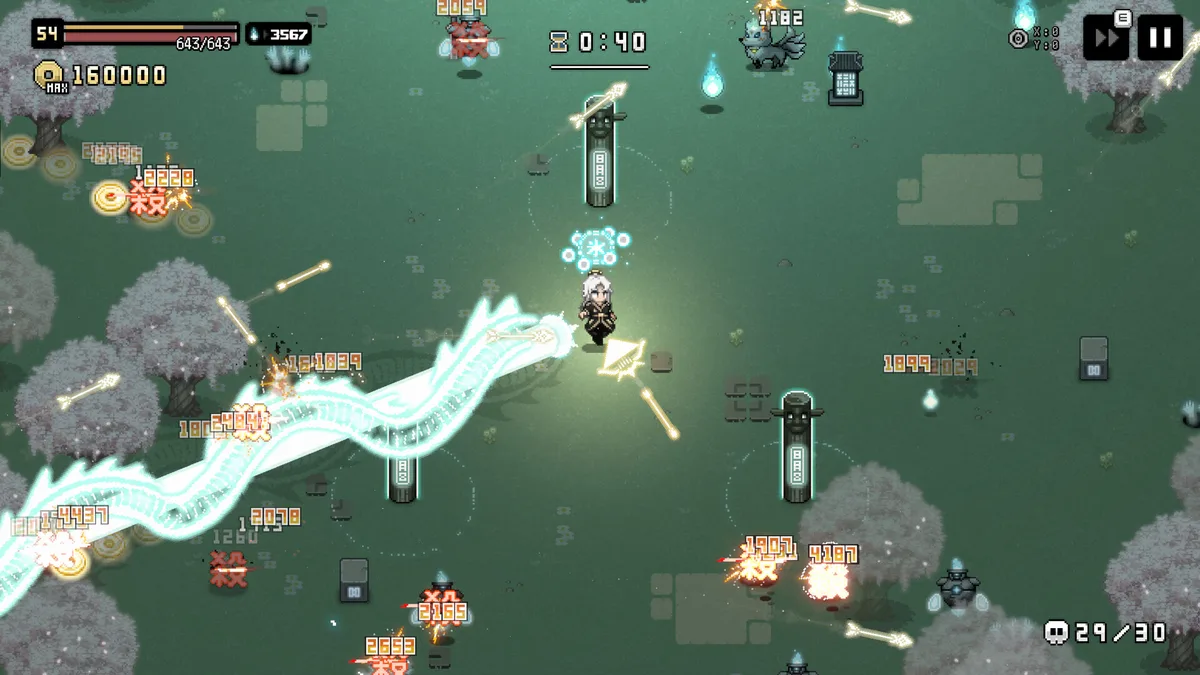
 Caption: Equipment selection mid-run with companion visible: the visible NPC moveset description should factor into whether this gear set complements how the companion engages enemies.
GODEEPER: For a different perspective on how short roguelites handle build diversity and run-to-run variety, Gambonanza's review covers the chess roguelike approach: a Gambit system that modifies piece behavior rather than stacking stat bonuses.
Companion selection and mid-run decisions
NPC companions appear during expeditions with fixed movesets. The game gives you a description before you recruit: read it. A companion with melee-forward behavior paired with a ranged build creates gaps the companion can't fill. A companion tuned for aggressive close-range pressure works well with a shortsword build that already wants to close distance.
Most players recruit the first companion that appears without checking whether their moveset fits the current build. Ten seconds of reading avoids three minutes of a companion actively working against you.
Companion recruitment also ties into mid-run timing. If you're heading into the difficulty spike (the consistent wall around the run's midpoint) without a companion, the additional presence matters more than the specific moveset. Take a suboptimal companion over no companion going into the spike.
After the spike: the run usually has enough passive pickups in play that a mismatched companion is less harmful. Pre-spike, a bad companion pick is more costly.
Tips for ascending past the base game
Ascension is where scattered mastery investment catches up with you. Techniques at higher levels handle the increased enemy density; lower-level techniques don't, regardless of equipment quality. If runs 1-5 were deliberate, Ascension feels hard but manageable. If mastery was an afterthought, Ascension feels impossible. The difficulty mode is designed around the assumption that you've been building.
Equipment synergies also matter more here than in base runs. Standard runs are forgiving enough that high-stat gear without synergy works. Ascension isn't. When you find gear that breaks your current synergy but has higher numbers, the right call is almost always to skip it. A parry window plus chain attack working together beats a slightly better individual weapon that disconnects the combo.
The expedition zone selection screen also starts to matter. Murim Survival gives you some control over zone type and enemy density before each run. In Ascension, pick zones that match what your build handles: not just the zones with the best equipment drops. A chain-attack build running the highest-density zone before its technique levels are ready loses faster than it gains anything from the drops.
For players coming from Die in the Dungeon's dice-selection approach: Murim Survival's progression is longer-horizon. The payoff from consistent technique investment takes more than two or three runs to show clearly, but it accumulates in a way that makes runs feel connected rather than isolated.
Frequently asked questions
Does martial arts mastery reset between runs in Murim Survival? No. Mastery is Murim Survival's defining mechanic: techniques you level by using them in combat stay leveled between runs. A chain-attack pattern you invest in during run 3 is more powerful in run 7, with no reset.
Which equipment synergies are worth building toward in Murim Survival? The most documented early synergy is shortsword with a specific armor set, which unlocks a parry window and chain attack. Weapon type also shapes positioning: ranged rewards kiting, shortsword punishes over-extension. Roughly 12-15 of the 60+ equipment items create meaningfully distinct play patterns.
How do I choose the right NPC companion in Murim Survival? Read the companion description before recruiting. Companions have fixed movesets that interact with your build: or don't. A companion tuned for melee paired with a ranged build creates coverage gaps. Ten seconds of reading avoids a run-long mismatch.
What unlocks Ascension mode in Murim Survival? Ascension mode unlocks after completing the main campaign objectives. Your mastery levels and equipment carry in. The difficulty increase is real: scattered mastery investment makes Ascension much harder than a deliberate one does.
How does Murim Survival compare to Vampire Survivors? Both are wave-survival roguelites with 15-20 minute runs. Murim Survival adds a 60+ item equipment system and the mastery progression that carries between runs. The mastery layer connects runs in a way Vampire Survivors doesn't: expeditions feel like part of a longer investment, not isolated resets.
Is the AI-generated art in Murim Survival a problem? Sunwood Games disclosed partial AI use for art and BGM on the Steam page. The character designs work for gameplay. Some environmental textures have an AI-generation quality. Whether this matters depends on your own position on paid games with AI-assisted assets: the disclosure is available before purchase.
Related Reading
- Murim Survival Builds Guide: Best Archetypes (2026): Murim Survival builds guide: the three core archetypes that hold up in Ascension mode, which equipment items matter,....
- Murim Survival Endgame Guide: Surviving Ascension Mode: Murim Survival endgame is Ascension mode: enemy density rises, stagger recovery speeds up, and most builds break. Here's....
- Murim Survival Companion Guide: Recruitment and Synergies: Murim Survival companion guide: match movesets to your build archetype, know when to recruit anyway, and read descriptions....
References
- Murim Survival on Steam: store page, release date, review score, system requirements, AI disclosure
- Vampire Survivors on Steam: genre reference point mentioned in Murim Survival's own Steam description
Was this guide helpful?
About the author

News Reporter
Games journalist and news hound with 7 years covering industry moves, studio announcements, and patch notes. Chilean. Writes tight, edits tighter.
- 7 years games journalism
- Industry and esports specialist
- Early access coverage


Disclaimer
This article is published for informational and entertainment purposes. It does not constitute professional financial, legal, or technical advice. Game performance, online services, patch schedules, and store listings change. Verify critical details (pricing, system requirements, regional availability) with publishers and storefronts before you buy. Affiliate links, where present, help support our editorial work and are labelled in our affiliate disclosure.