GameBrief · General
Rune Dice Guide: All 8 Classes, Relics & Dice Synergies

This Rune Dice guide covers all 8 classes, the physics dice mechanic, relic priority, and best synergy builds for new players on any platform.
TL;DR: Rune Dice has 8 classes: start with the Warrior for its high HP and simple mechanics while you learn the physics throw system. Pick relics that match your dice type first; adjacency relics have the highest ceiling but require consistent throw technique. Use runes on floor bosses, not mid-run hoarding. The Mage has the highest damage ceiling via adjacency chains; the Paladin is the most forgiving step up from the Warrior, mixing offense with self-healing.
Rune Dice guide: best starting class (quick answer)
- Rune Dice launched May 19, 2026 on PC, PS5, Xbox Series X/S, and Switch: developed by Smart Raven Studio, published by Kwalee
- 8 classes, each with multiple hero variants and distinct dice types
- Physics-based dice throwing means positioning and dice adjacency matter, not just face values
- Relics define runs; runes are consumable modifiers: prioritize relic synergy over raw stats
- Warrior is the best starting class for beginners; Mage has the highest ceiling for experienced players
- Steam review score: Mostly Positive from 800+ reviews
What is Rune Dice?
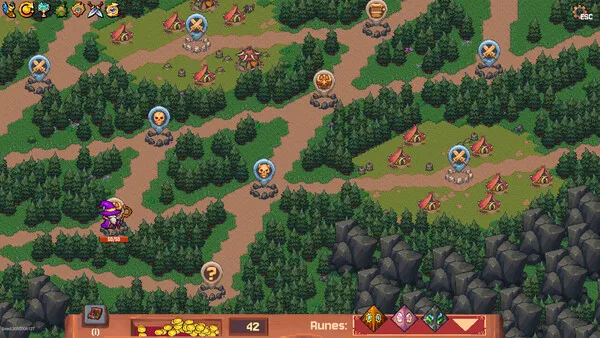
Rune Dice combines a dice-based roguelite with physics: you don't just roll dice and read numbers. You throw them. Each dice throw is a small physics simulation where dice bounce, spin, and settle on the battle board. The face value that lands up determines the dice's primary effect, but relics can trigger based on where dice land relative to each other, making positioning part of every combat decision.
The game launched on May 19, 2026 across four platforms from Smart Raven Studio, published by Kwalee. It sits in the same design space as Balatro and Dicey Dungeons but plays distinctly: the physical throw mechanic is the hook that separates it.
This Rune Dice guide covers the 8 classes, how to read the dice system, and which relic categories to prioritize for a successful first run.
How the physics dice system works
Most dice games read face values. In Rune Dice, two additional systems layer on top:
Adjacency bonuses: Some relics activate when two or more dice of matching types land within a set distance of each other on the board. A Mage who throws three Lightning dice and lands two adjacently might trigger a chain lightning bonus: the throw matters, not just the roll.
Merge mechanics: Certain dice combine when they land on the same spot or overlap during the throw. Merged dice produce a higher-tier effect than either individual die. Builds centered on dice merges require large dice pools, specific throw angles, and relics that increase the merge trigger window.
New players underestimate the throw angle. Dropping dice straight down produces clustered results. A lateral throw across the board spreads dice into individual positions. Most early-game relic synergies reward clustering: throw toward the center of the board until you have a build that benefits from spread. The Die in the Dungeon tips guide covers a similar positioning-matters-as-much-as-stats loop for comparison.
GODEEPER: Physics mechanics that affect positioning come up in other tactical games too. Gambonanza Best Builds Guide →
 Two matching dice landing adjacent activates an adjacency bonus: the throw angle determines whether this happens, not the face values alone.
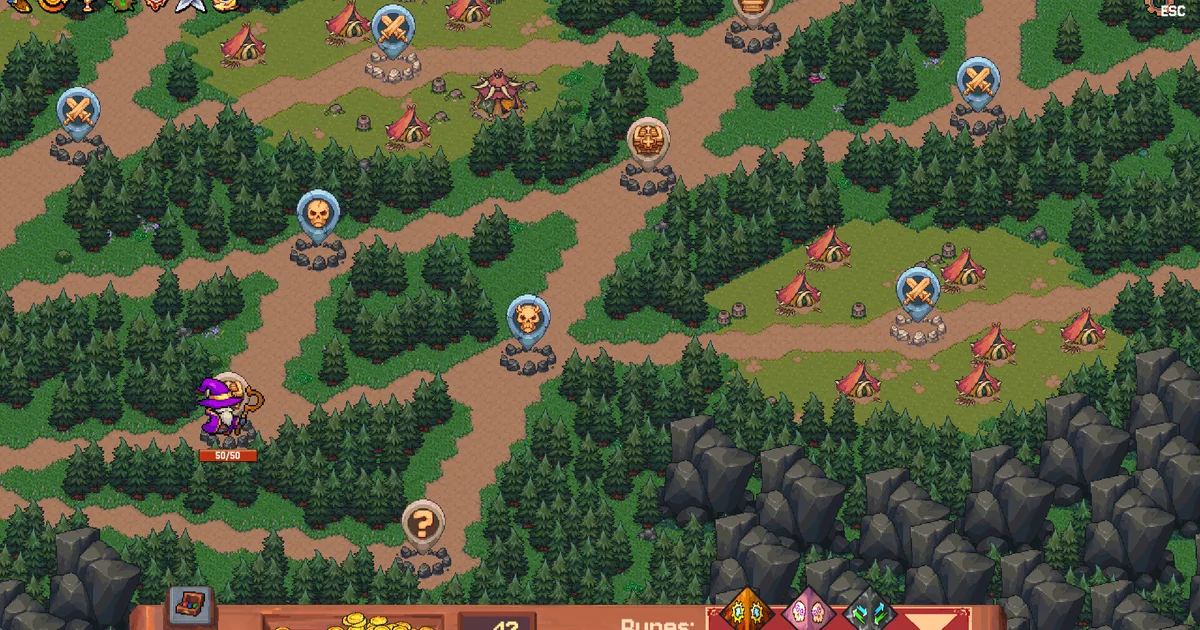
Rune Dice guide: all 8 classes and starting dice
Warrior: Heavy attack dice, high HP, blocking dice that absorb damage flat. The Warrior's core loop is straightforward: throw attack dice at enemies, use blocking dice to mitigate incoming hits. No resource management. Best first-class choice for players learning the physics system.
Mage: Lightning, fire, and ice dice that deal elemental damage. The Mage has low HP and no built-in defense, but some of the highest individual damage values in the game. Adjacency chains from the Mage's dice are the primary source of massive burst damage on bosses. High ceiling, low floor.
Rogue: Poison and blade dice with position-dependent bonuses. The Rogue deals more damage when dice land on specific board areas (edges, specific tile markers). Learning the board layout is part of playing the Rogue effectively. Strong once the board patterns are memorized, confusing until then.
Bard (Inspire, Encore, Strength, and Weakness dice. The Bard stacks buffs on itself and weakness on enemies, so its damage compounds the longer a fight runs) strongest in long, boss-heavy encounters where the stacks pile up. Unlock it by merging dice into one worth eight or more.
Necromancer (Curse and soul dice. Kills generate Soul tokens that fuel bonus die throws. The Necromancer snowballs from cleared encounters) the more enemies you've killed, the larger your dice pool for the next fight. Weak on early floors, strongest in mid-run boss corridors.
Archer: Arrow and wind dice with range-based bonuses. Dice that land at a distance from the center of the board deal more damage for the Archer. The lateral throw mechanic (covered above) is the Archer's primary skill expression. Learning to throw with consistent spread is the core technical challenge. Unlock it by landing a 40-value dice combo in a single throw.
Paladin: Shield dice and retribution. The Paladin converts blocked damage into stored retribution that discharges as bonus damage on a later throw. Effective against enemies with predictable damage windows; requires knowing when to tank hits intentionally.
Druid (Growth, Root, Spirit, and Thorn dice. The Druid locks enemies down with roots, punishes attackers with thorns, and builds spirit summons over time) an attrition class that takes over long fights once its synergies stack. Unlock it by defeating the Blight Druid in Hard Mode.
Best class matchups by playstyle
| Playstyle | Recommended class | Reason |
|---|---|---|
| Beginner, wants to learn | Warrior | High HP, no special mechanics |
| Burst damage focus | Mage | Adjacency chains, high ceiling |
| Survival/attrition | Druid | Roots, thorns, spirit swarm |
| Snowball builds | Necromancer | Soul token economy compounds |
| Technical skill expression | Archer | Throw angle determines damage |
| Long-fight scaling | Bard | Buff and weakness stacks compound |
Rune Dice guide: relic priority and what to take first
 The relic selection screen: always check if a relic matches your dice type before comparing raw power level.
Not all relics are equal on floor 1. The first three relic picks define what your run becomes:
Take relics that match your dice type first. A relic that boosts Lightning dice is useless to a Warrior running physical attack dice. Read the bonus before comparing power level: a weak synergistic relic beats a strong off-type relic in almost every case.
Adjacency relics are highest ceiling. If a relic triggers on two matching dice landing close together, it compounds with every good throw. These relics are the source of most run-winning moments but require consistent throw technique to trigger.
Defensive relics are lower priority than they feel. New players instinctively take armor/block relics early because survival feels urgent. In practice, increasing damage output kills enemies faster, which reduces the number of attacks you take. Offensive relic picks typically produce safer runs, not less safe ones.
Rune usage: when consumables matter
Runes are single-use items that modify a throw in specific ways: duplicate a die, shift a face value up by one, redirect a throw, or trigger an additional effect after landing.
Common mistake: saving runes for "the right moment" and never using them. The right moment is almost always the current floor boss. Runes hoarded through floor 3 and unused at the final boss are wasted resources. Enter every boss encounter with your full rune inventory and use at least one.
The one exception worth noting: the redirect rune, which changes the landing zone for all dice in a throw, has situational defensive value mid-combat. If a boss has a board hazard that damages dice landing on specific tiles, using the redirect rune before throwing can let you avoid the hazard entirely. This is a valid mid-combat use rather than saving it for boss end. Every other rune type has higher value on the boss kill turn itself: damage multiplication and face-value shifts compound with whatever relics you've built.
GODEEPER: Roguelite resource management (when to save and when to spend) applies across the genre. All Hail the Orb Tier List and Unlocks →
Frequently Asked Questions
How many classes are in Rune Dice? 8 classes, each with multiple hero variants. Total distinct starting configurations is larger than 8.
Best class for beginners? Warrior. High HP, straightforward mechanics, forgiving of positioning mistakes.
How does the physics dice mechanic work? Dice bounce and settle physically on the board. Relics and runes trigger based on where dice land relative to each other, not just face values. Throw angle and board positioning are skills.
Difference between relics and runes? Relics are permanent run modifiers. Runes are consumable one-use items. Relics define your build; runes are situational tools.
Is Rune Dice on console? Yes: PC, PS5, Xbox Series X/S, and Nintendo Switch, all launched May 19, 2026.
Does it have procedural maps? Yes, procedurally generated with standard encounters, mini-bosses, shops, and rest nodes each run.
Related Reading
- Rune Dice Tier List: All 8 Classes Ranked for 2026: S-to-C ranking for every class once you understand the basics, with community-sourced Amplify and Gravity combo notes.
- Die in the Dungeon Complete Guide: another dice-based roguelite; its synergy logic (dice as resources, not randomness) transfers directly to Rune Dice builds.
- Gambonanza Tips Guide: probability-based roguelite with relic economy that mirrors Rune Dice's priority system.
- Best Indie Games Under $20 in 2026: curated picks for the roguelite and strategy space at the same price range.
- Die in the Dungeon Tips: Dice, Board, and Build Basics: covers a similar dice-positioning loop where board placement matters as much as what you roll.
- Best Roguelike Games 2026: 7 Picks for Every Budget: a curated list of standout roguelites this year, useful for finding your next run after Rune Dice.
- All Hail the Orb Alchemy Guide: 9 Discoveries Ranked: ranked breakdown of a different roguelite upgrade system, for players interested in resource-loop theory.
- Gambonanza Review: Chess Balatro or Something Better?: a review of another physics-meets-strategy roguelite that shares Rune Dice's spatial decision-making.
- Slay the Spire 2 Co-op Guide: All 5 Characters Ranked: class tier list and synergy breakdowns for the genre benchmark, good contrast for Rune Dice class evaluation.
References
Was this guide helpful?
About the author

Games Critic
Games writer and reluctant optimist who has reviewed over 400 titles across 9 years. Irish, currently in Berlin. Has strong opinions about tutorial design.
- 400+ games reviewed across 9 years
- Platformer and horror specialist
- Narrative design focus


Disclaimer
This article is published for informational and entertainment purposes. It does not constitute professional financial, legal, or technical advice. Game performance, online services, patch schedules, and store listings change. Verify critical details (pricing, system requirements, regional availability) with publishers and storefronts before you buy. Affiliate links, where present, help support our editorial work and are labelled in our affiliate disclosure.