GameBrief · Guides
All Hail the Orb Unlock Tier List: All 9 Discoveries Ranked

The all hail the orb unlock system is less complicated than it first appears, and more consequential than the game tells you. Most unlocks trigger automatically when your resource counts hit thresholds. You don't choose them. What you choose is whether Library comes first: and whether you understand why Devotion Resonance Crystal and Crystal Conduit exist in a tier of their own.
I've played through multiple runs and watched people skip Library for hours, wondering why their Devotion generation plateaued. The unlock order matters even in a game that mostly manages it for you.
TL;DR: All hail the orb unlock priority: Library first (enables alchemy), then Devotion Resonance Crystal and Crystal Conduit (S-tier core loop), then the A-tier cultist upgrades. The B-tier discoveries fill in passively and don't need planning. Nine discoveries total: eight auto-unlock at thresholds, one (Eureka Moments) triggers passively via Library.
Key takeaways
- Nine alchemy discoveries; eight unlock at resource thresholds automatically
- Library is the only dungeon room that requires active prioritization: get it first
- Devotion Resonance Crystal + Crystal Conduit = the S-tier core that carries most of the game's passive generation
- A-tier (Super Beds, Life Crystal Upgrades+, Cultist Statue Upgrades+) fill in during mid-game naturally
- B-tier (Prayer of Fertility, Speedy Transit) are functional but never worth planning around
- Eureka Moments (0.01% per Library book) is S-tier for achievement completion, B-tier for raw gameplay impact
How all hail the orb unlocks actually work
The game has two types of unlocks. Dungeon rooms you find and build: Library, Alchemy Bench, and the others scattered through the floors. Alchemy discoveries that trigger automatically once your resource counts reach thresholds after Library is active.
The dungeon rooms are where active decisions happen. Library specifically: it enables the alchemy system and the Bench, which means everything downstream depends on finding it. Miss it for three Obelisk stages and your Devotion curve looks completely different from someone who built it immediately.
The nine alchemy discoveries don't require decisions: they require threshold resources. But the speed at which you hit those thresholds depends on whether you've built Library and activated the DRC-Crystal Conduit loop. That's the relationship most guides underexplain.
One thing the game never says: alchemy discoveries reshape how Devotion flows through every subsequent stage. They don't sit in isolation. Devotion Resonance Crystal amplifies click value; Crystal Conduit extends that amplification into passive generation. Everything else in the progression gets faster because those two are running.
GODEEPER: The full nine-discovery unlock sequence with exact resource thresholds and the Library-to-Eureka Moments path. All Hail the Orb Alchemy Guide →
S-tier all hail the orb unlocks
Library is not an alchemy discovery: it's a dungeon room. But it belongs at the top of any all hail the orb unlock ranking because nothing else functions without it. Library enables the Alchemy Bench, which enables all nine discoveries. No Library = no alchemy = a run that's slower in every dimension.
The game presents Library as one room among several. It isn't. Treat every other dungeon room as optional until Library is found and built.
Devotion Resonance Crystal gives each orb click a 10% chance to spawn a chain of additional crystals. That 10% chance sounds minor until it's running consistently: a single chain can produce multiple crystal spawns in sequence, and the effect stacks with other Devotion multipliers. This is the discovery that transforms the early click loop into something worth sustaining.
Crystal Conduit is the second half of the S-tier core. It automates the Life Crystal system: once active, the Life Crystal generates Devotion passively without manual orb clicking. Combined with Devotion Resonance Crystal (which adds the 10% chain chance), you get both passive generation and amplified click value running simultaneously. In practice: Devotion accumulates even when you're not at the keyboard.
These two should go in immediately after Library enables alchemy. The complete guide covers their sequencing relative to Obelisk advancement: the short version is don't wait.
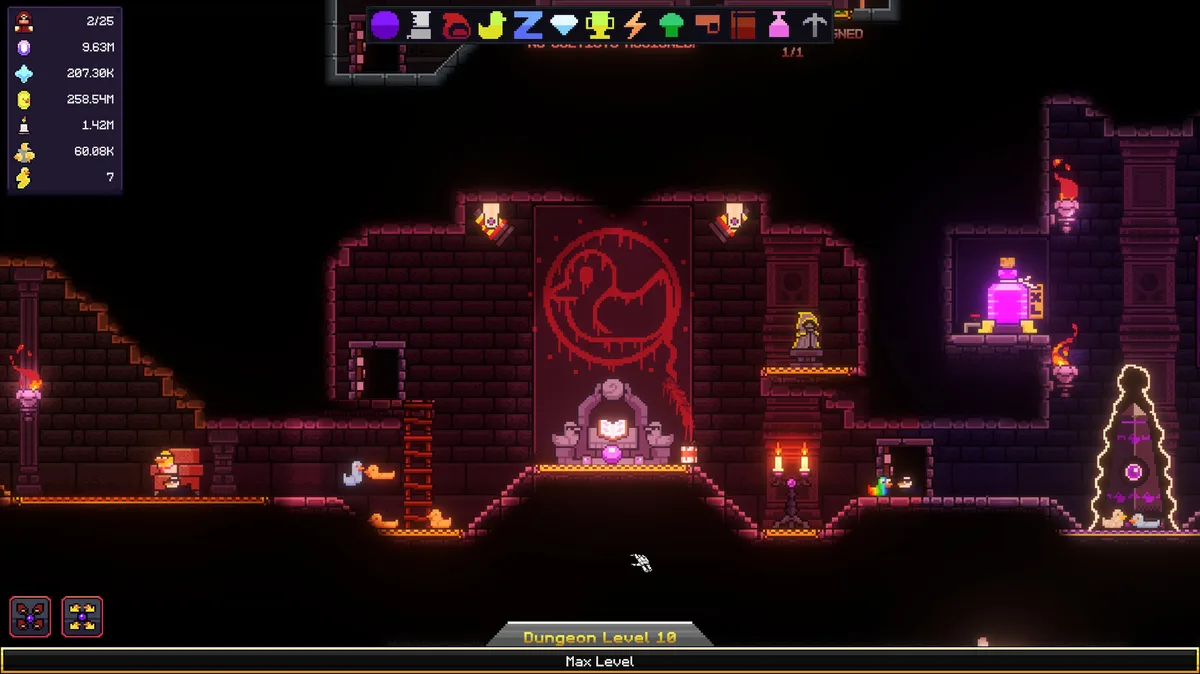
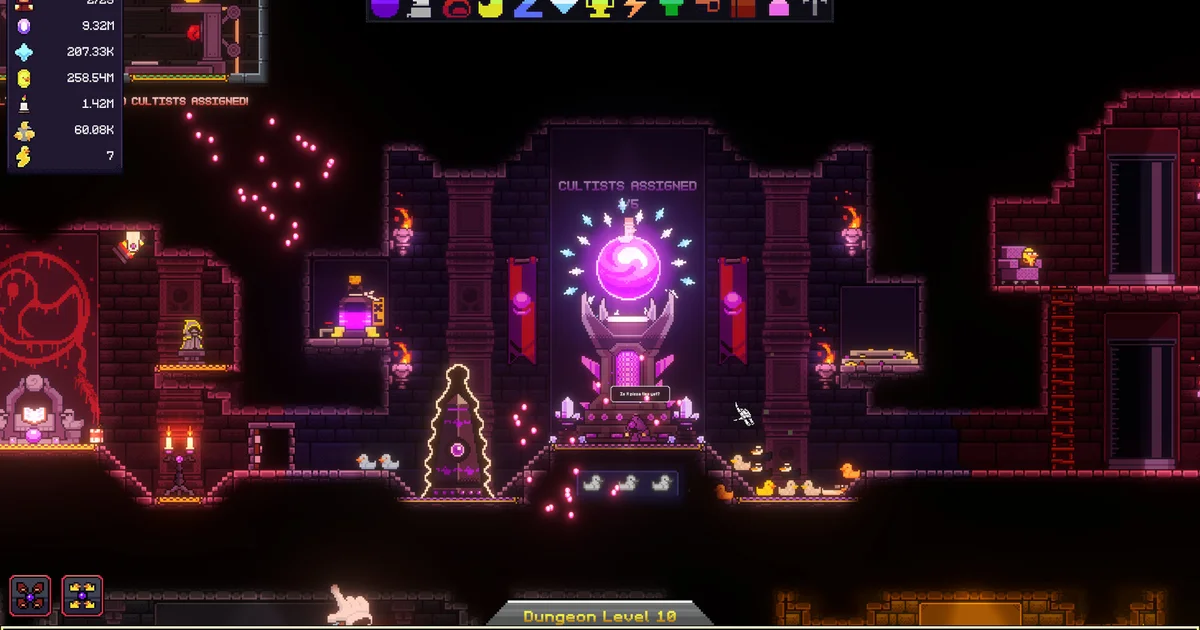
 The Alchemy Bench with DRC active: the chain effect visible here is what separates S-tier from everything else.
A-tier all hail the orb unlocks
Super Beds boosts cultist Devotion generation. In the early game, before alchemy is running, cultist output is your primary Devotion source. Super Beds improves that source directly. It unlocks at a bed-count threshold and fills in naturally during the second Obelisk phase. Not the most dramatic unlock, but it compounds across however many cultists you've recruited.
Life Crystal Upgrades+ improves cultist capability across the board. The exact threshold is tied to your Life Crystal resource count and unlocks during mid-game progression. It's a solid multiplier on an already-scaling resource. If your cultist automation has been running well, you'll feel this one land.
Cultist Statue Upgrades+ provides passive generation bonuses from your statues. Statues sit in the dungeon and generate Devotion on a timer. This discovery increases that output. Like the other A-tier unlocks, it fires automatically once you've hit the resource requirement. The practical effect: background Devotion that becomes more relevant in Obelisk stages 4-5 when passive generation needs to cover the gap between active sessions.
B-tier all hail the orb unlocks
Prayer of Fertility speeds cultist recruitment. Faster recruitment means your automation scales sooner. That sounds important, and it is in a very early-game window, but by the time it typically unlocks, other systems have already covered the recruitment rate gap. Never a bad discovery to have. It just doesn't change what the run looks like.
Speedy Transit improves logistics speed within the dungeon. Resources move faster between rooms. This has a real effect on automation efficiency, but the practical difference is smaller than the description suggests. Transport was never the bottleneck for most players; resource generation rates are. You'll notice Speedy Transit more in longer sessions where resource accumulation rates have leveled out.
Eureka Moments triggers at 0.01% per Library book read and provides a passive research multiplier. The 0.01% rate makes it feel like background noise, and for most of a run it is. What makes it matter: it's one of the nine discoveries required for the Grand Opus achievement. If you're going for achievement completion (and with an Overwhelmingly Positive rating from 96% of 850+ Steam reviews, most are), Eureka Moments just needs Library active and time passing. For pure gameplay efficiency, it's B-tier. For completionists, it's essential.
GODEEPER: Every discovery explained with Library-to-Eureka path and the Grand Opus checklist. All Hail the Orb Achievement Guide →
Obelisk stages and when unlocks land
Stage 1-2: Cultist basics. Automation begins. Library is your primary target during these stages if it hasn't appeared yet.
Stage 3-4: Alchemy Bench appears. This is where the game changes: if Library is built, the nine discoveries start unlocking. Devotion Resonance Crystal and Crystal Conduit should go in immediately when they become available. A-tier discoveries (Super Beds, Life Crystal Upgrades+, Cultist Statue Upgrades+) fill in during stage 4 as resource thresholds are met.
Stage 5-6: The grind toward 1 billion Devotion. With DRC and Crystal Conduit running, stage 6 is reachable in 3 hours of active play. Without them, the curve extends significantly. B-tier discoveries will have filled in passively by now. Eureka Moments is still accumulating in the background via Library books.
The common mistake across stages: advancing Obelisk before automation is stable. Each advance resets dungeon access briefly and requires rebuilding momentum. Wait until your Devotion generation is self-sustaining before pushing to the next stage.
 The Obelisk stage screen: Library and Alchemy Bench locations are visible in the dungeon layout. Find Library first.
Tips for reading the all hail the orb unlock system
Library before everything. This isn't a choice most people consciously make: they explore the dungeon and build rooms as they find them. Make it a choice. Library is the unlock that unlocks unlocks.
Don't wait to understand DRC + Crystal Conduit. Players who skim descriptions assume Devotion Resonance Crystal is a minor click bonus. It's not. The chain effect is what the game's passive loop is built around.
The A-tier unlocks come to you. Super Beds, Life Crystal Upgrades+, Cultist Statue Upgrades+: none of these require active pursuit. They trigger when your resource counts are high enough, which happens naturally if you're progressing. Knowing they're coming is worth more than trying to rush them.
Eureka Moments is fine. New players sometimes worry about the 0.01% rate. Don't. It fires over the course of a normal run. The Grand Opus achievement doesn't require farming it: just having Library active long enough.
Stage 6 is the real goal. Not for the ending (the game has exactly one), but for the 1 billion Devotion milestone. That number is when a run built around the S-tier core separates from one that wasn't. Players who get DRC and Crystal Conduit running early hit stage 6 in 3 hours: which lines up with the game's design intent. Players who miss both can take significantly longer, often well past a first normal playthrough.
Frequently asked questions
Q: What is the best unlock in All Hail the Orb? A: Library (dungeon room, enables alchemy), then Devotion Resonance Crystal and Crystal Conduit. These three form the core of any efficient run.
Q: How many alchemy discoveries are in All Hail the Orb? A: Nine. Eight auto-unlock at resource thresholds. One (Eureka Moments) triggers passively at 0.01% per Library book read.
Q: Is there a worst unlock? A: Not exactly. Prayer of Fertility and Speedy Transit are the lowest-priority discoveries, but they fill in passively and never hurt a run. The only real mistake is missing Library: without it, none of the nine discoveries activate.
Q: When does alchemy unlock? A: Obelisk stage 3 or 4, when the Alchemy Bench appears. Library must already be built. If Library isn't found by stage 3, explore more aggressively during stage 2.
Q: What's Eureka Moments for? A: Research multiplier + Grand Opus achievement requirement. The 0.01% rate sounds bad but triggers naturally over a full run.
Q: How long does a full run take with optimal unlocks? A: Around 3 hours to reach stage 6 (1 billion Devotion) with the S-tier loop running: consistent with the game's intended runtime. Without DRC and Crystal Conduit, expect the passive generation gap to drag the run noticeably longer.
Related Reading
- All Hail the Orb Complete Guide 2026: Hub for all All Hail the Orb guides: alchemy, automation, secrets, endings, and achievement tips.
- All Hail the Orb Ending Explained: What Happens After: All Hail the Orb ending explained: the 1B Devotion finale, April 22 post-story patch, and.
- All Hail the Orb Review: A Three-Hour Cult Classic: All Hail the Orb review: a pixel-art clicker about summoning cultists and exploring a dungeon.
- All Hail the Orb Stamina Guide: Super Beds Explained 2026: All Hail the Orb stamina limits cultist output without showing you why.
- All Hail the Orb Tips Guide: 100% Completion (2026): All Hail the Orb tips guide for beginners: system unlock order, alchemy bench priorities, and.
References
- All Hail the Orb on Steam: LeGingerDev / GrabTheGames, released April 20, 2026
- All Hail the Orb Steam Community: player discussions, patch notes, and developer announcements
- All Hail the Orb alchemy guide: all nine discoveries with resource thresholds
- All Hail the Orb achievement guide: Grand Opus requirements and unlock order
- All Hail the Orb best build guide: automation priority order and Obelisk timing
- All Hail the Orb obelisk guide: stage-by-stage breakdown
Was this guide helpful?
About the author

Senior Critic & Analyst
Former game data analyst turned critic with 11 years covering indie and mid-tier games. Based in Austin. Runs spreadsheets on games most people just play.
- 11 years games criticism
- Former game economy analyst
- Roguelike and strategy specialist


Disclaimer
This article is published for informational and entertainment purposes. It does not constitute professional financial, legal, or technical advice. Game performance, online services, patch schedules, and store listings change. Verify critical details (pricing, system requirements, regional availability) with publishers and storefronts before you buy. Affiliate links, where present, help support our editorial work and are labelled in our affiliate disclosure.