GameBrief · Guides
All Hail the Orb New Player Mistakes: 8 Common Errors

Reviewing
All Hail the Orb
LeGingerDev · GrabTheGames
All Hail the Orb new player mistakes share one trait: the game is an incremental, so errors don't announce themselves. The Library sits understaffed for three hours before you notice the Alchemy Bench has stopped producing discoveries. The Obelisk advances too early and the rebuild takes twice as long as expected. The duck gacha sits unrolled until the final stage.
These are the specific errors that cost the most time: and the reasons they happen.
TL;DR: All Hail the Orb new player mistakes: under-staffing the Library, unlocking alchemy in the wrong order, rushing Obelisk advances before automation is stable, and missing the duck gacha entirely. None of these announce themselves while they're happening.
Key takeaways
- Under-staffing the Library (1 cultist instead of 2-3) delays every alchemy discovery by hours: the deficit compounds
- Wrong alchemy order: Devotion Resonance Crystal and Crystal Conduit must come first, before anything else
- Advancing Obelisk stages before the automation loop is stable costs more time than the advance saves
- Not checking the Alchemy Bench regularly misses discoveries that could have been active hours earlier
- Rolling Quackpot ducks one at a time wastes currency: 5 at a time is the correct rate
- Ignoring Grotto management before Auto Harvest unlocks creates a forgotten resource drain
- Super Beds looks unimpressive per session; it matters across idle sessions
Mistake 1: One cultist in the Library
The Library is the source of all Knowledge in the game. Knowledge gates every alchemy discovery. You cannot substitute any other resource for Knowledge: it comes only from cultists reading.
 One cultist in the Library is the most common run-wrecking setup. Two is the minimum. The Knowledge deficit from a single-cultist Library compounds across every hour of the run.
One cultist in the Library generates Knowledge slowly enough that most players at Stage 3 or 4 find themselves wondering why the Alchemy Bench hasn't shown a new discovery in over an hour. The answer is usually the Library.
The correct setup is 2 cultists minimum, 3 if your roster allows. Two is the floor. With two cultists, Knowledge generation stays ahead of discovery thresholds. With one, the thresholds get crossed eventually: just two to four hours later than they should have been.
The damage is permanent. Knowledge can't be stored up early and spent later. The hours you lost to one-cultist Library operation are hours of alchemy progress you won't recover. Build the Library when it becomes available, put 2-3 cultists in it, and don't move them.
Mistake 2: Wrong alchemy order at the Bench
The Alchemy Bench becomes available at Obelisk Stage 3 or 4 and immediately offers a slate of discoveries. New players tend to take whichever one looks interesting first: usually one of the middle-tier discoveries rather than the two that matter most at that point.
The correct order: Devotion Resonance Crystal first, Crystal Conduit second.
Devotion Resonance Crystal adds a 10% chain trigger chance on each orb click: active sessions start generating Devotion noticeably faster within minutes of unlocking it. Crystal Conduit converts the Life Crystal system to passive Devotion accumulation, removing the need to click to advance the Devotion counter.
Together, those two discoveries make the Devotion loop self-sustaining. Active clicking adds output on top of what automation already provides. Nothing else at the Bench changes your trajectory as fast.
Speedy Transit (the Library portal) comes third: it removes travel overhead from Knowledge generation, which is meaningful but secondary to getting the Devotion loop running.
Taking something else first because it looked stronger is the mistake. It's not that the other discoveries are bad: it's that they're good discoveries in the wrong order.
GODEEPER: Full alchemy priority order with specific unlock timing by Obelisk stage. All Hail the Orb Best Build Guide →
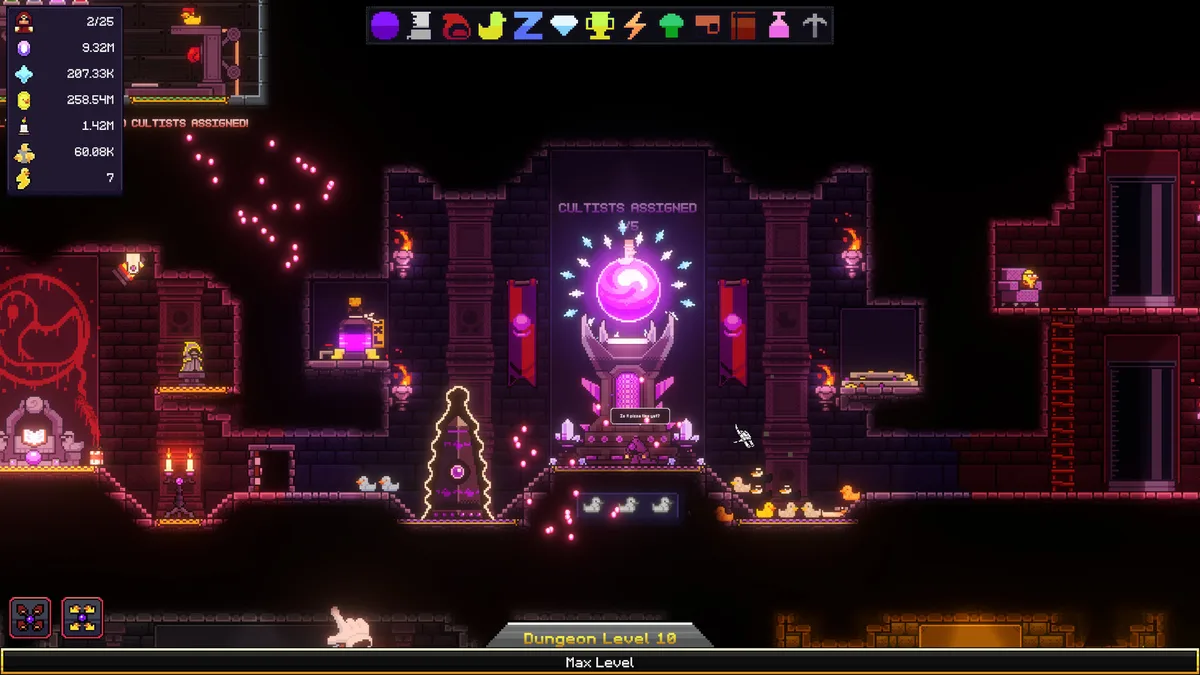
Mistake 3: Advancing the Obelisk too early
Each Obelisk stage advance resets dungeon elements. If your automation loop isn't stable enough to recover from that reset quickly, the advance costs more time than it saves.
 Advancing the Obelisk before passive Devotion can cover a rebuild in under one hour costs net time: even if the current stage feels done.
Hold the advance until your passive Devotion (Crystal Conduit plus Life Crystal ticks) can cover a full stage rebuild in under one hour of idle time. Two hours to recover means the automation loop isn't stable yet.
Players typically advance when they're bored waiting: the Devotion counter is climbing and the stage feels done. But if the rebuild takes two hours and you could have waited one more hour to reach a stable automation state, the advance cost you net time.
The automation-first mindset shifts this: you're not advancing to start the next stage, you're advancing when the loop can absorb the cost of a reset without breaking your session pace.
Mistake 4: Checking the Alchemy Bench once per stage
Discoveries at the Alchemy Bench don't appear on a schedule. They appear when your resource counts cross a threshold. That threshold could be crossed ten minutes after your last visit or three hours later, depending on how the resources are accumulating.
Players who check the Bench once per Obelisk stage (treating it as a stage reward) often find they had a discovery sitting available for two to three hours before they noticed it.
The fix is checking on every dungeon visit, not on a schedule. The Bench visit takes about 10 seconds. A discovery that's been available for three hours and wasn't collected is three hours of whatever that discovery provides that you didn't get.
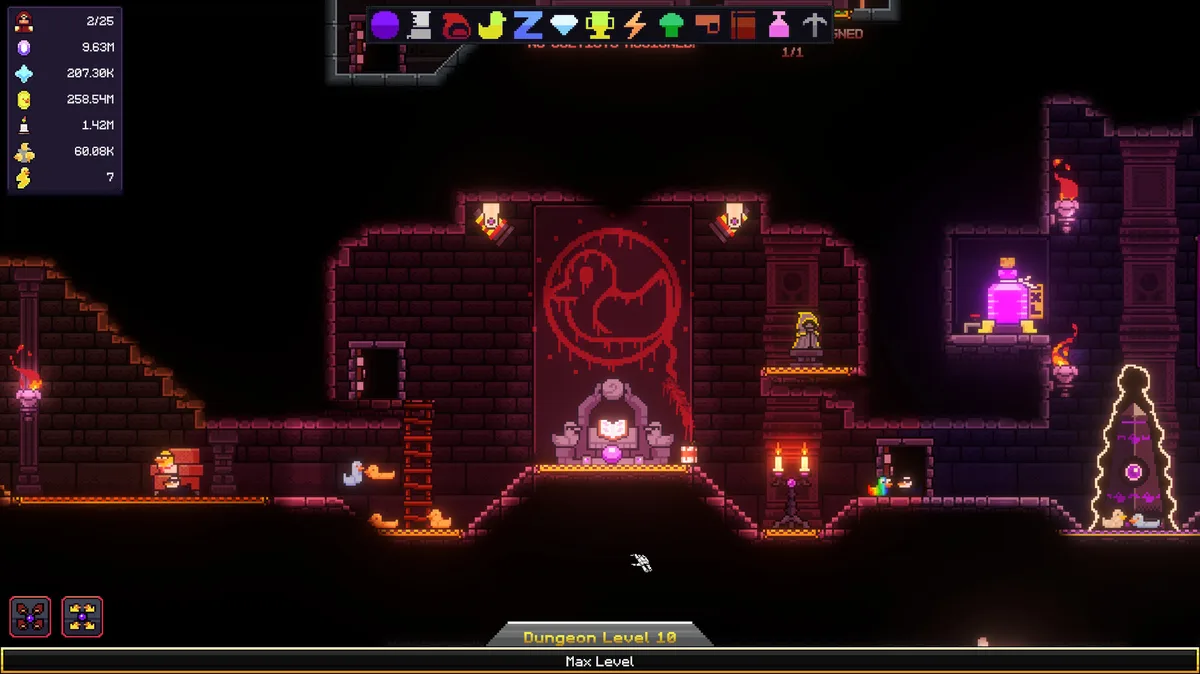
Mistake 5: Ignoring Grotto management before Auto Harvest
The Grotto produces mushrooms that feed the dungeon resource loop, including materials for cultist stamina recovery. Before Grotto Auto Harvest unlocks, collection is manual: and manual collection is easy to skip.
Neglecting Grotto collection in early stages means cultists take longer to recover from stamina depletion, which means they spend more of each hour resting instead of working. The output difference is small per cultist and visible across your entire roster over a 2-hour session.
This isn't about missing automation: Auto Harvest isn't available yet. It's about not checking the Grotto at all in early stages, treating it like background scenery when it's actually producing materials your cultists need.
Once Grotto Auto Harvest unlocks, this issue resolves automatically. Until then, build a habit of checking it on the same visit as the Alchemy Bench.
GODEEPER: Full idle session setup: how to configure automation for overnight progress before Grotto Auto Harvest and after. All Hail the Orb Automation Guide →
Mistake 6: Rolling Quackpot ducks one at a time
The Quackpot is the duck gacha, and the Duck Dynasty achievement requires 50 ducks. Rolling one at a time is less efficient than rolling five at a time: the batch rate produces more ducks per currency spent.
This mistake is easy to make because the Quackpot UI presents both options and nothing in the interface indicates the batch rate advantage. The April 2026 patch reduced the cost of reaching 50 ducks overall, so the achievement is more reachable than early access players found it. But single rolling still wastes currency.
The second related mistake: ignoring the Quackpot entirely until the late stages, then realizing 50 ducks requires consistent rolling across most of the run. Start rolling fives from the moment you have Quackpot currency, not in a panic at Stage 5.
Mistake 7: Skipping Super Beds because it looks weak
Super Beds gets skipped in most runs. It speeds up cultist stamina recovery, which reads like a minor quality-of-life upgrade: a few seconds shaved off downtime, barely visible in any single session.
Over a 3-hour idle session, faster stamina recovery means cultists spend more of that time working and less time resting. Across a full roster, across multiple hours, the actual Devotion and Knowledge output difference is real.
The mistake is evaluating Super Beds against what you see in short sessions and deciding it's not worth the Bench slot. Players who unlock it and then run overnight sessions notice the difference. Players who skip it and run overnight sessions don't, because they have nothing to compare against.
Unlock Super Beds after the core three discoveries (Devotion Resonance Crystal, Crystal Conduit, Speedy Transit) are active. Don't treat it as optional after that point.
Mistake 8: Not exploring the dungeon before triggering the finale
The April 22, 2026 patch added post-story continuation, which means reaching 1 billion Devotion and completing the Obelisk Stage 6 finale no longer ends your run. Automation persists, alchemy stays active, and the Library keeps running.
However, four hidden dungeon achievements require active exploration: they don't unlock during idle sessions and they won't trigger from the Alchemy Bench or the Devotion counter. If you never explored specific areas of the dungeon during the run, you'll need to go back and find them manually in the post-story phase.
Most players don't notice this until the achievement list shows three entries they can't explain and can't seem to unlock through normal gameplay. The exploration requirements are in the dungeon proper, not the automation systems.
Before triggering the Stage 6 finale, spend 15 minutes going through dungeon areas you haven't explicitly visited. The hidden achievements are in places that aren't obvious from the main cult management loop.
Frequently asked questions
What is the most damaging mistake in All Hail the Orb? Under-staffing the Library from the start. One cultist instead of two delays every alchemy discovery by hours, and that time deficit compounds through the entire run.
Can you fix the Library understaffing issue mid-run? Yes: reassign cultists and the Knowledge generation improves immediately. But the hours already lost don't come back. Fix it as soon as you notice the bottleneck, not later.
Is there a missable achievement in All Hail the Orb? The four hidden dungeon achievements require exploration that doesn't happen automatically. After the April 22 patch, they're accessible in the post-story phase: but you need to actively seek them in the dungeon areas, not wait for them to unlock from idle play.
How do I know if I'm checking the Alchemy Bench often enough? If you've opened the dungeon screen more than twice without visiting the Bench, you've probably let at least one discovery window go. Check on every dungeon visit.
Does it matter which character I pick for my first run? The attack-focused character is the most readable first run. Attack builds don't require deep relic knowledge: find relics that trigger on attack hits, commit to attack faces, clear floors. The mistakes above apply to any character; the character choice mostly affects how fast the errors become visible.
Related Reading
- All Hail the Orb Complete Guide 2026: Hub for all All Hail the Orb guides: alchemy, automation, secrets, endings, and achievement tips.
- All Hail the Orb Ending Explained: What Happens After: All Hail the Orb ending explained: the 1B Devotion finale, April 22 post-story patch, and.
- All Hail the Orb Review: A Three-Hour Cult Classic: All Hail the Orb review: a pixel-art clicker about summoning cultists and exploring a dungeon.
- All Hail the Orb Alchemy Recipes: Complete List of All 9: All Hail the Orb alchemy recipes: complete list of all 9 discoveries, exact effects, unlock.
- How Long to Beat All Hail the Orb: Story, 100%, Routes: How long to beat All Hail the Orb: story ends at ~3 hours, but the.
References
- All Hail the Orb on Steam: official store page and community hub
- LeGingerDev on Steam: developer page
- All Hail the Orb tips guide for beginners: what to prioritize from the start, in positive framing
- All Hail the Orb automation guide: cultist distribution, idle session setup, stamina cycle management
- All Hail the Orb best build guide: full alchemy priority order and Obelisk stage timing
Was this guide helpful?
About the author

Indie & JRPG Critic
Indie game evangelist and lifelong JRPG fan covering small studios since 2017. Mumbai-born, London-based. Writes the way she talks.
- 7 years indie games coverage
- JRPG and visual novel specialist
- Narrative design focus


Disclaimer
This article is published for informational and entertainment purposes. It does not constitute professional financial, legal, or technical advice. Game performance, online services, patch schedules, and store listings change. Verify critical details (pricing, system requirements, regional availability) with publishers and storefronts before you buy. Affiliate links, where present, help support our editorial work and are labelled in our affiliate disclosure.