GameBrief · Guides
Farever Dungeon Guide: Floor Depth and the Support Edge

Reviewing
Farever
Shiro Games · Shiro Games
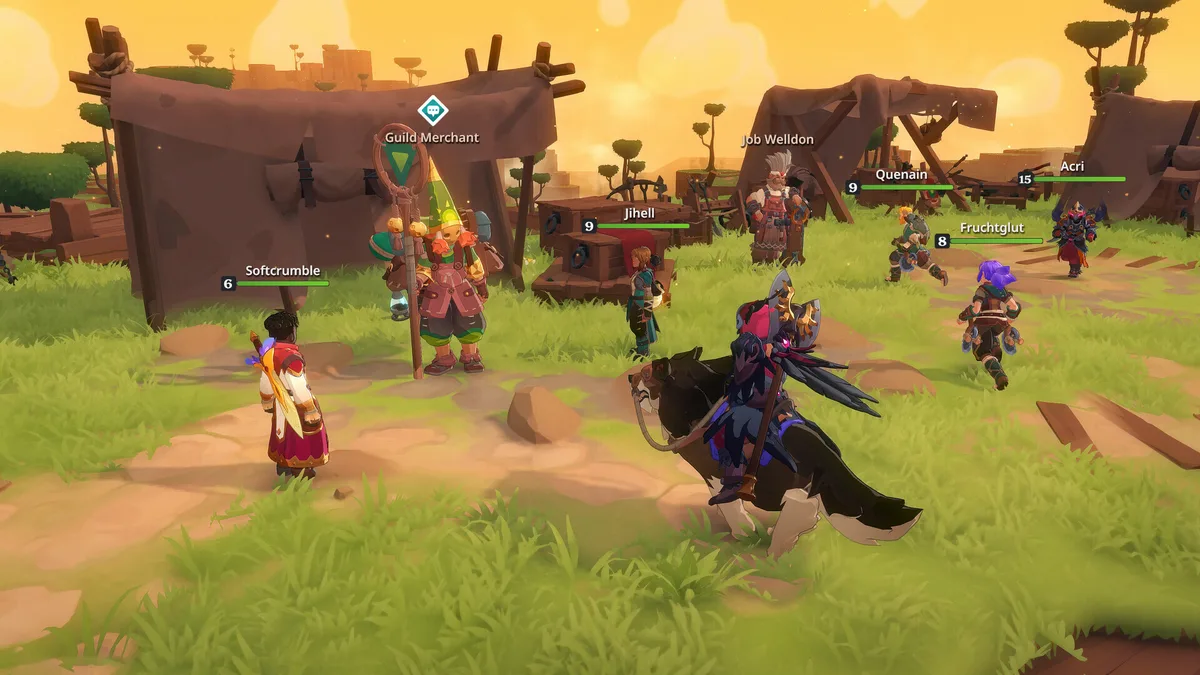
Farever dungeon guide: the dungeons are the main event. The open world in Siagarta is the setup; the floor-based runs are where the game's class system either pays off or falls apart. Most groups discover the critical mechanic the hard way, around floor 4, when things stop going well without an obvious explanation. This guide cuts to it directly.
TL;DR: Without a Cleric (Support), groups cap around floors 3-4. With one, they consistently reach 5-6. That 2-floor gap is the whole Support advantage, and it compounds into significantly better loot access across an evening of play. For 4 players, run 2 Damage (crit + elemental) + 1 Support + 1 Tank. For 2, run Damage + Support. Solo, use Warrior or Rogue. Crafting jobs are assigned separately from combat class; sort them out before your first run.
Farever dungeon guide: what is the Support advantage? (quick answer)
The Support advantage is the floor depth gap between groups that include a Cleric and groups that don't. Groups without a Support class typically exhaust their survival margin around floors 3-4 because enemy health and density compound faster than the group's ability to clear threats safely. Groups with a Cleric can push to floors 5-6 because the Cleric extends survival margins and lets Damage classes commit harder rather than play conservatively.
Two extra floors per run. That's the mechanical difference, and it's not marginal. Deeper floors drop Rare and Exotic tier materials. The access gap between "caps at floor 4" and "reaches floor 6" translates directly into gear progression speed.
Key takeaways
- Without a Cleric: groups cap at floors 3-4 under normal conditions
- With a Cleric: groups consistently reach floors 5-6 per run
- The 2-floor gap is real and compounds into faster gear progression over multiple sessions
- 4-player optimal composition: 2 Damage (crit + elemental) + 1 Support + 1 Tank
- 2-player optimal: Damage + Support outperforms Damage + Tank
- Solo best picks: Warrior (safest) or Rogue (faster)
- Crafting jobs are separate from combat class; assign them before the first dungeon
- Floors 3-5 drop Rare materials; floors 5+ occasionally drop Exotics at low rates
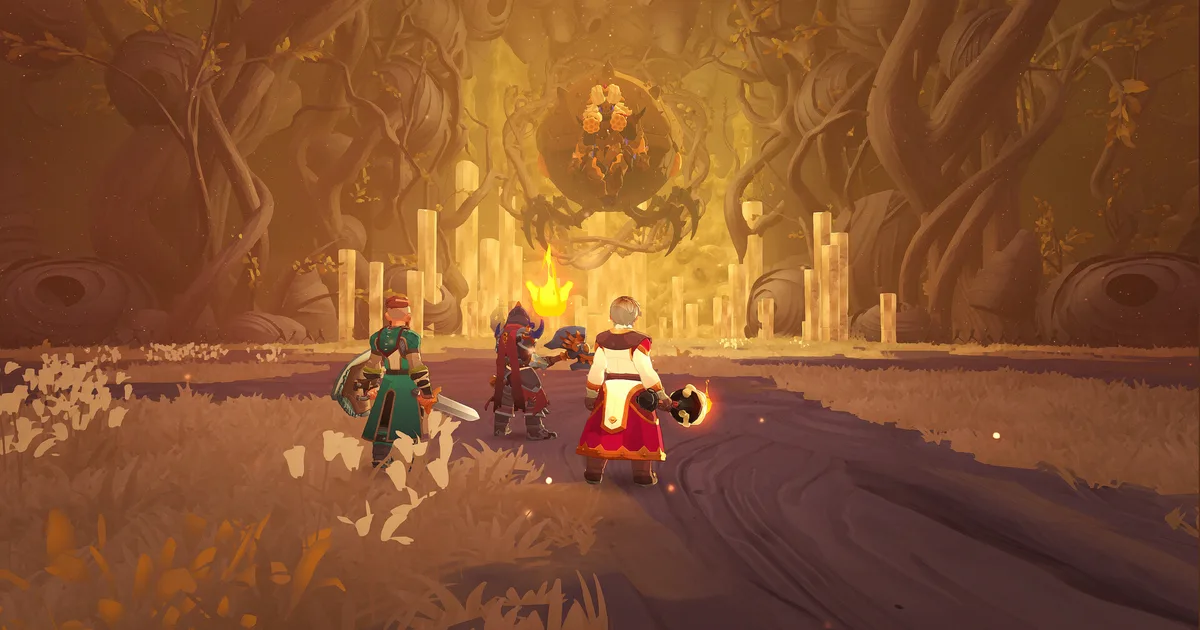
How floor difficulty scales in Farever dungeons
Farever dungeon floors scale on two axes simultaneously: enemy health pools and enemy density. As depth increases, each individual enemy survives longer (higher health) and more enemies engage simultaneously (higher density). Both factors extend the time and resource investment required per floor.
This dual scaling is why the support advantage is structural rather than situational. In early floors (1-2), the difficulty is low enough that the group's Damage output handles threats comfortably without a dedicated support function. By floor 3-4, the longer fights and denser packs start testing the group's ability to sustain. Without Support managing healing cooldowns and keeping Damage classes in the fight, the group plays conservatively: waiting for openings, backing off more often, burning through personal resources faster.
Conservative play means slower clears. Slower clears mean more resource drain before each floor is clear. The compounding effect is what stalls groups around floor 4, not any single spike in difficulty.
With Support, Damage classes can front-load aggression because the Support covers the downside. Threats get cleared faster; resource drain per floor drops; the group's effective depth ceiling rises by roughly 2 floors.
The loot breakdown makes the difference concrete:
| Floor range | Loot tier | Notes |
|---|---|---|
| 1-2 | Common | Foundation gear and crafting base |
| 3-5 | Rare | Mid-tier materials, best regular farming target |
| 5+ | Rare + Exotic (low rate) | Late-tier gear ingredients, low drop frequency |
Two extra floors per session means consistent Rare drops and occasional Exotic access. Over several sessions, that adds up to noticeably better gear.
 The gap between "makes it to this point" and "makes it further" comes down to party composition; with a Cleric in that third slot, the group has the survival margin to keep descending.
GODEEPER: Full class breakdown with gear paths and passive trees for each role. Farever Class Guide: All 4 Classes and How to Pick →
Party composition by group size
Floor depth targets depend on composition. Here's what works and why at each group size.
4-player composition: 2 Damage (one crit build, one elemental build) + 1 Support + 1 Tank
The two Damage classes cover different fight types: crit builds close out elite encounters quickly; elemental builds sustain output across long boss phases. Tank anchors chokepoints and manages threat without splitting attention from damage output. Support keeps everyone in the fight. This composition reaches floors 5-6 consistently and occasionally pushes further with optimal gear.
Running two of the same Damage type loses coverage. A dual-crit group burns through elite encounters but labors on sustained boss fights. A dual-elemental group handles bosses smoothly but can struggle to finish elites quickly enough before the mob pack presses in.
3-player composition: 2 Damage + 1 Support (preferred over 2 Damage + 1 Tank)
The counterintuitive result of community testing in Farever: Support beats Tank at 3 players for floor depth. A Tank in a 3-player group contributes one layer: damage mitigation and threat management. A Cleric in the same slot covers survivability AND enables the Damage classes to push harder. The net floor depth is higher with Support in that slot.
2-player composition: Damage + Support
Damage + Support is the pairing that actually works for 2-player dungeon runs. The Support keeps the Damage class viable for the floors that would otherwise require retreating. Damage class choice depends on what you're running into: crit for elite-heavy floors, elemental for boss-heavy content.
Damage + Tank at 2 players is viable for low-floor runs but stalls at the same wall as 3-player Tank compositions, just earlier.
Solo: Warrior or Rogue
Warrior is the safest solo class. The gear path builds mitigation and you survive encounters that would end a Damage-class solo run. Progress is slower. Rogue is faster once you understand enemy patterns well enough to close and burst without taking unnecessary hits, but it has a higher failure rate in early sessions.
Cleric doesn't work solo. Its whole value is scaling what other players can do. With nobody else, there's nothing to scale.
Gear progression by floor depth
Class choice gates which gear bonuses are available. A Damage class accessing mid-tier dungeon drops (floors 3-5) unlocks crit multipliers and elemental damage passives from equipment that a Tank player can't access from the same items. This creates build identity that carries across all gear tier upgrades.
The three gear tiers in the current EA build:
Early-tier (surface zones and floors 1-2): Build your passive foundation here. For Damage, this is where you commit to crit or elemental. For Tank, this is where you choose between raw mitigation and block chance. For Support, this is where you lock in which healing and cooldown passives you're stacking. Changing direction later is possible but costly.
Mid-tier (floors 3-5): Item modifiers start appearing that interact with your passive stack. The best mid-tier items aren't necessarily the highest base stats; they're the ones with modifiers that compound with what you already built. A slightly lower base weapon with a crit-amplifying modifier beats a higher base weapon with a flat damage modifier if you're running crit.
Late-tier (floors 5+): The gap between a well-built and randomly assembled kit becomes visible in floor clears. Exotic materials from this tier enable late-tier crafting, but the drop rate is low enough that mid-tier materials will accumulate faster. Craft mid-tier gear as soon as it's available rather than holding out for Exotics.
One thing the community keeps noting: Exotic drop rates are low enough that most players build significant Rare backlogs before Exotics arrive. Don't wait. Mid-tier gear now outperforms holding out for late-tier gear in three sessions.
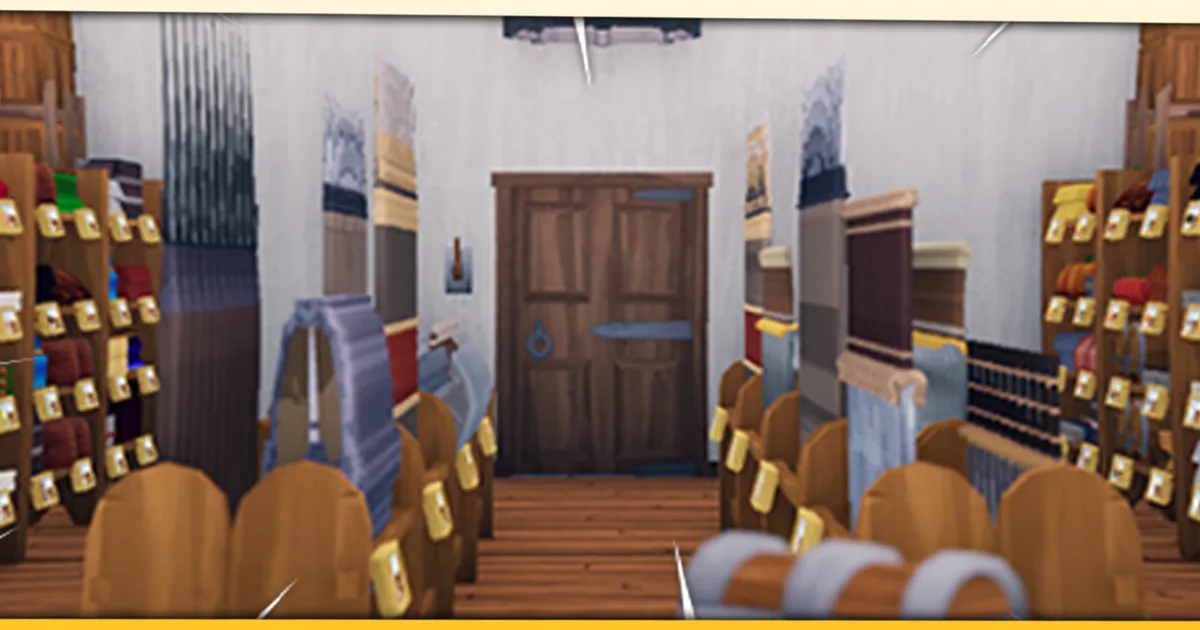
 Between dungeon runs, the town hub is where crafted gear pays off; the visual difference between early-tier and mid-tier gear on your character is visible from the hub view.
GODEEPER: Party setup step-by-step, crafting job assignments, and floor targets for every group size. Farever Co-op Guide: Roles, Group Builds, and Dungeon Runs →
Crafting jobs and the dungeon prep mistake most groups make
Crafting jobs in Farever are separate from combat classes. You choose a crafting specialization independently of whether you're playing Warrior, Cleric, Mage, or Rogue. A Damage player can be the group's primary crafter for Support or Tank gear.
Groups that don't discuss crafting job assignments before their first run typically end up with three players producing the same gear type and one player under-equipped. If three Damage players all choose crafting paths for Damage gear, the Tank and Support never get optimal items.
The solution is simple but requires one conversation before the session starts: decide which player specializes in crafting for each class role. One player crafts Damage gear; one crafts Tank gear; one crafts Support gear. The fourth player (if you have four) takes the fourth specialization or doubles up on whichever is most needed.
For current bug notes: as of v0.1.3, disconnecting during a dungeon floor returns the whole group to the floor entrance. If any player needs to drop connection, retreat to the floor entrance first. The earlier bug that caused data rollback on disconnects was fixed in v0.1.3 along with the party invite issues.
Related Reading
- Farever Class Guide: All 4 Classes and How to Pick: Gear paths, passive trees, and which class fits your playstyle for dungeon runs.
- Farever Co-op Guide: Roles, Group Builds, and Dungeon Runs: Step-by-step party setup, crafting job assignments, and floor targets for 2- and 4-player groups.
- Farever Builds Guide: Best Class and Team Comp 2026: Build theory per class with passive priority orders and gear modifier stacking.
- Farever Tips for Beginners: First Hours in Siagarta: First session fundamentals before you attempt dungeon content.
- Farever Review 2026: Good Bones, Rough Early Access: Full assessment of where the EA build stands and what's still rough.
Frequently Asked Questions
How many floors are in Farever dungeons? The current EA build scales progressively. Groups without Support cap around floors 3-4. With Support (Cleric), groups reach floors 5-6. Floors beyond 6 are accessible with optimal composition and gear; the full ceiling extends further than the typical group push.
What is the Support advantage in Farever? The 2-floor depth gap between groups with and without a Cleric. Support lets Damage classes push aggressively rather than conservatively, which reduces resource drain per floor and extends the effective run.
What is the best party for Farever dungeons? For 4 players: 2 Damage (crit + elemental) + 1 Support + 1 Tank. For 2 players: Damage + Support. Solo: Warrior or Rogue.
What loot is on deeper floors? Floors 3-5 drop Rare tier materials. Floors 5+ occasionally drop Exotic materials (low rate). Exotic drops are slow enough that mid-tier crafting should not wait for Exotic accumulation.
Should I run Cleric or Warrior in a 3-player group? Cleric. Support outperforms Tank in 3-player groups for floor depth because it provides survivability while enabling more Damage output. Tank only provides the first layer.
How does floor difficulty scale? Enemy health pools and enemy density both increase per floor. The compound effect slows clears and drains resources faster, which is why Support changes the depth ceiling rather than just providing incidental healing.
What happens if someone disconnects mid-dungeon? As of v0.1.3: the group returns to the floor entrance. Retreat there before any player drops to avoid replaying floor content.
References
- Farever on Steam: official store page, patch notes, and EA details from Shiro Games
- Shiro Games on Steam: developer page for Wartales and Northgard studio context
- Farever community testing: floor depth reports from r/farever and the Shiro Games Discord, confirming the 2-floor Support gap
- Farever Complete Guide Hub: all Farever guides organized by topic
Was this guide helpful?
About the author

Senior Critic & Analyst
Former game data analyst turned critic with 11 years covering indie and mid-tier games. Based in Austin. Runs spreadsheets on games most people just play.
- 11 years games criticism
- Former game economy analyst
- Roguelike and strategy specialist
Keep reading


Disclaimer
This article is published for informational and entertainment purposes. It does not constitute professional financial, legal, or technical advice. Game performance, online services, patch schedules, and store listings change. Verify critical details (pricing, system requirements, regional availability) with publishers and storefronts before you buy. Affiliate links, where present, help support our editorial work and are labelled in our affiliate disclosure.