
GameBrief · Guides
Outbound Beginner Tips: 10 Things to Do in Hour One

Reviewing
Outbound
Square Glade Games · Square Glade Games
These Outbound beginner tips cover the two ways your first session goes sideways: picking the wrong van and running out of interior space by hour two, or building before visiting a signal tower and wasting resources on a direction the game hasn't unlocked yet. Every tip here is about avoiding those specific problems.
TL;DR: Pick the Big One van. Your first signal tower visit is free, so take Basic Tools. Build the Recycler before decorative items. Keep collections near the 20-item sprint threshold. Night sprinting is now built in; Homing Boots was removed. Everwood is build material, not fuel. Solar panels come early, and materials respawn every 3 days.
Outbound beginner tips: what to do in your first 30 minutes (quick answer)
Step-by-Step: Outbound beginner tips for your first 30 minutes
The opening loop in Outbound is tighter than it looks. This is the sequence that avoids the most common first-session mistakes:
-
Before the tutorial proper, choose a starting van. Three options: Classic (balanced, medium space), Path Maker (best handling, least interior space), Big One (poor handling, most space). Pick the Big One. You'll stop constantly to gather resources anyway, so the handling disadvantage fades fast. Interior space, though, hits a real wall the moment you need a Recycler, a Sawmill, a storage unit, and a solar panel all installed at once.
-
Change one setting before moving. Go to camera settings and switch Driving Camera from the default dashboard view to "Behind the Vehicle." Dashboard blocks your sightlines for resource spotting, and resource spotting is most of what you're doing out there. Behind-vehicle makes roadside items visible from further out.
-
Light the campfire with Everwood from the supply crate. This triggers the first signal tower interaction.
-
At the signal tower, your first blueprint pick is free. No Download Voucher required. Take Basic Tools. That single blueprint unlocks the Wrench and Building Hammer, which gate almost all early construction. Without these two tools, nothing else builds correctly.
-
Collect scrap metal from the immediate area (at least 3 pieces) and use the Wrench to repair the nearby gate. This opens the first exploration zone and unlocks co-op access even in solo play.
Current status: September 2026
The live Steam page is $24.99 with 73% positive from 1,788 all-language reviews and 77% from 58 recent reviews. Official patch 1.0.8 removed Homing Boots after adding night sprinting, with sprint speed increased by 15% and stamina regain by 150%. The latest official patch feed also lists 1.1.8 (August 11), which fixed empty Download Terminals in multiplayer, added dog-companion radial controls, and fixed controller dead-zone handling. An August 18 developer post says the Wildlife Update is in development, but it is not delivered content yet.
The Recycler goes in before anything decorative
Build the Recycler as your first van workstation. Before the bed, before any furniture, before the kitchen shelf. The Recycler comes first.
It converts litter, broken bottles, and roadside trash into Download Vouchers, and Download Vouchers are how you buy every blueprint at every signal tower from here out. Players who skip the Recycler end up with plenty of raw materials and no way to unlock the tools to process them. I made this mistake in my first session. Spent 90 minutes collecting scrap with nothing to spend it toward.
The loop runs like this: drive slowly, pick up every piece of trash you pass, dump it in the Recycler, spend the vouchers at signal towers. That's the whole early game engine. Build in the wrong order and the voucher supply dries up fast.
After the Recycler: a basic storage unit second, crafting workstation third. Furniture and aesthetics wait until you've got a working tool chain.
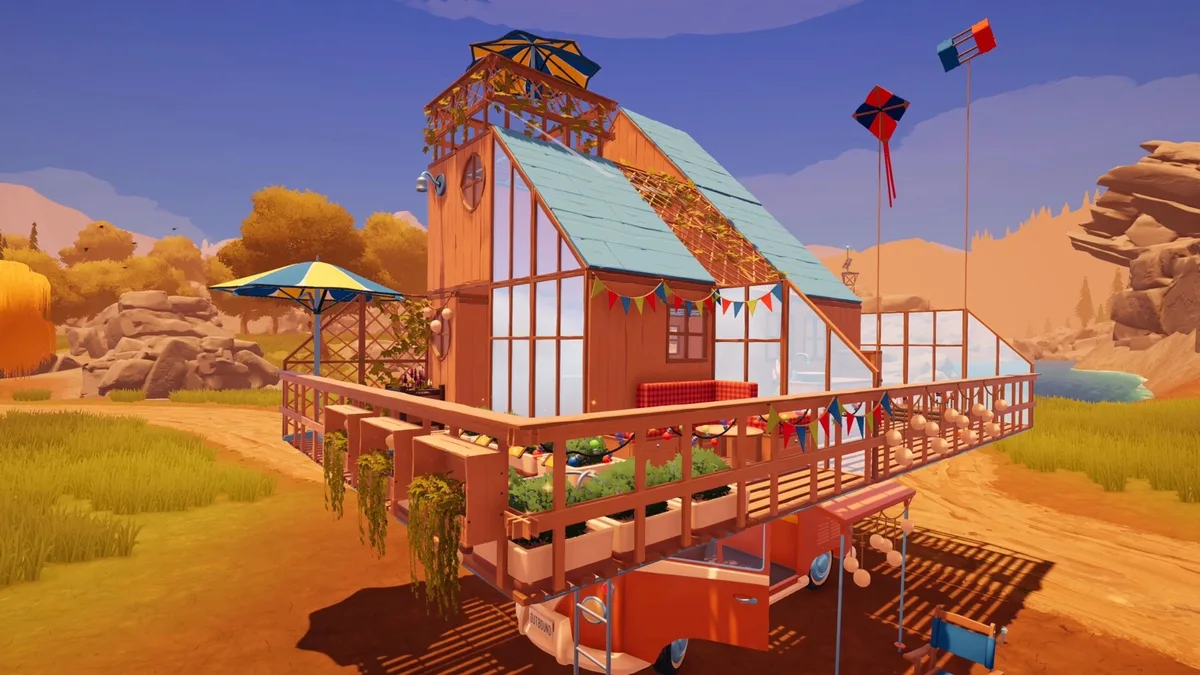 Signal towers each show a rotating selection of blueprints. Your first visit is free; every visit after that costs one Download Voucher. Visit before expanding your van build, not after.
The 20-item sprint cap changes how you gather
Most guides skip this one: carrying more than 20 items in your backpack triggers a sprint speed reduction. Carry significantly more and sprint disappears entirely.
The fix isn't to carry less. You need everything you can find early. The fix is to park the van close and make short, frequent runs instead of one long haul. Drop materials at your storage unit, head back out, collect another load, return. It feels slower at first. It's actually faster because you're not plodding back at walking pace.
One upgrade changes the math entirely. The dog companion (adopted from the Paws & Whiskers Lodge) can equip a backpack upgrade that effectively doubles your carry capacity before hitting the sprint cap. Training the dog takes several sessions, but once that backpack slot unlocks, your gathering rhythm speeds up noticeably.
GODEEPER: The dog companion system has more depth than the intro suggests. Outbound Dog Companion Guide: Paws & Whiskers Lodge →
Sprint at night instead of chasing retired Homing Boots
Homing Boots is no longer a current blueprint priority. Official patch 1.0.8 removed the temporary item after adding the ability to sprint at night. The same patch increased sprint speed by 15% and stamina regain by 150%, and removed Homing Boots because it no longer served a purpose.
The practical beginner route is now simpler: keep collection runs short, park the van near the work area, and use the built-in night sprint when the day clock gets tight. Do not reserve a signal-tower slot or voucher for a Homing Boots unlock. Use those choices for tools that open resources and routes instead.
This also changes the carry-cap advice above. Sprint is still reduced once the backpack passes 20 items, so night sprinting is not a reason to make one huge haul. Move in smaller loads and return to the van before the slowdown turns the trip into a walk.
Blueprint priority for your first three signal towers
The sequence that pays off fastest:
Tower 1 (free): Basic Tools (Wrench + Building Hammer unlock)
Tower 2: Axe. Without one, wood collection is slow: scattered pieces at 1 unit per pickup. The Axe hits large Everwood logs for 5 units per swing. That's not a subtle difference. Sickle is second priority if your playstyle leans toward early cooking and you need fiber.
Tower 3: Pickaxe or Sickle, depending on the current route. Pickaxe is the better choice if moss rocks block tunnel access; Sickle is better if fiber is holding back food and early recipes. Homing Boots is not a current option to plan around because patch 1.0.8 removed it.
Blueprint offers at each tower rotate, so you won't always see exactly what you want. That's fine. The Recycler keeps your voucher supply steady, so there's no pressure to spend immediately. If a tower's current rotation doesn't have a priority pick, bank the voucher and come back when the selection refreshes.
Everwood is build material, not fuel
The van's Power Unit accepts Everwood logs as temporary fuel, and the game mentions this early enough that players burn through a lot of it before understanding what Everwood actually builds.
Everwood gates bridge repairs (early exploration is often blocked by broken bridges), Sawmill processing into planks, and several foundational crafting recipes. A solar panel covers the power needs that Everwood fuel would handle, and solar doesn't consume a resource with no real substitute.
Build the solar panel before your first significant Everwood burn. Once solar is running, the Power Unit fuel slot drops to emergency-backup status. Until then, treat Everwood like the limited construction material it is.
Materials respawn on a 3-day cycle
Resource nodes aren't one-time finds. Most respawn every 3 in-game days. Scrap metal near signal towers in biomes 1, 2, and 4 runs on this same clock.
Once you know where the good scrap nodes sit relative to signal towers, a regular circuit every few days keeps materials flowing without pushing constantly into unknown territory. You're farming a route, not racing a depletion curve.
This also means there's no pressure to discover the entire map in your first session. Thorough coverage of two biomes with known respawn locations beats rushed sweeps across four biomes you won't actually clear properly.
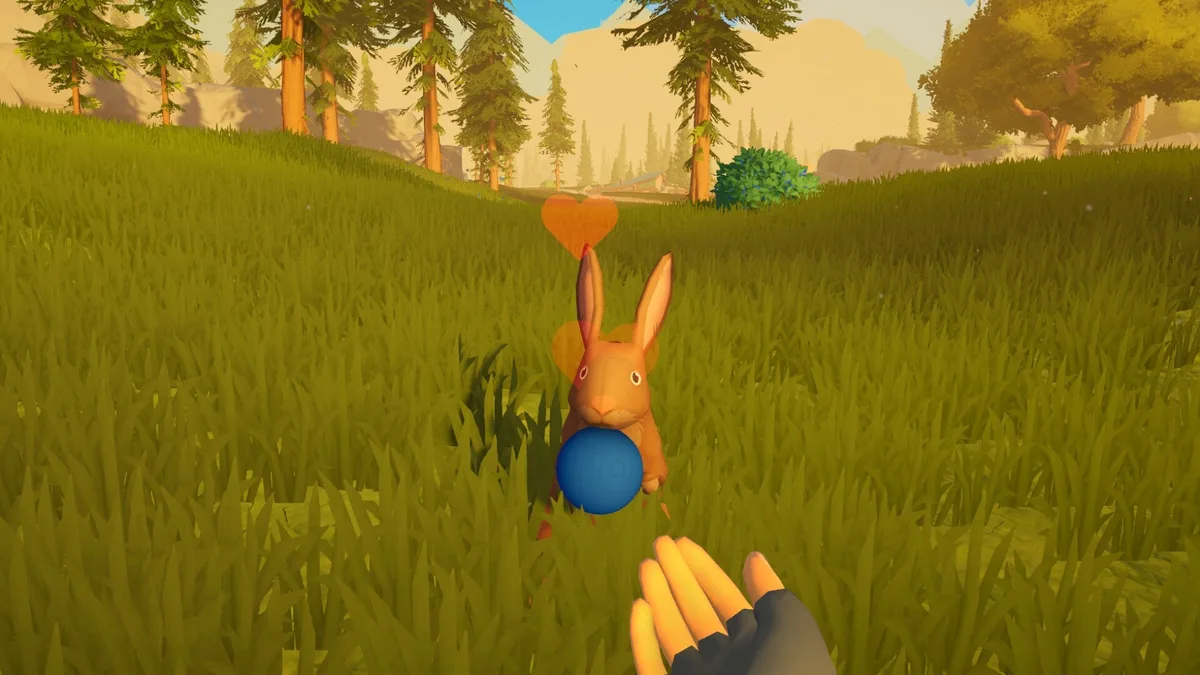 "Build up before you build out": rooftop workstations stack vertically and collapse automatically when packing up camp, preserving interior space for storage and sleeping areas.
Build vertically, not horizontally
Van interior fills up faster than expected. What's easy to miss: workstations can be stacked vertically on the roof. Roof structures collapse automatically when you pack up and drive, so there's no travel penalty.
Push crafting workstations to the roof whenever possible. Interior space goes to storage units, sleeping areas, and energy infrastructure. Players who fill the interior first hit space constraints before they reach mid-game build options.
It matters more in co-op, where four people all wanting workstation access creates real pressure fast. Solo the constraint arrives later, but it still arrives.
GODEEPER: Van module order, weight budgets by game stage, and how solo builds differ from 4-player configurations are all covered here. Outbound Van Build Guide: Module Order and Weight Budget →
Hunger won't kill you fast, but don't ignore it
The food bar depletes as you play. When it hits empty, health starts ticking down slowly. Slowly. This isn't Don't Starve. You won't drop dead mid-gathering-run because you forgot to eat.
Roadberries (small blue berries on low bushes) show up from the first minutes of play and keep the bar functional without any crafting investment. I ate nothing but roadberries for my entire first session and felt no real pressure until I started exploring deeper into the second biome.
Cooked meals are the meaningful upgrade: more health restoration, temporary buffs to crafting speed, carry capacity, and energy efficiency. Worth investing in once the Recycler and tool chain are stable. Not before.
Co-op role suggestions for your first session
Outbound's van is shared. The tasks aren't. For a first session with 2 to 4 players, the split that avoids the most friction:
2 players: One person drives and manages van systems (energy monitoring, workstation use). One gathers on foot and scouts signal tower locations.
3 players: Driver and van manager together, one dedicated gatherer, one scout who stays ahead of the current zone and flags the next signal tower.
4 players: 2 gatherers, 1 builder handling module installs and blueprint decisions, 1 scout ranging ahead.
The failure mode I see constantly in first-session co-op is everyone gathering while nobody watches the van. Battery drain spikes when multiple workstations run at once. If nobody's calling low-energy warnings, the base just goes dark mid-crafting and you lose whatever was being processed. One player on van-watch prevents most of that.
Frequently Asked Questions
Which starting van should I pick in Outbound? For a first playthrough, the Big One. Interior space matters more than handling in practice because you stop constantly for resources. Classic is a balanced fallback if you want better maneuverability. Path Maker's handling advantage only shows up in specific terrain, and its space limit becomes a problem by mid-game.
What is the 20-item sprint cap in Outbound? Carrying more than 20 items triggers a sprint reduction. Significantly more and sprint disappears. Make short collection runs back to the van rather than one long haul. The dog companion's backpack upgrade extends the comfortable carry threshold once unlocked.
What happened to Homing Boots and how should I travel at night? Patch 1.0.8 removed Homing Boots after adding night sprinting. Sprint is now 15% faster at night with 150% faster stamina regain, so keep runs short and use the built-in sprint rather than looking for the retired blueprint.
How often do materials respawn in Outbound? Every 3 in-game days. Scrap metal nodes near signal towers in biomes 1, 2, and 4 follow this cycle. Running a regular circuit is more efficient than constantly pushing into new territory.
Should I burn Everwood for van fuel? Only in emergencies. Everwood builds bridges, makes planks, and feeds early recipes. Solar panels replace the fuel function without consuming this resource. Build solar first.
What blueprints should I unlock first? Tower 1 (free): Basic Tools. Tower 2: Axe. Tower 3: Pickaxe or Sickle based on the route. Spend vouchers on function before cosmetics; Homing Boots was removed in patch 1.0.8.
Can you play Outbound solo? Yes, fully supported. Solo is slower during combined build-and-gather phases, but nothing blocks progress. The van systems create more friction for one person handling all roles, but the game scales well.
Related Reading
- Outbound Van Build Guide: Module Order and Weight Budget: which modules to build first, weight budget per stage, and how solo builds differ from co-op configurations.
- Outbound Energy Management Guide: Solar, Wind, and Battery: which two energy sources to pair, when to swap, and how to prevent battery crises during exploration.
- Outbound Co-op Guide: Roles, Energy, and Van Builds: 4-player role split, shared battery management, and blueprint coordination at signal towers.
- Outbound Dog Companion Guide: Paws & Whiskers Lodge: when to adopt, how training works, and the backpack upgrade that changes your carry capacity.
- Outbound Best Base Locations: Where to Park Your Van: biome rankings by energy output and material density, with signal tower proximity factored in.
- Witchspire Beginner Guide: All 6 Covens Explained 2026: Witchspire beginner guide: all 6 Covens ranked for solo and co-op, how the familiar recruiting system works, and....
- Outbound Tips: First Hours, Van Setup, and Energy Guide: Outbound tips for your first hours: van weight limits, energy source priority, signal towers, biome.
- Outbound Review: Van Life Co-op That Actually Delivers: Outbound review: Square Glade's $25 van-life co-op makes shared base building, energy management, and biome.
- Outbound Signal Tower Blueprint Guide: blueprint choices and tower rotation advice.
- Outbound Complete Guide Hub: the full Outbound guide index.
References
- Outbound on Steam: live price $24.99 and review snapshot checked September 18, 2026
- Outbound official patch 1.0.8: night sprint changes and Homing Boots removal
- Outbound official Steam announcements: current 1.1.8 and Wildlife Update posts
- Square Glade Games official site: developer page, news posts, patch history
- Outbound guide hub: full guide index covering van builds, co-op, biomes, energy, and all leaf guides
Was this guide helpful?
About the author

Indie & JRPG Critic
Indie game evangelist and lifelong JRPG fan covering small studios since 2017. Mumbai-born, London-based. Writes the way she talks.
- 7 years indie games coverage
- JRPG and visual novel specialist
- Narrative design focus
Keep reading



Disclaimer
This article is published for informational and entertainment purposes. It does not constitute professional financial, legal, or technical advice. Game performance, online services, patch schedules, and store listings change. Verify critical details (pricing, system requirements, regional availability) with publishers and storefronts before you buy. Affiliate links, where present, help support our editorial work and are labelled in our affiliate disclosure.
Comments
Loading comments…