GameBrief · Guides
Outbound Signal Tower Guide: Blueprints and Progression

Reviewing
Outbound
Square Glade Games
Outbound signal tower activation is the backbone of every world run. You drive up to one, pick a blueprint, and the van gets a little better. But the system underneath is more interesting than that description suggests, and the co-op wrinkle in particular trips up a lot of new players before they realize what's happening.
TL;DR: Signal towers are fixed structures on the world map. Interact with one to choose from a randomized set of blueprint options. In co-op, each player gets an independent randomized selection at the same tower, not a shared pool. Pick one blueprint per tower; the rest are gone. Prioritize storage and energy blueprints in early towers, gear and specialized modules later. Towers don't respawn; each is a one-time interaction per save.
How does the outbound signal tower work? (quick answer)
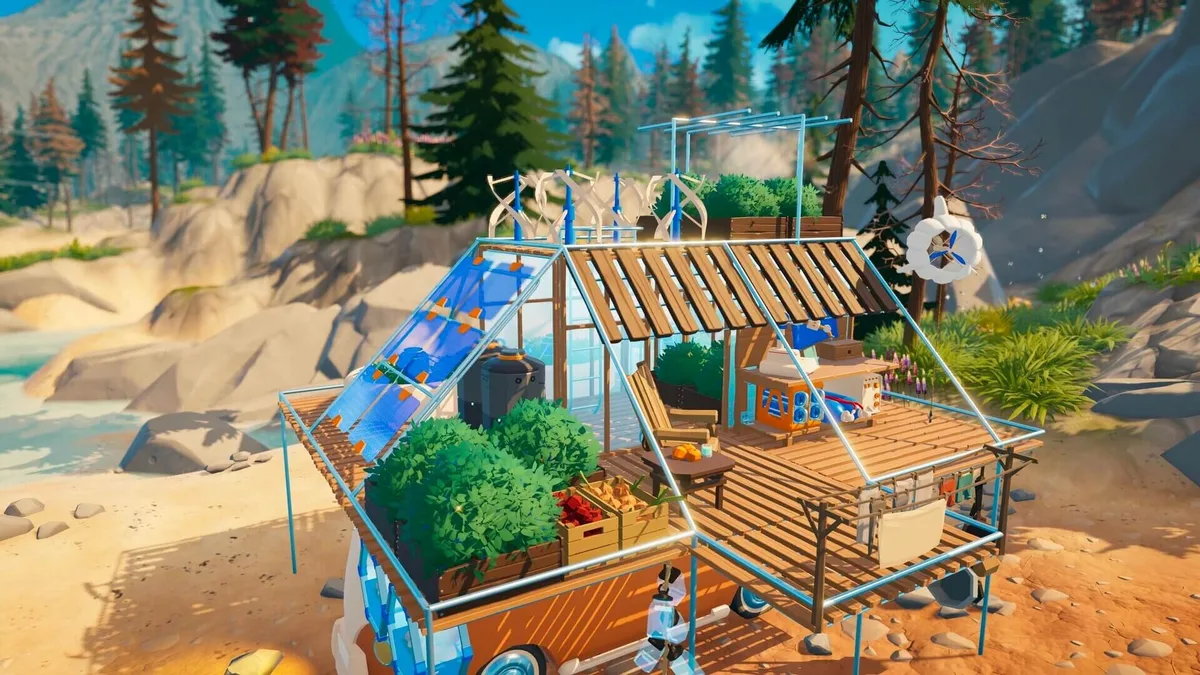
Drive your van close to an outbound signal tower and interact. You'll see a screen with a small set of blueprint options. Pick one. That blueprint is added to your workshop crafting library, and you can build the item whenever you have the required materials.
The blueprint isn't the item. Getting a cargo shelf blueprint means you can build a cargo shelf; you still need to gather the materials to actually fabricate it. This catches a lot of new players who activate an outbound signal tower expecting an immediate upgrade and then wonder why the van looks the same.
In co-op, the offers are randomized independently for each player. Both players need to walk up to the same outbound signal tower, but they'll see different options. Neither player sees the other's list, and you can't share what you got. If you're in co-op, call out your options before selecting so you and your partner can cover different blueprint categories.
Key takeaways
- Signal towers are fixed, one-per-save activation points across the world map
- Each tower awards one blueprint from a randomized selection
- Blueprint = crafting recipe, not the built item; you still need materials
- In co-op, each player's blueprint selection is randomized independently at each tower
- Early towers: prioritize van capacity and energy capacity
- Later towers: gear, specialized modules, and efficiency upgrades become the better picks
- Tower locations correlate loosely with resource-rich zones, so finding one usually means there's something worth harvesting nearby
Finding outbound signal tower locations
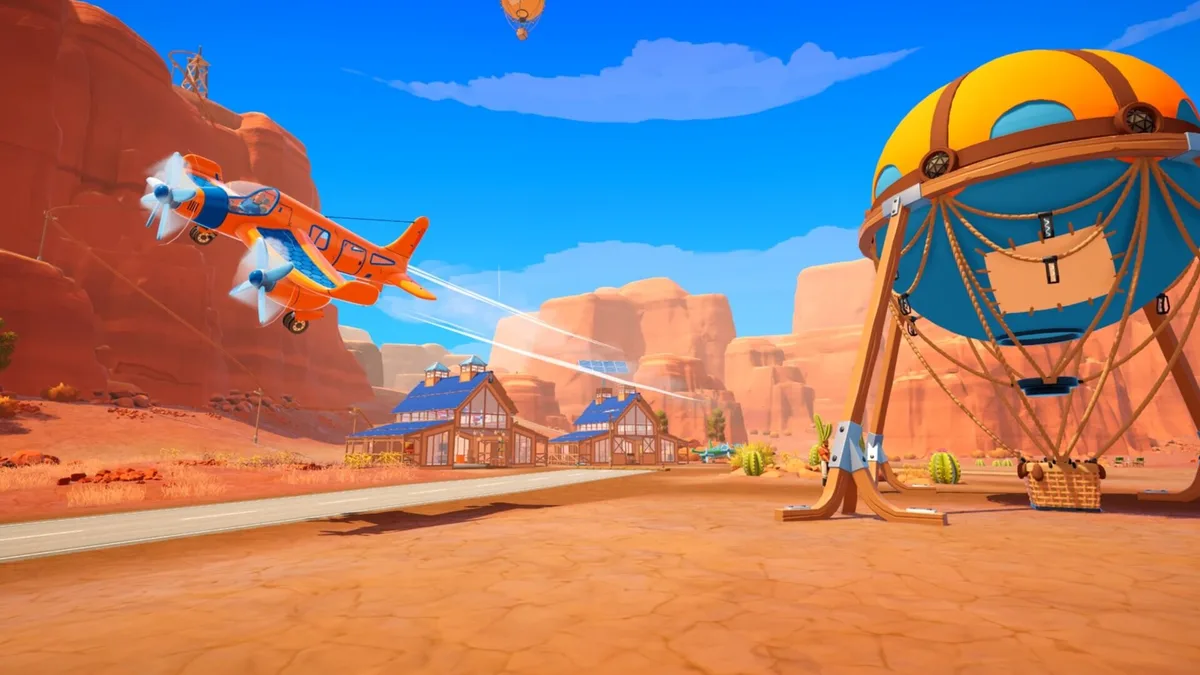
Outbound signal tower locations don't appear on your minimap from the start of a run. You discover them by traveling into their general area or by getting to high ground with a clear sightline. The towers are tall structures, visible at distance in open terrain. Forests and valleys hide them more effectively.
Elevation is your best scouting tool early on. Drive to a ridge or hillside whenever you can, and scan the horizon. A tower's silhouette is distinctive enough to spot at a few hundred meters in clear conditions. Once you see one, mark it on your map. Just seeing a tower doesn't automatically register it as discovered; you mark it yourself or lose the location.
Each outbound signal tower clusters loosely near meaningful terrain transitions: biome edges, major ridgeline high points, and areas with above-average resource deposits. Finding one usually means another is reachable within a fuel tank's range if you push in the right direction.
GODEEPER: How to build the most efficient van setup once you've started unlocking module blueprints from signal towers. Outbound Van Build Guide: Modules and Priority Order →
For players planning base camp placement early in a world run, outbound signal tower proximity matters. Your van's initial fuel range is limited, and each trip to a tower that's deep into the map is an expensive one. Setting camp near a known tower cluster or in a central position between two or three towers shortens the logistic overhead per activation. The Outbound best base locations guide covers which zones tend to have favorable tower access relative to resource density.
How the outbound signal tower blueprint system works
Each tower presents a small set of blueprint cards when you interact. The selection is drawn from the game's blueprint pool, filtered loosely by your current run progress. First towers lean toward foundational van modules; later towers mix in more specialized and advanced options.
You pick one. The unchosen blueprints are gone for that tower. There's no revisiting the decision, and the options don't carry forward to the next tower's pool. What you see is what you have to work with.
After selecting, the blueprint appears in your workshop interface immediately. If you have the materials, you can build it on the spot. More often, you'll have the recipe but not the parts, and you'll need to factor it into your next few resource runs.
The pool isn't fully random in the sense that anything can appear anywhere. Early tower offers weight toward van fundamentals, which prevents players from immediately unlocking endgame equipment before they've built a functional van. The weighting loosens as you progress, and mid-to-late towers offer a broader spread. This means if you haven't seen a specific storage module after four towers, it's likely weighted lower early and will appear more often once your van has basic capacity.
 Outbound's open terrain makes signal towers visible from a distance on ridges and high ground; this sightline is your primary scouting method before your map fills in.
Co-op blueprint randomization: the mechanic most players miss
The per-player randomized selection in co-op is the part that surprises most people. Two players approaching the same tower each trigger their own separate blueprint draw. The offers aren't shared, aren't visible to each other, and the game doesn't coordinate them.
What this means in practice: at any given tower, your combined pair is seeing twice as many blueprint options as a solo player would. The coverage advantage is real. If you need a fuel efficiency upgrade and it didn't show up in your draw, there's a reasonable chance your partner got it.
The failure mode is when both players independently pick the same category of blueprint because neither communicated first. You both grab cargo expansions at tower two and realize neither of you took the energy module that showed up in one list. That's a loss that feels avoidable because it is.
The fix is simple: announce your options before selecting. In voice chat this takes five seconds. In text, "I've got cargo shelf, fuel tank, and wool processor" is fast. Once you know what each player has, you can make coordinated decisions. Prioritize van fundamentals in the early towers, then let each player lean into their own gear needs once the van is stable.
There's no trading blueprint after the fact. What you select is yours to craft and yours alone. If you want to share the result with your partner, they'd need to build the same item from materials, which requires having the blueprint in their library.
GODEEPER: Full guide to Outbound's two-player session mechanics, including resource sharing, van management splits, and how to divide responsibilities across a long run. Outbound Co-op Guide: Two-Player Van Run Mechanics →
Which blueprints to prioritize
Blueprint priority changes as a run develops. Here's how it breaks down:
Early run (first three to four towers): Storage and energy headroom. These two systems compound the fastest. More cargo space means more resources hauled per trip, which means faster material accumulation. More energy capacity means more van modules running simultaneously, which accelerates every downstream system. Fuel efficiency or extended range is a valid third pick if neither storage nor energy appears in a selection.
Mid run (towers five through eight or so): Gear blueprints start mattering more once the van is functional. Better tools increase your gather yield per resource node. Defensive gear reduces risk in regions with environmental hazards. This is also when specialized van modules become relevant: processing equipment, quality-of-life modules, and secondary storage variants.
Late run or second loop: Efficiency upgrades and niche modules. These blueprints don't change the shape of your run the way storage expansion does early, but they push your established systems further. If you're running a specific build, this phase is when you fill in the gaps.
Solo vs. co-op prioritization differs slightly. In solo, you make all these choices yourself and have to balance van needs against gear needs without a partner to cover the other lane. In co-op, splitting early towers between one player building van infrastructure and one player building personal gear capacity gets you to a stable mid-game faster.
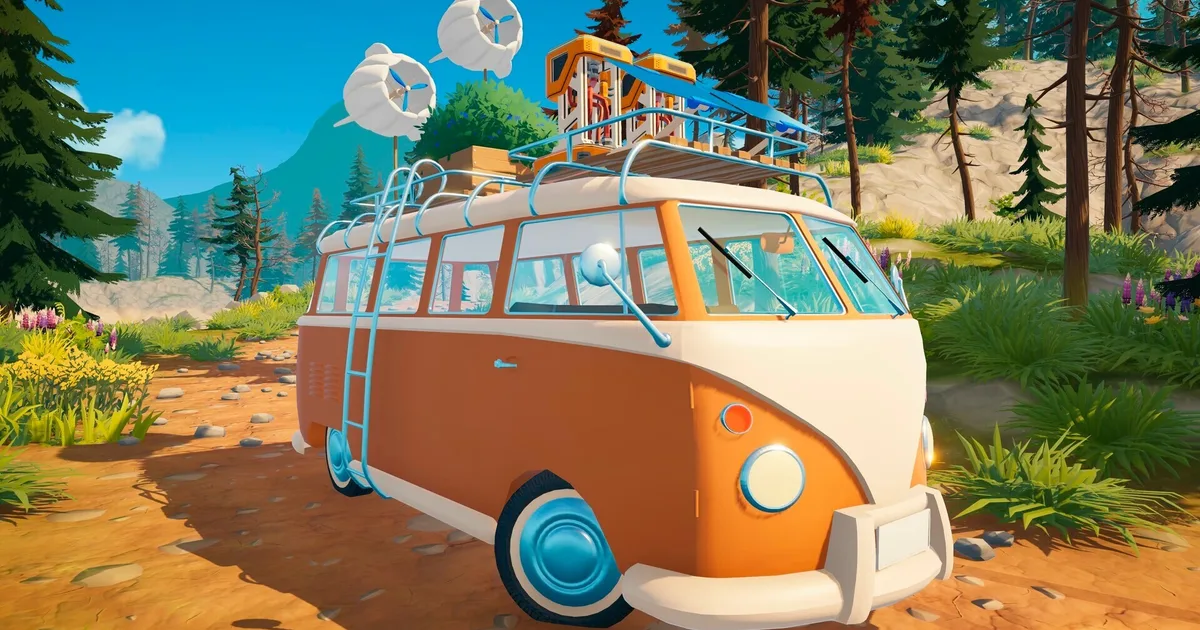
 Setting up camp near a known signal tower cluster shortens each activation run and lets you build from blueprints without burning a full fuel tank each trip.
Signal tower tips and route planning
Mark every tower you see, even distant ones. You won't always be able to drive there immediately, but you'll lose the visual reference if you don't. The map only fills in what you've been near, not what you've seen from a distance.
Don't clear towers faster than you can use the blueprints. Activating three towers in one run is efficient on paper, but if you don't have the materials to build any of the three blueprints, you've spent a lot of fuel for deferred benefit. Mix tower runs with resource gathering so you can build as you go.
Use towers to anchor your route planning. Towers roughly mark the productive areas of the map. A route that hits one tower and two resource patches on the way there and back is more efficient than beelining to towers.
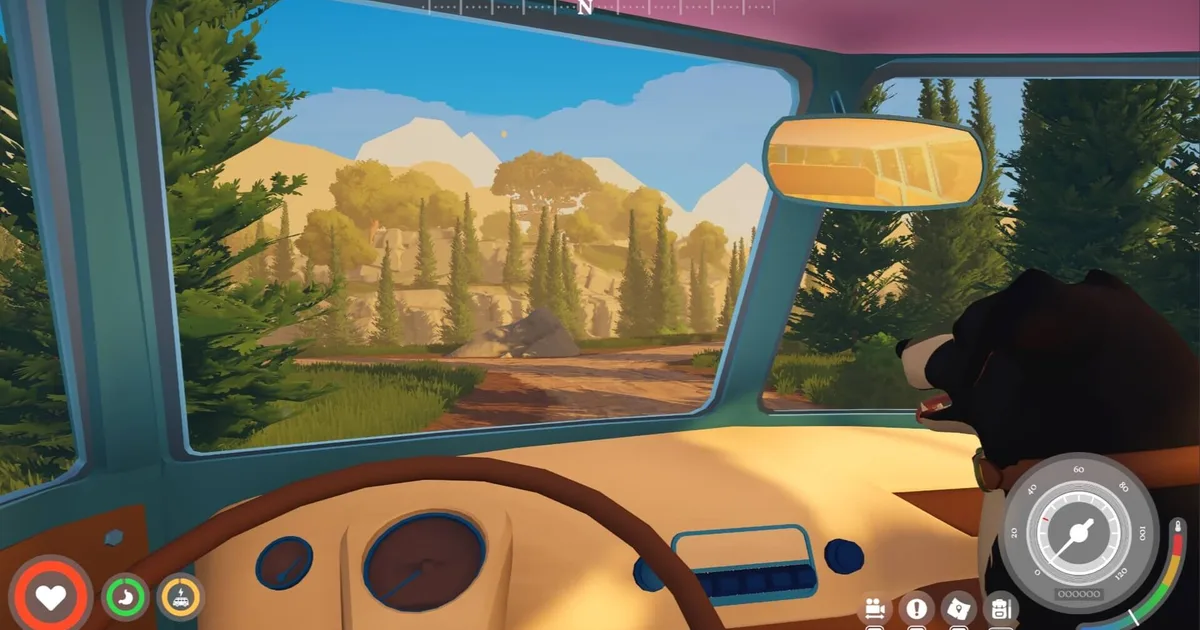
In co-op, one player can scout ahead on foot while the other manages the van. Signal towers require van proximity to activate, so the van has to be there, but you can scout the surrounding area for resources, hazards, and additional tower sightlines while your partner is managing camp or driving. See the Outbound energy management guide for keeping your van powered during extended exploration.
Patch state note: Outbound is actively updated. Square Glade Games has adjusted outbound signal tower density, blueprint weighting, and co-op behavior across the May-June 2026 patch cycle. The mechanics described here are current as of mid-June 2026. Check the Square Glade Games patch notes on Steam or the community discussion on r/outboundgame if behavior seems different from this description.
Related Reading
- Outbound Complete Guide Hub: Overview of all systems, links to every in-depth guide on the site.
- Outbound Van Build Guide: Which van modules to build first once you've got blueprints, and how the upgrade system compounds.
- Outbound Co-op Guide: Two-player mechanics including the blueprint randomization split, resource sharing, and role division.
- Outbound Best Base Locations: Where to camp for favorable signal tower access and resource density.
- Outbound Energy Management Guide: Power systems, battery capacity, and how to keep the van running through long exploration runs.
- Outbound Dog Companion Guide: Paws & Whiskers Lodge: Outbound dog companion guide: adopt it at the Paws and Whiskers Lodge, use fetch and carry behaviors, and....
Frequently Asked Questions
How do signal towers work in Outbound? Drive up and interact. Pick one blueprint from the randomized selection shown. Blueprint goes into your workshop. In co-op, each player gets their own independent randomized list.
Are signal tower blueprints randomized in Outbound? Yes. In co-op, the randomization is per player. Two players at the same tower see different options. Intentional design.
Can you replay Outbound signal towers for different blueprints? No. Each tower is one interaction per save. Different options require a new world seed, though playing co-op gives you twice the blueprint coverage.
Do signal towers respawn in Outbound? No. Fixed objects, activate once per save. Plan your route around what you can reach with current fuel range.
What is the best blueprint to take at early signal towers in Outbound? Storage first, energy second. These compound. Fuel range third if neither of those appear. Gear blueprints once the van has solid foundations.
Does Outbound have blueprint trading between co-op players? No trading or sharing interface. Each player's selection is independent. Coordination is verbal: call out options before picking so you cover different categories.
References
- Outbound on Steam: official store page, patch notes archive, and developer updates from Square Glade Games
- r/outboundgame on Reddit: community discussions confirming per-player blueprint randomization behavior in co-op, observed across May-June 2026 builds
- Outbound tips guide: supplementary first-run advice that covers early game survival alongside the tower system
Was this guide helpful?
About the author

Senior Critic & Analyst
Former game data analyst turned critic with 11 years covering indie and mid-tier games. Based in Austin. Runs spreadsheets on games most people just play.
- 11 years games criticism
- Former game economy analyst
- Roguelike and strategy specialist
Keep reading


Disclaimer
This article is published for informational and entertainment purposes. It does not constitute professional financial, legal, or technical advice. Game performance, online services, patch schedules, and store listings change. Verify critical details (pricing, system requirements, regional availability) with publishers and storefronts before you buy. Affiliate links, where present, help support our editorial work and are labelled in our affiliate disclosure.