
GuideMortal Shell II
Mortal Shell II Boss Guide: 10 Major Fights + Tar Golem
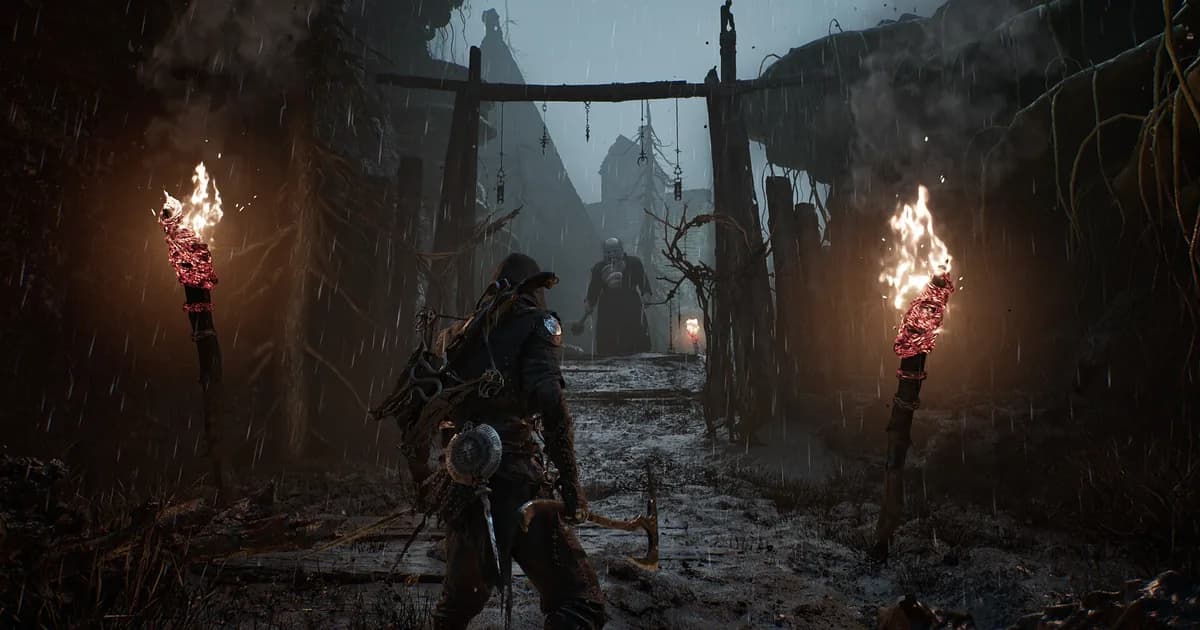
Mortal Shell II boss guide, short version: there are 10 major bosses after the prologue, or 11 if you count the scripted Tar Golem tutorial, and the fight we'd budget the most attempts for is the Unfound Path's Malborn Offspring. Below is the order we'd fight them in, what each one punishes, and the patch changes that make old videos unreliable.
Sponsored

About the game
Mortal Shell II
Cold Symmetry · Playstack
Updated 2026-10-16: boss notes now come from PowerPyx's walkthrough and Game8's boss list, and the status section adds the September 24 and October 13 hotfixes (an Orrem instant-kill bug, Droeg hitboxes, Orrem's triple slam, main-boss phase changes).
TL;DR: Count Tar Golem and Mortal Shell II has 11 main story fights. Count only the post-prologue progression bosses and there are 10. Start with Magdalena, the Lost Child, and the Nameless Captive, then push through Droeg, Hexapod, Sir Isaac, Orrem, the Monolith, Malborn Offspring, and Zmey. Learn the attack tell before committing to a punish, keep a shell recovery plan ready, and use the current patch notes as the final word when a boss behaves differently from an older guide.
Sponsored

Mortal Shell II boss guide: quick answer
- The Tar Golem is a scripted tutorial encounter, not a normal route gate, but it is still a main fight for the 11-fight count.
- The 10 post-prologue bosses are distributed across the Corrupted Gates and the Unfound Path.
- The US Steam page showed Mortal Shell II at $49.99 and Mostly Positive on October 16, 2026. Store data changes, so treat that as a snapshot.
- Mortal Shell II removes the original stamina-focused rhythm from the Steam description. Posture, hardening, shell selection, and reading attack strings matter more here.
- The Mortal Shell II parry guide covers the timing system in detail. This article stays focused on boss recognition and route planning.
- Do not fold every optional miniboss into the major-boss total. That makes the route sound longer than the evidence supports.
Current status: October 16, 2026
The live Mortal Shell II Steam listing identifies Cold Symmetry as developer and Playstack as publisher, with an August 20, 2026 release. On October 16 it showed $49.99 in the US storefront and a Mostly Positive rating, 79% positive across 21,947 reviews in all languages. The page also lists 53 Steam achievements and eight lost warrior Shells, which makes the boss route only one part of the completion path.
The boss order below is a practical progression, not a claim that every Corrupted Gate must be entered in one rigid sequence. Adaptive Difficulty and later patches can change how much damage an attack deals or how forgiving a punish feels. Use the attack shape and arena position as the durable information, then confirm patch-specific behavior in the official update feed.
The official Week 1 update gave most bosses a polish pass, with specific fixes for the Monolith, Zmey, the Lost Child, Droeg, Sir Isaac, Hexapod, Orrem, Malborn Offspring and Magdalena. A September 5 update added optional Adaptive Difficulty, off by default, which adjusts enemy damage, health, and break resistance based on performance. The September 24 hotfix fixed a bug that could kill Orrem, the Reclaimed instantly, and the October 13 hotfix fixed issues around the main bosses' phase changes, improved Droeg's hitboxes and adjusted Orrem's triple slam. That is why the attack shapes below are more durable than a copied damage number. Pair this route with the Mortal Shell II walkthrough when a gate location, rather than a boss tell, is the problem.
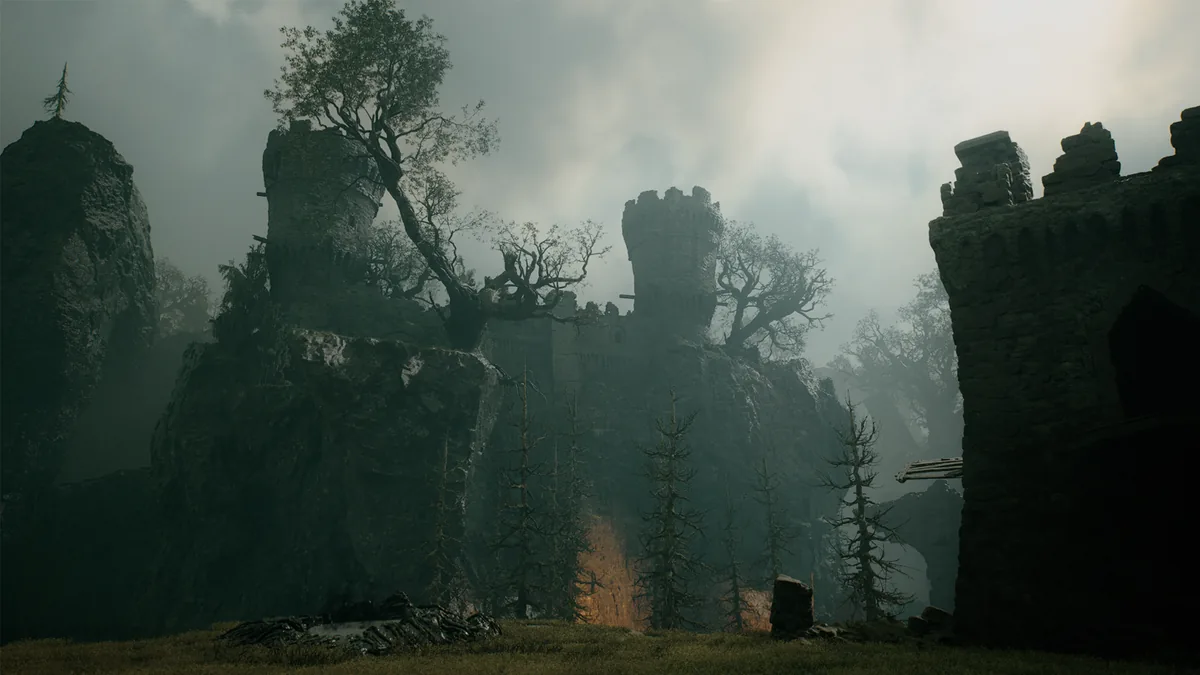 The compact interconnected world makes a safe recovery route as important as the boss room itself.
Boss count and recommended order
| Order | Major fight | Area | What to learn |
|---|---|---|---|
| 0 | Tar Golem | Tutorial | Scripted loss and the first hardening lesson |
| 1 | Magdalena, the Lady of the Woods | Glutted Mire | Fire zones, ram timing, and summoned babies |
| 2 | The Lost Child | Sanguine Caverns | Triple bites, arm-swipe windups, and the goop spray |
| 3 | The Nameless Captive | Prisoners' Domain | Parry windows and the seven-hit spin |
| 4 | Droeg, the Conqueror | Conquered Temple | Frost club swings, homing projectiles, and cover |
| 5 | Hexapod | Withered Shoals | Front appendage swings and Harden timing |
| 6 | Sir Isaac, the Scholar-Prince | Faded Citadel | Shield break and phase change |
| 7 | Orrem, the Reclaimed | Bridge of Procession | Tar Golem moveset, then the centipede phase |
| 8 | The Monolith | Obsidian Vault | Ball slams, lasers, and arena control |
| 9 | Malborn Offspring | Faithful's Shelter | Two health bars, grabs, and the lightning revival |
| 10 | Zmey, the Unbidden | Unfound Path | Stasis slashes, Cosmic fire, and the tail grab |
The 10 progression bosses match Game8's major-boss list, and PowerPyx adds the Tar Golem as main boss number one, which is where the 11 comes from. PowerPyx fights the Unfound Path trio as Malborn Offspring, the Monolith, then Orrem, and says the order doesn't matter, so treat rows 7 to 9 as interchangeable. It is intentionally narrower than an all-enemies list. The Mortal Shell II walkthrough is the better companion for finding the gates and moving between arenas, while the achievements route helps separate story kills from optional completion work.
Step-by-step: prepare for a first boss clear
1. Finish the shell and weapon check: Bring a shell you can recover comfortably, a weapon with a familiar moveset, and enough healing or consumable support to survive a learning attempt. The Mortal Shell II weapons tier list is useful if your damage feels low, but do not switch to an unfamiliar weapon immediately before a boss.
2. Build the return route: Learn the nearest safe point, the arena entrance, and the path from death back to the fog or doorway. A clean recovery route gives you more attempts and reduces the temptation to spend a valuable consumable before the fight has started.
3. Use the first attempt for tells: Do not judge the boss after one hit. Watch the first full attack string and note whether it ends in a recovery animation, a projectile, or an arena hazard. That final beat is usually the best punish window.
4. Choose one punish rule: Start with one or two attacks after a confirmed recovery. The goal is a repeatable clear, not the largest possible combo. Hardening and shell abilities are defensive tools when you need to reset the rhythm.
5. Recheck the patch: The official Steam news feed has shipped fixes and balance changes affecting several bosses. If an older clip shows a different hitbox, trust the current build and the developer's note before the clip.
Tutorial: Tar Golem
Tar Golem is designed to teach the game's combat language and is not a normal victory check. PowerPyx counts it as main boss number one, while lists that start after the prologue leave it out of the 10. The intended result is a scripted loss: reducing its health to zero ends the fight immediately and earns the “No, You Still Can't Win” achievement. You only get one shot per playthrough (it doesn't return in New Game+), so make the attempt count.
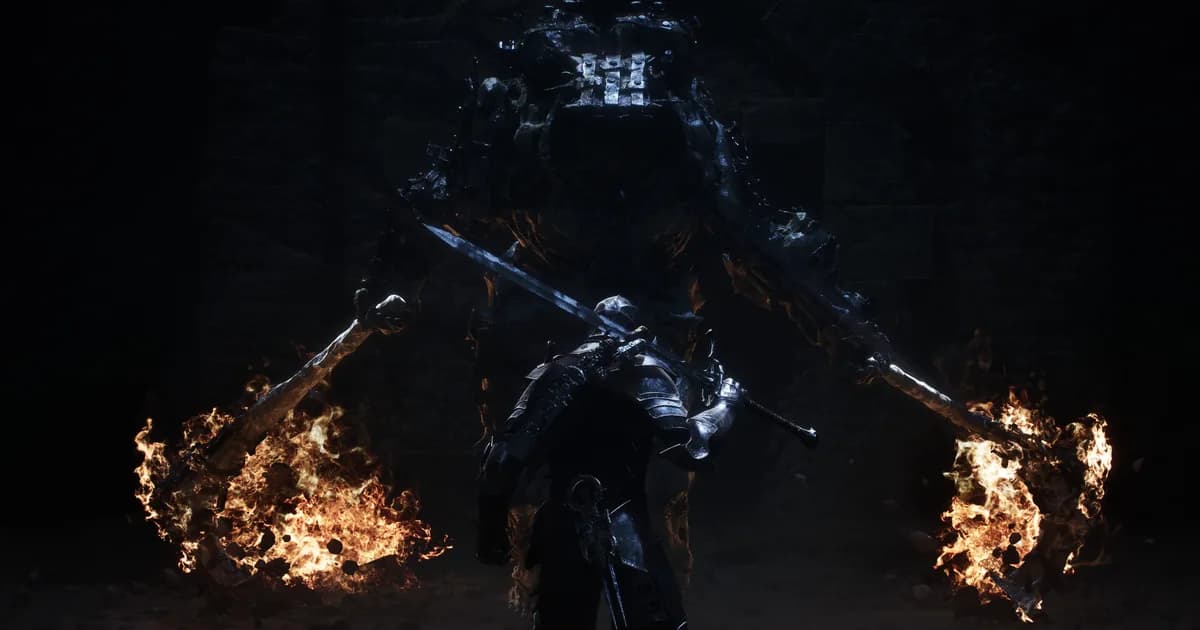
Take it slow and chip away, but keep attacking: the Golem ends the fight itself if you stall too long. Watch for the leap into a ground smash, which can end the fight on a direct hit, and parry its normal swings for riposte damage. The Burnt Effigy from the nearby Tainted Vestige miniboss cuts the fire damage it deals.
Corrupted Gate bosses
Magdalena, the Lady of the Woods
Magdalena drives a wheelchair with a spiked roller on the front, so most of her frontal attacks are unblockable. Hit the back of the chair instead: enough hits there stun her even before her stun bar fills. She also sprays fire that lingers on the ground, which makes a greedy melee string much harder to escape.
Around half health she summons a single wave of small babies; clear them first, then return to her. After that she adds a wasp swarm (leave the area until it fades) and a tracking arm-cannon shot (back off and let it fire once). The Burnt Effigy helps here too. The Mortal Shell II achievements guide can track the related completion goals after the route is stable.
The Lost Child
The Lost Child is mostly a huge mouth with two arms. It telegraphs its unblockable bites and its jump-and-land, swipes with a long windup you can dodge or Harden through, and bites three times fast when the bite isn't unblockable. When it jumps away, it sprays goop from behind; keep dodging sideways until it stops.
The fight rewards patience. Below half health it adds nothing major, just faster swipes and more jumping, so the pattern you learned in phase one still works. A short punish beats getting caught mid-animation.
The Nameless Captive
The Nameless Captive is the parry check, and we'd treat it as the boss that teaches you whether your parry timing is real. Phase one is a four-swing combo (the last two slower) or one or three head smashes, all heavily telegraphed and parryable. If parry timing is not yet comfortable, use the parry guide and build a dodge-first plan for the first attempts.
At the phase change it always opens with a very fast seven-hit spin: run from it, or parry all seven for an instant stun. Phase two adds a seven-hit head spin (two slow hits, four fast, one slow). Parry every hit with an empty stun meter for the Peter's Perfect Parry achievement.
Droeg, the Conqueror
Droeg is big and slow, attacking with stomps and a bone club that deals Frost damage, so slot Martyr's Ash if you have it. Most swings can be parried or Hardened. He turns slowly, so parry one hit and slip behind him; his three overhead slams in a row are the easiest opening.
After half health, watch for him holding his head: a few seconds later homing projectiles launch at you. Hide behind the stone slab on the left or the tree on the right, and don't let him stand next to your cover, because the projectiles splash. The October 13 hotfix improved his hitboxes, so older clips can mislead you on range.
Hexapod
Hexapod attacks almost only forward, with eight appendages in front of its face, and its tells are poor. That's why PowerPyx recommends leaning on Harden: hold it until a hit lands, then punish before the arms come back down. A ranged build with an upgraded Triach Repeater can dodge and shoot the face when the appendages move away.
In phase two it adds a few homing shots, like Droeg's but fewer. Duck behind a large skeleton in the arena or keep dodging sideways. The September 14 hotfix fixed its diving attack firing after death, so old videos deserve extra skepticism.
Sir Isaac, the Scholar-Prince
Phase one is basic sword combos that are easy to parry, so stun him through parries and watch only for the quick shield bash if you stand right in his face. Once the shield is gone in phase two, he fights with swords alone, faster and in longer combos, and most attacks hit twice, which makes parries unreliable.
Our call: switch to Harden timing in phase two rather than forcing parries. If you have Tiel's Shadow Clone or Sester Genessa's Faithful Doubles upgraded, use them; Isaac commits his combo to the decoy and leaves his back open.
Unfound Path bosses
Orrem, the Reclaimed
Orrem's first phase is the Tar Golem's moveset again, dealing Bloodcurse instead of Burn, so Bloodseed in the passive slot helps. Empty that health bar and Orrem becomes a different boss: on all fours, with a centipede growing out of its back.
Stay close and dodge to the side the arm slams toward, then hit a leg; done right, you loop between legs. At range, watch for a sudden lunge with almost no warning and a projectile volley from the centipede head. The September 24 hotfix removed a bug that could kill Orrem instantly, and the October 13 hotfix adjusted his triple slam.
The Monolith
The Monolith is a moving wall; you damage the dangling part in the middle, which is also where it attacks from. Take it slowly, because a missed parry or dodge can be fatal on lighter Shells. Phase one is ball slams (parry two of them for safe damage) and double flat slams you dodge backward from.
Phase two adds long slam chains (back off, don't parry), a third flat slam, a tracking laser (dodge sideways) and a sweeping fan laser (dodge through it). Phase three adds a spin across the arena that ends in a leap onto you, and four arena-wide lasers: dodge through them in the direction it spins, never against it. Tiel's clones soak the ground slams.
Malborn Offspring
PowerPyx rates Malborn Offspring one of the hardest bosses in the game because it has two full health bars, fast multi-hit sword combos and grabs that kill outright unless you wear a heavily armored Shell. If parrying is your strength, play it the same way. If not, we'd bring Sester Genessa (where to find her and the other Shells is in the Mortal Shell II complete guide).
With her first skill column maxed, send all five Faithful Doubles at him, run in for a couple of hits to refill Resolve, then back off. When he falls, move away: the lightning that revives him damages anyone nearby. Then repeat, and expect far more grabs in phase two.
Zmey, the Unbidden
Zmey is the final major fight in this route and a marathon: a sword-wielding dragon with a huge health bar. Before entering, get the Seedbearer's Scripture and keep it in the passive slot for its 80% Cosmic Disease resistance. Phase one mixes Stasis sword slashes (dodge sideways, usually twice) with Cosmic fire breath (sprint forward and to the side).
Up close, stand between its legs. Dodge backward from the unblockable ground slam and the triple stomp, ignore the first three of its four backing swings and Harden the fourth. The one move to respect above all is the unblockable tail grab: a short sidestep, then a stab; dodge forward or to the right. The Week 1 update stopped it taking both Shell and Harbinger from full health in one go (Night Mode keeps the one-shot), but at low health it still kills. Phase two switches everything to Cosmic damage, which is why the Scripture matters. Tiel's clones distract it well.
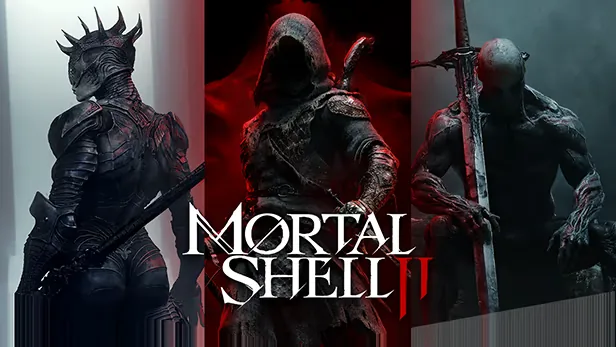 The eight lost Shells are part of the wider completion route, while this guide tracks the major boss progression.
Patch-aware boss habits
- Treat official hotfix notes as the source of truth for a changed hitbox or bug fix.
- The Week 1 notes specifically changed or refined timings, hitboxes, and boss behavior across the Monolith, Zmey, the Lost Child, Droeg, Sir Isaac, Hexapod, Orrem, Malborn and Magdalena encounters.
- Adaptive Difficulty is optional and off by default in the September 5 update; when enabled, it can change enemy damage, health, and break resistance based on performance.
- Avoid copying a damage number from an old video into a current build.
- If Adaptive Difficulty is active, compare the attack pattern before comparing the time to kill.
- Keep one recovery item and one shell plan for the second phase of a boss rather than spending everything in the opener.
- Use the Mortal Shell II review for broader combat impressions, not as a substitute for the current patch log.
Related Reading
- Mortal Shell II Complete Guide: 8 Shells, Seals, and Gates: the central hub for Shells, Seals, weapons, gates, bosses, and achievements.
- Mortal Shell II Walkthrough: Corrupted Gates: route and gate context.
- Mortal Shell II Parry Guide: timing and defensive fundamentals.
- Mortal Shell II Weapons Tier List: weapon-role comparison.
- Mortal Shell II Achievements Guide: boss and completion tracking.
- Mortal Shell II Review: release-build combat overview.
References
- Mortal Shell II on Steam: live price, review snapshot, Shell count, and official game description checked October 16, 2026.
- Game8: All Mortal Shell 2 bosses in order: the 10 major bosses with locations and rewards.
- PowerPyx: Mortal Shell II boss guide: 11-fight count including Tar Golem and attack-by-attack notes.
- Mortal Shell II Steam news: official patch and hotfix context.
- Playstack Mortal Shell II trailer: official visual reference.
Frequently Asked Questions
Does Tar Golem count as a boss?
It depends on the counting scope. It is a main story tutorial fight, so a complete main-fight count is 11. A progression guide that starts after the scripted tutorial has 10 major bosses.
Can I fight the Corrupted Gate bosses in any order?
The gates allow flexibility, but the recommended order above follows the practical progression used by current guides. Your shell upgrades, weapons, and Adaptive Difficulty setting can justify a different route.
Which boss tests parrying most?
The Nameless Captive is the clearest parry-focused encounter in the current boss guides. You can still use a dodge-first plan while learning its four-swing combo, head smashes and seven-hit spins.
Why do old boss videos look different?
Mortal Shell II has received launch updates and hotfixes that address bosses, hitboxes, and freezes. A video can still teach the attack shape, but current official patch notes outrank an old damage or timing claim.
Is Zmey optional?
Zmey is the final major encounter in the main route described here. Optional elite and miniboss content is outside this article's 10-plus-one count.
Where should I start if I keep dying?
Return to the parry guide, choose one weapon, map the recovery route, and spend one attempt observing without chasing damage. Boss progress usually comes from learning the end of the attack string, not from adding another weapon to the inventory.
Was this guide helpful?
About the author

Systems & Economy Desk
GameBrief's byline for roguelikes, strategy and simulation. Reads patch notes, wiki tables and Steam stats and puts the numbers on the page.
- Roguelikes, strategy and simulation
- Builds, progression and economy
- Sources listed per article
Keep reading
Mortal Shell II Achievements Guide: All 53 Confirmed
General · 11 min
Mortal Shell II Complete Guide: 8 Shells, Seals, and Gates
General · 16 min
Mortal Shell II Walkthrough: All 6 Corrupted Gates (2026)
Guides · 13 min
Mortal Shell 2 Weapons Tier List: All 8 Ranked + Infusions
Guides · 10 min
Mortal Shell II Review: Great Combat, Rough Second Half
Reviews · 8 min
Mortal Shell II Parry Guide: All 4 Combat Seals Explained
Guides · 14 min
Sponsored
More game deals
Disclaimer
This article is published for informational and entertainment purposes. It does not constitute professional financial, legal, or technical advice. Game performance, online services, patch schedules, and store listings change. Verify critical details (pricing, system requirements, regional availability) with publishers and storefronts before you buy. Affiliate links, where present, help support our editorial work and are labelled in our affiliate disclosure.
Comments
Loading comments…