GameBrief · Guides
Shapez 2 Shape Stacking Guide: Layers & The Stacker
This Shapez 2 shape stacking guide explains the Stacker building from the ground up: how layers combine, why the left input always lands on top, and how to plan a four-layer delivery backward from the target instead of guessing forward. Shape stacking is the mid-game skill gate in Shapez 2. The buildings are simple. The mistake almost everyone makes is trying to build a stack forward when the entire system only makes sense in reverse.
TL;DR: The Stacker takes two inputs and merges them into one layered output, up to 4 layers. The left input goes on top, the right input goes on the bottom. Four-layer shapes need three chained Stackers (A+B, C+D, then AB+CD). Stacking order matters because the delivery target specifies an exact layer arrangement. Plan backward: start from the target, work out the stack configuration, then the cuts, then the production lines.
Shapez 2 shape stacking? (quick answer)
Shape stacking combines multiple shapes into a single composite output using the Stacker building. The Stacker takes two inputs, merges them into one output, and the result can hold up to four layers. Each layer contributes its own geometry and color to the final shape.
The output is determined by three things: which shapes occupy which layers, the order they were stacked in, and whether each layer was painted before stacking. Later deliveries in Shapez 2 do not ask for a single flat shape, they ask for a specific multi-layer configuration. Producing that configuration reliably is the skill that separates an early-game factory from a mid-game one.
If you are still building flat single-layer shapes and your deliveries are starting to specify layers, this is the system you need to internalize next.
Key takeaways
- The Stacker merges two inputs into one output, up to 4 layers total.
- Left input goes on top, right input goes on the bottom. This trips up almost everyone.
- A four-layer shape needs three Stackers chained: A+B, C+D, then AB+CD.
- Stacking order matters: the same shapes in different layer positions are different outputs.
- The Cutter is the prep step, dividing shapes into quadrants before stacking.
- Plan backward from the delivery target, not forward from your extractors.
- A four-layer delivery has a much larger factory footprint than new players expect.
The Stacker: how two inputs become one layered output
The Stacker is the whole system in one building. It takes two shape inputs and produces one output with the layers merged. A single shape, like a plain circle, is one layer. Run a circle and a square through a Stacker and you get a two-layer shape: one shape on the bottom, the other on top.
The rule that matters most, and the one that causes the most rework: the left input goes on top, the right input goes on the bottom. Feed a square into the right input and a circle into the left, and you get a square on the bottom with a circle stacked on top. Swap the two inputs and you get the reverse. The building does not care which shape you "meant" to put on top, it only cares which physical input each shape arrives at.
This is why so many stacking setups look correct and deliver the wrong thing. The shapes are right, the layer count is right, but the order is flipped because the inputs were routed backward. Before you blame your cutting or your routing, check which input feeds which side of the Stacker.
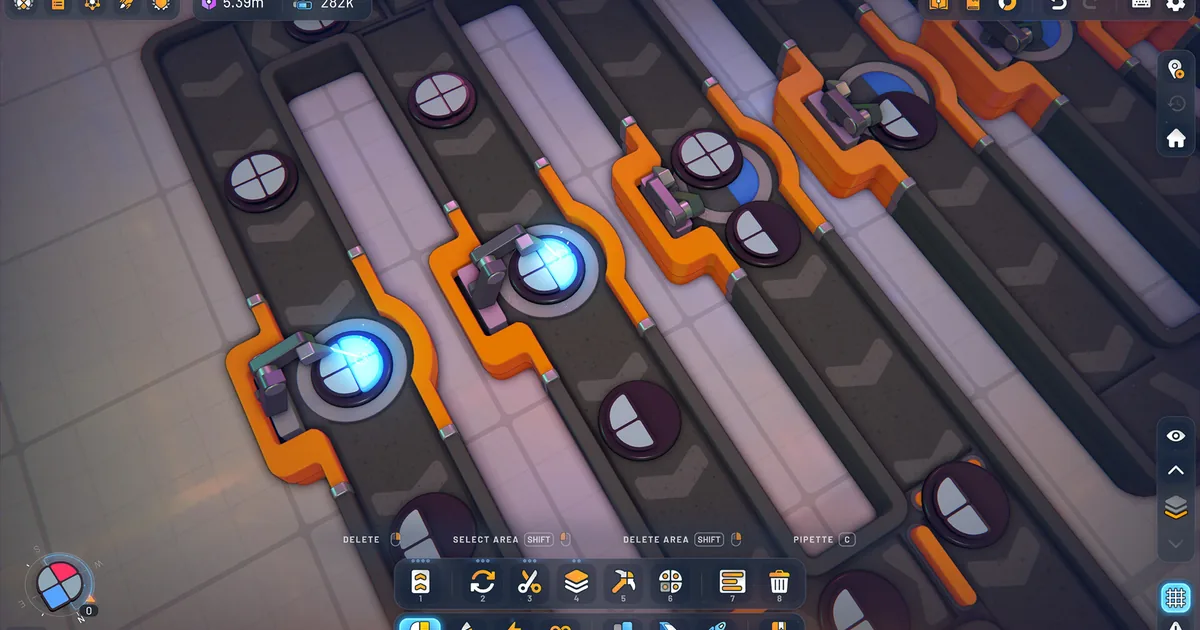
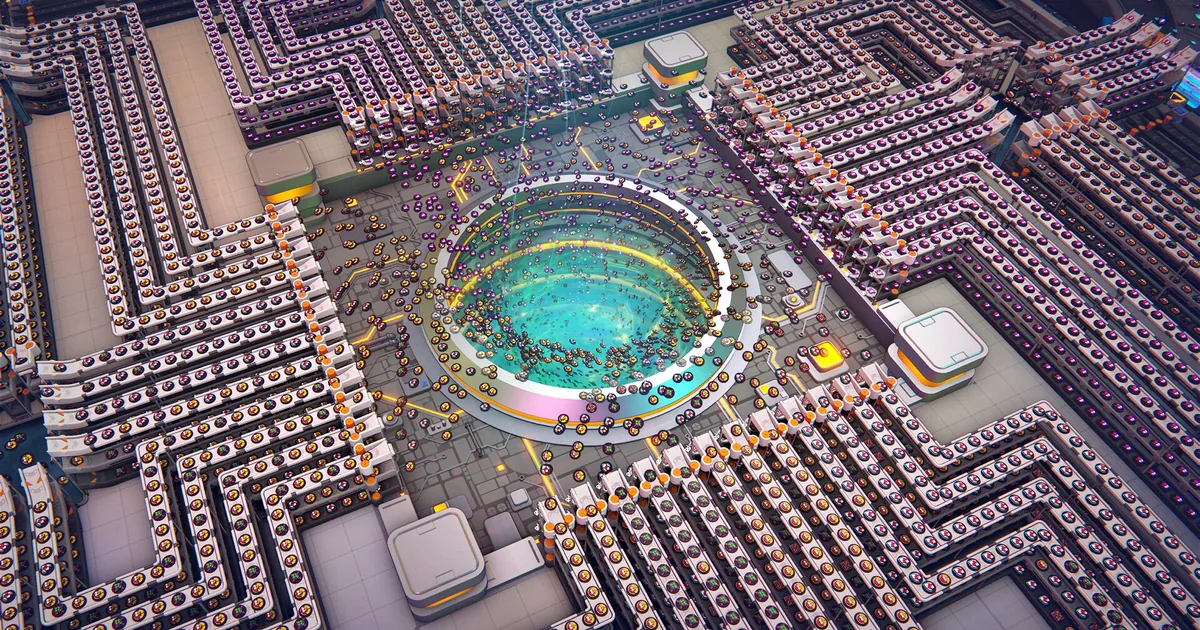
 A working production line feeding milestone deliveries. The left input on top, right input on bottom rule for the Stacker is what decides whether outputs like these match the target or get rejected.
GODEEPER: Stacking only works when the right shapes arrive at the right Stacker at the right rate. Belt routing and throughput are what keep a stacking chain fed. Shapez 2 Automation Guide: Belt Routing Advanced →
Building four-layer shapes: chaining Stackers
Two layers is one Stacker. Four layers is where the footprint explodes, and it catches almost everyone the first time.
A four-layer shape requires three Stackers chained in sequence:
- Stack shape A and shape B in the first Stacker to produce AB (a two-layer shape).
- Stack shape C and shape D in the second Stacker to produce CD.
- Stack AB and CD in the third Stacker to produce ABCD, the full four-layer output.
That is four separate production lines (one each for A, B, C, and D) feeding into three Stacker stages. The space this takes is significantly larger than a flat-shape delivery line, and the throughput has to be balanced across all four feeder lines or the whole chain stalls waiting on the slowest input.
The practical consequence: when a delivery first specifies a four-layer shape, do not try to wedge the stacking chain into your existing footprint. Plan the space for four feeders and three stages from the start. Retrofitting a four-layer chain into a cramped flat-shape factory is the rebuild that costs new players the most time.
Why stacking order is not optional
It is tempting to think a stack is just "these four shapes combined." It is not. The same four shapes in different layer positions are different outputs, and the delivery target specifies the exact arrangement it wants.
A shape with a square on the bottom and a circle on top is a different delivery item from a circle on the bottom and a square on top. The game will reject the wrong arrangement even though both contain the same two shapes. Because the Stacker's left input always lands on top, the order in which you feed shapes into each stage of the chain directly determines the final layer arrangement.
This is why you cannot improvise stacking. You have to route inputs deliberately so that each Stacker stage produces the correct partial arrangement, building toward the exact target layout. Stacking order is a routing problem disguised as a shape problem.
The Cutter: prepping inputs before you stack
Stacking rarely uses whole shapes straight from the extractor. Most mid-game deliveries need specific quadrants from different shapes combined, and the Cutter is the building that produces those quadrant pieces.
The Cutter divides a shape into its quadrant components. That makes it the input-shaping stage that comes before stacking: you cut the specific quadrants you need from each source shape, then feed those pieces into the Stacker chain in the right order. A clean stacking setup is usually a cutting problem solved first. If the right quadrant pieces are not arriving at each Stacker input, no amount of correct stacking order will produce the target.
Think of the pipeline as two phases. First, cutting and shaping produces the exact quadrant pieces you need. Second, stacking assembles those pieces into the layered target. Skipping straight to stacking without sorting out the cuts is why setups look almost right and deliver almost nothing.
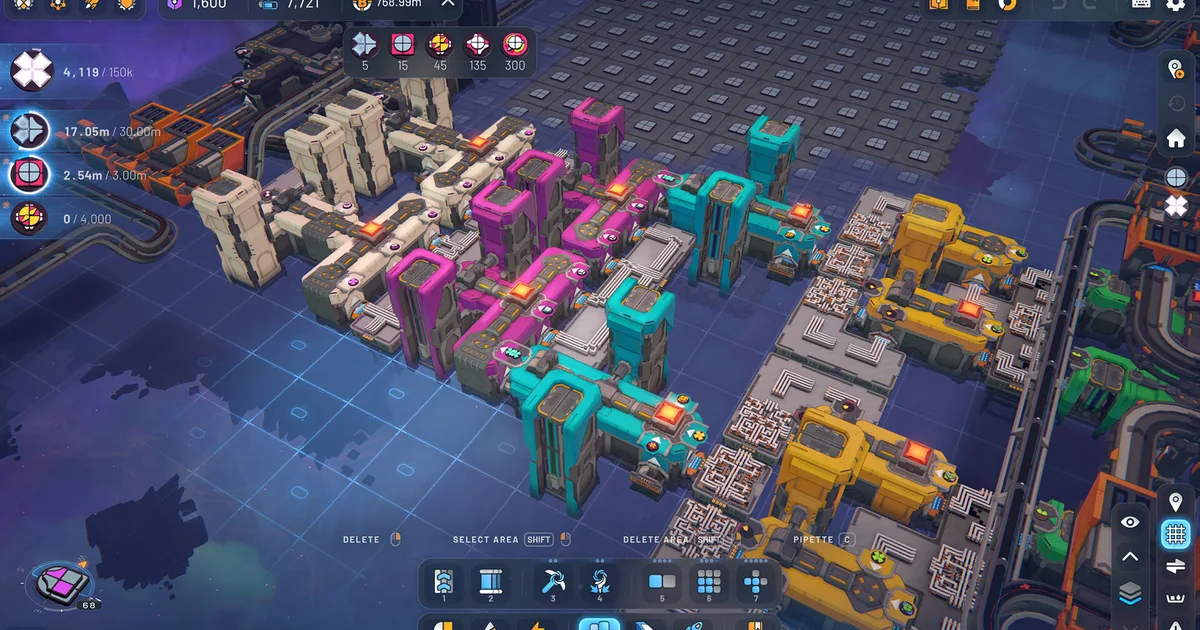
 Each lane carries a different layered, painted composite. These are exactly the multi-layer outputs that stacking produces, and each one is a distinct delivery item the target either wants or rejects.
Step-by-step: plan a stack backward from the target
Stacking is hard because it inverts how early-game building feels. Early game is forward: extract, process, deliver. Stacking is backward: start from the answer and work out the question. Here is the reverse-engineering process.
-
Read the target configuration. Note exactly which shapes are in which layers and in which order. This is your blueprint.
-
Decompose into stack stages. For a four-layer target ABCD, identify the pairs: AB on the bottom half, CD on the top half, then the final AB+CD merge. Decide which shape lands on top at each stage (remember: left input).
-
Work out the quadrant pieces. For each shape in the stack, determine which quadrants you actually need and which Cutter outputs produce them.
-
Plan paint order. If a layer needs to be a specific color, paint it before it enters the stack. Painting after stacking does not give you per-layer control.
-
Build the feeder lines. Construct one production line per stack input, sized so throughput is balanced across all feeders. The slowest feeder sets the rate of the whole chain.
-
Route inputs to the correct Stacker sides. This is where the left-on-top rule is enforced. Double-check every Stacker input against the target arrangement before you call it done.
Tips and common stacking mistakes
The errors that cost the most time in stacking are almost all planning errors, not building errors.
Do not build a stack forward and hope it matches. Forward building works for flat shapes and falls apart for layers. Always start from the target and decompose.
Check input sides before blaming your cuts. A flipped left/right routing produces a valid-looking stack with the wrong order. It is the first thing to verify when a delivery is rejected.
Paint before you stack when a layer needs color. Per-layer color control only exists before the layers are merged.
Plan the footprint for four-layer chains up front. Three Stackers and four feeders need real space. Cramming them into an existing flat-shape factory is the classic rebuild trap.
Balance throughput across feeders. A four-layer chain runs at the speed of its slowest input line, so an unbalanced chain wastes the capacity of the faster feeders.
GODEEPER: Once you're reliably producing four-layer shapes, Manufacture Mode is where that output actually gets used. Shapez 2 Manufacture Mode Guide: How It Works in 1.0 →
Frequently Asked Questions
How does shape stacking work in Shapez 2? The Stacker merges two inputs into one output with up to 4 layers. Output depends on which shapes are in which layers, the stacking order, and pre-stack painting. Later deliveries require exact layer configurations.
Which Stacker input goes on top? The left input goes on top, the right input on the bottom. Flipping these is the most common stacking mistake.
How do you make a four-layer shape? Chain three Stackers: A+B, then C+D, then AB+CD. That is four feeder lines into three stages.
Why does stacking order matter? The same shapes in different layer positions are different delivery items. The target specifies the exact arrangement, and left-on-top routing determines the result.
How does the Cutter help? It divides shapes into quadrants, the prep step before stacking. You cut the pieces you need, then stack them in order.
Why is stacking so hard for new players? It requires planning backward from the target instead of forward from extractors, which inverts the early-game building instinct.
Related Reading
The Shapez 2 Complete Guide Hub is the entry point for every Shapez 2 system, from belt routing through stacking and Manufacture Mode.
The Shapez 2 Beginners Guide covers the 12 early mistakes to avoid before you reach the stacking skill wall.
The Shapez 2 Manufacture Mode Guide explains the 1.0 endgame progression that stacking feeds into once you have the layered-shape pipeline running.
- Shapez 2 Blueprints: Save, Share & Import to the Library: Shapez 2 blueprints guide: save factories to the library, copy and paste with blueprint codes, import .spz2bp files,....
- Shapez 2 Best Mods 2026: Top Workshop Picks & Install: Shapez 2 best mods: the Workshop picks worth installing, from OptiBelt performance to blueprint and time-control tools, plus....
References
- Shapez 2 on Steam: official store page, patch notes, and community guides
- tobspr Games official site: developer info, dev blog, and mod tools
Was this guide helpful?
About the author

Critical game theorist with a background in film criticism. Writing for print and digital outlets since 2015. Specialises in genre analysis and design heritage.
- Background in film criticism
- 10 years games coverage
- Genre theory and design history specialist
Keep reading


Disclaimer
This article is published for informational and entertainment purposes. It does not constitute professional financial, legal, or technical advice. Game performance, online services, patch schedules, and store listings change. Verify critical details (pricing, system requirements, regional availability) with publishers and storefronts before you buy. Affiliate links, where present, help support our editorial work and are labelled in our affiliate disclosure.