
GameBrief · General
Fatekeeper Advanced Builds Guide: Synergies and Bosses

Reviewing
Fatekeeper
Paraglacial · THQ Nordic
This Fatekeeper advanced builds guide goes where the archetypes overview stops. The archetypes guide covers each of Fatekeeper's five community-named build directions in isolation. This guide assumes you've read it and asks the next question: how do you sequence skill tree investment so a build stage unlocks cleanly, and what's actually confirmed about the game's toughest current fight rather than repeated because it sounds plausible?
This guide is for players who've hit the Derelict Waterways boss fight (the one most players call "the Minotaur," though that's not Paraglacial's own term), probably died, and want a structural understanding of why, built on what's confirmed rather than invented perk lore.
TL;DR: Advanced Fatekeeper play comes down to three honest things: the clearest confirmed synergy is freeze-then-melee, sequencing your skill tree correctly (attribute anchor first, core node before any secondary modifier layer), and treating the Derelict Waterways boss as one of at least two boss fights rather than the sole gate. A lot of specific perk names and phase-by-phase boss breakdowns circulating in guides, including earlier versions of this one, aren't independently confirmed. This version says so plainly instead of repeating them as fact.
Fatekeeper advanced builds guide: what separates good builds from great ones (quick answer)
Advanced Fatekeeper builds share habits that beginner builds skip: they commit to one attribute path before spreading thin, they don't over-invest in secondary modifier nodes before their core direction is established, and they carry a backup weapon with full durability into every boss room. What advanced builds do NOT rely on is a long list of specifically named perks and combo chains that sound authoritative in some guides but that Paraglacial has never actually documented.
The most common failure pattern in build discussions isn't picking the wrong perk name, it's spreading skill points across too many directions before any one of them is functional. A build spread across three directions and excelling at none loses to a build that commits.
Key Takeaways
- The clearest confirmed synergy is freeze-then-melee, loosely backed by Paraglacial's own April 8 devlog example build
- Confirmed skill tree nodes worth prioritizing include Power, Fortitude, Wrath, Insight, Storm Surge, and Savant
- The Derelict Waterways boss is not the only Early Access boss fight; a second, later fight is confirmed via patch 0.1.1's separate stat block
- A Respec Potion, added in patch 0.1.3 and found in Haven, resets your whole tree, so early mistakes are recoverable now in a way they weren't before that patch
- Weapons break during boss fights; carry a full-durability backup before every boss room
- Several specific "named perk" claims that circulated in earlier guides for this game aren't independently confirmed; this guide flags them instead of repeating them
What's actually confirmed about cross-direction synergy
Hybrid builds spend points outside a single primary attribute path, and that costs something. Only one cross-direction idea has real backing beyond speculation:
Freeze then melee: Apply a crowd-control effect (an ice-type spell), then follow up with a heavy melee hit. This is the closest thing to a confirmed synergy in the current build, loosely supported by Paraglacial's own April 8 devlog, which describes an informal freeze-then-punish example build. The specific "bonus damage" numbers and named combo effects some guides attach to this idea aren't independently confirmed, so treat the core idea (crowd control, then punish) as sound and the specific numbers as unverified.
Other named "chain" combinations that have circulated in Fatekeeper guides, including earlier drafts of this one, involve specific perk names that this site could not independently verify against any official source. Rather than repeat invented-sounding combo names with confident damage claims, the honest version is simpler: crowd control plus a hard-hitting follow-up works in most action RPGs, Fatekeeper included, and the freeze-then-melee pattern is the one direction with actual devlog support.
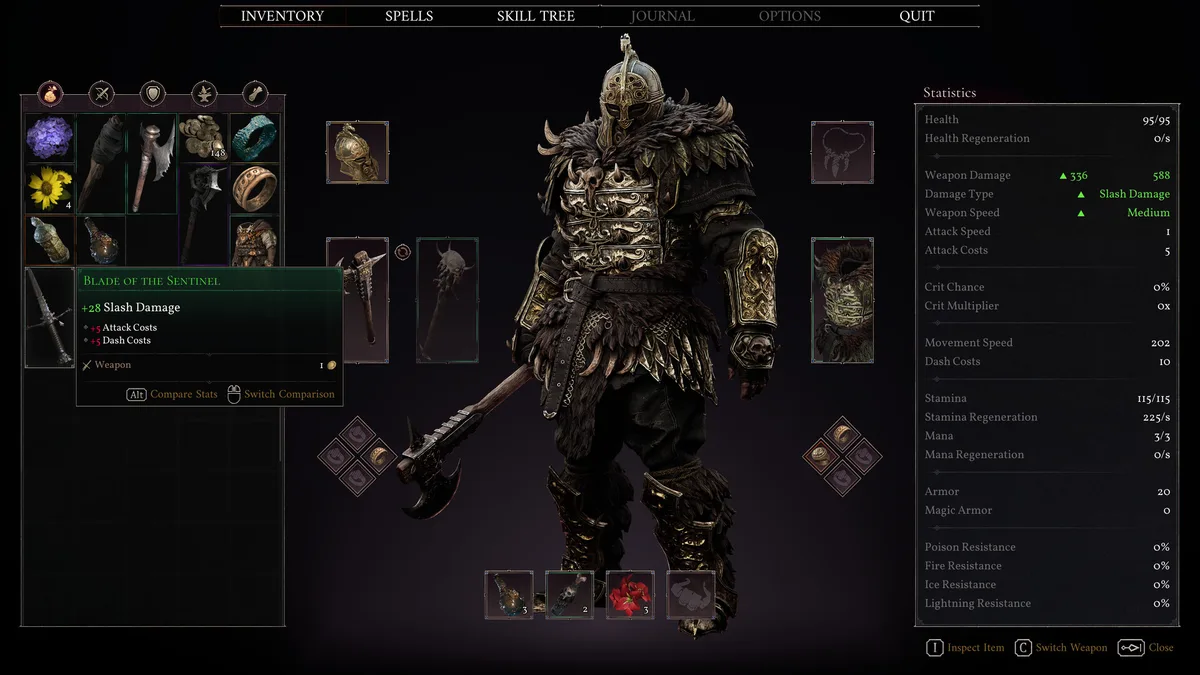 Open areas give crowd-control effects more room to work than tight corridors, where a single hard-hitting melee follow-up usually pays off faster than trying to spread an effect to multiple targets.
GODEEPER: For the full breakdown of each build direction's confirmed and unconfirmed mechanics before going hybrid, the archetypes guide covers each one in isolation. Fatekeeper Archetypes Guide: 5 Build Paths Explained →
Build stage sequencing: early, mid, and late game
Most struggling Fatekeeper builds share the same problem: they invest in the wrong things at the wrong stage. The three-stage framework below reflects general skill tree logic and confirmed node priorities, not a leaked developer roadmap.
Early game (first zone): One attribute anchor node, then your primary attribute path. The anchor choice depends on direction: Power (+5 Mana, +3% Elemental Damage, +3% Max Mana Node Efficiency, confirmed) for a Sorcery-heavy build, Fortitude (+10% Health, confirmed) for most others. After the anchor, put points into your primary attribute line until you have a functional combat rhythm. Avoid spreading into secondary modifier nodes at this stage.
Mid game (second zone through the Derelict Waterways fight): Your build's defining node or ability should come online here, whatever that turns out to be for your chosen direction. This is also the point to add a small handful of off-path points if you're going for the freeze-then-melee idea. Reaching the boss without a functional core loop means fighting at a real disadvantage.
Late game (post-boss, when more 1.0 content arrives): Whatever secondary modifier layer exists in the full skill tree. Confirmed nodes like Kutracite and Guards Vermillion sit in this later tier of investment. Specific claims about a fully mapped "Alteration tree" with named multiplier nodes aren't independently confirmed in detail, so budget these points as flexible upgrades to an already-working build rather than planning around specific unverified effects.
One late-game addition worth considering regardless of direction: a single point in Savant, a confirmed Telekinesis-tree node that cuts spell costs by 50 percent. It's useful utility for almost any build that casts at all.
Step-by-step: building correctly from zone 1 to the boss room
- Choose a direction before spending your first point. Reversing course costs points you'll want elsewhere, though the patch 0.1.3 Respec Potion (found in Haven) makes a full do-over possible if you change your mind later.
- Spend on your attribute anchor. Power for a Sorcery-heavy direction, Fortitude for most others.
- Put several points into your primary attribute path. Get a functional combat rhythm before spending anywhere else.
- If leaning into the freeze-then-melee idea, add a handful of off-path points during the mid-game stage, once your primary line is functional.
- Confirm your direction's core node is actually online before entering the Derelict Waterways boss room.
- Add Greater Mana when spell cost is actually blocking your rotation in real fights, not preemptively.
- Treat any secondary modifier layer as a late-game flexible upgrade, not a planned combo, since its full node list isn't independently confirmed.
- Consider one point in Savant (confirmed Telekinesis node, 50 percent spell cost reduction) for any build that casts spells at all.
The Derelict Waterways boss: what's confirmed, and what isn't
The Derelict Waterways fight, informally called "the Minotaur" by most players even though Paraglacial's own patch notes don't use that name, is the current content gate for a large share of players. It is not, however, the last boss in Early Access. Patch 0.1.1's notes include a separate "Second Bossfight" stat block, distinct from this encounter, and at least one independent boss guide describes a different, later fight it explicitly declines to name with confidence. Treat any guide, including earlier versions of this one, that presents this fight as the sole or final EA boss as out of date or incomplete.
On the fight itself: community reports describe roughly three attack phases with escalating aggression as health drops, though Paraglacial hasn't published an official phase breakdown or exact attack timings. A specific play-by-play (which attack happens at which health percentage, exact dodge directions, named recovery windows) that circulated in earlier guides for this fight is not something this site can independently verify, so it's been removed rather than repeated as fact.
What's reasonable to say instead: the fight rewards patience over aggression, punishes builds with no melee backup option, and gets noticeably harder for pure Sorcery builds that haven't invested any points into survivability or repositioning tools. If you're struggling specifically as a caster build, adding a few Strength or Fortitude points, or a confirmed mobility node like Storm Surge or Lord of the Skies, is a more grounded fix than chasing an exact phase script from a guide that can't cite where its specifics came from.
Weapon durability note: Weapons break during long boss fights. Carry a backup weapon with full durability before entering the boss room. Two confirmed items worth tracking down beforehand: the Wardens Loop (a ring) and either the Hatchet of Swiftness or the Skull Club, all named directly in official patch-note bug fixes.
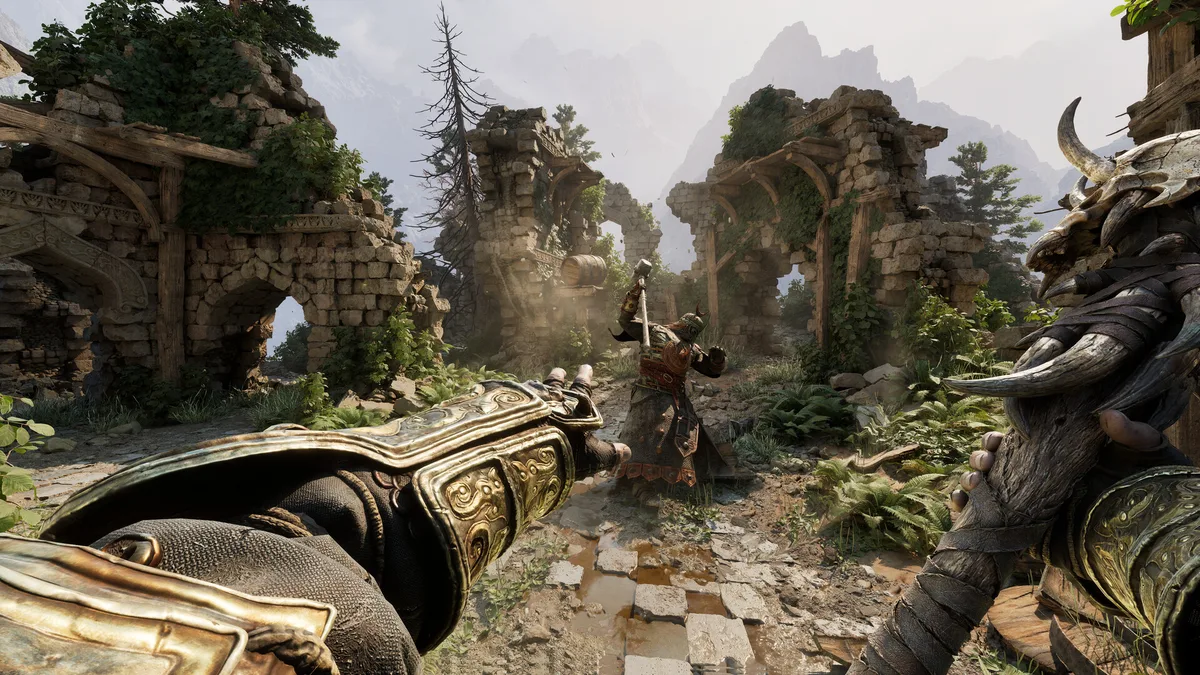 The Derelict Waterways encounter rewards patience over aggression. Treat any guide's exact phase timings as an educated read, not a guarantee, until Paraglacial documents the fight officially.
GODEEPER: The beginner guide covers the foundational habits that matter before any of this advanced layer applies. Fatekeeper Tips: 11 Things to Know Before You Start →
Relics and gear: what's confirmed, what isn't
A specific relic claim (2 percent health regeneration per critical hit, tied to a "Heart of the Phoenix" name) circulates in some build guides for this game. It has zero independent corroboration in any official source or reliable third-party guide this site could find, so it's been dropped from this guide rather than repeated. If a relic with that effect exists in the current build, its actual name and numbers aren't confirmed, and readers chasing it under that specific name may be chasing something that doesn't exist as described.
What's confirmed instead: the Wardens Loop, a named ring item, plus the Hatchet of Swiftness and Skull Club weapons, all surfaced through official patch-note bug fixes rather than community speculation. If you're optimizing a late-stage build, tracking down confirmed named items like these is a safer use of time than chasing an unconfirmed relic name.
Tips for advanced players
Track Greater Mana timing carefully. Every build needs it eventually, but taking it before your rotation is actually mana-constrained delays better nodes. The tell: if you're finishing fights with mana left over, it's too early.
Fortitude has diminishing returns. One point early is excellent insurance. A second is fine. Three or more usually signals you're compensating for a mechanical gap in your build rather than solving it.
Don't build around unconfirmed named perks. If a guide names a very specific, plausible-sounding perk with an exact percentage and no source, treat it skeptically until Paraglacial's own patch notes or store page confirm it exists.
Respect the weapon break mechanic before it disrespects you. A build at the boss room with a broken weapon and no backup has essentially lost the fight. Check durability before every boss room, not during it.
Related Reading
- Fatekeeper Archetypes Guide: 5 Build Paths Explained: full breakdown of each build direction, what's confirmed about it, and what isn't.
- Fatekeeper Best Build: Melee, Fire, and Caster Routes: the three confirmed attribute paths (Strength, Precision, Sorcery) and which suits a first run.
- Fatekeeper Tips: 11 Things to Know Before You Start: foundational habits covering dash, Telekinesis, weapon durability, and the early boss.
- Fatekeeper Early Access Review: Is It Worth $9.99?: scored breakdown of what the two-hour Early Access build delivers and what's still coming.
- Fatekeeper: What It Is, What You Get, and Is It Worth It: overview of the game's systems, content roadmap, and price progression.
Frequently Asked Questions
What is the best build synergy in Fatekeeper? The clearest confirmed synergy is freeze-then-melee, hinted at in Paraglacial's own April 8 devlog example build. Specific named "chain" combos circulating in some guides aren't independently confirmed, so treat exact damage claims about them with caution.
How do you transition from early to late game in Fatekeeper? Early game centers on one attribute anchor node (Power for Sorcery, Fortitude for most other directions) plus your primary attribute path. Mid game is where a direction's defining node or perk comes online. Late game is whatever the Alteration-style modifier layer turns out to be, since Paraglacial hasn't published its full node list.
Can you respec in Fatekeeper? Yes, since patch 0.1.3 (July 30, 2026). A Respec Potion sits on the chart table in Haven and resets your entire skill tree in one use. Separate Skill Point potions, hidden in the world, each grant one bonus point. Neither existed before that patch.
How do you beat the Derelict Waterways boss in Fatekeeper? Community reports describe roughly three attack phases, though Paraglacial hasn't published exact boss mechanics, so treat any specific phase breakdown as a starting read rather than a guarantee. Carry a full-durability backup weapon, and know a second, separate boss fight follows this one.
Is there a second boss after the Derelict Waterways fight in Fatekeeper? Yes. Patch 0.1.1 lists a distinct "Second Bossfight" stat block separate from the Derelict Waterways encounter, and an independent boss guide describes a different, later fight it explicitly declines to name with confidence. Don't treat the first boss as the sole or final Early Access gate.
What are the Alteration-style nodes in Fatekeeper and when should I take them? Some guides describe a secondary modifier layer with named nodes like Amplify or Echo. None of those specific names are independently confirmed. What's reasonable to say: don't spend heavily into any secondary modifier layer before your primary attribute path and core node are established.
What weapons should I carry as a backup in Fatekeeper? Weapons break in Fatekeeper, so every build needs a backup with full durability before boss rooms. Match the backup to your build's secondary combat style, and check the confirmed items Wardens Loop (a ring), Hatchet of Swiftness, and Skull Club, all named via official patch-note bug fixes.
References
- Fatekeeper on Steam: official store page, patch notes, and developer announcements
- Fatekeeper Patch 0.1.3 (July 30, 2026): most recent patch notes, including the new respec system
- Paraglacial (developer): developer page with all game updates
Was this guide helpful?
About the author

Critical game theorist with a background in film criticism. Writing for print and digital outlets since 2015. Specialises in genre analysis and design heritage.
- Background in film criticism
- 10 years games coverage
- Genre theory and design history specialist
Keep reading


Disclaimer
This article is published for informational and entertainment purposes. It does not constitute professional financial, legal, or technical advice. Game performance, online services, patch schedules, and store listings change. Verify critical details (pricing, system requirements, regional availability) with publishers and storefronts before you buy. Affiliate links, where present, help support our editorial work and are labelled in our affiliate disclosure.
Comments
Loading comments…