
Tag
Class Guide
15 posts with this tag.

GuideMewgenics
Mewgenics Tier List: All 14 Classes Ranked S-F (2026)
Mewgenics tier list: Hunter is the top community pick, Collarless the worst. All 14 classes ranked from 552 votes, with the real disagreement flagged.
By Zara Chen13 min read

GuideMewgenics
Mewgenics Guide: Breeding, Combat, and All 14 Classes
Mewgenics guide covering the breeding stat system, tactical combat basics, and all 14 classes from Collarless to Jester, with real unlock steps.
By Marcus Vasquez14 min read

GuideDrg Rogue Core
DRG Rogue Core Retcon Build: The Rewind-Rage Tank Loop
DRG Rogue Core Retcon build: how Time Rewind restores your earlier state, how Rage grants +100% Damage and +30% Pickaxe Speed, and how to use both safely.
By Finn Calloway8 min read
GuideLegionbound
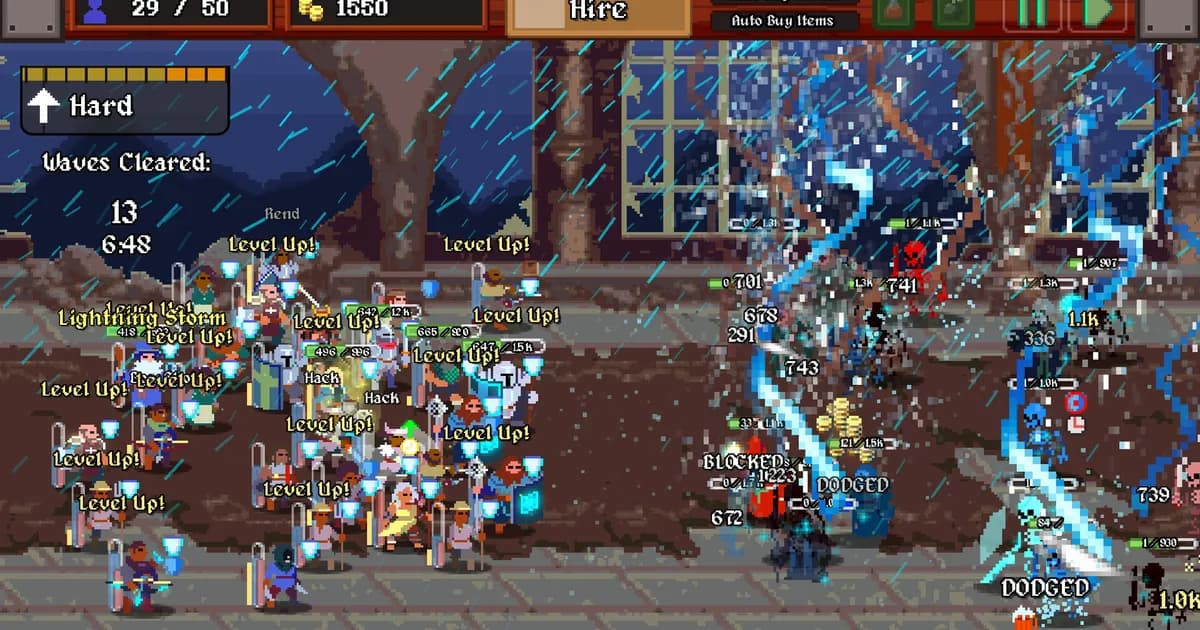
LegionBound Barkeep Group: All 11 Classes & Synergies
LegionBound Barkeep group guide: all 11 classes in the mid-size synergy loop, the subclass chain, and the Rogue-Duelist-Gunslinger stretch to build first.
By Zara Chen8 min read

GuideDrg Rogue Core
DRG Rogue Core Spotter Build: Crit Darts on the Ground
DRG Rogue Core Spotter build: why you shoot the ground not the enemy, the Critical Splash and Potent Dart upgrades, the radar, and the Falconer combo.
By Priya Nair8 min read

GuideDrg Rogue Core
DRG Rogue Core Guardian Build: Seismic Crowd Control
DRG Rogue Core Guardian build: Seismic Gloves fear and stun modes, Armor Beacon timing, verified Workbench upgrades, and safer co-op positioning.
By Marcus Vasquez8 min read
GuideLegionbound
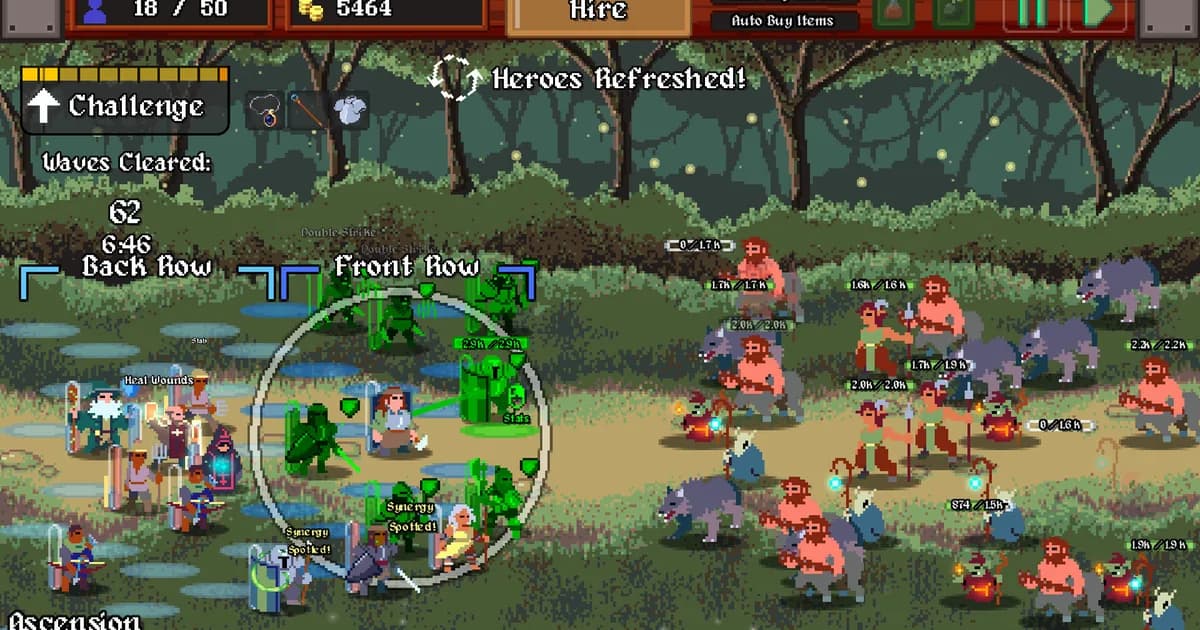
LegionBound Warrior Group: All 14 Classes and Synergies
LegionBound Warrior group guide: the 14-class loop, every current subclass pairing, and focused damage or sustain chains for the 42-class autobattler.
By Marcus Vasquez9 min read
GuideRune Dice
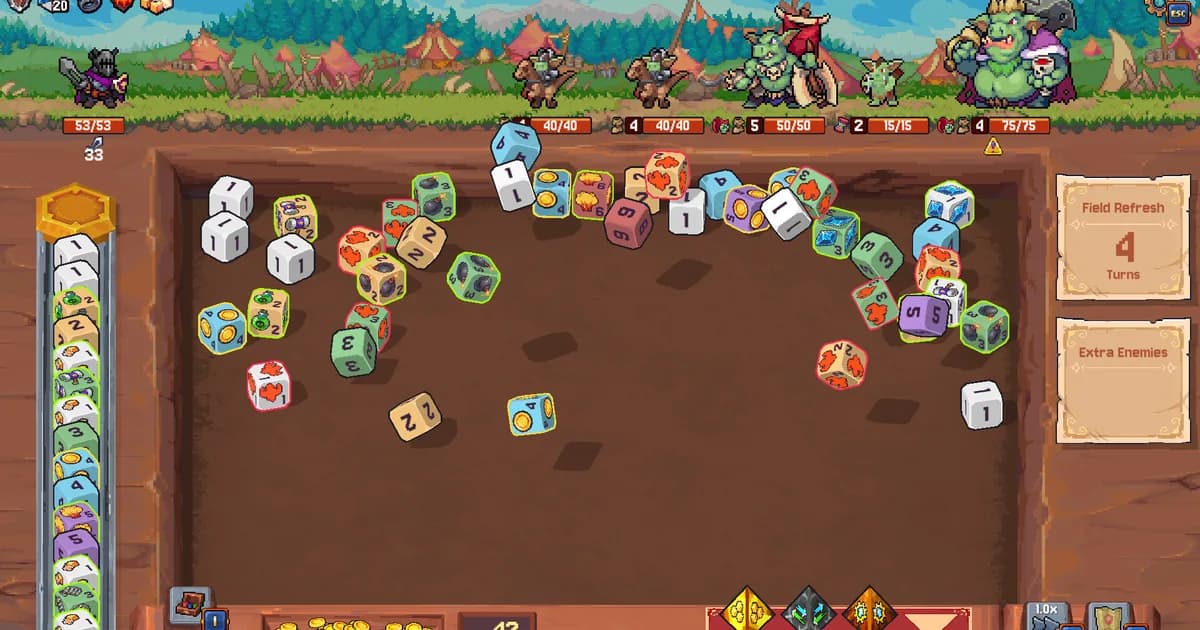
Rune Dice Archer Build: Heartseeker and the 40-Combo
Rune Dice Archer build guide: the confirmed Bounty Fletching relic, Heartseeker kill reward, and 40-combo unlock, verified against official patch notes.
By Zara Chen10 min read
GuideDrg Rogue Core
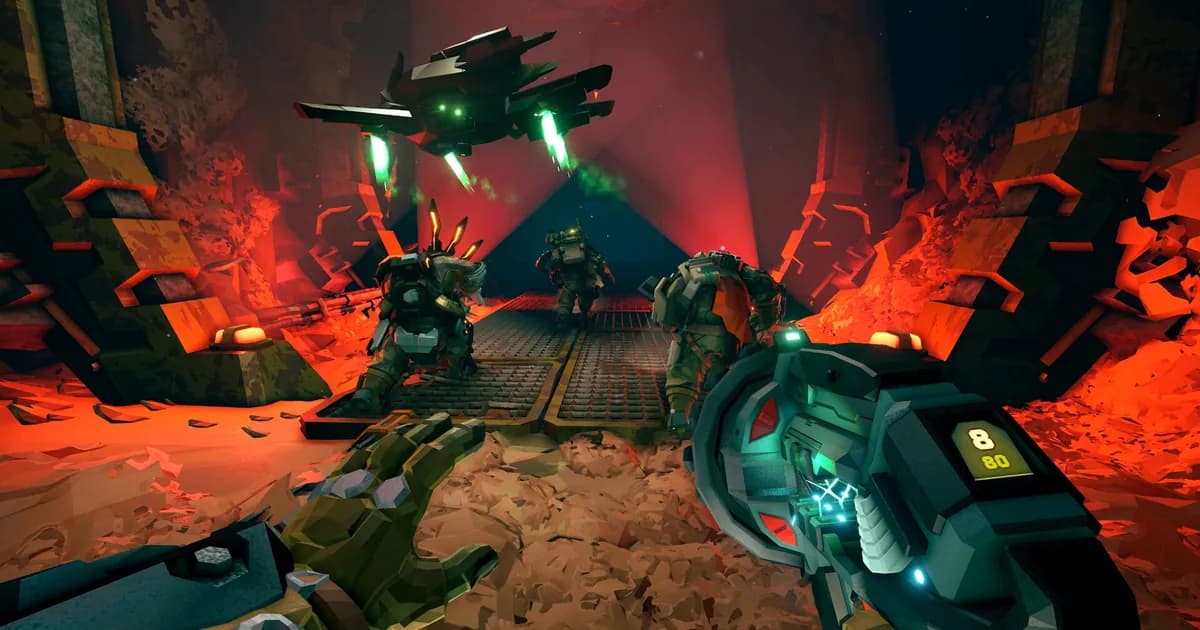
DRG Rogue Core Falconer Build: The Co-op Anchor Class
DRG Rogue Core Falconer build: the Shock Drone synergy, the Thunder Rod electric zone, the in-run revive, and why Falconer plus Spotter tops co-op.
By Dani Torres8 min read

GuideRune Dice
Rune Dice Necromancer Build: Soul Die and Death Mark
Rune Dice Necromancer build guide: the confirmed Soul Die, Death Mark, and Curse relics, verified against official patch notes rather than guesses.
By Marcus Vasquez11 min read

GuideDrg Rogue Core
DRG Rogue Core Slicer Build: The 560-Damage Plasma Blade
DRG Rogue Core Slicer build: how the 560-damage Slice works, the Carnage deck's Seeing Red damage buff, Boomstick synergy, and the real Workbench upgrades.
By Zara Chen8 min read

GuideRune Dice
Rune Dice Mage Build: 3 Element Paths and Merge Chains
Rune Dice Mage build guide covering the real merge-chain mechanic, the burn vs freeze decision, and why Gravity is a Rune, not a stacking Relic.
By Marcus Vasquez12 min read