GameBrief · General
Rune Dice Mage Build: Adjacency Chains and 3x Amplify
The Rune Dice Mage build is the highest-ceiling option in the game, and it punishes you if you play it passively. This guide covers the adjacency chain mechanic that makes the Mage work, the burn versus freeze decision you face on every run, and the 3x Amplify plus Gravity relic combo that can delete a floor boss in a single throw.
TL;DR: The Mage's damage comes from adjacency chains: elemental dice that land next to each other deal compounded damage, not additive. Your build target is 3x Amplify relics plus 1x Gravity, which holds dice long enough for those chains to fully resolve before scatter. Result: a one-shot on floor bosses from full HP. Pick burn or freeze and commit to it early. The Mage is S tier with the right relics, fragile and inconsistent without them.
Rune Dice Mage build: the core mechanic
The Mage starts with lightning, fire, and ice dice. Each one deals elemental damage, but the burst potential you're actually building toward comes from something the game doesn't explain in detail at the start: adjacency chains.
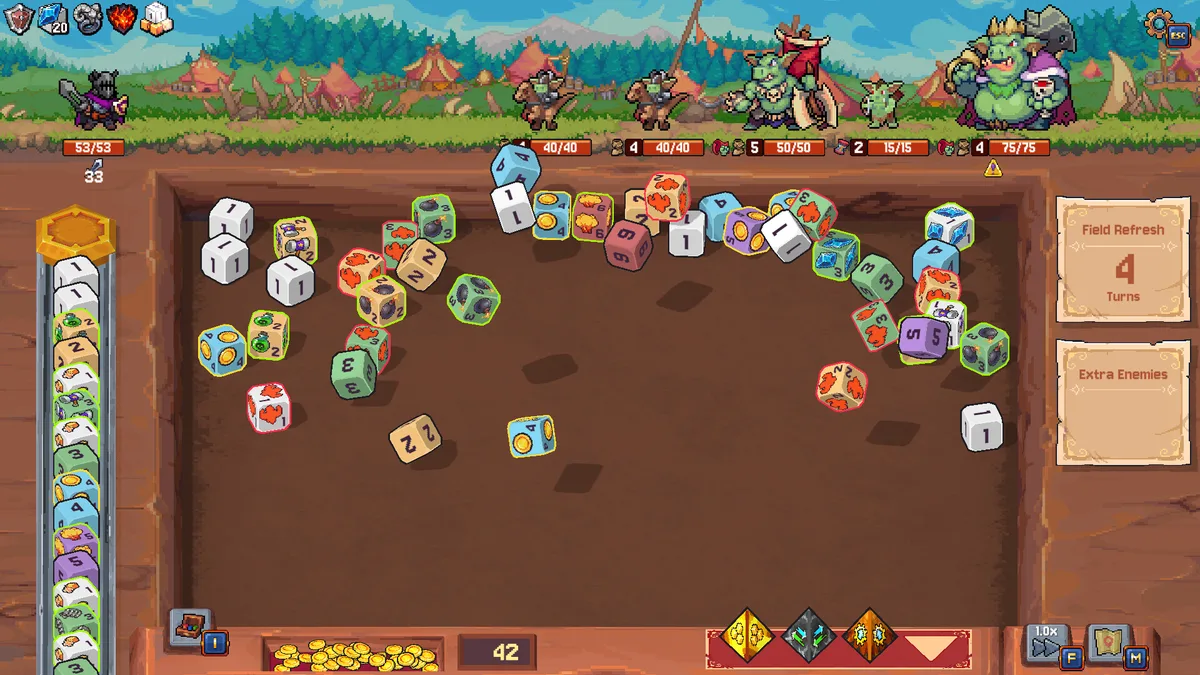
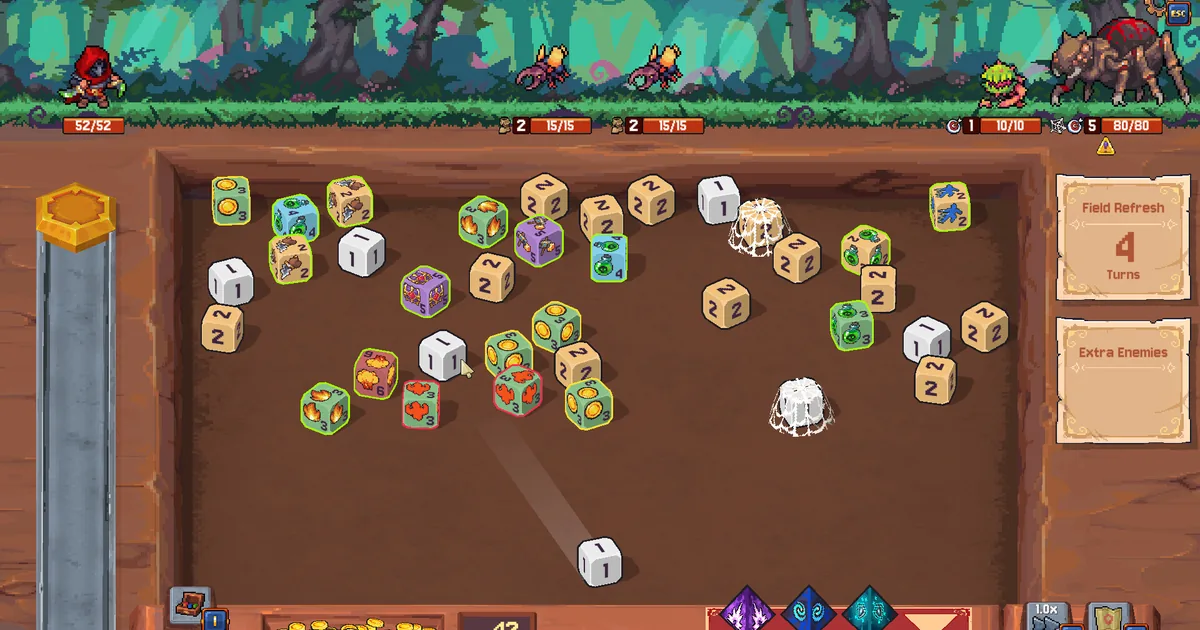
When two or more elemental dice land next to each other on the board in the same throw, they trigger a chain. The damage calculation compounds: each connected die multiplies the output of the next. Three fire dice landing in a tight cluster aren't three separate fire hits. The game reads the adjacent group together, and the total is substantially higher than three individual results.
This is the Mage's core mechanic and the reason it has the highest damage ceiling in the roster. Every strong Mage run is built around engineering turns where multiple elemental dice land adjacent. The relic system amplifies this, and the best builds push that amplification as far as it goes.
Know this before you pick it: the Mage has no built-in defense and low base HP. You're a glass cannon with a genuine ceiling. Runs where your damage relics arrive feel unstoppable; runs where they don't feel like you borrowed someone else's character sheet.
Key takeaways
- Adjacency chains are the burst source: connected elemental dice multiply damage rather than adding.
- Pick one elemental school, burn or freeze, and relic into it. Splitting without synergy relics reduces your ceiling.
- The core combo is 3x Amplify plus Gravity: Amplify stacks multiply chain damage; Gravity holds dice so chains resolve before scatter.
- Low HP, no defense. The run succeeds on relic draws, not on survivability.
- The Mage is default-unlocked alongside the Rogue, available from your first run.
How adjacency chains work
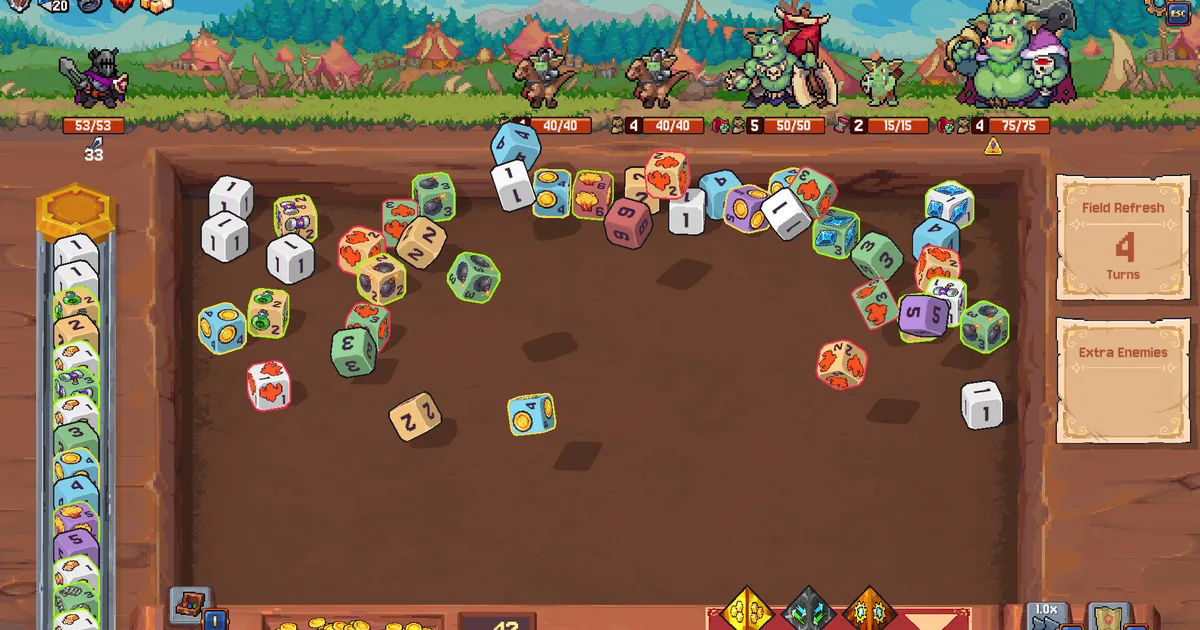
The chain mechanic requires you to change how you think about throwing. Most classes throw for effect: land dice on enemies, trigger conditions, move on. The Mage throws for position: you want dice to land close together, and you want the game to read the cluster as a chain before individual pieces scatter.
A single fire die hits once. Two adjacent fire dice form a two-link chain that reads both together and applies a multiplier. Three adjacent fire dice form a three-link chain with a further multiplier on top. The jump between single-die hits and three-dice chain hits is large enough that it's essentially the difference between a B-tier and an S-tier run.
So your core throw technique is forward-weighted: cluster dice in a zone, not spread them laterally. This is the opposite of the Archer's approach, and the two styles don't carry over. Practice throwing with a controlled forward bias so your elemental dice regularly land close together.
What breaks this: some relics scatter dice on trigger or push landing positions apart. Any relic that disrupts final resting positions costs the Mage more than it costs other classes. Read relic descriptions carefully before taking anything that mentions "push" or "spread."
Burn vs freeze: choosing your element
Every Mage run reaches a point where you have both fire and ice dice available but only enough relic slots to invest in one school properly. This is the burn-or-freeze decision, and making it early is the right call.
Burn adds a damage-over-time effect. Each fire die landing on the board starts a burn stack on the enemy, and those stacks tick every turn regardless of whether you throw again immediately. In longer fights, especially floor boss corridors where fights run three or four throw cycles, a fully stacked enemy takes meaningful passive damage between your active turns. Burn is the school that scales with fight duration.
Freeze stops enemy actions for a turn and holds board state. A frozen enemy can't attack, giving you a free throw cycle. Frozen targets also don't move between throws, which means board positions set up for adjacency stay in place longer. Freeze is stronger against enemies with high burst attack patterns, where surviving long enough to resolve your chains is the actual problem.
The choice mostly comes down to the enemy roster on your current floor run. If you're hitting enemies that attack twice per turn, freeze buys you cycles. If you're hitting high-HP enemies that hit hard but slowly, burn accumulates efficiently. Pick based on what you're fighting and commit the relic slots once you decide.
What doesn't work: a 50/50 split. If your relics are split between burn adders and freeze extenders, neither school reaches its actual ceiling. You end up with average burn stacks and average freeze duration, which is fine in early floors and insufficient in boss corridors. Commit to one school by floor 5.
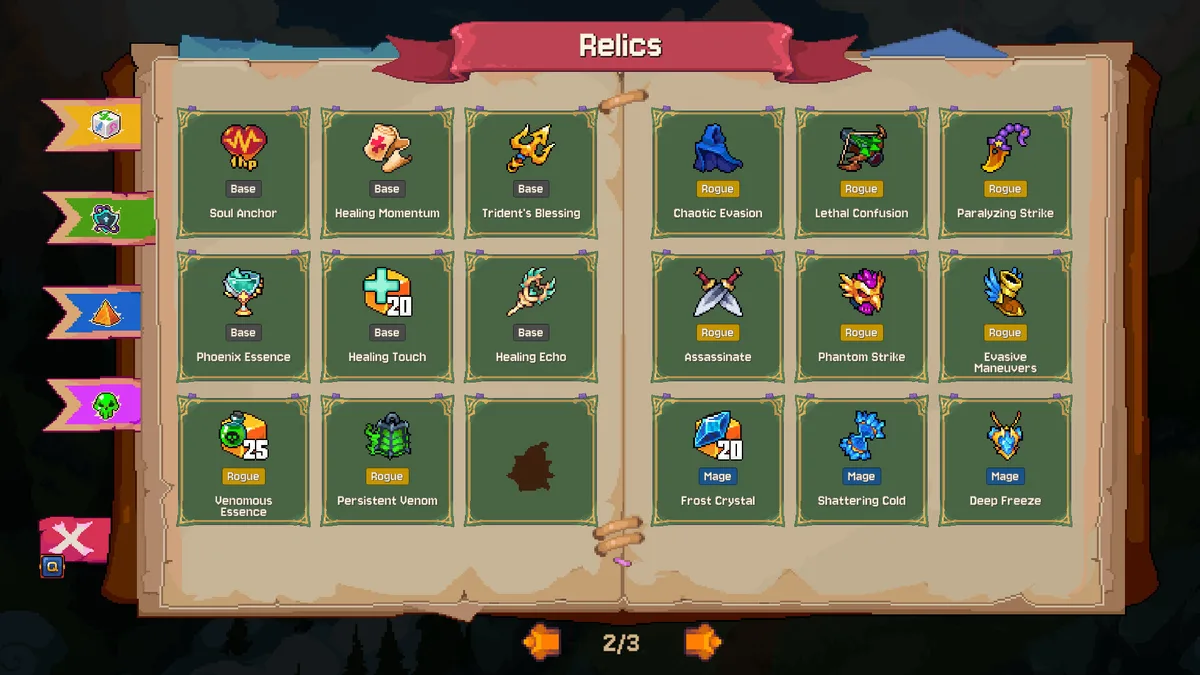
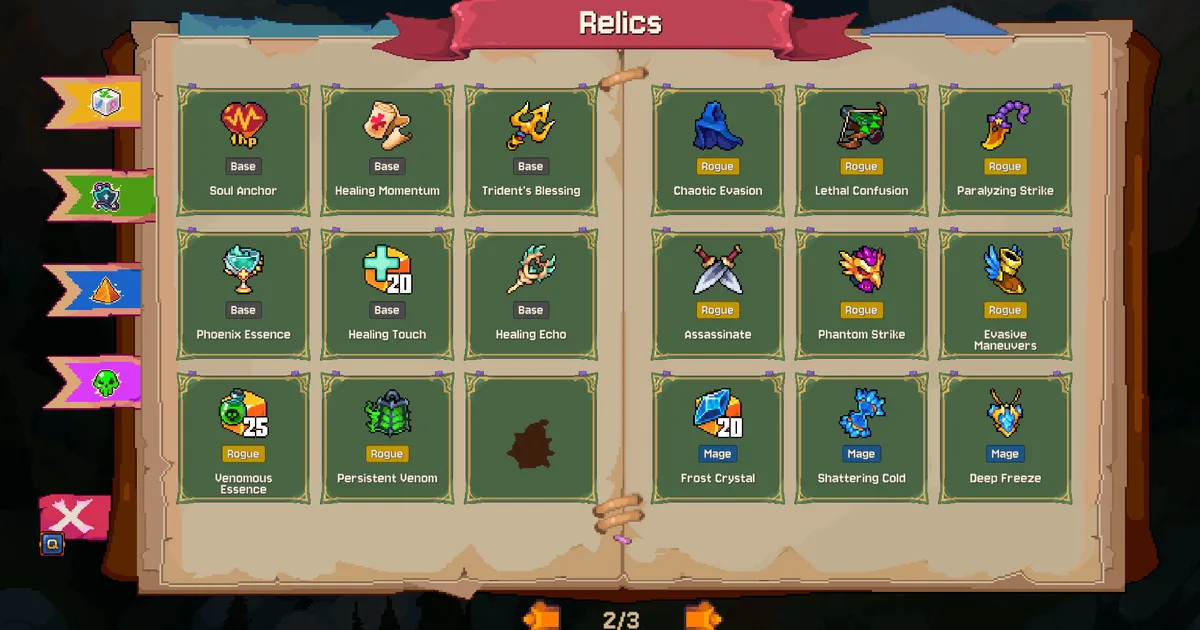
GODEEPER: The full relic priority list, including which school-specific relics matter most after Amplify and Gravity, is in the relics guide. Rune Dice Relics Guide: Best Builds and Combos →
The 3x Amplify and Gravity combo
This is the build's ceiling, and it's significant enough to explain in full.
Amplify is a relic that multiplies adjacency chain damage. A single Amplify copy multiplies the chain output once. Stack three copies and the multiplier applies three separate times to the same chain calculation. A three-die adjacency chain that would deal moderate damage without Amplify becomes a much larger number with three stacked Amplify relics each applying to every link.
Gravity is one copy. It holds dice briefly in their landing position before the normal physics scatter kicks in. This matters because adjacency chains require dice to still be adjacent when the game calculates damage. Without Gravity, a well-aimed clustering throw can see dice bounce or roll apart before the chain fully resolves. Gravity closes that gap.
Together: throw with the intent to cluster elemental dice, Gravity holds them in the cluster, and all three Amplify relics apply to the full chain calculation at once. On floor boss fights, the right setup with this combo resolves as a one-shot from full HP. The Rune Dice tier list entry for Mage identifies this as the reason the class sits in S tier rather than A tier.
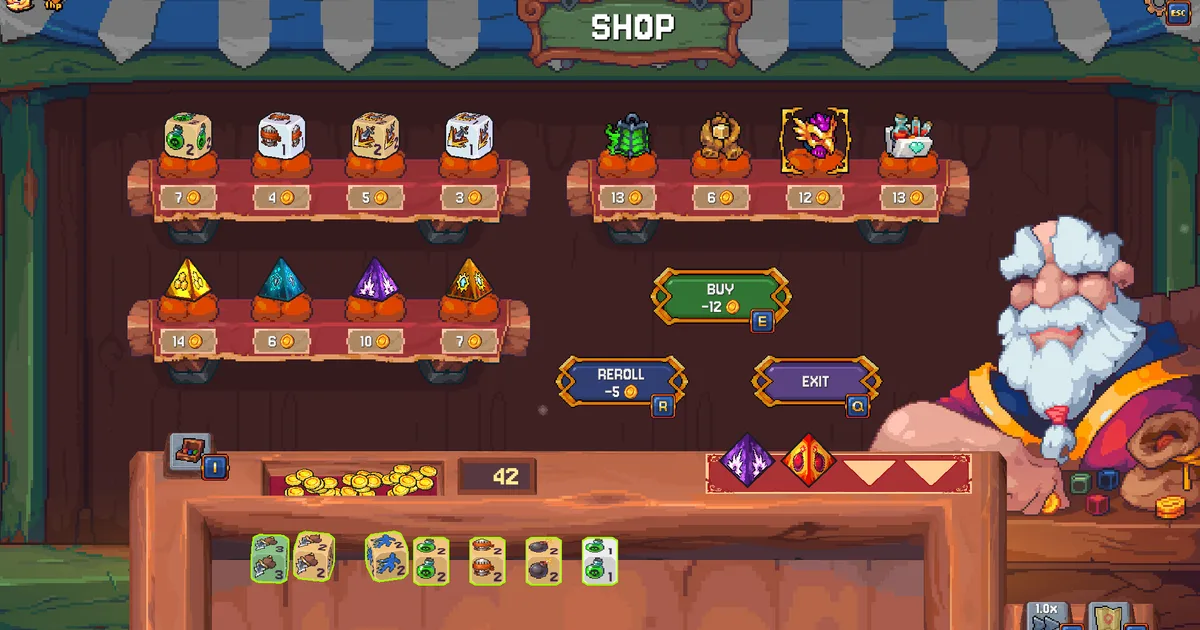
Shop priority: Amplify first, up to three copies, every time you see it. Gravity is one copy and has diminishing returns on multiples. After both are secured, the run is in execution mode: find elemental extension relics for your chosen school and aim the cluster throws.
 Adjacency chains require dice to land close together. The Gravity relic holds them in position long enough for the full chain to resolve before scatter, which is what makes the 3x Amplify combo work on floor bosses.
GODEEPER: Floor boss patterns decide whether you can land the cluster throw clean. Knowing the pattern before the fight is the preparation. Rune Dice Boss Guide: Beat Every Floor Boss and Webbed Dice →
Step-by-step: the Rune Dice Mage build act by act
Act 1 (floors 1-5): The Mage's early game is where inexperienced runs collapse. Low HP and no defense mean a floor where you can't chain properly is a floor where you take full hits and have nothing to recover with. Play conservatively: practice clustering throws on weaker enemies, spend every coin in shops on Amplify if it appears, and don't take relics that scatter dice even if they look appealing. A single Amplify by floor 5 stabilizes the whole mid-game.
Mid-game (floors 6-12): By this point you should have at least one Amplify and a committed elemental direction. Look for Gravity. Once you hold 2x Amplify and Gravity, the combo starts showing in real play: three-die clusters begin dealing boss-tier damage to regular enemies, and you start approaching floor fights with the combo as the plan rather than a hope. The shop priority shifts to completing your third Amplify, then extending your elemental school.
Late game and floor bosses: With 3x Amplify and Gravity in place, boss fights become setup problems. Spend a turn positioning the board for a full cluster, then release. The one-shot window is real, and it's reliable once you've practiced the throw.
When the relics don't come: If Act 2 ends without an Amplify, you're running a Mage on raw elemental output without the multiplication. That's a functional but limited run. Burn holds up better in this scenario because DoT stacks add passive damage between throws, reducing the per-throw ceiling requirement. Adjust by playing longer fights and relying on burn accumulation rather than single-turn bursts.
 Shop visits are the Mage's build engine. Buy Amplify up to three copies and add Gravity once; the run is in execution mode after that.
Tips
Cluster throws take practice. Get a feel for the throw weight that produces a tight forward landing before you commit a run to the Mage. Turns where your elemental dice scatter across the full board set you back more here than with any other class.
Jester encounters matter. Jester fights yield heals, coins, upgrades, and extra chests. For a class with no sustain mechanics, the relic that heals when you use class dice is worth taking over minor damage relics in the mid-game. Don't underweight survivability items just because the class is a damage build.
Never take scatter relics. Read every relic description before buying. Anything that reads "push," "scatter," or "spread on hit" actively conflicts with adjacency chains. Turning down a high-damage scatter relic is the correct Mage call.
Commit to your element before floor 6. Drift at floor 7 between burn and freeze means you arrive at mid-run with both schools at average. Chain-hit relics that benefit any adjacency regardless of element are the exception: those work in split builds. Everything else rewards the committed path.
Related Reading
- Rune Dice Relics Guide: Best Builds and Combos: Full priority breakdown for Amplify, Gravity, and every school-specific relic the Mage wants after the core combo.
- Rune Dice Tier List: All 8 Classes Ranked for 2026: How the Mage compares to Rogue and Archer in S tier, and why the ceiling-to-floor gap is this wide.
- Rune Dice Guide: Classes, Relics and Dice Synergies: Foundational adjacency bonus breakdown and the merge mechanic, useful background before running the combo build.
- Rune Dice Boss Guide: Beat Every Floor Boss and Webbed Dice: Floor boss attack patterns and how to set up the cluster throw that makes the one-shot land.
- Rune Dice Necromancer Build: Snowball the Skeleton Army: Rune Dice Necromancer build guide: survive the weak early floors, ramp Soul tokens and the skeleton army, and....
- Rune Dice Physics Dice System: Throws, Merges & Chains: Rune Dice physics dice system explained: how throw angle and force decide merges, how chain reactions fire, and....
- Rune Dice Complete Guide 2026: Classes, Relics, and Builds: Rune Dice complete guide covering all 8 classes, relic priority, unlock order, dice synergies, NG+,.
- Rune Dice Class Unlock Guide: How to Get All 8 Classes: Rune Dice class unlock guide covering all 8 classes.
- Rune Dice Druid Unlock Guide: Blight Druid Boss Strategy: Rune Dice Druid unlocks by defeating the Blight Druid in Hard Mode.
- Rune Dice New Game Plus Guide: NG+ Tips and Builds 2026: Rune Dice New Game Plus guide: how NG+ unlocks, what changes, which classes scale best,.
Frequently Asked Questions
What is the best Rune Dice Mage build? The strongest build centers on 3x Amplify relics plus 1x Gravity, which together one-shot floor bosses from full HP. Amplify multiplies adjacency chain damage, Gravity holds dice so chains resolve before scatter. Stack all three Amplify copies, secure Gravity, then invest in your chosen elemental school.
How do adjacency chains work for the Mage in Rune Dice? When elemental dice land next to each other in a single throw, they trigger a chain where each connected die compounds the damage of the next. Three fire dice clustered together deals substantially more than three separate fire hits. The Mage's lightning, fire, and ice dice all benefit from adjacency, making throw clustering the core skill.
Should I build burn or freeze on the Rune Dice Mage? Pick one and commit by floor 5. Burn stacks damage over time and scales in longer fights. Freeze stops enemy actions and holds board state for cleaner adjacency setups. Splitting both without dedicated synergy relics brings both schools to average rather than either to excellent.
What relics does the Mage want in Rune Dice? Amplify up to three copies, then Gravity. After both are secured, invest in relics that extend your chosen elemental effect. Skip any relic that scatters dice or pushes landing positions apart.
Is the Mage a good class in Rune Dice? Yes, S tier with the highest damage ceiling in the game. The trade-off is a low floor: no built-in defense and low HP mean runs where damage relics don't arrive can fall apart. It rewards players who commit their build direction early and know the relic rotation.
How do you unlock the Mage in Rune Dice? The Mage is one of two default-unlocked classes, available alongside the Rogue from your first run. No unlock condition is required.
References
- Rune Dice on Steam: official store page, current price, and patch notes
- Smart Raven Studio: the developer behind Rune Dice
- r/RuneDice on Reddit: community discussions and build theory
Was this guide helpful?
About the author

Senior Critic & Analyst
Former game data analyst turned critic with 11 years covering indie and mid-tier games. Based in Austin. Runs spreadsheets on games most people just play.
- 11 years games criticism
- Former game economy analyst
- Roguelike and strategy specialist
Keep reading

Disclaimer
This article is published for informational and entertainment purposes. It does not constitute professional financial, legal, or technical advice. Game performance, online services, patch schedules, and store listings change. Verify critical details (pricing, system requirements, regional availability) with publishers and storefronts before you buy. Affiliate links, where present, help support our editorial work and are labelled in our affiliate disclosure.