
GuideRune Dice
Rune Dice Relics Guide: Best Builds and Relic Priority 2026
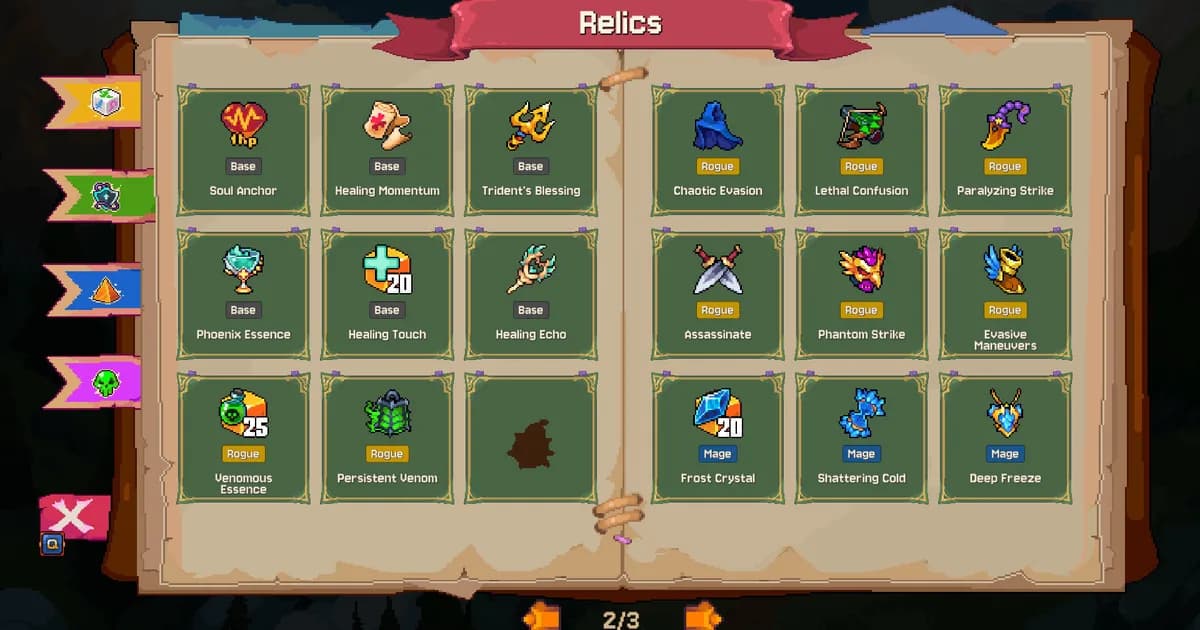
Rune Dice relics are the layer that makes each run feel different from the last. Two runs with the same class can play completely differently depending on which relics appear and which ones you take. The class defines your starting dice. The relics define where the run goes.
Sponsored

About the game
Rune Dice
Smart Raven Studio · Kwalee
Understanding which relics are worth taking, which ones conflict with your build, and how the best combos actually work is the difference between clearing floors smoothly and watching the system underperform.
Updated 2026-10-02: Reward screens and shop rerolls no longer repeat offered relics or runes, while the Skirmish Mode update adds a dice-and-relic-only shop with free rerolls and selling that refunds the full price.
TL;DR: Bomb dice relics are the clearest universal priority: they compound with the physics system when aimed into groups. Beyond that, prioritize relics confirmed for your class specifically, like Soul Shackles and Cursed Medallion for Necromancer or Bounty Fletching for Archer. A widely-circulated "3x Amplify plus Gravity" one-shot combo isn't backed by any official source, so treat it as unverified. Coherent builds (relics syncing with one dice school) generally outperform mixed ones. Shop relics aren't guaranteed; don't plan runs around a specific one appearing.
Sponsored

Rune Dice relics: quick answer
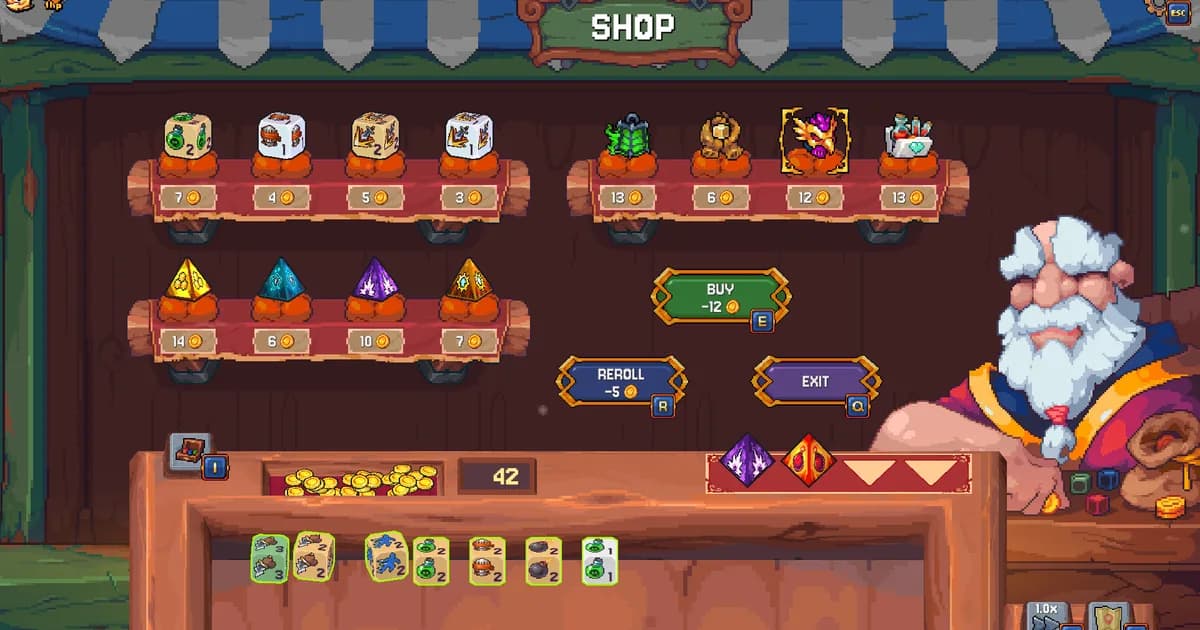
Relics are passive items that change how your dice behave. You pick them up in shops between encounters and as rewards from harder fights. The relic pool resets between runs; whatever you had last time doesn't transfer.
The clearest universal priority is bomb dice relics. Beyond that, build coherence matters more than chasing any single relic: a relic that syncs with your dice school is worth more than a higher-rated relic from a different school. Some circulating build guides describe an "Amplify" relic and stacking combos with it; this isn't confirmed in official patch notes or in-game relic text, so verify anything like that against the current tooltip before building a run around it.
GODEEPER: How the physics system amplifies specific relic types, starting dice pools by class, and which classes benefit most from early bomb relic pickups. Rune Dice Guide: All 8 Classes, Relics and Dice Synergies →
Step-by-Step: use the updated reward and shop rules
- Read the reward screen. Relics and runes already offered stay out across rerolls and the second reward pick on that screen.
- Reroll the shop. Relics and runes already shown stay out during that shop visit; dice can repeat, and the pool resets if unique items run out.
- Build in Skirmish. Its shop contains only dice and relics, rerolls are free, and selling refunds the full price; the coin budget is the score.
Key takeaways
- Bomb dice relics are the highest universal-priority pickup in most runs
- A widely-circulated "3x Amplify plus Gravity" one-shot combo isn't confirmed in any official source; verify before building around it
- Build coherence beats individual relic quality: always prioritize relics that match your dice type
- Don't add dice to your pool that don't trigger any of your relics
- Start relics don't appear on a fixed schedule; don't plan builds around them
- Necromancer wants Soul Shackles and Cursed Medallion first; Archer wants Bounty Fletching; verify other class-specific claims against current tooltips
- Mid-run shops are more predictable than early shops; plan your second relic buy before you reach it
Bomb dice relics: why they're universally strong
Bomb dice relics add explosive effects to dice in your pool. On their own, that's a damage increase. Inside the Rune Dice physics system, it's something more.
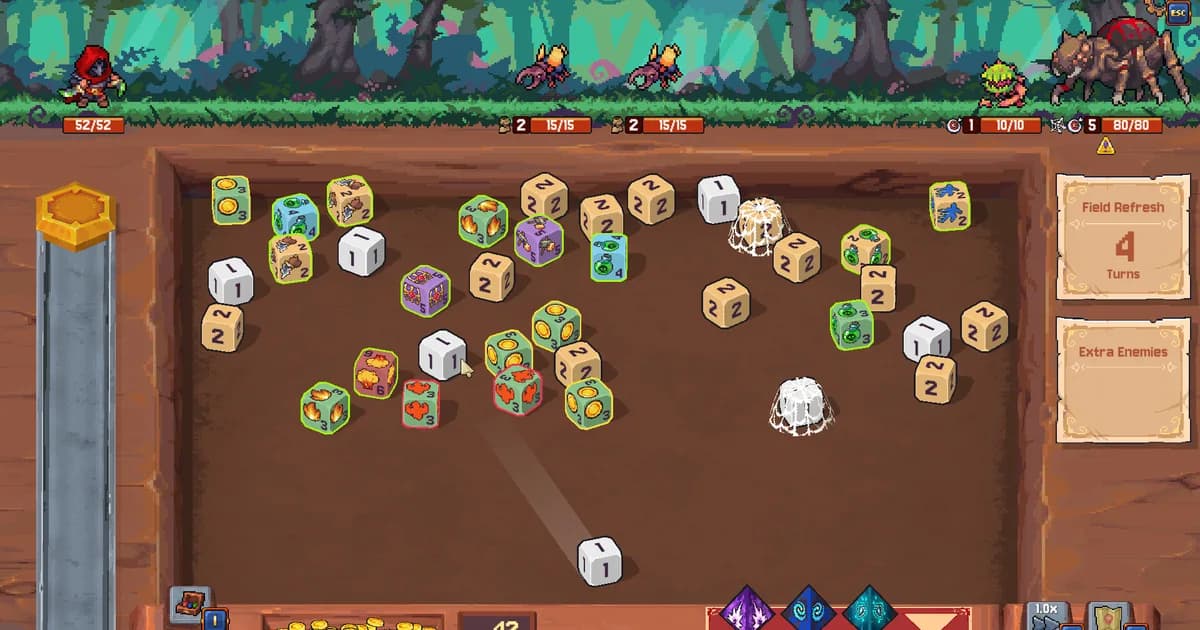
When a bomb die bounces into a group of enemies before detonating, the explosion chains to nearby targets. The physics system creates opportunities for this that a static grid game doesn't: you aim your throw to bounce off a wall into a cluster, and the chain triggers. One bomb die throw that lands correctly hits multiple enemies and deals AoE damage; a direct throw deals single-target damage.
That's why bomb relics are above-curve regardless of class. The physics system rewards aimed bounces in a way that passive stat relics can't match. If you're not using the bounce geometry, you're leaving damage on the table.
The one time to skip bomb relics: when you're mid-build on a specific chain-focused setup where an out-of-sequence explosion could disrupt a merge chain you're deliberately building. Outside of that case, take bomb relics.
A note on the "Amplify plus Gravity" combo
A build combo describing a stacked "Amplify" relic paired with the Gravity Rune, claimed to one-shot floor bosses, circulates in some guides and community discussion. This project's own research could not confirm "Amplify" as a real relic in any official patch note, in-game relic text, or screenshot, including this site's own archived gameplay screenshots. Gravity itself is confirmed to be a Rune, a situational board-fixing tool, not a stacking shop Relic you collect copies of.
Given that, treat this specific combo as unverified rather than a build to plan a run around. If you find a relic in-game that matches this description, check its current tooltip directly rather than assuming it works the way older guides describe, since relic text is the authoritative source and patches can change it.
The Altar: risking a die for a chance at a permanent value increase, with Rituals available to shift the odds at a cost. This is a separate system from the shop relics discussed above.
Build coherence: the rule that matters most
Build coherence is the principle that your relics and dice type should match. It sounds obvious, but it's the most commonly violated rule in early Rune Dice play.
A Mage with 3 arcane-trigger relics and 3 arcane dice has 3 relic triggers available per throw. The same Mage with 3 arcane-trigger relics, 3 arcane dice, and 3 Warrior block dice still has 3 relic triggers, but now has 6 dice total with 3 dead draws (the block dice that trigger no relics).
More dice doesn't mean more damage. More dice that don't trigger relics means a lower probability of drawing the dice that do trigger them, which means your relics fire less often per run.
The correct approach to dice pool management:
- Only add dice if they trigger at least one relic you have
- Remove dice that have fallen out of your build's relic scheme at shops that offer removal
- When two dice types both trigger relics, the one with more triggers per throw takes priority
This applies to every class. Warrior block dice that stop triggering relic bonuses after you've shifted into a damage relic build should be removed if possible. Necromancer spirit dice that don't connect with your relic setup should stay at minimum pool size.
Relic priority by class
Mage: Elemental relics that extend your chosen school (burn or freeze) first. The merge-and-chain system is the Mage's core mechanic, shared with every other class, so relics that reinforce burn or freeze on top of that are the confirmed way to build. Take school-specific relics before generic ones even if the generic ones have a higher raw stat boost.
Warrior: Blocking relics that reduce damage on shield face landings first, then bomb relics for damage. The Warrior survives by blocking; relics that increase block effectiveness extend the runs where the Warrior can absorb hits while dealing steady damage. Bomb relics add damage output the Warrior would otherwise miss. Avoid relics that require low HP to trigger; the Warrior is designed to stay at high HP.
Necromancer: Soul Shackles and Cursed Medallion first, both confirmed via official patch notes. Soul Shackles converts accumulated Death Mark stacks into an AoE hit off the Soul Die; Cursed Medallion gives enemies a starting Curse stack. Bomb relics are a solid secondary pickup.
Archer: Bounty Fletching first, the one officially documented Archer relic, tied to a Heartseeker kill reward. Bomb relics give the Archer AoE it wouldn't otherwise have as a secondary pickup.
Paladin: Heal-on-trigger relics first, then holy shield relics. The Paladin's value is survivability; relics that increase healing frequency or shield uptime extend that value. Damage relics are secondary. Don't over-invest in damage output at the expense of the defensive relic density that makes the Paladin hard to kill.
Rogue and Mage: Setup-trigger relics that extend or amplify the burst window, then positioning relics that improve throw angles for the combo face. Both classes need specific setups to deal burst damage; relics that make those setups more reliable are worth more than raw damage increases that don't interact with the combo system.
The class select screen shows unlock state for each hero. Locked classes display their condition after you've first hovered over them.
GODEEPER: Full class tier list with how each class's relic build affects its tier ranking, and which relics separate strong from weak runs on S-tier classes. Rune Dice Tier List: All 8 Classes Ranked 2026 →
General relic rules that apply to every class
Don't take off-build relics for their stat boost. A relic that adds 10% damage to Warrior-type dice when you're running a Mage is 10% of zero. Check what the relic actually triggers on before picking it up.
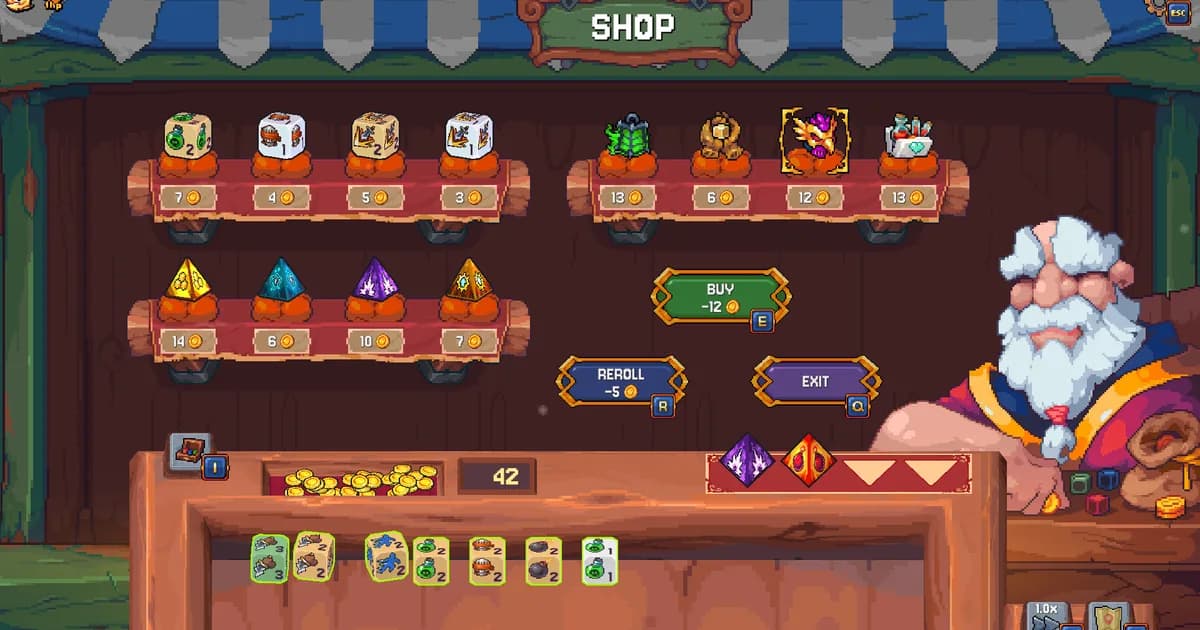
Mid-run shops are more predictable than early shops. Early shop options vary widely. By mid-run, you know your dice pool and which relic types you have slots for, so it's easier to spot a relic that actually fits your build. During a shop visit, rerolls keep shown relics and runes out; dice can still repeat, and the pool resets if unique items run out.
Relic removal is undervalued. If a shop offers to remove a die or relic that no longer syncs with your build, consider it. A tighter pool that triggers relics on every throw is stronger than a padded pool with dead draws.
Starting relics aren't on a fixed schedule. They appear as rewards from hard fights or specific rooms, not reliably in the first shop. Don't plan your build around a start relic appearing in every run. Know what you want from the first shop instead.
Related Reading
- Rune Dice Complete Guide Hub 2026: full system overview including how the relic system fits within runs and NG+.
- Rune Dice Tier List: All 8 Classes Ranked 2026: how relic builds affect each class's tier positioning and what separates S-tier runs from average ones.
- Rune Dice New Game Plus Guide: NG+ Tips and Builds 2026: how relic priority shifts in NG+ where HP scaling makes output relics more important earlier.
- Rune Dice Guide: All 8 Classes, Relics and Dice Synergies: the foundational class guide with dice pool starting states and how relic interactions work for each class.
- Rune Dice Boss Guide: Beat Every Floor Boss & Webbed Dice: Rune Dice boss guide: how to beat floor bosses, counter webbed dice with Shuffle and Gravity, read the....
- Rune Dice Physics Dice System: Throws, Merges & Chains: Rune Dice physics dice system explained: how throw angle and force decide merges, how chain reactions fire, and....
- Rune Dice Class Unlock Guide: How to Get All 8 Classes: Rune Dice class unlock guide covering all 8 classes.
- Rune Dice Druid Unlock Guide: Blight Druid Boss Strategy: Rune Dice Druid unlocks by defeating the Blight Druid in Hard Mode.
- Rune Dice Necromancer Build: Soul Die and Death Mark: Rune Dice Necromancer build guide covering the confirmed Soul Shackles and Cursed Medallion relics.
- Rune Dice Mage Build: Burn, Freeze, and Merge Chains: Rune Dice Mage build guide covering the real merge-chain mechanic and the burn vs freeze decision.
References
- Rune Dice on Steam: official store page and patch notes from Smart Raven Studio and Kwalee
- r/RuneDice on Reddit: community relic build discussions and class-specific relic priority threads
Frequently Asked Questions
What are relics in Rune Dice? Passive items found in shops and as fight rewards. They modify dice behavior, add trigger effects, or boost stats. Relic selection drives run variety: the same class plays differently depending on which relics accumulate.
What are the best relics in Rune Dice? Bomb dice relics are the clearest general-purpose pickup, since they compound with the physics system when aimed into groups. Beyond that, prioritize relics confirmed for your specific class.
Is there an Amplify plus Gravity combo in Rune Dice? This circulates in community guides but isn't confirmed via official patch notes or in-game relic text. Gravity is a Rune, not a stacking Relic, so treat this specific combo as unverified.
Should I always take bomb dice relics? In most runs, yes. Bomb relics amplify with the physics system when aimed into groups. Skip only when mid-build on a specific elemental combo where explosions would disrupt the chain sequence.
What is relic build coherence? Matching your relics to your dice type. Relics that trigger on dice you don't use produce no value. A tight pool where every die triggers at least one relic consistently outperforms a large pool with off-build dice.
What relics work best with Necromancer? Soul Shackles and Cursed Medallion first, both confirmed via official patch notes. Bomb relics are a good secondary pickup.
What relics work best with Archer? Bounty Fletching, the one officially documented Archer relic, tied to a Heartseeker kill reward.
Was this guide helpful?
About the author

Systems & Economy Desk
GameBrief's byline for roguelikes, strategy and simulation. Reads patch notes, wiki tables and Steam stats and puts the numbers on the page.
- Roguelikes, strategy and simulation
- Builds, progression and economy
- Sources listed per article
Keep reading
Rune Dice New Game Plus Guide: NG+ Tips and Builds 2026
General · 7 min
Rune Dice Class Unlock Guide: How to Get All 8 Classes
General · 8 min
Rune Dice Mage Build: 3 Element Paths and Merge Chains
General · 12 min
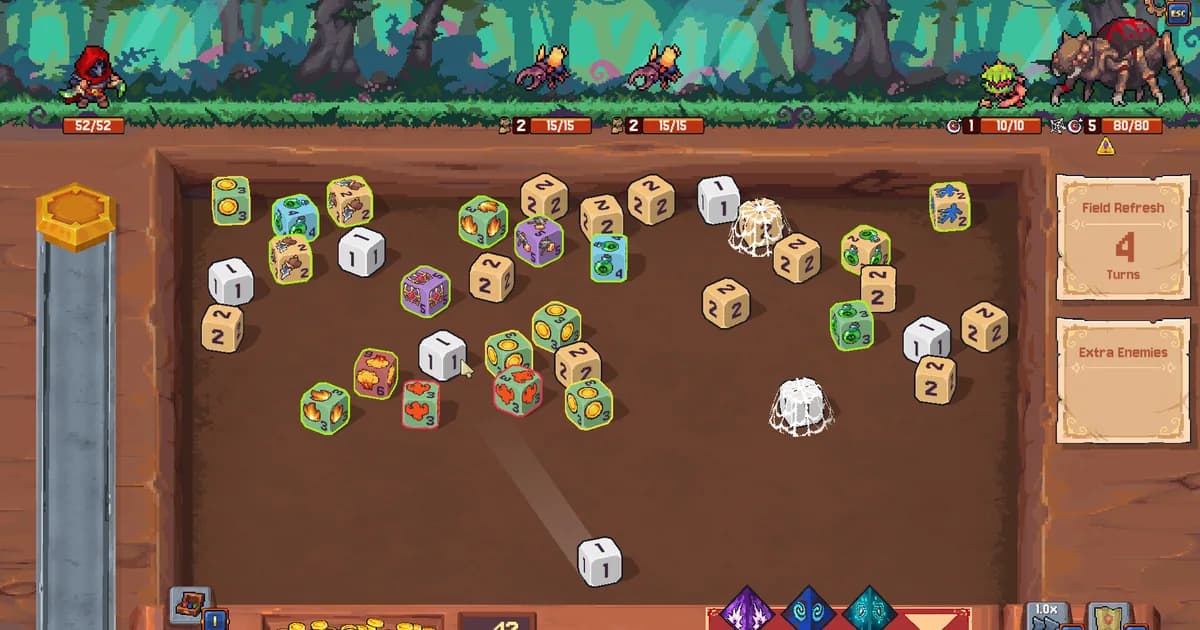
Rune Dice Boss Guide: Beat Bosses and Counter Webbed Dice
Guides · 9 min
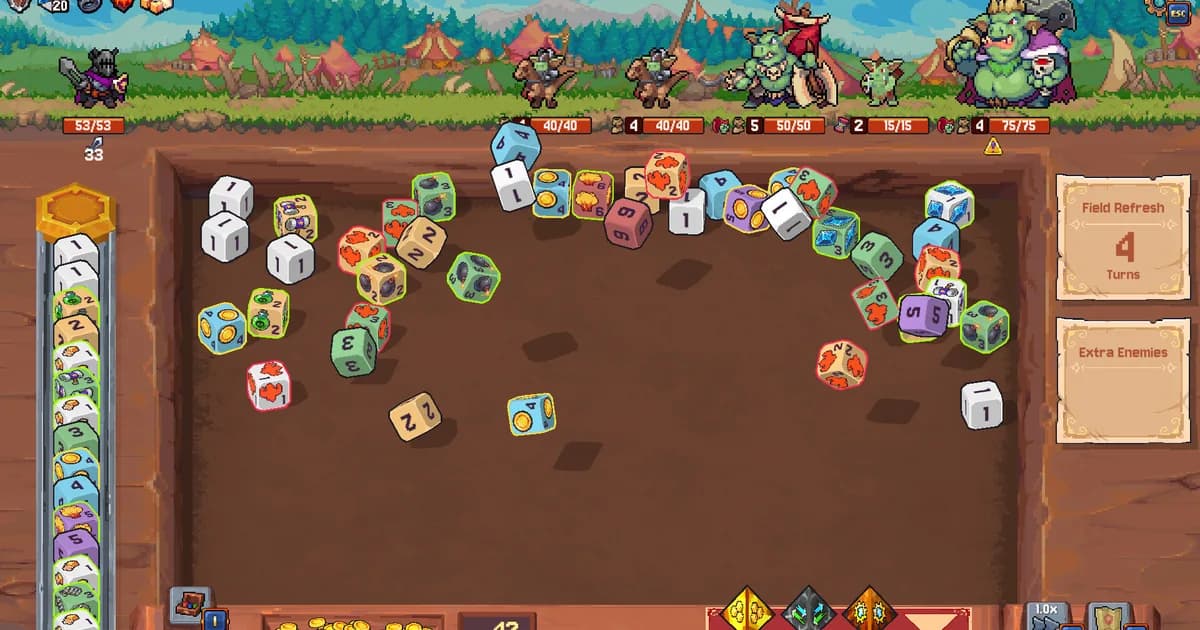
Rune Dice Physics Dice System: Throws, Merges & Chains
Guides · 13 min
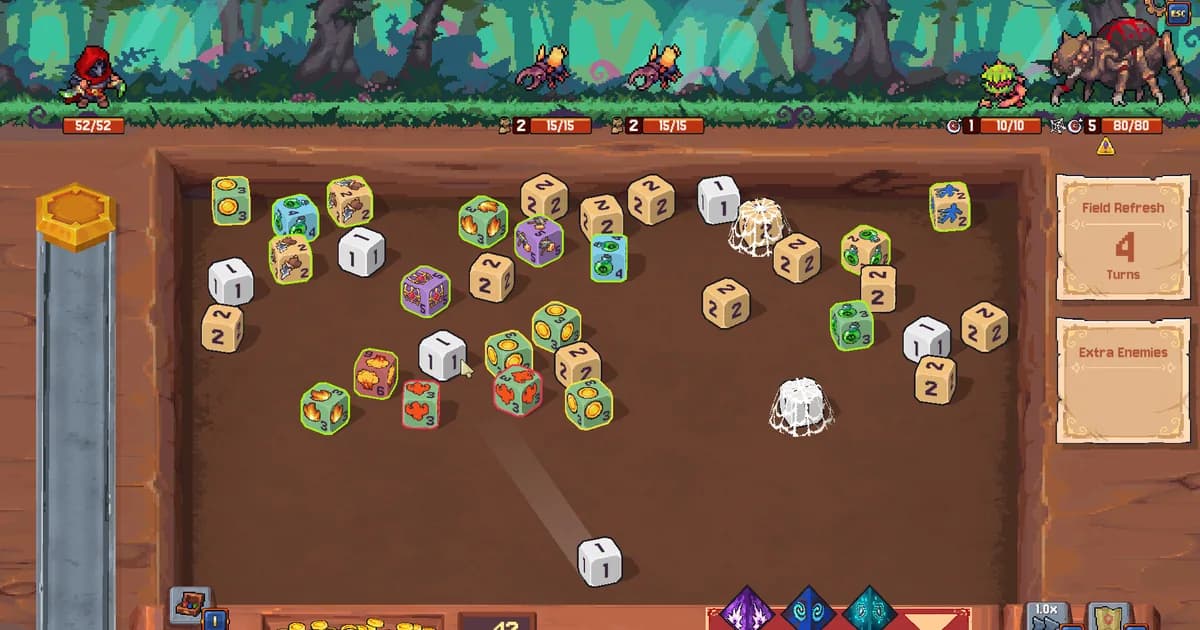
Rune Dice Necromancer Build: Soul Die and Death Mark
Guides · 11 min
Sponsored
Disclaimer
This article is published for informational and entertainment purposes. It does not constitute professional financial, legal, or technical advice. Game performance, online services, patch schedules, and store listings change. Verify critical details (pricing, system requirements, regional availability) with publishers and storefronts before you buy. Affiliate links, where present, help support our editorial work and are labelled in our affiliate disclosure.
Comments
Loading comments…