GameBrief · Guides
Rune Dice Archer Build: Heartseeker and the 40-Combo

This Rune Dice Archer build guide sticks to what's actually confirmed about the class rather than repeating build claims that don't show up in any patch notes or official source. The one specific relic officially documented for the Archer is Bounty Fletching, tied to a "Heartseeker" kill reward. The unlock condition, a 40-combo in a single throw, is also confirmed directly from patch notes and is one of the hardest in the game. This guide covers both, plus the general merge-based skill the Archer shares with every other class.
TL;DR: The Archer's one officially confirmed signature relic is Bounty Fletching, tied to a Heartseeker kill reward (patch notes confirm a change to "2 coins fixed, was equal to die value"). Beyond that specific relic, the Archer runs on Rune Dice's shared push-merge and chain system like every class. Unlock it with a 40-combo in one throw, confirmed as one of the hardest unlock conditions in the game, engineered through push merges and ricochets rather than luck.
Rune Dice Archer: what's actually confirmed
The Archer's reputation is built on throw precision and ranged damage, but a lot of specific build claims about this class circulating in guides don't trace back to any official patch note, in-game screenshot, or developer statement. Rather than repeat unverified specifics, this guide sticks to the one relic officially documented for the class and the confirmed unlock condition, and treats everything else as general Rune Dice skill that applies to any class.
Bounty Fletching is the confirmed Archer relic. Official patch notes reference a balance change to it: "Heartseeker kill reward: 2 coins fixed (was equal to die value)." That confirms the relic exists, that it's tied to a "Heartseeker" kill reward mechanic, and that its payout was rebalanced from scaling-with-die-value to a flat 2 coins. What isn't documented publicly is the full trigger condition beyond the coin reward, so treat any more specific claim about it (exact range, exact proc rate) as unverified until you can confirm it against the current in-game tooltip.
Key takeaways
- Bounty Fletching is the one officially documented Archer relic, tied to a Heartseeker kill reward.
- Patch notes confirm Heartseeker's coin payout was rebalanced to a flat 2 coins (previously scaled with die value).
- The 40-combo unlock is confirmed directly from patch notes and is one of the hardest conditions in the game.
- Beyond Bounty Fletching, the Archer runs on the same push-merge and chain system every class shares.
- Verify any other specific Archer build claim against the current in-game tooltip before building around it.
Bounty Fletching and the Heartseeker kill reward
Since this is the one piece of the Archer's kit with an official paper trail, it's worth building your shop priority around it if you see it. The confirmed detail is a coin payout on certain kills, currently a flat 2 coins per the most recent balance pass referenced in patch notes.
Beyond the coin reward, community discussion describes Heartseeker as related to precision or finishing shots, but since that framing isn't in the patch notes themselves, treat it as a reasonable guess rather than a confirmed mechanic. If you pick up Bounty Fletching, read its current in-game tooltip directly rather than relying on any guide (including this one) for the exact trigger condition, since relic text is the authoritative source and patches can change it again.
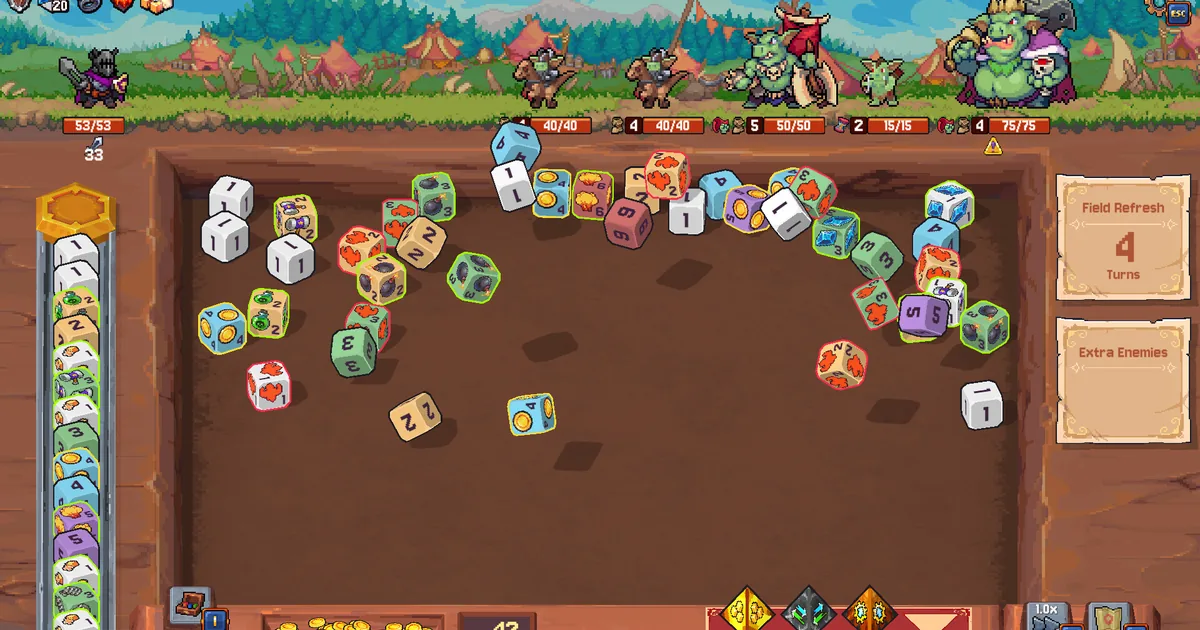
GODEEPER: The Archer's throws still run on Rune Dice's shared physics and merge system. Understand that foundation first. Rune Dice Physics Dice System Guide →
 Archer throws still run on the same push-merge system every class shares. Bounty Fletching is the one relic with an official paper trail confirming it's part of the class's kit.
The 40-combo unlock
The Archer has the hardest confirmed unlock condition in the game: a 40-combo in one throw. This is directly confirmed: official patch notes describing an unlock-text change read, "Archer locker description changed to: 'Create a combo of 40 dice in the queue with one throw.'"
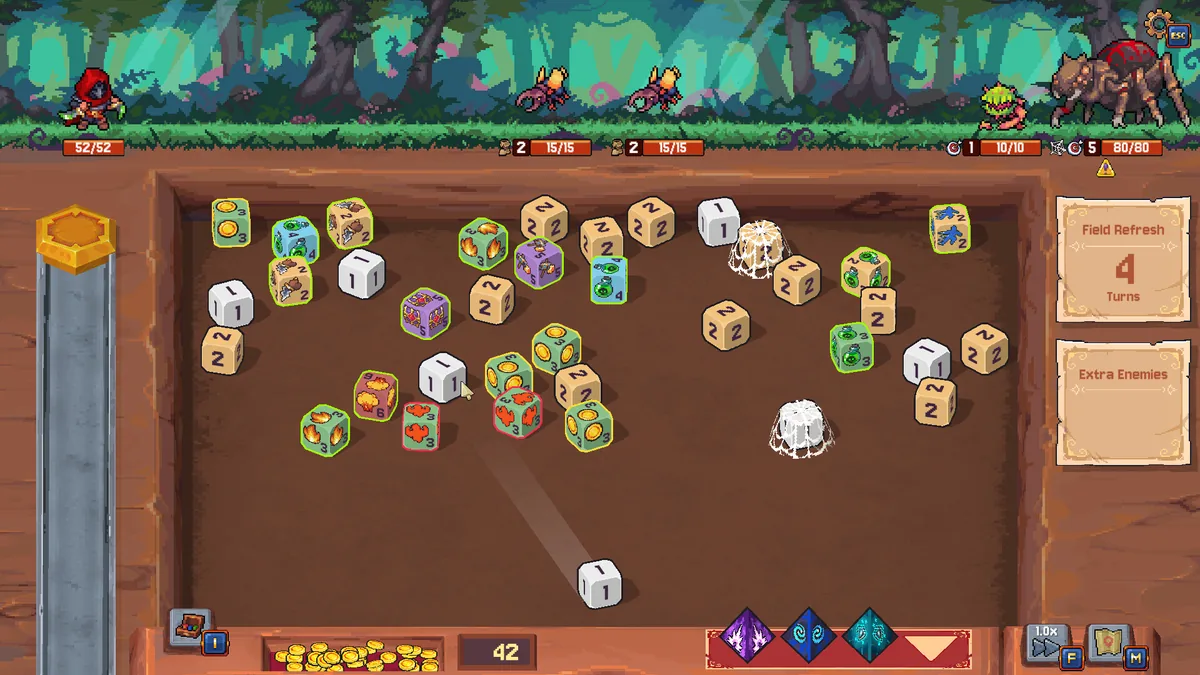
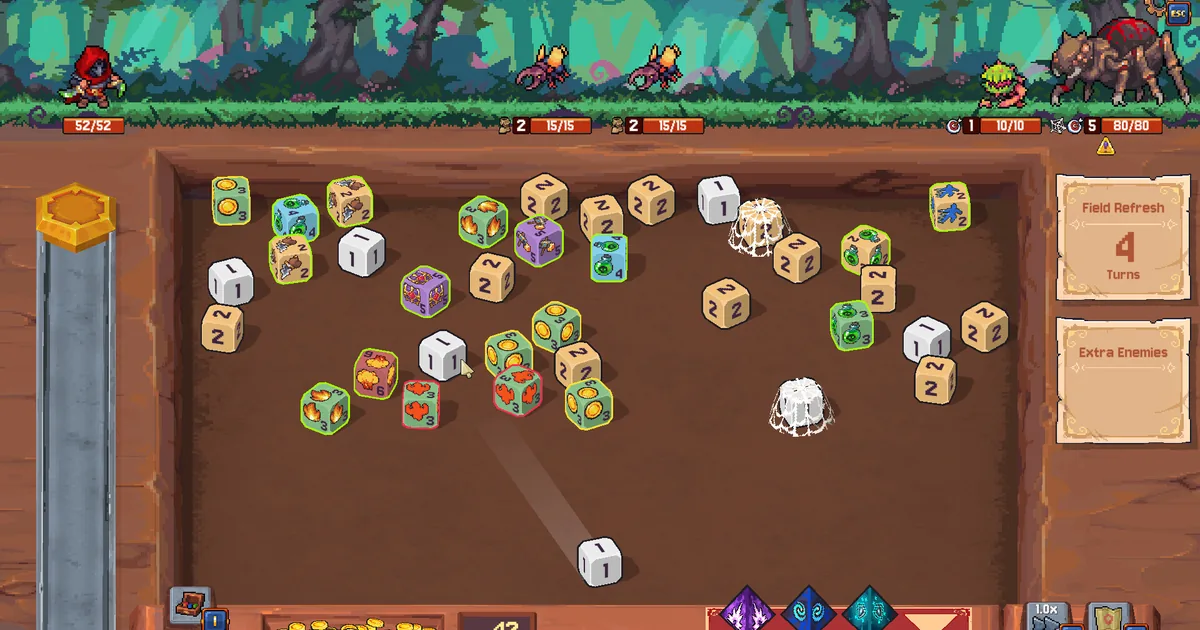
This is not something you stumble into. You engineer it. A 40-combo requires chaining merges and ricochets in a single throw to build a combined value of 40, which usually means spending a turn or two setting up the board, positioning dice so a single throw cascades through push merges and ricochet angles into the target number.
The practical advice is to save the unlock attempt for when you already understand those systems from playing other classes. Trying to force a 40-combo before you grasp push merges and ricochets is frustrating; doing it once those mechanics are second nature is a satisfying capstone.
 The 40-combo unlock is engineered, not lucky. Use merges and the Gravity Rune to set up the board over a turn or two so a single throw chains into a combined value of 40.
Who should play the Archer
The Archer has a reputation as a higher-skill pick built on throw precision, though the exact numbers behind that reputation are thinner in official sources than for some other classes. If you enjoy mastering the physics throw and engineering board setups toward specific combo values, it's a rewarding class to learn regardless of exactly which relics show up in your run.
Treat build guides for this class, including this one, as a starting point rather than a final answer: verify specific relic claims against the current in-game tooltip, since that's the one source that can't go stale between patches.
GODEEPER: For the relics that are independently confirmed across the game, not just for the Archer, check the relics guide. Rune Dice Relics Guide: Best Builds and Relic Priority 2026 →
How to evaluate an Archer relic you're not sure about
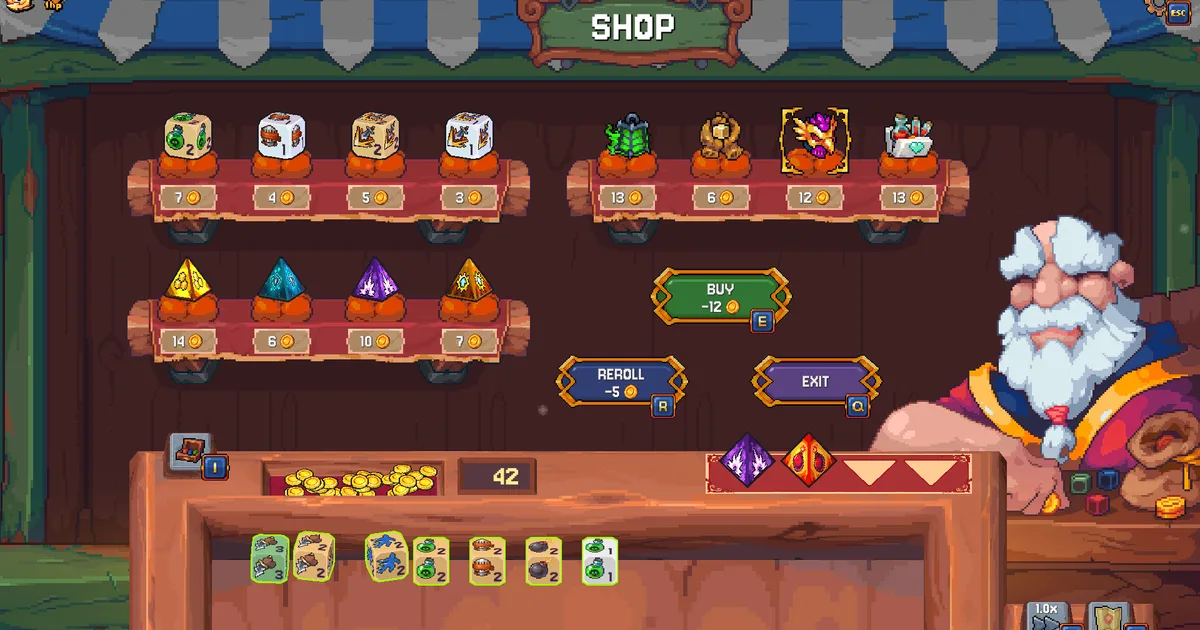
Since Bounty Fletching is the only Archer-specific relic with an official paper trail, you'll regularly see other relics in shops that a guide, a Reddit thread, or a Discord message claims are "great on Archer." Before spending your coins, read the current in-game tooltip in full rather than trusting the label. A few practical checks:
Does the relic's trigger condition actually fire on how you throw? A relic that rewards a specific dice value or a specific kind of collision does nothing if your build doesn't create that situation regularly. Read the exact wording, not just the flavor text, since Rune Dice relics can be precise about what counts as a trigger.
Does the effect stack with anything else you're already running? Two relics that both modify the same stat additively are worth less together than two relics that hit different parts of your kit. This matters more the deeper into a run you get, since your relic slots become the scarce resource.
Is the payout actually large enough to matter at your current stage? A flat coin bonus that felt significant in Stage 1 is marginal by a boss floor. Weigh a relic's raw numbers against where you are in the run, not just whether it sounds strong in isolation.
This discipline matters more for the Archer specifically because so much build advice for this class circulates without a clear source. Applying it consistently is a better long-term habit than memorizing any single build guide, including this one.
Frequently Asked Questions
How do you build the Archer? Around Bounty Fletching, the one officially documented Archer relic tied to a Heartseeker kill reward. Beyond that, it runs on the same merge and chain system every class shares.
Is it good? Community consensus generally rates it well, though exact tier claims are harder to verify than the confirmed relic and unlock details.
How do you unlock it? Land a 40-combo in one throw, confirmed directly from patch notes as one of the hardest unlocks in the game, engineered with push merges and ricochets.
What does Bounty Fletching do? A confirmed relic tied to a Heartseeker kill reward, recently rebalanced to a flat 2-coin payout per patch notes. Full trigger details beyond that aren't publicly documented.
Is it hard to play? It has a reputation for demanding throw precision. The 40-combo unlock alone is one of the hardest conditions in the game.
Related Reading
The Rune Dice Tier List ranks all eight classes.
The Rune Dice Class Unlock Guide covers the 40-combo unlock and every other class condition.
The Rune Dice Necromancer Build covers another class for comparison.
- Rune Dice Complete Guide 2026: Classes, Relics, and Builds: Rune Dice complete guide covering all 8 classes, relic priority, unlock order, dice synergies, NG+,.
- Rune Dice Boss Guide: Beat Bosses and Counter Webbed Dice: Rune Dice boss guide: how to beat floor bosses, counter webbed dice with Shuffle and.
- Rune Dice Mage Build: Burn, Freeze, and Merge Chains: Rune Dice Mage build guide covering the real merge-chain mechanic and the burn vs freeze decision.
- Rune Dice Relics Guide: Best Builds and Relic Priority 2026: Rune Dice relics guide covering best relic picks and build priority by class.
References
- Rune Dice on Steam: official store page, updates, and patch notes
- Smart Raven Studio: the developer behind Rune Dice
Was this guide helpful?
About the author

Critical game theorist with a background in film criticism. Writing for print and digital outlets since 2015. Specialises in genre analysis and design heritage.
- Background in film criticism
- 10 years games coverage
- Genre theory and design history specialist
Keep reading

Disclaimer
This article is published for informational and entertainment purposes. It does not constitute professional financial, legal, or technical advice. Game performance, online services, patch schedules, and store listings change. Verify critical details (pricing, system requirements, regional availability) with publishers and storefronts before you buy. Affiliate links, where present, help support our editorial work and are labelled in our affiliate disclosure.