
GuideDeep Rock Galactic: Rogue Core
DRG Rogue Core Slicer Build: The 560-Damage Plasma Blade
One swing, 560 damage, no armor check. The Slicer hits hard and goes down fast if he swings in the wrong place.
VerdictTake Tempered Core first, run the Carnage deck, and keep Blitz ready as your exit, not your entrance.
The DRG Rogue Core Slicer is built around one big swing. Slice deals 560 damage, ignores armour and stuns for a second and a half, and it's back every 20 seconds. The catch is that you have to be in melee range to use it. Build for Slice damage with Tempered Core, run the Carnage deck, and treat Blitz as your way out.
Sponsored

About the game
Deep Rock Galactic: Rogue Core
Ghost Ship Games
Updated 2026-10-15: checked against the official Rogue Core wiki. We removed the advice to "pair" the Slicer with the Jury-Rigged Boomstick (you can't pick your gun; the starting crate hands it out), cut a claim that Slice is the top single-hit damage source in the game, which no source states, and added Blitz, Shield Belt, both Bio-Booster decks and the Workbench numbers.
| Slicer kit | Numbers |
|---|---|
| Slice (Plasma Blade) | 560 damage, bypasses armour, 100% chance of a 1.5 s stun, 20 s cooldown |
| Blitz | Forward dash, 4 s cooldown |
| Shield Belt | Blocks enemy ranged attacks for you and nearby allies, 15 s, 90 s cooldown |
| Bio-Booster decks | Footwork and Carnage |
Sponsored

How the Slice works
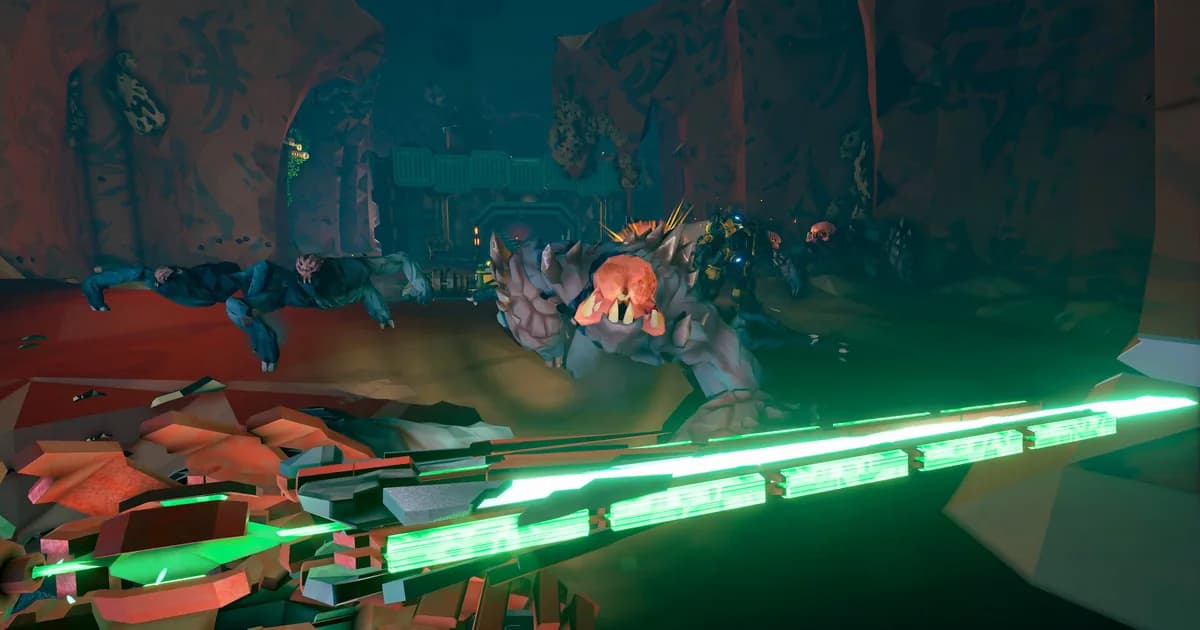
Press your ability key to draw the Plasma Blade, then left click for one horizontal slice. That swing deals 560 damage that ignores armour and stuns whatever it hits, and terrain right in front of you turns to glass. Then the blade goes on a 20-second cooldown.
That shapes how you play. Slice isn't a sustained damage tool; it's a 20-second punch. Use it on the target that matters, like an armored enemy that soaks your gun damage or a cluster of small Corespawn you can clear in one arc, and fight with your guns in between.
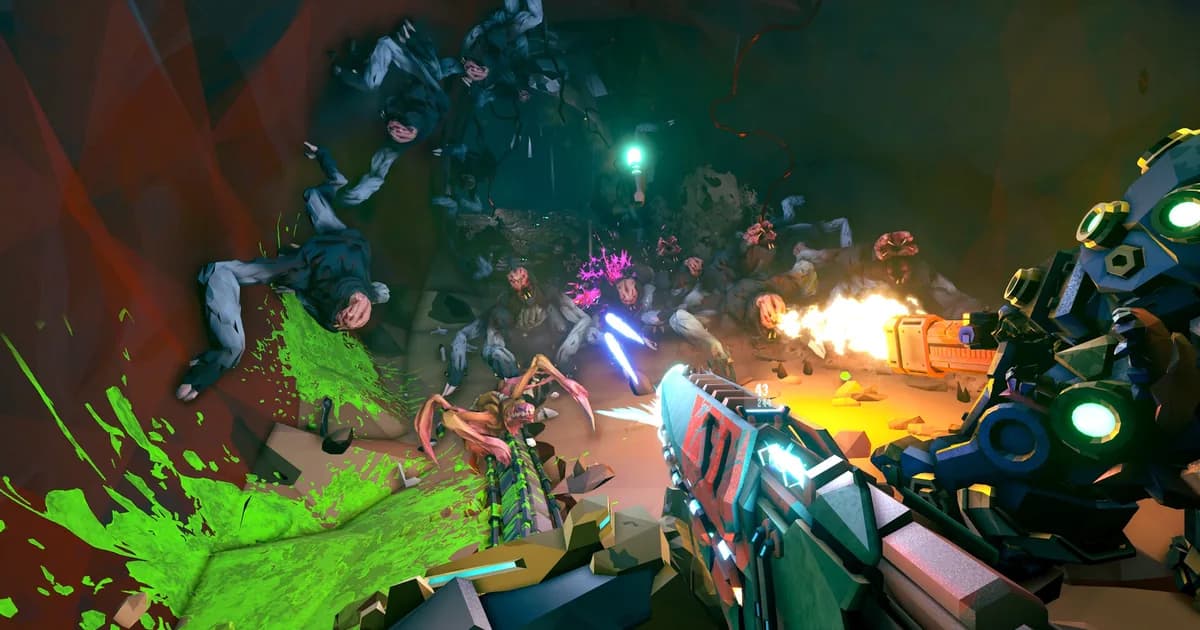
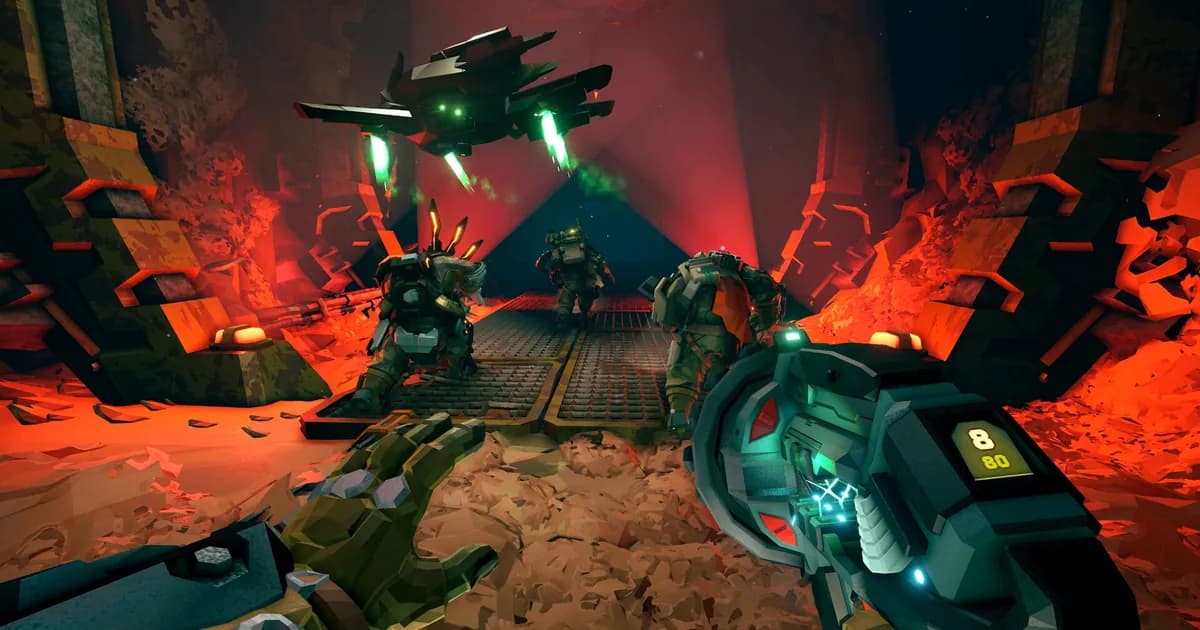
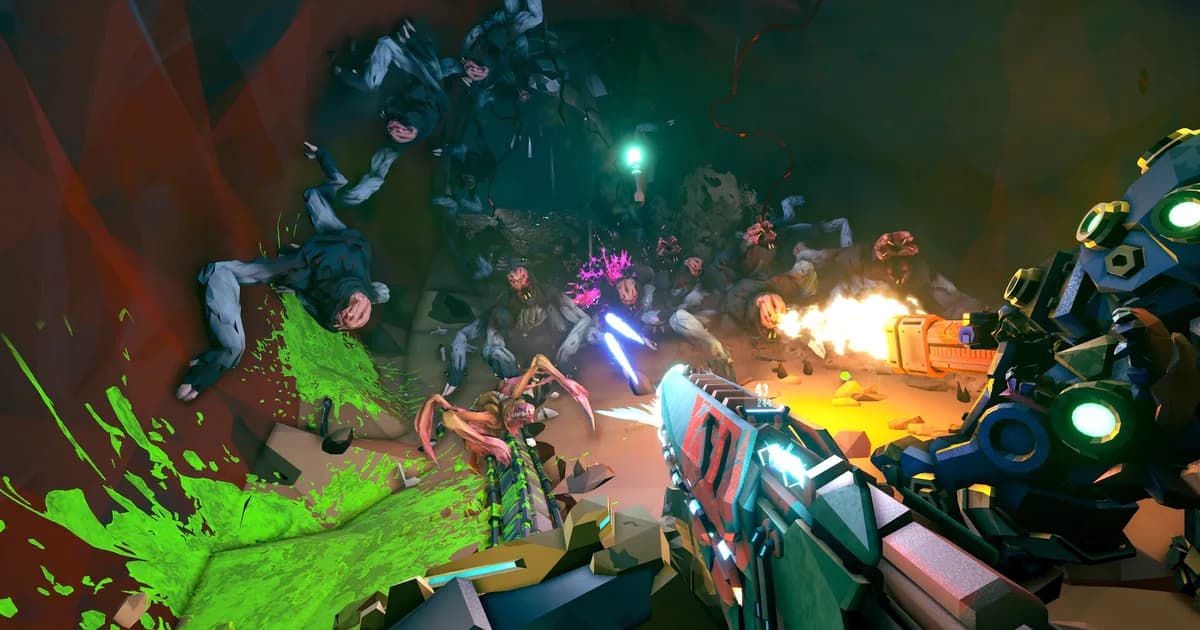
Screenshot: Steam store page, Deep Rock Galactic: Rogue Core (Ghost Ship Games)
Blitz and Shield Belt
Blitz is a gravity-defying dash on a four-second cooldown. It closes the gap for a Slice, but we'd save it for leaving. A Slicer who Blitzes in, swings and then has no dash to get out is the Slicer who gets downed.
Shield Belt blocks enemy ranged attacks for 15 seconds and covers allies too. Turn it on to walk up to a ranged enemy you want to Slice, or to cover a teammate reviving someone under fire. It's on a 90-second cooldown, so once per big fight.
Workbench upgrades
When a Workbench rolls a class ability upgrade, these are the Slicer's options:
| Workbench upgrade | Effect |
|---|---|
| Thermal Wake | Slice leaves plasma residue for 5 s, dealing 32 damage and 16 fire per second |
| Eclipse System | Slice flies out in an arc for +100 melee damage with Penetration |
| Blade Recalibration | +0.5 m Slice range |
| Tempered Core | +140 Slice damage |
Tempered Core is the pick: it takes Slice from 560 to 700 per swing. Eclipse System comes next because Penetration lets one swing hit a line of enemies. Thermal Wake is fine against swarms that walk through the residue. Blade Recalibration is the one we'd skip.
GODEEPER: The Slicer is one of five Reclaimers, each built around a different signature. See how it compares before you commit. DRG Rogue Core Classes Guide →
Bio-Booster decks: Carnage or Footwork
| Deck | Card | Effect |
|---|---|---|
| Footwork | Block | +10% chance to block incoming damage |
| Footwork | Outmaneuver | Melee damage gives a burst of movement speed for +0.5 s |
| Footwork | Back Stab | +50% damage when behind the target |
| Footwork | Close Quarter Combat | +20% damage against targets within 2.5 m |
| Carnage | Seeing Red | +30% damage for 2 s after a kill |
| Carnage | Death Resonance | Each kill refunds +10% of ability cooldown |
| Carnage | Blood Lust | Killing a medium or larger enemy gives +3 Stone Skin |
| Carnage | Momentum | Each kill reloads +1 bullet into your magazine |
We'd take Carnage. A Slice that kills a group triggers Seeing Red, and Death Resonance shaves the 20-second cooldown with every kill, so you swing more often in a fight. Footwork is the better choice if you keep getting downed: Block and Close Quarter Combat make the close-range part of the job safer and stronger.
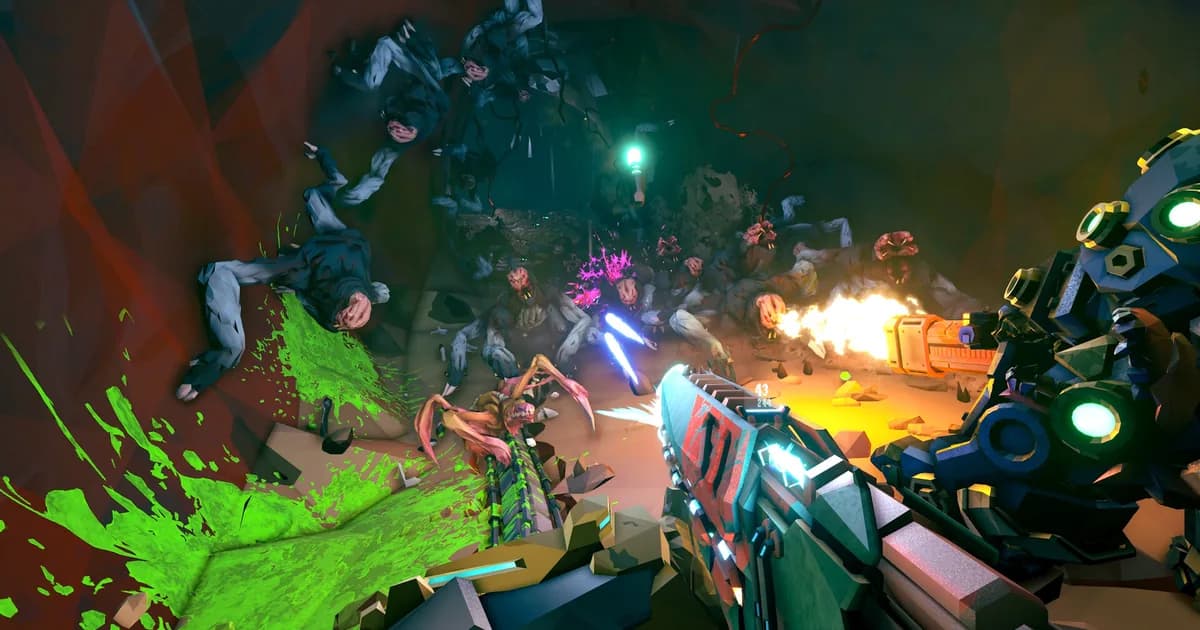
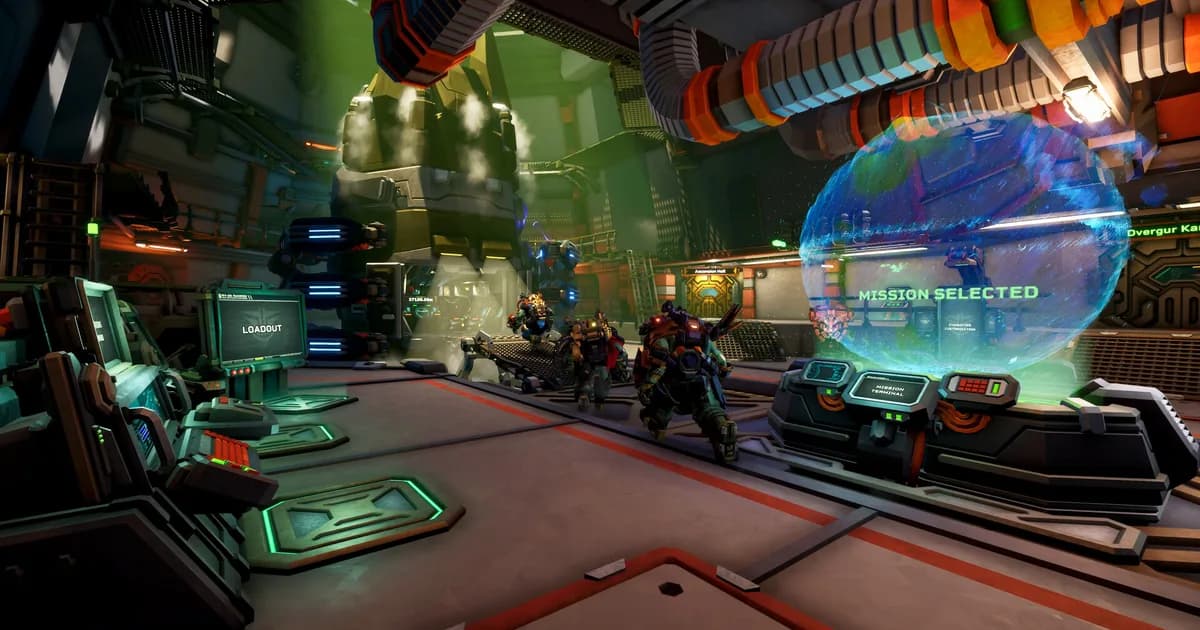
Screenshot: Steam store page, Deep Rock Galactic: Rogue Core (Ghost Ship Games)
Weapons: take what the crate gives you
You don't choose a loadout in Rogue Core. Reclaimers drop in with their gauntlet and pickaxe, and a crate past the Greyout Barrier gives each dwarf one weapon and one support tool. Better ones show up at Workbenches, through Risk Vectors and in crates deeper down.
So you don't build the Slicer around a gun. If the crate hands you a shotgun like the Jury-Rigged Boomstick or the Warthog, great: it fits the range you're already fighting at. If you get a rifle, use it to soften targets on the way in and save Slice for the finish.
Positioning
Melee range is dangerous range. Every enemy that reaches you is a threat, so shape fights before you swing. Pull swarms into corridors and doorways where they arrive in a line, and Slice the line. In the open, wait for the group to bunch up, swing once, then Blitz back out.
In co-op, call your swings. A Guardian's Concussive Barrage stuns a cone for six seconds, which is a free window to walk in and Slice. Our co-op team builds put the Slicer next to a Guardian for exactly that reason.
Our take
The Slicer is the most satisfying Reclaimer when it works and the most punishing when it doesn't. Build Slice damage first, take Carnage for the cooldown refunds, and never spend your last Blitz going in. If you keep dying in melee, it's positioning, not the build.
Frequently Asked Questions
How much damage does Slice do? 560, ignoring armour, with a 1.5-second stun. Tempered Core adds +140.
What's the best Slicer build? Tempered Core and Eclipse System at the Workbench, Carnage at Bio-Boosters.
Is the Slicer good solo? Yes, with care. Keep Blitz up for escapes and fight near corridors.
Can I pick the Slicer's weapon? No. The starting crate gives each dwarf a weapon. A shotgun fits the Slicer if you get one.
What do Blitz and Shield Belt do? Blitz is a four-second-cooldown dash. Shield Belt blocks ranged attacks for 15 seconds on a 90-second cooldown.
Related Reading
- DRG Rogue Core Classes Guide: all five Reclaimers side by side.
- DRG Rogue Core Upgrade Progression Guide: how Expenite upgrades and Artifacts are drafted.
- Deep Rock Galactic Rogue Core Guide: how a run works and every update.
- DRG Rogue Core Guardian Build: the stun partner for a Slicer.
- DRG Rogue Core Falconer Build: Shock Drone, Thunder Rod and the revive.
- DRG Rogue Core Spotter Build: Crit Darts on the ground.
- DRG Rogue Core Retcon Build: Rewind and Rage.
- DRG Rogue Core Roadmap 2026: what's shipped and what's next.
References
- Rogue Core: Slicer (official wiki): Slice, Blitz, Shield Belt, decks and Workbench upgrades
- Rogue Core: Equipment (official wiki): starting crate and weapon list
- Deep Rock Galactic: Rogue Core on Steam: official Early Access page
- Deep Rock Galactic: Rogue Core is $29.99 on Steam. Eneba (sponsored) sells Steam keys for PC.
Was this guide helpful?
About the author

GameBrief's byline for metroidvanias, RPGs, comparisons and design history. Places each game in its genre and argues both sides before picking one.
- Metroidvanias and RPGs
- Comparisons and design history
- Sources listed per article
Keep reading
DRG Rogue Core Falconer Build: The Co-op Anchor Class
Guides · 7 min
DRG Rogue Core Guardian Build: Seismic Crowd Control
Guides · 8 min
DRG Rogue Core Spotter Build: Crit Darts on the Ground
Guides · 6 min
DRG Rogue Core Retcon Build: The Rewind-Rage Tank Loop
Guides · 6 min
DRG Rogue Core Team Compositions: Best Co-op Squads
Guides · 7 min
DRG Rogue Core Classes: All 5 Reclaimers Explained 2026
General · 10 min
Sponsored
Disclaimer
This article is published for informational and entertainment purposes. It does not constitute professional financial, legal, or technical advice. Game performance, online services, patch schedules, and store listings change. Verify critical details (pricing, system requirements, regional availability) with publishers and storefronts before you buy. Affiliate links, where present, help support our editorial work and are labelled in our affiliate disclosure.
Comments
Loading comments…