
GuideSunderfolk
Sunderfolk Rogue Guide: Stealth Builds and Tips 2026
The Sunderfolk Rogue is C tier in most players' hands. It's technically one of the strongest classes in the game. The gap between those two statements is the reason this guide exists.
Sponsored

About the game
Sunderfolk
Secret Door · Dreamhaven
Updated 2026-10-05: Corrected the Berserker synergy description to use the documented damage-triggered Rage window rather than an adjacency-based passive.
One correction up front, since it's a common misconception: the Rogue does not have a flanking or backstab mechanic. There's no facing-direction bonus, no side-or-rear-tile damage. If a guide describes attacking from an enemy's "flank angle" as the Rogue's core mechanic, it's wrong. The real mechanic is Shroud, a passive buff you earn by disengaging from monsters, and it's a timing puzzle, not a spatial one.
The problem isn't the class mechanics. It's that every Rogue turn requires knowledge you don't have yet on your first few runs: which cards let you disengage safely, which enemies punish you for staying adjacent, and when to spend Shroud versus hold it for the next attack. Without that knowledge, the Rogue underperforms. With it, the Rogue has the highest burst damage ceiling in the game.
Updated 2026-10-05: Corrected the linked Pyromancer advice to describe Firepower setup and area attacks, not an unsupported fire-spread mechanic.
TL;DR: Rogue is C tier for most players, stronger for experienced ones. The core mechanic is Shroud: end your turn away from monsters to gain it, then spend it on a bonus-damage attack and a free block on the next hit you'd take. There's no flanking or facing-direction mechanic, despite what some guides claim. Requires reading the encounter before acting: takes 3-5 runs to develop. Pair with Bard (Two-Step swaps can pull you out of melee) and Berserker (holds enemies so you can disengage safely). Don't pick it for your first run.
BESTPRICE: Want Sunderfolk? These stores list it: Buy on Eneba → Buy on Humble Bundle → Buy on Loaded → Buy on Gameseal → Buy on Kinguin →
Sunderfolk Rogue: quick answer
The Rogue's core loop is disengage, then strike. Its Cloak and Dagger passive grants Shroud whenever you end a turn not adjacent to any monster. Shroud adds flat bonus damage to your next attacks and blocks the next hit you'd take, once, then it's gone. Several of the Rogue's best cards (Slice Twice, Sneak Attack) scale directly off having Shroud active; others (Isolate, Sense Weakness, Soulthieve) reward different conditions, like being the only character next to a target or attacking a debuffed enemy, that stack on top of the Shroud bonus.
There's no ability that changes based on which direction an enemy is facing. When those Shroud and positioning windows line up, the burst output exceeds every other class. When they don't, the Rogue deals weak damage and takes hits it can't absorb.
C tier for most players. The class works exactly as designed. The design just demands timing and encounter knowledge most players don't have until their third or fourth run.
GODEEPER: Where the Rogue sits in the full class rankings, and which classes have a lower skill floor for players who want a different challenge. Sunderfolk Class Tier List: All 7 Heroes Ranked 2026 →
Sponsored

Key takeaways
- Rogue is C tier for beginners, significantly higher for experienced players
- Core mechanic: Cloak and Dagger passive grants Shroud when you end a turn away from monsters; Shroud adds flat bonus damage and blocks the next hit taken, once
- No flanking or facing-direction mechanic exists, despite some guides claiming otherwise
- Card bonuses come from separate conditions: Shroud active (Slice Twice), solo adjacency (Isolate), debuff count (Sense Weakness), buffs stolen (Soulthieve)
- Requires 3-5 runs to develop the timing and card-priority knowledge to play well
- Best party: Berserker or Vanguard (frontline), Bard (Two-Step and note-card buffs), Rogue
- Update 2.0 added the Vanguard: its Knockback abilities can clear enemies off the Rogue so it can disengage safely
- Not recommended for first-run players; Berserker or Ranger first
Step-by-Step: The Rogue's Disengage-and-Strike Rotation
1. End your turn away from every monster: Cloak and Dagger, the Rogue's passive, grants Shroud only when you end a turn not adjacent to any enemy, so plan your last move around that condition, not just your attack.
2. Pick your target before committing cards: Isolate rewards being the only character adjacent to the target, and Sense Weakness rewards attacking a debuffed target, so scan the room for whichever condition is actually available this turn instead of defaulting to the same card every time.
3. Approach with a teleport card, not a walk: Sneak Attack or Smoke and Mirrors close the distance without spending a movement card or walking through a danger zone.
4. Attack while Shroud is active: Slice Twice's second hit and several other cards deal bonus damage specifically when you're holding Shroud, on top of whatever other bonus that card checks (solo adjacency, debuff count, buffs stolen).
5. Watch for the Rampager's Retaliation before a multi-hit card: Myriad Blades' three separate hits can each trigger a nearby Rampager's counter, stripping Shroud mid-combo, so confirm no Rampager is adjacent to an ally about to take damage first.
6. Disengage back out of melee: Cards like Slice Twice include an end-of-sequence move specifically so you can attack and then leave adjacency, resetting the Shroud clock for next turn.
7. Cull non-Shroud cards at the Forge between runs: Greed is Good and Pennypinch deal flat damage with no Shroud scaling or debuff/buff condition, so they're the first cards to drop once better options appear.
How stealth and Shroud actually work
The Rogue's passive is called Cloak and Dagger. It triggers at the end of your turn when you are not adjacent to any monster. When that condition is met, you gain Shroud.
Shroud has two effects. It negates the next instance of damage you take, acting as an automatic block that then removes Shroud. While Shroud is active, your attacks deal flat bonus damage: +2 at the base passive level, scaling to +3 and +4 with upgrades.
This changes how you think about positioning. Shroud is not an activated ability you pop for protection. It's a reward you earn by ending your turn away from enemies. The rotation is: end your turn not adjacent to any monster to gain Shroud, attack on your next turn while Shroud is active for the bonus damage, then disengage back out of melee range to gain Shroud again on the following turn end. Staying adjacent to enemies after you attack costs you the next Shroud window.
Here's a myth worth correcting directly, since it shows up in some other guides: the Rogue has no flanking or backstab mechanic. There's no bonus for attacking from a side or rear tile, and nothing in the kit reads an enemy's facing direction. Each card's bonus condition is specific and unrelated to positioning-relative-to-facing: Isolate checks whether you're the only character adjacent to the target, Sense Weakness checks the target's debuff count, Soulthieve checks buffs you can steal, and several cards (including Slice Twice's second hit) check whether Shroud is currently active. Good Rogue play is about timing these conditions and your own disengage rhythm, not about circling behind enemies.
Shroud is a setup tool, not a survival tool. The damage negate is real and useful, but using it defensively means you've broken your turn rotation. Disengage from melee at the end of each turn to restore Shroud, attack with the bonus active on your next turn, repeat. That's the cycle.
What breaks Shroud, and the Rampager problem
Shroud ends when you take damage, not when you attack. Taking a hit from any source strips it: a direct attack, a retaliation counter, an environmental hazard like fire tiles or boom shrooms. Most Rogue attacks do not break Shroud because you're the one dealing damage, not receiving it. One explicit exception: Sneak Attack deliberately consumes Shroud as part of triggering its Stun effect. That's by design.
Area-of-effect abilities from enemies don't check whether you're being targeted. If an enemy plays a card with a burst radius that covers a tile you're on, Shroud breaks before you can act. You're now without the damage negate and without the bonus for your upcoming attacks.
The Rampager enemy is the specific threat to understand. It has a Retaliation passive that fires a counter-hit when adjacent units take damage. In practice: if the Rampager is next to an ally who takes damage, the counter fires. If you're within the counter's range at that moment, you take incidental damage and Shroud breaks. This is especially punishing during multi-hit card sequences, because each hit is a separate damage instance the Rampager can counter. Avoid staying adjacent to Rampagers while allied units are absorbing hits nearby.
The fix for both scenarios: read enemy card telegraphs before moving. If an enemy has a burst or AoE indicator queued, treat those tiles as unsafe regardless of Shroud. Shroud absorbs one hit, but absorbing an incidental hit means you've lost the Shroud bonus on your attack and will need another full turn end away from enemies to regain it.
In Cycle 2 and higher, elite enemy variants often have upgraded attack patterns with wider coverage than their Cycle 1 equivalents. Reassess your positioning plans at the start of each new cycle.
Reading the room: the Rogue's actual skill requirement
Every class benefits from reading the room. The Rogue requires it more than most, because its output depends on a timing window (Shroud) that has to be managed turn over turn, not a single positioning decision.
Before your first card play each encounter:
- Where is each enemy, and is it close enough to threaten the hex you'll end your turn on?
- Which of your cards can attack and disengage in the same play, versus needing a separate move?
- Is there a target that's debuffed (for Sense Weakness) or one you can isolate from allies (for Isolate) this turn?
- Which turn is the burst combo firing on? (Turn 1 setup, turn 2 burst, or multi-turn setup?)
This analysis feels slow at first. By your fourth or fifth run, it happens passively: you see the encounter layout and the Shroud-and-attack plan forms in your head before you've played a card. The skill ramp is steep but it has a defined end point.
The Arcanist needs similar planning but benefits when positioning is wrong: a misplaced teleport still moves something. A Rogue that attacks without Shroud active, or ends its turn adjacent to a monster by mistake, deals weaker damage and loses the block on the next hit it takes.
Card priority: positioning first
Disengagement cards are the foundation. Cards that let you attack and then move away from enemies are how you end each turn away from melee to regain Shroud. Cards like Slice Twice include end-of-sequence movement specifically for this: you attack, the card moves you back out, and you end the turn not adjacent to anyone. Without this, you're either spending a separate movement card to disengage or losing Shroud because you stayed too close.
Shroud and condition cards are the payoff. These are the burst cards that deal bonus damage from Shroud plus a card-specific condition: Sneak Attack (Stun, consumes Shroud), Isolate (solo adjacency), and Sense Weakness (debuff count) are the top tier. Keep them in your hand and build the turn around them.
Teleport cards serve double duty. They close distance without spending a movement card, and some (Sneak Attack, Smoke and Mirrors) deliver debuffs in addition to the repositioning. Against enemies with wide attack patterns where regular movement would put you in a danger zone, teleporting straight to the target skips the unsafe path entirely.
What to cull at the Forge: Greed is Good, Pennypinch, and any card that deals flat damage with no Shroud scaling or debuff/buff condition. The Rogue's damage ceiling comes from Shroud uptime plus these card-specific bonuses stacking. A card that deals damage regardless of Shroud or target state adds less than any card that improves the stack.
Between dungeons, the Rogue benefits most from card pool refinement at the Forge. Removing weak non-Shroud cards improves the odds of drawing what you need for the disengage-and-strike rotation.
Sunderfolk Rogue cards: what each one does
All nine base Rogue skill cards are on the wiki. Understanding what each card does and when to use it is the difference between building a coherent deck and hoarding everything. Here's the breakdown:
Slice Twice is the workhorse sequence: move 3, attack for 2, then attack for 4 (+2 bonus with Shroud), move 1. The second hit gets the Shroud bonus if you still have Shroud at that point. Shroud persists through both hits unless you take damage in between, so this card reliably delivers the flat bonus on the big hit.
Sneak Attack is the highest-burst single card: teleport 3, attack for 5 (triggers Stun and deliberately consumes Shroud if Shroud is active), move 1. This is the one card that intentionally burns your Shroud as the Stun activation cost. Worth it in the right situation: a Stunned enemy loses its next turn, which extends your safe repositioning window by one full round. Use it when Stunning an enemy matters more than saving Shroud for the next turn.
Isolate rewards solo positioning: move 4, attack for 3 (+3 bonus if you are the only character adjacent to the target). The +3 triggers when no ally stands adjacent to that enemy, including other Heroes, Allies, and Monsters. In practice this rewards picking off a target your teammates aren't already engaging.
Myriad Blades deals sustained multi-hit damage: repeat three times (attack for 2 inflicting Weak 1, then teleport 2). Six total actions across one card. The Rampager's Retaliation is dangerous here because each of the three damage instances is a separate trigger for the counter. Use this card when the Rampager isn't adjacent to anything that will take allied damage.
Soulthieve scales with team debuff application: move 4, steal buffs from an adjacent character, attack for 3 (+2 per buff stolen, max 3 buffs), then lose all stolen buffs. Maximum bonus is +6 additional damage if you steal 3 buffs simultaneously. Stealing from an allied Vanguard or Bard who has built up stacks can make this hit exceptionally hard. Stealing from an enemy works differently, removing their buff and adding to your damage.
Sense Weakness punishes debuffed enemies: teleport to a debuffed character within range 5, attack for 4 (+2 per debuff on the target), then attack for 2. The +2-per-debuff bonus has no stated cap, so teams that apply multiple debuffs (Weak from Myriad Blades, Blind from Smoke and Mirrors, Stun from Sneak Attack) can create turns where this card hits for significantly more than its base.
Smoke and Mirrors applies Blind to the first target, then teleports you and summons a Decoy (an allied unit with 1 HP that attacks a random adjacent monster for 3 damage). Useful for creating a damage buffer and adding a hit to adjacent enemies, but the randomness of the Decoy attack limits how much you can plan around it.
Greed is Good and Pennypinch are loot economy cards built around gold and object interaction. They see limited use as main combat cards; treat them as situational draws in rooms with many objects rather than keeping them as consistent combat pieces.
The priority for building a deck: Slice Twice, Sneak Attack, Isolate, and Sense Weakness form the core of a Shroud-focused burst build. Myriad Blades adds sustained damage for longer fights. Soulthieve is your high-variance ceiling card when team buffs are available. Cull Greed is Good and Pennypinch unless you're running a specific loot build.
Party synergies
Rogue plus Berserker: The Berserker holds enemy attention at the front while the Rogue works from elsewhere on the grid. Protector's Fury grants Rage for one round when the Berserker takes damage, increasing damage and reducing incoming damage during that window. This is the clearest Rogue synergy in the game: frontline occupation frees the Rogue to disengage and reposition without being the thing enemies are chasing.
Rogue plus Bard: Music notes come from the Bard's Two-Step swap or specific Bard cards, not from ordinary movement, so this pairing depends on the Bard choosing to generate a note where the Rogue can use it rather than it happening automatically. A Strengthening note picked up along the way adds to whatever bonus the attack card itself grants (Isolate, Sense Weakness), and since the note isn't an ally standing adjacent to the target, it doesn't cost Isolate its solo-adjacency bonus. Two-Step itself can also physically place the Rogue: a Bard who swaps with the Rogue can drop it onto a safe tile or pull it out of melee, without the Rogue spending its own movement cards. There's a tension at mid-game and beyond, though: the Rogue needs to end turns away from enemies to regain Shroud, while the Bard's Two-Step works best swapping into the middle of the fray where the rest of the team is clustered. A Two-Step that swaps the Bard into the Rogue's safe backline tile also swaps the Rogue into melee, costing it that turn's Shroud window. In Acts 2 and 3, this timing conflict becomes more pronounced, and the Rogue will sometimes have to choose between picking up a note and disengaging on schedule. This doesn't kill the pairing, but it's worth knowing the friction exists before you build around it.
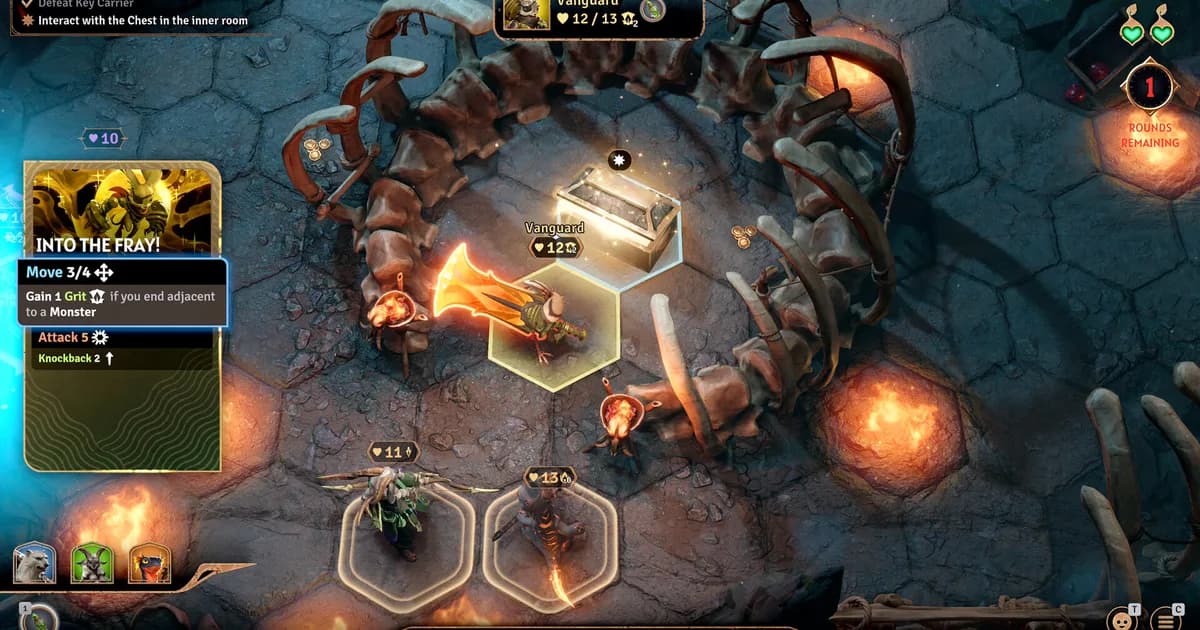
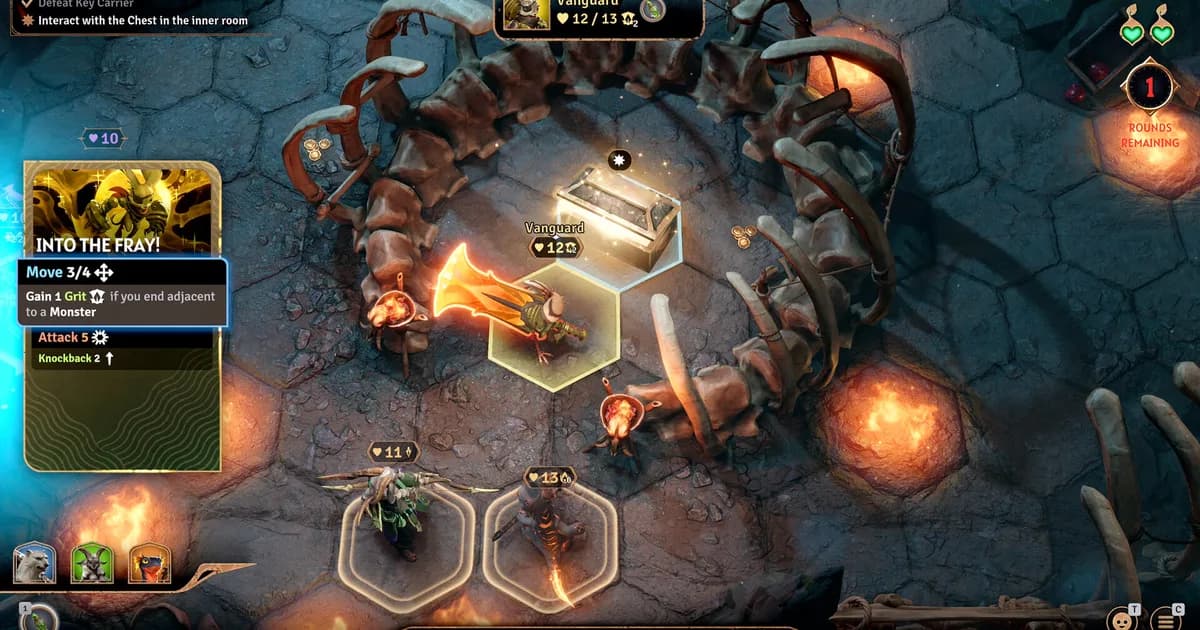
Rogue plus Vanguard: Update 2.0 added the Vanguard with Knockback abilities that change how the Rogue's turns go. Where the Berserker holds enemies in place by being adjacent to them, the Vanguard's Knockback cards physically move enemies away. Cards like Into the Fray move the Vanguard into melee range and Knockback the target 2 hexes. A knocked-back enemy is farther from the Rogue, which can be exactly what's needed to end a turn clear of every monster and regain Shroud without spending a movement card of its own.
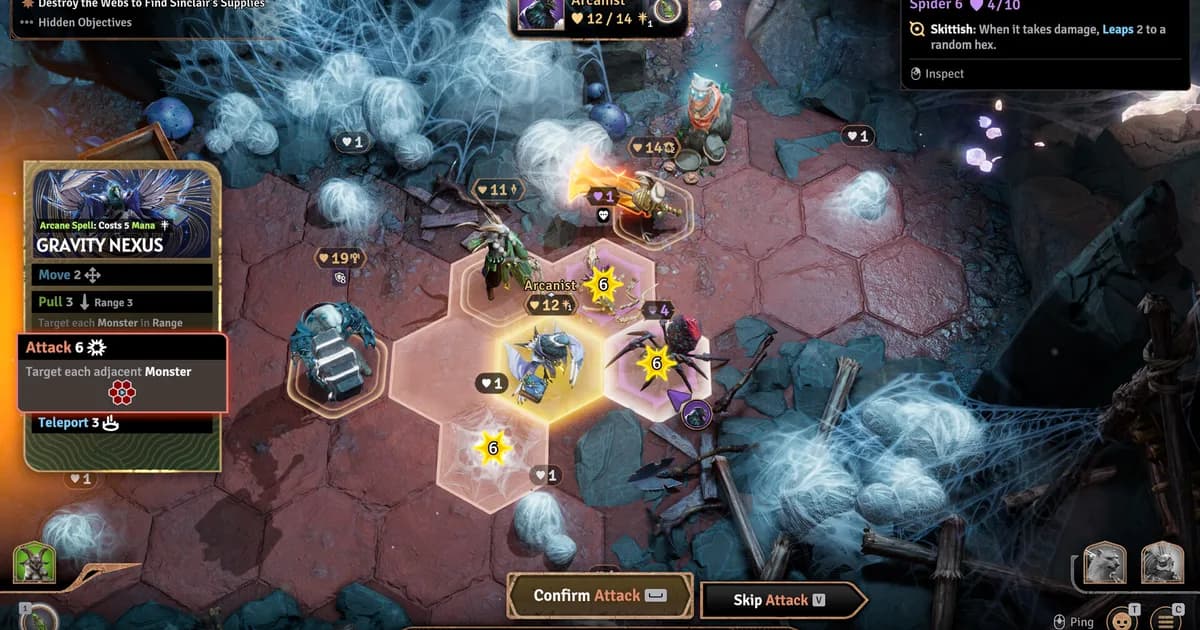
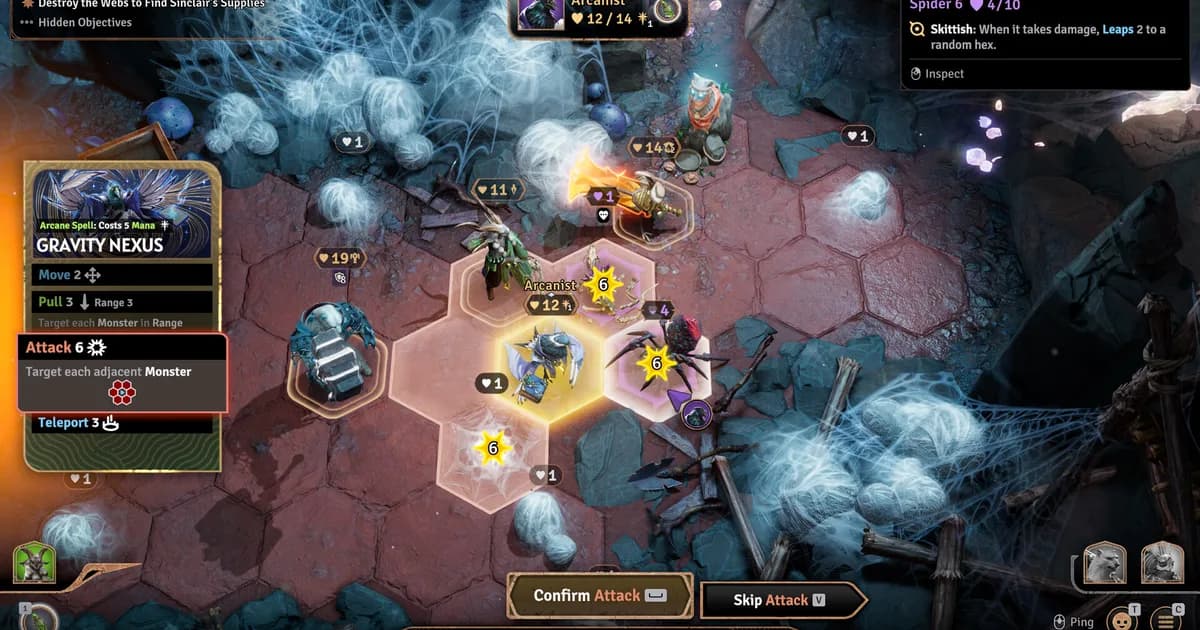
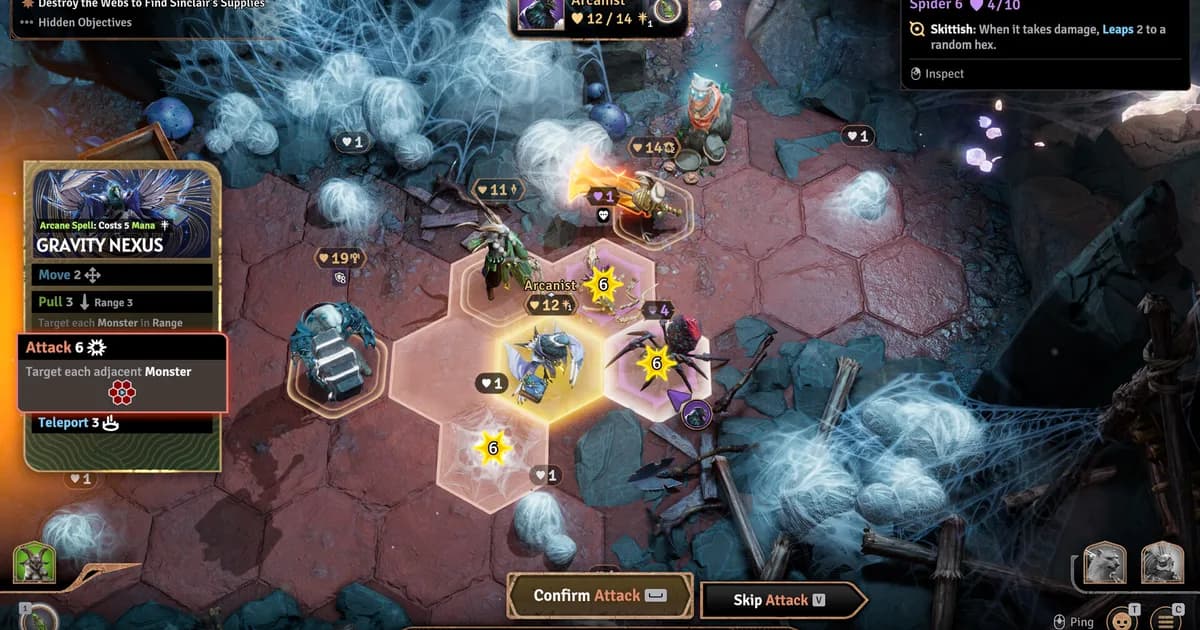
Rogue plus Arcanist: The Arcanist's Gravity Nexus card pulls nearby enemies toward the Arcanist's own position, clearing them away from wherever the Rogue is standing. Like the Vanguard's Knockback, this can open up a clean disengage for the Rogue by relocating the threat rather than the Rogue having to move around it. It's a control tool that supports the Rogue's Shroud timing, not a way to set up a facing-direction bonus that doesn't exist.
Four-player: Berserker, Bard, Rogue, plus one: This is the strongest Rogue configuration. Berserker holds the frontline, Bard uses Two-Step and note cards for buffs and positioning aids, Rogue works the Shroud cycle, and the fourth class handles whatever damage role the group needs. Arcanist in the fourth slot adds Gravity Nexus pulls that clear space for the Rogue. Vanguard in the fourth slot gives a second Knockback option for the same purpose, particularly useful when the Arcanist isn't in the party.
The configuration to avoid: Rogue without a frontline. Ranger, Arcanist, and Rogue without a Berserker or Vanguard means nobody is holding enemy attention while the Rogue tries to disengage. Enemies stay adjacent, Shroud doesn't refresh, and the whole rotation stalls. Running Rogue alongside another fragile backline class, like Pyromancer, without a frontline to absorb attention is the most common party mistake for groups trying the Rogue early.
GODEEPER: How Two-Step and specific Bard cards generate music notes near the Rogue's setup, and why Bard-Rogue is a strong but timing-sensitive two-class synergy for experienced players. Sunderfolk Bard Guide: Music Note System and Best Builds →
Rogue in solo play
Solo mode gives you two heroes. Rogue plus Berserker is the functional pairing: the Berserker holds enemies in place while you control the Rogue to disengage and strike. The mechanical overhead is high because you're managing both heroes simultaneously. The Berserker needs to be adjacent to enemies; the Rogue needs an open hex away from every monster to end its turn on; those requirements often pull you in different directions on each turn.
It works after you know the class well. It's not a solo starting point.
Solo Rogue plus Bard also works and is arguably more interesting: the Bard can Two-Step the Rogue directly out of melee to refresh Shroud, saving the Rogue a movement card in the process. But Bard plus Rogue solo lacks a true frontline, which means encounters with multiple enemies attacking from different angles put pressure on both your heroes at once.
For players new to the Rogue: don't start with solo. Play the Rogue in a full group first where someone else holds the frontline and your only job is positioning and attacking.
How the Sunderfolk Rogue scales across cycles
The Rogue's advanced cards and passive upgrades don't unlock until Cycle 2 or Cycle 3. This is the mechanical reason why the class feels inconsistent for players on their first run and dramatically stronger for players who have put in more time: they're literally playing with a different card pool.
In Cycle 1, the Rogue's available cards are the foundational stealth and Shroud-scaling set. These work, but the ceiling is limited. Most of the cards that make experienced players describe the Rogue's burst output as "the highest in the game" are locked behind cycle progression. Until you've completed the story and pushed into further cycles, you're playing a deliberately capped version of the class.
Cycle 2 introduces two changes that affect the Rogue specifically. First, the advanced card pool starts opening up, giving you access to higher-impact stealth and burst options. Second, elite enemy variants begin appearing. Elites use upgraded versions of the same attack patterns you learned in Cycle 1, often with wider coverage or additional modifiers. The disengage windows that work cleanly in Cycle 1 become more demanding against elites, because the upgraded AoE patterns require you to account for larger threat zones while repositioning.
The practical advice for Rogue players entering Cycle 2: prioritize card pool refinement at the Forge before anything else. You'll have new cards available that outperform the ones you've been running. A Cycle 2 Rogue deck that hasn't been updated since Cycle 1 is weaker than it should be, not because the class scaled poorly but because the card draws are suboptimal for what the class can now do.
The Rogue rewards returning players more than any other class in the game. If the Rogue felt weak on your first run, that's accurate. Come back after Cycle 1 and you'll be playing a different version of it.
Sunderfolk Rogue: room shape and Shroud uptime
The Rogue's core requirement, ending your turn on a hex not adjacent to any monster, is affected by how much open space a room actually has. This isn't officially documented anywhere, so treat the following as a practical read on the mechanic rather than confirmed developer guidance.
Tight, crowded rooms: These can be harder for the Rogue, not easier. If most of a room's hexes fall within some monster's adjacency range, finding a tile to disengage onto costs more movement. A Vanguard Knockback or Arcanist Gravity Nexus pull that clears space around you is worth more here than in an open room, since it's actively creating the empty hex Cloak and Dagger needs.
Open rooms: More hexes usually means more places to retreat to after attacking, which makes the disengage half of the rotation easier. The tradeoff is enemies have more paths to close distance back onto you before your next turn, so Shroud can still break if you don't retreat far enough.
Boss rooms: Variable, and depends on the specific boss's attack range and AoE size rather than any general rule. A boss with a large melee or cone attack shrinks the pool of safe disengage tiles the same way a crowded room does. Multi-phase bosses can shift this mid-fight as their attack patterns change.
The practical read: before committing a Rogue turn, check how many open hexes actually exist away from every monster, not just how big the room looks. A visually spacious room can still be hostile to Shroud uptime if enemies are spread out and covering most of the exits.
When to pick (and skip) the Rogue
Pick the Rogue when: You've completed at least two or three runs with other classes and you understand the Shroud rhythm. Specifically: you can plan a disengage before you commit an attack card, you know which cards check which conditions (Shroud, solo adjacency, debuff count), and you have a group with at least one frontline class.
Skip the Rogue when: It's your first run. You don't have a frontline (Berserker or Vanguard). Your group already has another fragile backline class like Pyromancer without sufficient frontline coverage. Or when you want consistent damage output: the Rogue's variance is high. On turns where Shroud breaks early or you can't find a card to disengage with, your damage output drops significantly.
The Rogue is a reward for learning the game, not a shortcut through it. Berserker first, Ranger second, Rogue after that.
Couch co-op hero selection happens on each player's own phone, while the shared TV screen shows the battle in progress.
Related Reading
- Sunderfolk Complete Guide: All 7 Classes 2026: full party composition at every group size, where Rogue fits in the class rankings, and which groups benefit most from experienced Rogue players.
- Sunderfolk Class Tier List: All 7 Heroes Ranked 2026: C tier explained, and why C tier underrepresents the Rogue's true ceiling for experienced players.
- Sunderfolk Bard Guide: Music Note System and Best Builds: how Two-Step swaps can pull the Rogue out of melee to refresh Shroud, and why Bard-Rogue is a high-value but timing-sensitive pairing.
- Sunderfolk Berserker Guide: Protector's Fury and Best Builds: how the Berserker holds enemy attention so the Rogue can disengage freely, and adjacency mechanics that interact with Rogue positioning.
- Sunderfolk Ranger Guide: Range Builds and Party Tips 2026: the other backline class, how Ranger's consistent single-target output compares to Rogue's burst-dependent damage, and when to pick each.
- Sunderfolk Vanguard Guide: Grit, Retaliation, Best Builds: Sunderfolk Vanguard guide: the Update 2.0 retaliation tank with Grit passive and conditional retaliation. Best builds,....
- Sunderfolk Arcanist Guide: Teleport Builds and Tips 2026: Sunderfolk Arcanist guide: teleport repositions enemies and allies.
- Sunderfolk Pyromancer Guide: Fire Builds and AoE Tips 2026: Sunderfolk Pyromancer guide: Firepower fuels area damage, but the class is fragile.
- Sunderfolk Online Co-op Guide: Setup, Fixes, and Party Tips: Sunderfolk online co-op supports 1-4 players on Steam and Epic.
References
- Sunderfolk on Steam: official store page, patch notes, and class balance updates from Secret Door
- Sunderfolk Wiki: Rogue: authoritative card data including all 9 base skill cards, Cloak and Dagger passive details, and Shroud mechanic specifics
- r/Sunderfolk: community Rogue build discussions, Shroud mechanic threads, and Rampager counter interaction reports
Frequently Asked Questions
Is the Rogue good in Sunderfolk? C tier for most players, significantly higher for experienced ones. The burst damage ceiling from a well-timed Shroud rotation is the highest in the game. The problem is that keeping Shroud active consistently requires encounter knowledge that takes multiple runs to develop. Once you have it, the Rogue performs above its tier ranking.
How does the Rogue's stealth work? The passive is Cloak and Dagger. It grants Shroud when you end your turn not adjacent to any monster. Shroud negates the next damage hit you take and adds flat +2/+3/+4 damage to your attacks while active (scaling with passive upgrades). Shroud breaks on damage taken, including AoE and environmental sources. Sneak Attack intentionally consumes Shroud to activate its Stun effect.
Does the Rogue have a flanking or backstab mechanic? No. This is a common misconception, including in some other guides. There's no facing-direction or side/rear-tile damage bonus in the Rogue's kit. Its real bonuses come from separate conditions: Shroud active (Slice Twice), solo adjacency (Isolate), debuff count on the target (Sense Weakness), and buffs stolen (Soulthieve).
What's the best Rogue build? Shroud-uptime first. Disengagement cards as the foundation, Shroud-scaling and condition-based burst cards as the payoff, teleport cards to close distance without spending movement. Avoid cards with no Shroud scaling or debuff/buff condition: they contribute less than any card that improves the stack. At the Forge, remove cards that don't contribute to the disengage-and-strike cycle.
What's the best party for Rogue? Berserker or Vanguard (frontline), Bard (Two-Step swaps and note cards for buffs and positioning), Rogue. In a four-player group, add Arcanist or Pyromancer for damage. The Arcanist's Gravity Nexus pulls enemies away from the Rogue, clearing space to disengage. The Vanguard (Update 2.0) uses Knockback for the same purpose. Both help the Rogue find an open hex without spending extra movement cards.
When does the Rogue start working well? After 3-5 runs. The threshold is when the Shroud rotation becomes automatic: you plan your disengage before you commit an attack, and you know which card condition (Shroud, solo adjacency, debuff count) applies each turn. Before that threshold the Rogue underperforms. After it, the burst output exceeds every other class in the right conditions.
Is Rogue good for beginners? No. Berserker or Ranger first. The Rogue requires encounter knowledge that doesn't exist on a first run: which cards let you disengage safely, which enemies to prioritize, and when to hold Shroud versus spend it. That model builds over multiple runs. Come back to the Rogue after.
Was this guide helpful?
About the author

Action & Design Desk
GameBrief's byline for platformers, horror and action games. Dry, short paragraphs, strong opinions about tutorials and boss design.
- Action, platformers and horror
- Tutorials, onboarding, boss design
- Sources listed per article
Keep reading
Sunderfolk Ranger Guide: Range Builds and Party Tips 2026
General · 7 min
Sunderfolk Pyromancer Guide: Fire Builds and AoE Tips 2026
General · 16 min
Sunderfolk Arcanist Guide: Teleport Builds and Tips 2026
General · 13 min
Sunderfolk Vanguard Guide: Grit, Retaliation, Best Builds
Guides · 7 min
Sunderfolk Bard Guide: Music Note System and Best Builds
General · 7 min
Sunderfolk Berserker Guide: Protector's Fury and Best Builds
General · 8 min
Sponsored
Disclaimer
This article is published for informational and entertainment purposes. It does not constitute professional financial, legal, or technical advice. Game performance, online services, patch schedules, and store listings change. Verify critical details (pricing, system requirements, regional availability) with publishers and storefronts before you buy. Affiliate links, where present, help support our editorial work and are labelled in our affiliate disclosure.
Comments
Loading comments…