GameBrief · General
Sunderfolk Berserker Guide: Protector's Fury and Best Builds
Reviewing
Sunderfolk
Secret Door · Dreamhaven
The Sunderfolk Berserker works because there's no gap in its design. Protector's Fury reduces incoming damage and increases outgoing damage at the same time, while adjacent to enemies. You don't choose between hitting harder or taking less damage: you get both by staying where you should be anyway.
That clarity is why Berserker is the recommended first class. Most tactical RPG decisions carry hidden tradeoffs you don't understand until after you've made them. Berserker's main decision is positioning, and the answer is almost always the same: stay in melee, keep the enemy front line engaged.
TL;DR: Berserker is S tier and the best beginner class. Protector's Fury is active when you're adjacent to enemies: damage reduction in, damage boost out. Throw repositions enemies for your team, not just deals damage. Best solo class. Best 2-player pairing is Berserker plus Bard. No healer required.
Sunderfolk Berserker: quick answer
Berserker is S tier and the best frontline class in Sunderfolk. Protector's Fury activates automatically when adjacent to enemies, simultaneously cutting incoming damage and boosting outgoing damage. Self-sustain cards keep the Berserker alive in attrition fights without needing a healer. The throw ability doubles as a positioning tool.
For solo or beginner players, Berserker is the pick. For groups, Berserker fills a role no other class fills as well, and Bard amplifies its output passively.
Key takeaways
- Protector's Fury is a passive, not an activated ability: it turns on when you're adjacent to enemies and turns off when you're not
- Staying in melee is correct almost always. Retreating to "play safe" turns off Protector's Fury, reducing both your damage and your survivability
- The throw is a positioning tool. Use it to move enemies into fire zones, clear flankers from allies, or cluster groups for your own follow-up attacks
- Berserker doesn't need a healer. Self-sustain handles attrition; use your party's other slots for damage or control
- Best 2-player pairing: Berserker plus Bard. Berserker absorbs everything while Bard's notes passively buff both players
- Best 4-player comp: Berserker plus Bard plus Pyromancer plus Ranger covers every role without redundancy
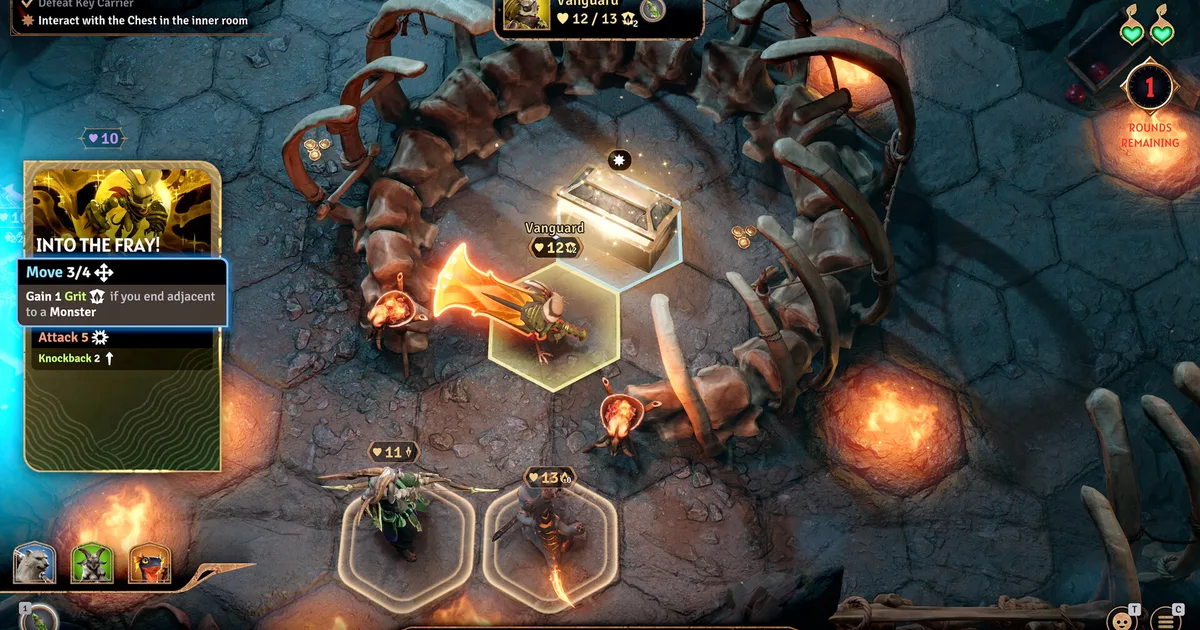
How Protector's Fury works
Protector's Fury is the Berserker's passive ability. It has two simultaneous effects when active: reduced incoming damage and increased outgoing damage. The passive activates when the Berserker occupies a grid tile adjacent to at least one enemy and deactivates the moment the Berserker is no longer adjacent to any enemy.
This creates the Berserker's core loop. You want to be adjacent to enemies. The longer you stay there, the more Protector's Fury is working for you. Retreating out of melee when you take a hit feels like the right defensive play, but it turns off your damage reduction for the next attack you receive. The Berserker's survivability is higher in the front line than behind it.
The tradeoff worth understanding: Protector's Fury depends on enemy positioning. If the enemies are being kited or grouped on the other side of the room, the Berserker temporarily loses both bonuses. This is why the throw ability matters: it brings enemies to the Berserker, or clusters them where Protector's Fury can engage multiple targets at once.
The throw ability: positioning, not just damage
Berserker can pick up and throw enemies. Most players use it as a damage card. That's fine, but the throw's real value is board control.
Move enemies into fire zones. If your party includes a Pyromancer, use the throw to move enemies into active fire patches. Pyromancer sets fire spreads; Berserker delivers the targets. This is one of the highest-value cross-class interactions in the game and requires zero coordination beyond the Berserker knowing where the fire is.
Clear flankers from allies. When an enemy bypasses the Berserker and targets a Ranger or Pyromancer, throw it away from them. The Berserker's range on the throw is enough to remove an enemy from a fragile ally's adjacent tiles. This is the correct use of the throw in the first few turns of any encounter where enemies spread out.
Cluster enemies for follow-up attacks. Throw a distant enemy into melee range to cluster them with targets the Berserker is already hitting. Combined with Protector's Fury, the Berserker in the center of a cluster is in its strongest possible position.
Don't save the throw for when it deals the most raw damage. Use it when it solves a positioning problem, which is usually earlier in an encounter than later.
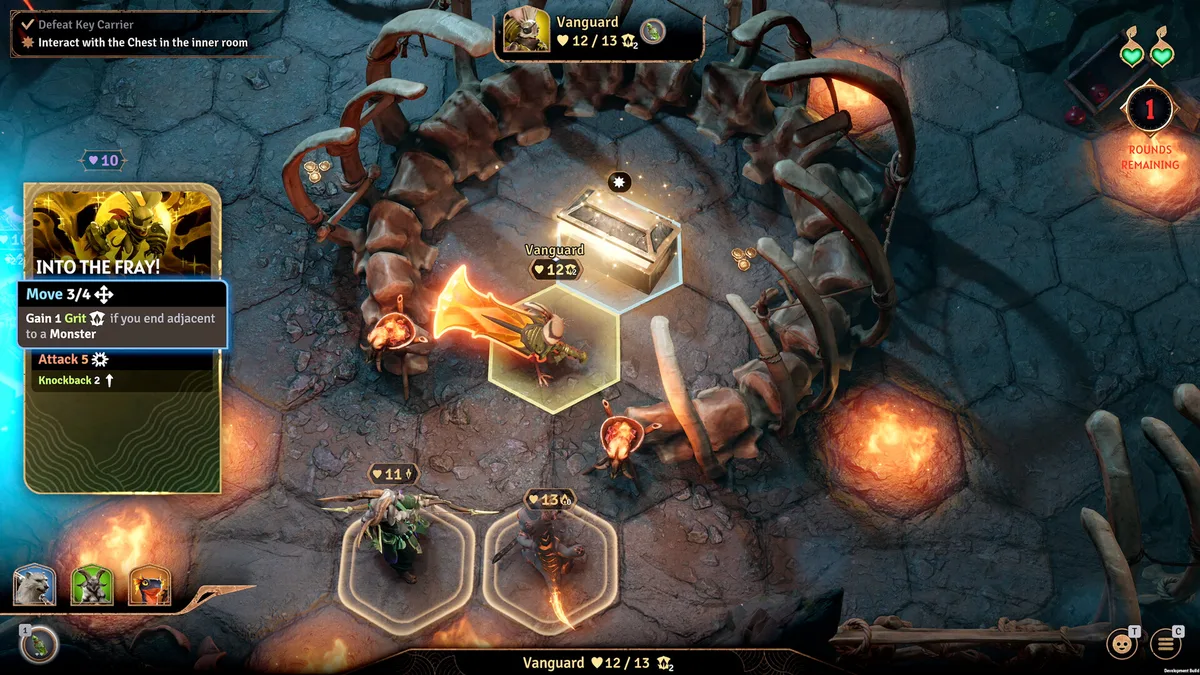
 The throw delivers enemies to where your team wants them. Fire zone, melee cluster, or away from a fragile ally: the use case changes each room.
GODEEPER: Full class tier list with Bard matchup analysis, how the S-tier pair performs in 2-4 player groups, and what changed in patch 2.0.9. Sunderfolk Class Tier List: All 7 Heroes Ranked →
Best Berserker builds
Sunderfolk's card-based system means your build is the cards you select from the Berserker's card pool across a run. The broad build directions:
Melee pressure build. Prioritize cards that deal damage in the adjacent tiles where Protector's Fury is active, and cards that extend the Berserker's ability to stay in melee without going down. Self-sustain cards (health recovery on attack, damage reduction stacks) fit here. This is the standard Berserker build and works in any group composition.
Board control build. Prioritize cards that reposition enemies: throw variants, knockback cards, anything that moves enemy units. This is more valuable in groups with Pyromancer, where the Berserker functions as the delivery mechanism for fire zone damage. Less effective in groups without AoE damage dealers because you're spending card slots on positioning without a partner to capitalize on it.
Mixed build. Split between melee pressure and a few control cards. The most common end state of a first run because Berserker's card pool is good enough that most combinations work, and new players often take whichever looks stronger card by card. This is fine: Berserker's floor is high enough that an unfocused build still clears most encounters.
For a first run: melee pressure build. It's the most self-contained, doesn't rely on teammate positioning, and Protector's Fury's dual benefit means you're effective regardless of how the group plays around you.
Berserker solo play
Berserker is the best solo class. The reason is Protector's Fury's self-sufficiency: damage reduction keeps you alive without a healer, damage boost keeps encounters moving without burst damage from a Ranger or Arcanist, and self-sustain cards extend runs without external support.
Solo encounters scale with player count, so you're not fighting four-player tuned rooms with one character. The scaling brings the difficulty into range, but encounters still require understanding what each enemy type does before committing to a position.
Two specific solo tips: spend early card choices on self-sustain to establish a survivability baseline before committing to pure damage cards, and use the throw proactively to break up multi-enemy approaches before they reach melee range. In solo, an enemy you threw backward is an enemy you don't fight this turn.
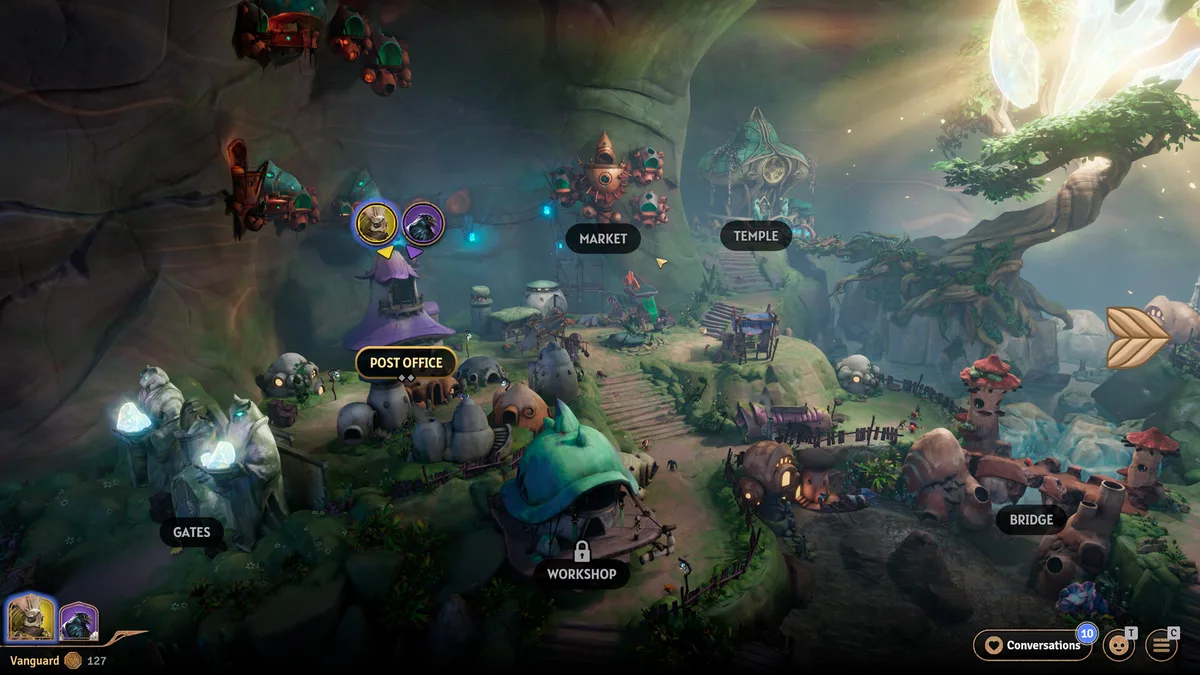
 The overworld progression layer tracks campaign advancement between dungeon runs, unlocking new content as the party completes scenarios.
Berserker in a group
In a group, Berserker's role simplifies: hold the front line, use the throw to support teammates, and let Protector's Fury handle survivability without consuming party resources.
With Bard: The Bard's music notes buff allies who pass through them. Position the Berserker in melee, and the Bard moves each turn to generate note zones on or near the Berserker's tile. Every Bard turn adds passive output on top of Protector's Fury. This is the strongest 2-player pairing in the game.
With Pyromancer: Throw enemies into fire zones. The Pyromancer places fire; the Berserker delivers targets. Keep the Pyromancer behind you and call out when an enemy has flanked and needs removing.
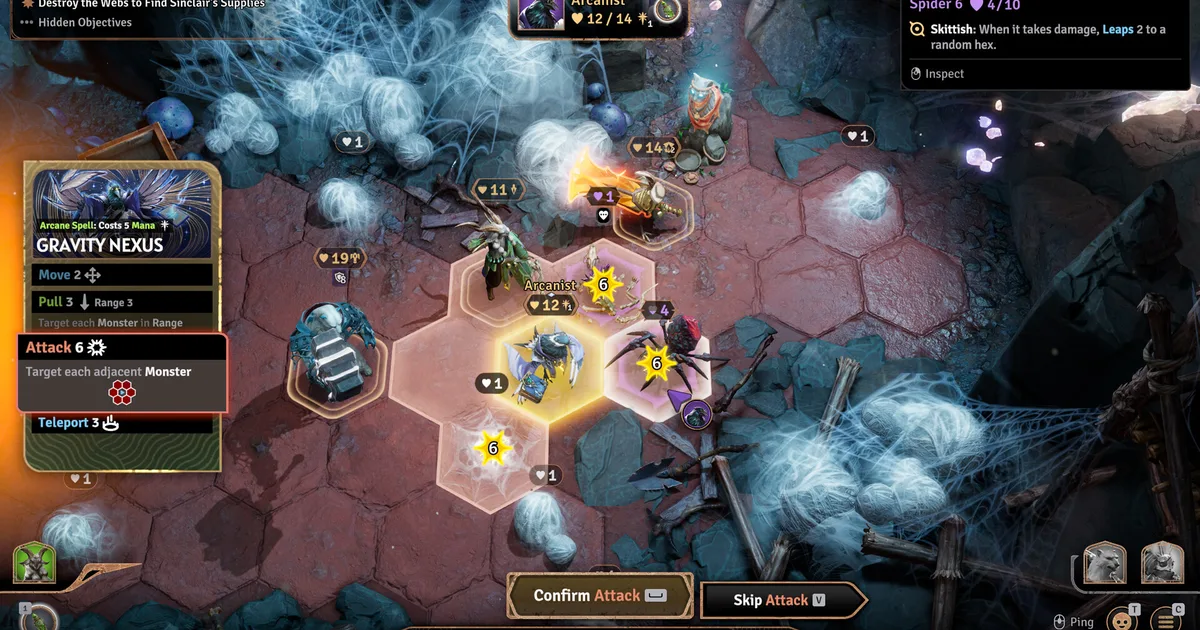
With Arcanist: The Arcanist can teleport enemies into melee range for the Berserker to engage, or teleport the Berserker closer to a priority target. Communication helps: the Arcanist's teleport is more valuable when the Berserker confirms which target they want adjacent.
With Ranger: No specific interaction needed. The Ranger handles ranged priority threats while the Berserker takes everything that reaches melee. The simplest 2-class split in the game.
GODEEPER: The Bard pairing works because of how the note-generation mechanic scales with an anchored frontline. Sunderfolk Bard Guide: Music Notes and Best Builds →
Tips for Sunderfolk Berserker players
Protector's Fury doesn't distinguish between one enemy adjacent and five. If you're adjacent to any enemy, both effects are active. In rooms with dense enemy clusters, staying in the center of a group is often better than targeting one enemy and retreating.
Card hands reset. Don't hoard specific cards thinking you'll need them later. Play the hand you have, solve the current room, and trust the next draw. Holding a self-sustain card in reserve while taking hits is usually worse than playing it immediately and dealing with the next problem fresh.
The throw's range is finite. Check the range indicator before committing to a throw targeting an enemy far from the Berserker's current tile. A throw that doesn't connect because it's out of range burns a card and doesn't accomplish anything.
Related Reading
- Sunderfolk Complete Guide: All 7 Classes, Co-op Tips 2026: full hub with all 7 classes summarized, party compositions by group size, and links to every Sunderfolk guide on the site.
- Sunderfolk Class Tier List: All 7 Heroes Ranked 2026: tier rankings for every original class, Bard vs Berserker matchup analysis, and which class to pick for different group sizes.
- Sunderfolk Vanguard Guide: Grit, Knockback, and Best Builds: the Update 2.0 retaliation tank as a comparison point if you want a different frontline experience after mastering Berserker.
- Sunderfolk Beginner Guide: Best Classes and Party Tips: first-run overview covering class picks, party comp, and the three most common early mistakes.
- Sunderfolk Bard Guide: Music Note System and Best Builds: Sunderfolk Bard guide: music notes drop on movement and buff every nearby ally for free. S tier in....
- Sunderfolk Arcanist Guide: Teleport Builds and Tips 2026: Sunderfolk Arcanist guide: teleport repositions enemies and allies. Pull combos, solo vs party builds, and why patch 2.0....
- Sunderfolk Pyromancer Guide: Fire Builds and AoE Tips 2026: Sunderfolk Pyromancer guide: fire spread hits multiple enemies but the class dies fast. Correct positioning, frontline requirements, and....
- Sunderfolk Ranger Guide: Range Builds and Party Tips 2026: Sunderfolk Ranger guide: A tier ranged damage and traps. How to maintain distance, what to target first, and....
- Sunderfolk Rogue Guide: Stealth Builds and Tips 2026: Sunderfolk Rogue guide: C tier for most players, technically powerful for experienced ones. Stealth, flanking mechanics, and when....
- Sunderfolk Online Co-op Guide: Setup, Fixes, and Party Tips: Sunderfolk online co-op supports 1-4 players on Steam and Epic.
References
- Sunderfolk on Steam: official store page, patch history, developer announcements
- r/Sunderfolk: community builds, patch reaction threads, class discussion
Frequently Asked Questions
Is the Berserker the best class in Sunderfolk? Berserker is S tier alongside Bard. Both are S tier for different reasons: Bard's music notes are the best team multiplier, Berserker's Protector's Fury makes it the best frontline. For solo play or a first run, Berserker is the stronger recommendation because its value is self-contained and doesn't depend on reading teammate positioning.
What does Protector's Fury do? Protector's Fury is the Berserker's passive. It reduces incoming damage and increases outgoing damage when the Berserker is adjacent to at least one enemy. Both effects are active simultaneously. The passive turns off when the Berserker isn't adjacent to any enemy, so retreating is actually less safe than staying in melee.
What is the best Berserker build? Melee pressure build for most players: prioritize cards that deal damage in the adjacent tiles where Protector's Fury is active, plus self-sustain cards that extend survivability without a healer. Board control build works better in groups with Pyromancer where the Berserker throws enemies into fire zones.
Is Berserker good for solo play? Berserker is the best solo class. Protector's Fury handles damage reduction without a healer, and self-sustain cards handle attrition. The encounter scaling for solo is designed to be completable by the Berserker's kit without party support.
What does the throw ability do? Throw picks up an enemy and repositions it. The primary uses: move enemies into Pyromancer fire zones, throw flankers away from fragile allies, or cluster enemies into melee range for the Berserker's Protector's Fury. It's a board-control ability. Use it when positioning needs fixing, not when it deals the most raw damage.
Does Berserker need healing in Sunderfolk? No. Protector's Fury's damage reduction and self-sustain cards handle attrition. This frees the rest of the party from dedicating card slots to keeping the frontline alive. Bard's music notes passively buff Berserker output, but healing is not required to complete a run with the Berserker as your frontline.
Was this guide helpful?
About the author

Senior Critic & Analyst
Former game data analyst turned critic with 11 years covering indie and mid-tier games. Based in Austin. Runs spreadsheets on games most people just play.
- 11 years games criticism
- Former game economy analyst
- Roguelike and strategy specialist
Keep reading


Disclaimer
This article is published for informational and entertainment purposes. It does not constitute professional financial, legal, or technical advice. Game performance, online services, patch schedules, and store listings change. Verify critical details (pricing, system requirements, regional availability) with publishers and storefronts before you buy. Affiliate links, where present, help support our editorial work and are labelled in our affiliate disclosure.