
GuideSunderfolk
Sunderfolk Pyromancer Guide: Fire Builds and AoE Tips 2026
The Sunderfolk Pyromancer can produce a very high single-turn damage spike when Firepower, an area attack, and a frontline line up. The class creates Fire, moves onto it safely to build power, then spends that power on a damaging attack. If you need a sturdier frontline, compare the Berserker guide before choosing Pyromancer.
Sponsored

About the game
Sunderfolk
Secret Door · Dreamhaven
That's also its problem. "When everything lines up" requires your frontline and positioning to cooperate. When it does not, the Pyromancer is a fragile damage dealer sitting at range without the health to survive contact. The Arcanist guide covers the Pull and Teleport tools that make those target shapes easier to create.
Updated 2026-10-05: Corrected the Pyromancer's core loop: moving onto Fire grants Firepower, the next attack spends it, and Fire does not spread between hexes.
TL;DR: Pyromancer is B tier. Move onto Fire to build Firepower, then spend those stacks on a ranged or area attack. Fire is a board object, not a spreading status effect. The class needs a frontline and benefits from Arcanist positioning. It is powerful but not the easiest first pick.
BESTPRICE: Want Sunderfolk? These stores list it: Buy on Eneba → Buy on Humble Bundle → Buy on Loaded → Buy on Gameseal → Buy on Kinguin →
Sunderfolk Pyromancer: quick answer
The Pyromancer deals area damage with attacks that create and exploit Fire. Its core passive, Heart of Fire, lets the Pyromancer move onto Fire without taking damage and gain Firepower. Firepower adds damage to the next attack before it is spent.
The Pyromancer still depends on encounter geography and party support because its line, cone, and area attacks need good target layouts. Bring it when you have a frontline holding enemies in place, such as the Vanguard or Berserker.
GODEEPER: Full class rankings and why B tier doesn't mean unplayable when you understand the specific conditions where Pyromancer outputs its full value. Sunderfolk Class Tier List: All 7 Heroes Ranked 2026 →
Sponsored

Key takeaways
- Pyromancer is B tier: high damage ceiling, fragile, higher skill requirement than other classes
- Fire objects: Fire damages characters that move onto its hex, except the Pyromancer; it does not spread automatically
- Firepower passive: moving onto Fire grants stacks, each adds 2 damage to the next attack, and the stacks are then spent
- Key cards: Meteor Crash (leap + AoE + fire creation), Trailblaze (fire + reposition), Cauterize (absorb + heal), Friendly Fire (blast around an ally without hurting them)
- Requires a frontline (Berserker or Vanguard) to survive
- Best party synergy: Arcanist clusters enemies; Bard buffs compound with Firepower stacks
- Not recommended for solo-first players; Berserker is a better first pick
How Fire and Firepower actually work
Fire is a board object, not a spreading status effect. The Sunderfolk wiki documents that Fire deals 2 damage to any character except the Pyromancer that moves onto its hex. The Pyromancer's Heart of Fire passive instead makes moving onto Fire safe and grants Firepower.
Each Firepower stack adds 2 damage to the Pyromancer's attack, then the stacks are spent when that attack resolves. The base passive holds up to three stacks; passive upgrades can raise the cap to four and then five. That makes the order of operations important: create Fire, move onto it, and attack after you have the stacks you can safely use.
Meteor Crash creates three Fires in random adjacent hexes after the leap. Trailblaze creates three Fires at range, then lets you leap to one. Cauterize absorbs Fire in an area and heals 2 for each Fire absorbed. These cards are the reliable Firepower loop, while Arcanist Pull, Flame Breath, Friendly Fire, and Inferno handle target coverage.
Two practical rules follow:
First, do not wait for Fire to spread. Place Fire where enemies will have to move, or where the Pyromancer can reach it without wasting a turn. Only the Pyromancer ignores the normal Fire damage, so careless placement can hurt allies.
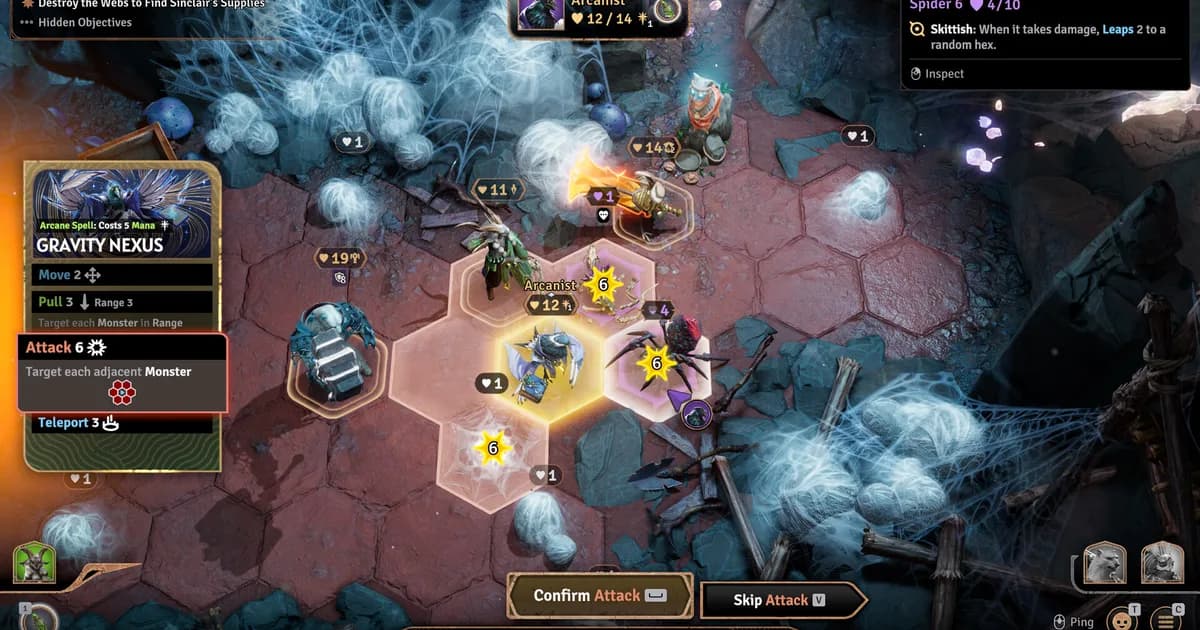
Second, use Arcanist Pull to arrange enemies for line, cone, or area attacks, not to trigger a nonexistent spread chain. In a four-player group, the Arcanist creates the target shape while the Pyromancer builds Firepower and chooses the safest attack.
Card priority: AoE-first build
When selecting cards, prioritize Fire creation and area attacks, then keep a mobility or recovery option for the turn after setup.
Fire-creation cards place Fire on the board in a single action. Even without enemies on those hexes yet, you are creating safe fuel for the Pyromancer's passive. In a corridor encounter, placing Fire along a route enemies will take can be more efficient than spending a turn moving to a safer setup position.
Zone creation cards establish Fire objects that damage non-Pyromancer characters who move onto them. In encounters with chokepoints, place Fire on the approach to punish enemy movement or to give the Pyromancer a safe source of Firepower.
Single-target attacks are the fallback. They are worth keeping when no better option exists, but in a hand with a safe area attack and a single-target option, spend the stacks on the attack that reaches the most valuable target.
What to avoid: cards or lines that leave the Pyromancer adjacent to enemies without a clear escape. The class does not have the health to survive extended melee contact, so every close-range play needs a reason and a way out.
One exception worth keeping: Cauterize moves the Pyromancer toward Fire, absorbs Fire in an area, and heals 2 health for each Fire absorbed. In a room where you just used Meteor Crash or Trailblaze, that Fire is available for both recovery and Firepower. Keep it. It is not a defensive card in the traditional sense, but calling it irrelevant is wrong.
The class-select screens show the four-player setup this guide recommends: a frontline, support, battlefield control, and Pyromancer area damage.
Party composition for Pyromancer
Four players (recommended): Berserker, Bard, Arcanist, Pyromancer. The Berserker holds the enemy line. The Bard guide explains the Two-Step and note cards that buff the group most turns. The Arcanist pulls enemies into useful attack shapes. The Pyromancer creates Fire, builds Firepower, and spends it on area attacks. Each class enables another.
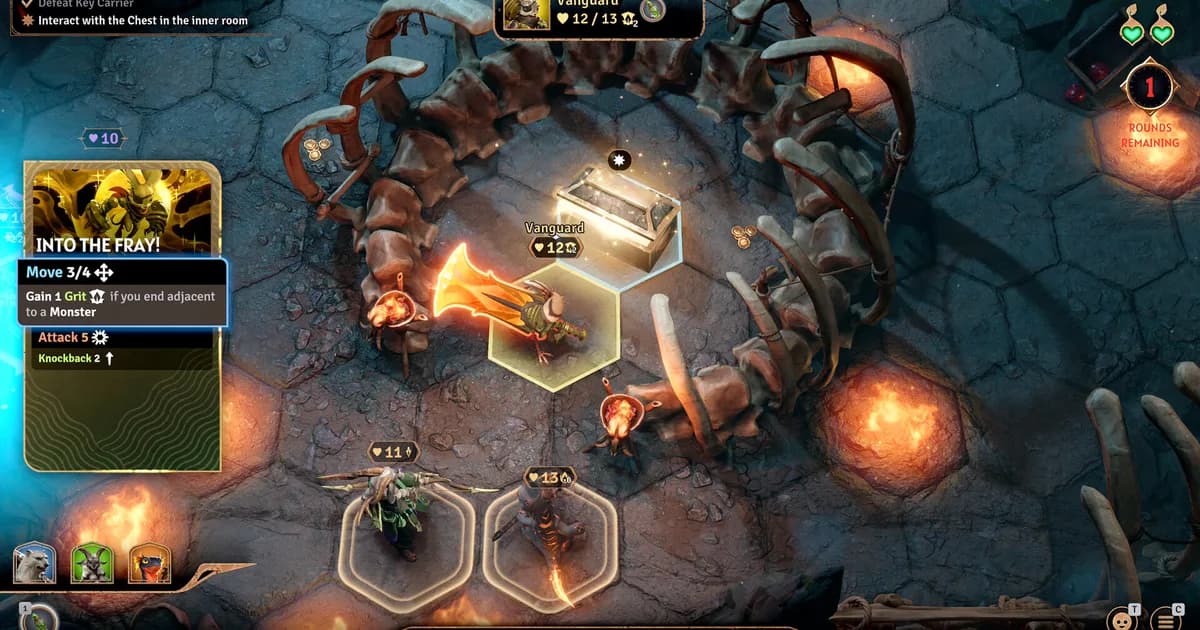
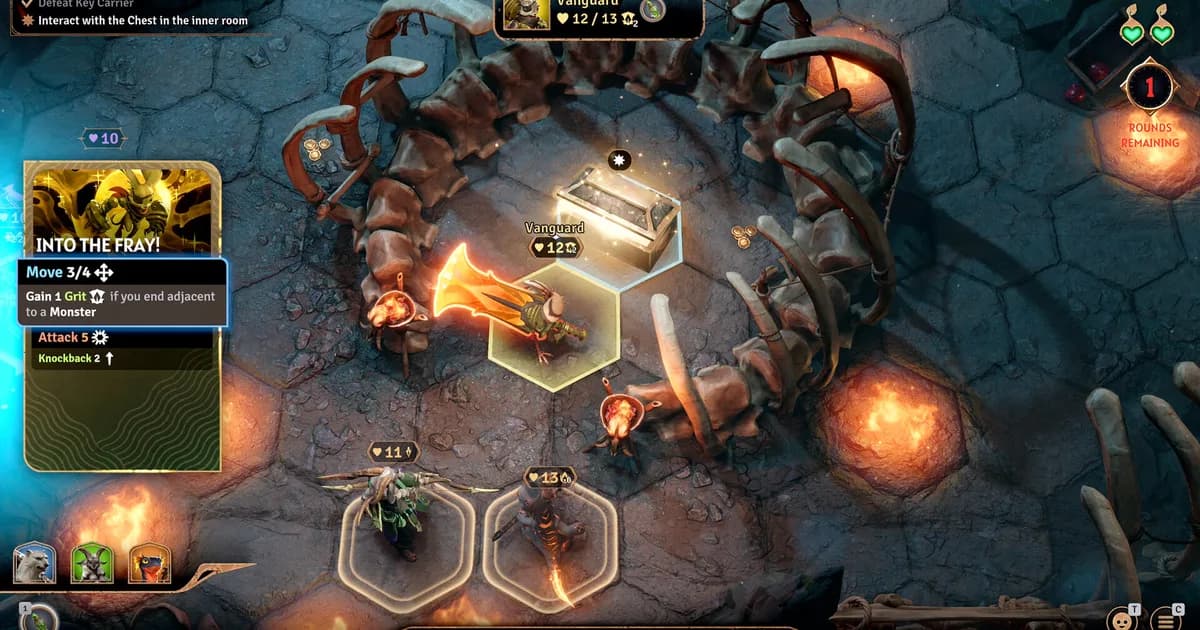
Four players with Vanguard: Vanguard replaces Berserker in the slot above when you want a different frontline dynamic. The Vanguard (added in Update 2.0) brings Knockback abilities that push enemies into positions your fire zones already cover, rather than holding them at the frontline. The Into the Fray card, for example, moves the Vanguard adjacent to enemies and Knockbacks them 2 hexes. A well-placed fire zone on those landing hexes means enemies take fire damage from the Knockback itself. The Arcanist-Vanguard-Pyromancer combination creates fire zones, pushes enemies into them via Knockback, and uses Arcanist Pull to bring any stragglers back. More moving parts than the Berserker setup, but higher potential damage per round in encounters where you can predict enemy positioning.
Three players: Berserker or Vanguard, Bard, Pyromancer. With Berserker, use corridor geometry to line up Flame Breath and other area attacks. With Vanguard, Knockback gives you manual repositioning into Fire without requiring the Arcanist's setup.
Two players: Berserker and Pyromancer. Functional. The Berserker handles frontline work and keeps enemies away from the Pyromancer. Flame Breath and area attacks are easier to line up in corridors. Vanguard plus Pyromancer also works: Knockback can push enemies onto Fire while Vanguard absorbs hits. The trade-off is that Vanguard's burst damage is lower than Berserker's, so fights can run longer.
The combination to avoid: Pyromancer without a frontline. Ranger, Rogue, and Pyromancer in a three-player group means nobody is occupying the enemy line. The Pyromancer can take melee contact before it can create Fire or spend Firepower.
Pyromancer in solo play
Solo mode gives you two heroes to control. Pyromancer plus Berserker is a reliable pairing: the Berserker build handles melee and keeps enemies away while the Pyromancer builds Firepower and attacks from range.
The practical problem with solo Pyromancer is managing two heroes simultaneously. Think about the Berserker's position relative to the Fire hexes and attack lines the Pyromancer wants to use. The Berserker needs to hold enemies while the Pyromancer reaches Fire safely and chooses a target shape.
In tighter dungeon corridors, solo Berserker-Pyromancer is very effective because Flame Breath and other area attacks are easier to aim. In open rooms, the Berserker has to hold enemies while the Pyromancer builds Firepower and chooses a safe target.
For players who want simpler solo, Berserker alone (paired with Ranger as the second hero) is a more consistent experience. Pyromancer solo works, but it rewards players who've already learned encounter geometry from previous runs.
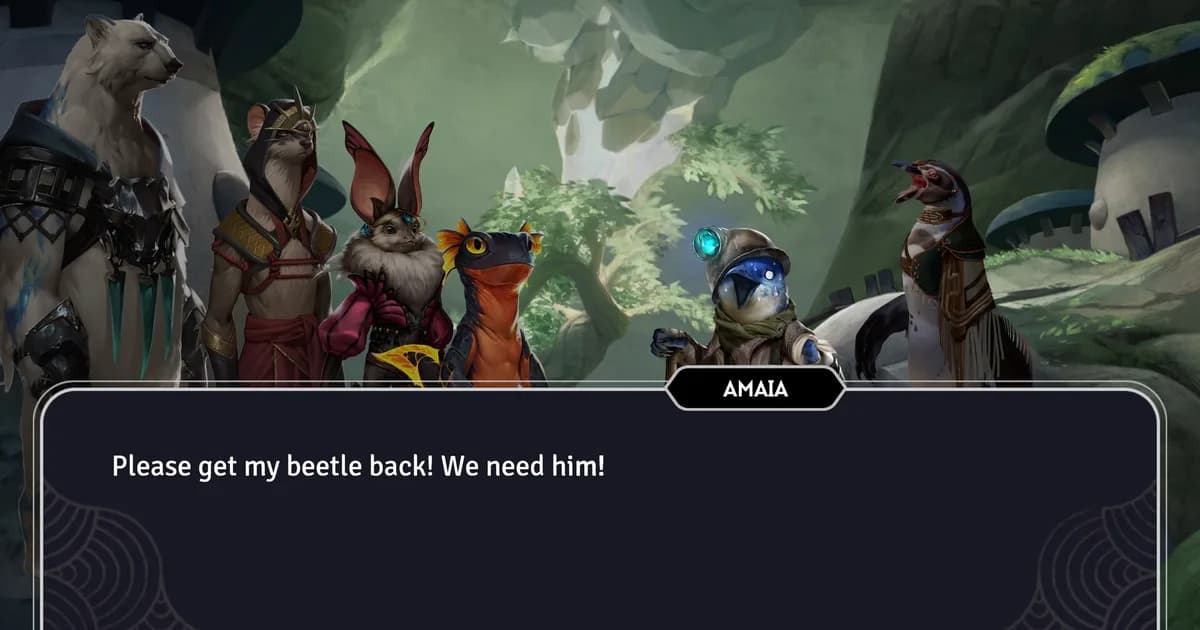
Every run starts with a quest hook like this one. Once combat begins, positioning determines whether the Pyromancer can reach Fire safely and line up its area attacks.
When not to pick Pyromancer
Skip the Pyromancer when:
Your group has no frontline. Two ranged classes and a Pyromancer is a recipe for the Pyromancer dying before it can set up safely. Someone has to absorb contact.
Your group composition is already fragile. Rogue and Pyromancer both need protection. Running both without a dedicated tank is doubling the problem instead of solving it.
It's your first run. The Pyromancer asks you to track Fire placement, Firepower, and fragile positioning at the same time. Pick Berserker for your first run if you want a clearer frontline role. The Pyromancer will make more sense after you understand the board.
The dungeon is an open-room format. Wide rooms can make line and cone attacks harder to aim. Keep cards that create Fire, use Arcanist or Vanguard positioning when available, and treat Firepower as your reliable single-target damage boost instead of forcing a particular target shape.
The Firepower passive: damage stacking in any room type
Fire creation is the Pyromancer's visible identity, but Firepower is what separates an average run from a strong one. Moving onto Fire grants Firepower without damaging the Pyromancer. Each stack adds 2 damage to the next attack, then all stacks are spent. The base passive caps at three stacks, with later passive upgrades raising that cap to four and five.
How you build stacks: walk onto a Fire hex, use a Fate card that absorbs adjacent Fire, or use Cauterize. The result is a burst of extra damage on the next attack, not a buff that persists through every later attack.
The loop looks like this. You use Meteor Crash, which leaps three hexes, deals 2 damage to adjacent monsters and objects, and creates three Fires in random adjacent hexes. Then you step onto a Fire hex or play an absorption card, building Firepower. Finally, you use a ranged or area attack while the stacks are active. The official card text describes a burst, so plan to spend it on the attack that matters most.
This is what makes the Pyromancer usable in open rooms. You do not need a spreading effect to get value from Firepower. A single attack with three stacks hits harder than the same attack without them, while area attacks remain useful when the party creates a better target shape.
Strength from Bard buffs can compound the effect. When the Bard sets up the Pyromancer's next action, use Firepower on the attack that receives the buff instead of spending the stacks on a low-value hit.
One positioning note: the game board allows only one object on a hex, so coordinate Fire placement with allies who are also placing objects. A quick plan before the run prevents the Bard's notes and the Pyromancer's Fire from competing for the same space.
GODEEPER: How the Vanguard's retaliation tank role differs from Berserker, and which frontline is the better Pyromancer pair when you are stacking Firepower and setting up area attacks. Sunderfolk Vanguard Guide: Grit, Retaliation, Best Builds →
Sunderfolk Pyromancer cards: what each one does
Most Pyromancer guides describe card categories without naming the actual cards. Here is what the class's skill cards do and when to keep them at the Forge.
Bouncing Blaze: Move 2, attack at range 3, then randomly target an additional adjacent monster before a final move. Efficient and low-risk. Keep when enemies are already close enough for the extra target.
Flame Breath: Move toward enemies, then a line attack that hits up to three enemies in a straight line. Best in corridor encounters where enemies are naturally lined up. In open rooms with scattered targets, it hits one. The card's ceiling is high in the right geometry. Keep if your campaign has frequent corridors.
Meteor Crash: Leap three hexes, deal 2 damage to adjacent monsters and objects, create three Fires in random adjacent hexes, then move 2. It is the core reposition and Firepower setup card. Almost always keep.
Trailblaze: Create three Fires at range 3, leap to one of them, then attack at range 3. It creates Fire for absorption, repositions the Pyromancer, and deals damage in one card.
Cauterize: Move 3, absorb Fire up to 2 hexes away, and heal 2 for each Fire absorbed before a final move. It is the safest way to turn the Pyromancer's own Fire into recovery and Firepower.
Friendly Fire: Move 3, target a Hero or Ally at range 3, and attack every monster adjacent to that character. The target takes no damage and gains Haste 1. Use the card when enemies surround your Berserker or Vanguard.
Searing Scales: Gain Retaliate 2 and Shield 1 for every Firepower stack, then move 4 and attack in a three-hex linked cone. It gives the Pyromancer a defensive option without turning it into a tank.
Inferno (ultimate): Move 3, attack in a small hexagon at range 3, and create Fire in each empty hex in and beside the shape. It provides area damage and a large pool of Fire to use for later Firepower.
Pyrotechnics: Attack at range 3, move 3, then Explode a Fire and adjacent Fires at range 3. The Pyromancer takes no damage from the explosion, and monsters damaged by it are Blinded. Keep it when you have several Fire objects ready.
Brimstone Blast: Attack in a wide cone extending 2 hexes, create Fire in empty hexes, then move 2. It is a straightforward way to create a safer Firepower setup while covering a broad area.
Step-by-Step: Running Pyromancer's Fire Loop
1. Confirm you have a frontline: a Berserker or Vanguard should be in the party before you commit to Pyromancer. Without one, enemies can reach the caster before it creates Fire and spends Firepower.
2. Prioritize area attacks and Fire creation: choose cards that cover several targets or create Fire, then keep at least one movement or recovery option. Never assume a Fire object will spread for you.
3. Use Meteor Crash or Trailblaze to create Fire: both cards reposition the Pyromancer and place Fire, which is the setup for the passive loop.
4. Absorb that Fire to stack Firepower: move onto a Fire hex, use an absorption card, or play Cauterize. Each stack adds 2 damage to the next attack before all stacks are spent.
5. Spend Firepower on the best target shape: use Flame Breath in a line, Friendly Fire around an ally, or Inferno on a dense group. If no area attack is safe, spend the stacks on the strongest ranged hit available.
Related Reading
- Sunderfolk Complete Guide: All 7 Classes 2026: full class tier list, party compositions at every group size, and how Pyromancer fits against the other area-damage options.
- Sunderfolk Arcanist Guide: Teleport Builds and Tips 2026: how Pull and Teleport create target shapes for Pyromancer line and area attacks, and why Arcanist-Pyromancer is a strong two-class damage combination.
- Sunderfolk Berserker Guide: Protector's Fury and Best Builds: the frontline class that makes Pyromancer viable, how adjacency mechanics interact, and when to run Berserker instead of Pyromancer.
- Sunderfolk Vanguard Guide: Grit, Retaliation, Best Builds: the alternative frontline for Pyromancer groups, and why Vanguard-Pyromancer works in the same fire-zone positioning that defines the Arcanist pairing.
- Sunderfolk Class Tier List: All 7 Heroes Ranked 2026: where Pyromancer sits overall and which encounter layouts make its area attacks easier to use.
- Sunderfolk Bard Guide: Music Note System and Best Builds: Sunderfolk Bard guide: music notes come from Two-Step swaps and cards, not free movement. S tier in....
- Sunderfolk Online Co-op Guide: Setup, Fixes, and Party Tips: Sunderfolk online co-op supports 1-4 players on Steam and Epic.
- Sunderfolk Rogue Guide: Stealth Builds and Tips 2026: Sunderfolk Rogue guide: C tier for most players, technically powerful for experienced ones.
- Sunderfolk Ranger Guide: Range Builds and Party Tips 2026: Sunderfolk Ranger guide: A tier ranged damage and traps.
References
- Sunderfolk on Steam: official store page, patch notes, and class balance updates from Secret Door
- Meet Your Heroes: The Pyromancer: Secret Door's Firepower and card descriptions
- Sunderfolk Wiki: Pyromancer: current passive and skill-card details
- Sunderfolk Wiki: Environment: Fire object behavior and board rules
- r/Sunderfolk: community Pyromancer build discussions and party composition debates
Frequently Asked Questions
Is the Pyromancer good? B tier. High area-damage ceiling when its lines, cones, and Firepower setup are supported, but fragile in every encounter type. In a four-player group with Berserker frontline and Arcanist positioning, it is a strong pick. In solo or without a frontline, it can be overwhelmed before the Firepower loop pays off.
How does Fire work for the Pyromancer? Fire is a board object that normally deals 2 damage when a character moves onto its hex. The Pyromancer takes 0 damage and gains Firepower instead. Fire does not spread automatically, so place it where the Pyromancer can absorb it or where enemies must cross it.
What's the best build? Use cards that create Fire or hit several targets, then move onto Fire before spending the resulting Firepower on your strongest attack. Keep Cauterize or mobility for recovery. The Pyromancer works best at range with a frontline.
Do I need a frontline? Usually. Cauterize and Searing Scales give the Pyromancer more durability, but neither substitutes for a tank. Without a Berserker or Vanguard in front, enemies can reach the Pyromancer before the Firepower loop pays off.
What's the best party with Pyromancer? Berserker or Vanguard, Bard, Arcanist, Pyromancer in four-player. Arcanist arranges targets, Vanguard (Update 2.0) can Knockback enemies onto Fire, and Bard improves damage. In two-player, Berserker or Vanguard plus Pyromancer works. Corridors make line attacks easier to aim, but no spreading effect is required.
Is Pyromancer good for beginners? No. Pick Berserker first if you want a simpler frontline. The Pyromancer asks you to track Fire placement, Firepower, and fragile positioning at the same time. It becomes easier after you understand board geometry and enemy movement.
Was this guide helpful?
About the author

News Desk
GameBrief's byline for industry news, patch notes, studio announcements and esports results. Tight sentences, dated facts.
- News, patch notes and early access
- Industry and esports results
- Sources listed per article
Keep reading
Sunderfolk Arcanist Guide: Teleport Builds and Tips 2026
General · 13 min
Sunderfolk Ranger Guide: Range Builds and Party Tips 2026
General · 7 min
Sunderfolk Rogue Guide: Stealth Builds and Tips 2026
General · 16 min
Sunderfolk Vanguard Guide: Grit, Retaliation, Best Builds
Guides · 7 min
Sunderfolk Bard Guide: Music Note System and Best Builds
General · 7 min
Sunderfolk Berserker Guide: Protector's Fury and Best Builds
General · 8 min
Sponsored
Disclaimer
This article is published for informational and entertainment purposes. It does not constitute professional financial, legal, or technical advice. Game performance, online services, patch schedules, and store listings change. Verify critical details (pricing, system requirements, regional availability) with publishers and storefronts before you buy. Affiliate links, where present, help support our editorial work and are labelled in our affiliate disclosure.
Comments
Loading comments…