
GameBrief · General
Dark Scrolls Dungeon Guide: All Floors and Zones 2026
Reviewing
Dark Scrolls
doinksoft · Devolver Digital
The Dark Scrolls dungeon guide you actually need isn't about individual enemy names. It's about understanding how the zone structure compounds pressure across a run. doinksoft's co-op roguelike, published by Devolver Digital on June 22, 2026, sends your group of heroes through procedurally assembled dungeon screens that scroll automatically to the right. The dungeon gets harder not because enemies get dramatically stronger but because the scroll pace quickens, the layouts tighten, and by the third zone you're making every decision while already moving.
TL;DR: Dark Scrolls runs are structured across distinct dungeon zones with boss encounters between them and Bruce and Goose's Shoppe available before the next zone begins. The scroll accelerates in later zones. Early zones (1-2) are for learning scroll timing and testing a single Shoppe perk. Middle zones (3-4) require you to have a coherent build and start punishing passive play. Late zones demand a two-perk stack that works with your hero's weapon type, plus at least one summoned ally. The zone structure is procedural so specific screen counts vary, but the pattern holds: cleaner zones early, compressed traps later.
Dark Scrolls dungeon guide: how zone progression actually works (quick answer)
Each run in Dark Scrolls passes through themed dungeon zones rather than numbered floors with static layouts. The game uses hand-crafted rooms assembled procedurally into sequences, so two runs through the same zone feel related but not identical. Branching paths within a zone mean your route through the dungeon can differ from your partner's path in a co-op run that briefly split up.
The consistent structure is: enter a zone, scroll through several enemy-filled screens with occasional hazard rooms, encounter a zone boss, reach Bruce and Goose's Shoppe, and then enter the next zone. The Shoppe is always between zones, not mid-zone. This means your ability to prepare for the next zone depends on what coins you saved during the one you just cleared.
The dungeon escalates across zones in ways you feel before you can name them. Scroll speed climbs. Projectile-firing enemies get denser. Traps stop being their own dedicated rooms and start appearing inside standard combat screens, so you're handling spikes and enemies at the same time.
Zone 1 to 2: where the scroll teaches its rules
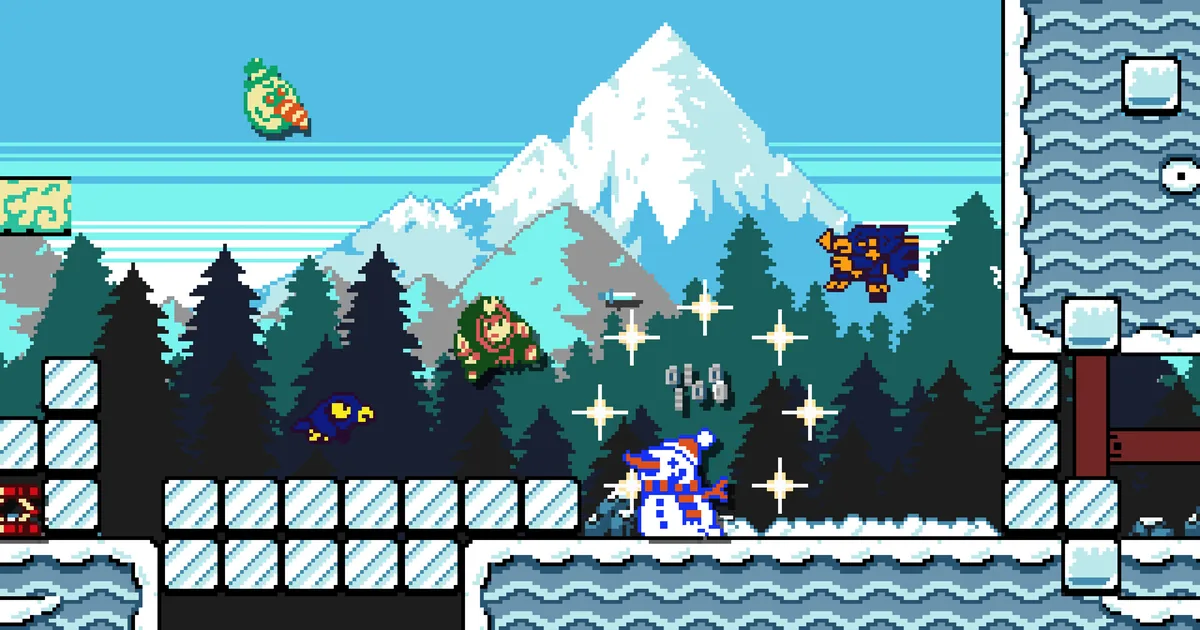
The opening zones of a Dark Scrolls run are doing something specific: they're teaching you the scroll is the boss, not the enemies. Enemy types in early zones are relatively forgiving by design. Snowmen, basic melee units, bird-type enemies. They hit hard if you let them, but they don't fire projectiles across the full screen, they don't track your position in complex patterns, and they tend to arrive from the right edge in manageable clusters.
The correct response to early zones isn't optimizing damage output. It's establishing your scroll rhythm. That means learning exactly how far left you can drift while fighting before the edge becomes a threat. Most players set that boundary too conservatively at first (staying too far right and missing coins) or too aggressively (dropping back for a chest and catching the edge).
One thing the game doesn't explain: early zone layouts include screens where an enemy near the left edge of your vision will be scrolled off before you can reach it anyway. You don't need to engage it. Letting the scroll handle it is the correct call, and it saves health and star meter for what's actually ahead.
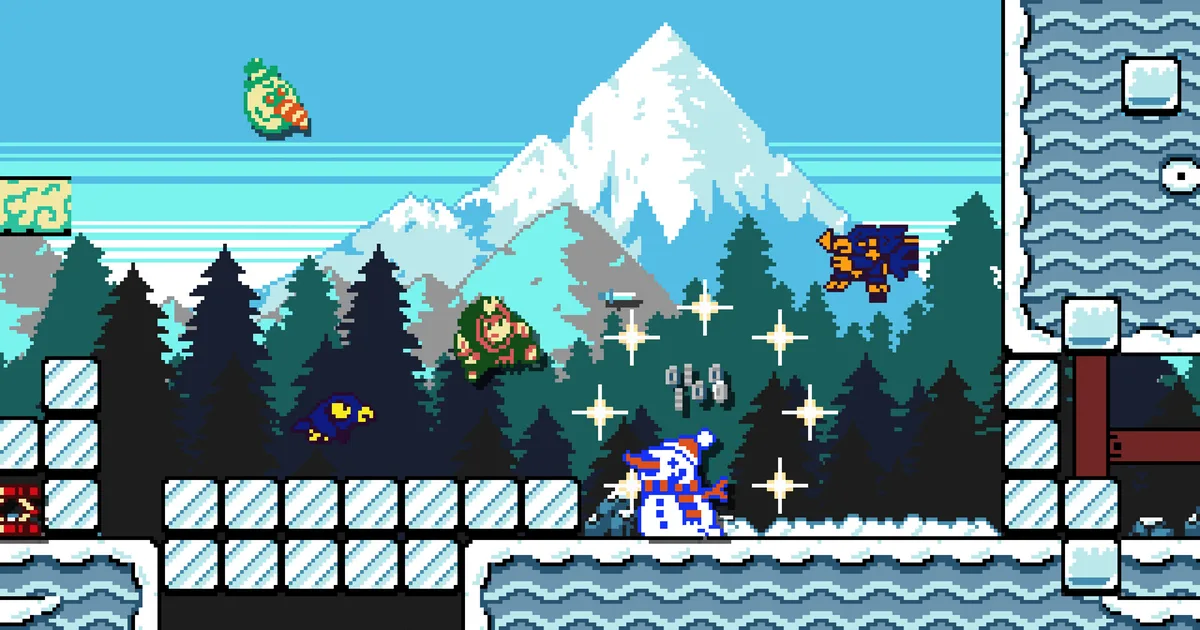
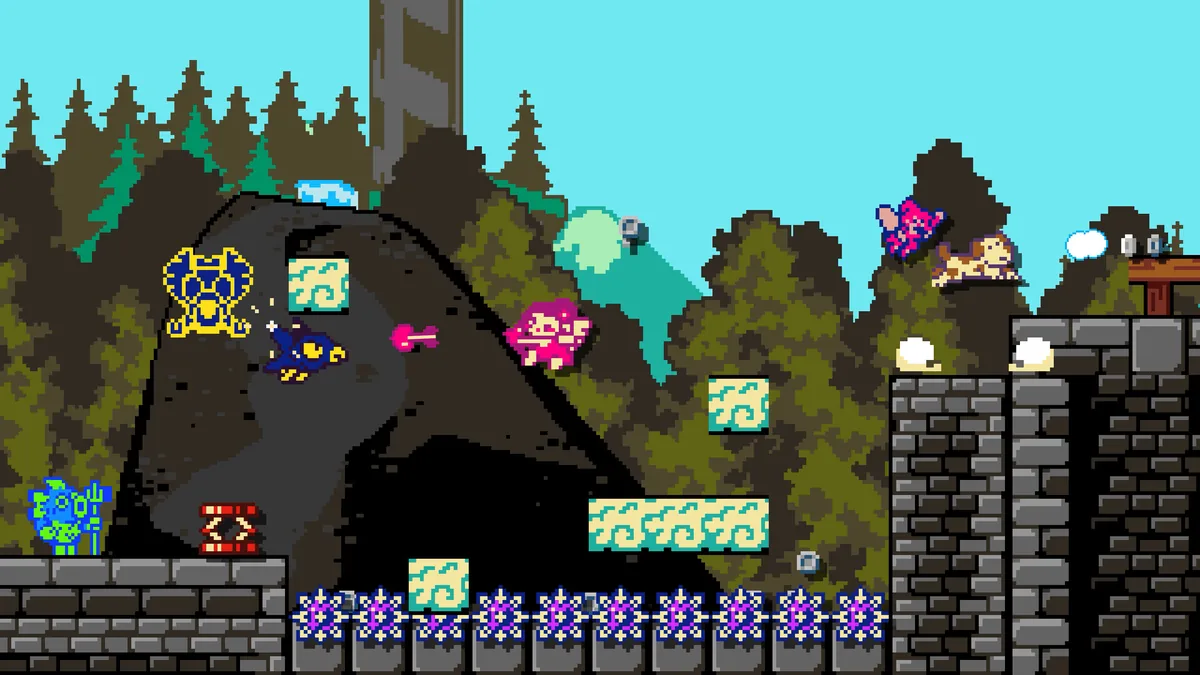 A mid-run combat screen in one of the dungeon's forested zones. Multiple enemy types arrive simultaneously here. Scroll timing, not individual combat priority, determines whether you take chip damage through this section.
The first boss encounter should take you by the end of zone 2. Boss patterns in early zones are legible: one or two distinct attack phases with clear tells. What the boss is actually testing is whether you can hold your star meter high while also managing the boss's position relative to the scroll edge. Bosses have their own scroll behavior and won't be pushed off, but your positioning during the fight still matters.
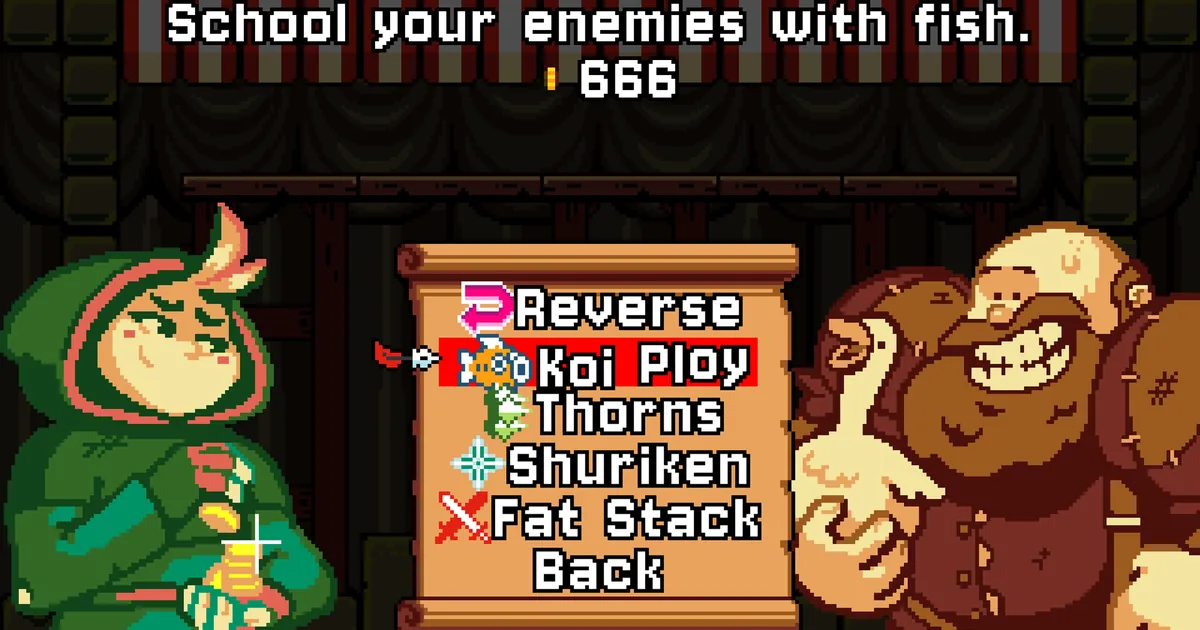
At the Shoppe between zones 2 and 3 is the first critical Shoppe visit. You have seen the available perks by now and have enough coins to be selective. The single most common mistake at this first visit is buying the most visually interesting perk rather than the one that directly stacks with your hero's weapon type. Shuriken fires alongside your primary attack and scales with the heroes whose attacks already cover range. Thorns punishes contact damage and scales with heroes like Biscuit and Ironbeard who naturally move into enemy range. Koi Ploy adds a fish projectile to your primary attack. None of these are universally best. One of them fits your hero's mechanics and one doesn't.
GODEEPER: Understanding Shoppe synergies is the layer under dungeon survival. Dark Scrolls Best Builds: All 9 Heroes Ranked →
Zones 3 and 4: where passive heroes die
The middle zones of a Dark Scrolls run are where runs fall apart most consistently. The difficulty spike is not dramatic, but the game stops accommodating players who haven't committed to a direction.
Enemy types in zones 3-4 include projectile-firing variants that send attacks across the full horizontal range of the screen. They force you forward. A hero at the left quarter of the screen while a projectile-heavy enemy fires from the right has no good option except to close the distance faster than feels comfortable. The dungeon design treats aggressive forward momentum as the correct default, and the middle zones are where that assumption stops being optional.
The trap integration tightens significantly here. Early zones had traps as standalone hazards in dedicated rooms. Middle zones embed them inside standard combat screens: floor spikes appear while an enemy group is active, the scroll doesn't slow, and you handle both at the same time or you take damage. There's no pause to read the room.
Branching paths become more consequential in these zones. The hero unlock paths, if you haven't collected specific heroes yet, typically appear in middle zone branches. Freeing Biscuit, for example, requires a choice during an earlier boss section, but other unlocks are tied to decisions in middle-zone branching points. The cost is usually a missed Shoppe opportunity or a slightly harder combat route. Whether to take the unlock or the Shoppe visit is a legitimate decision that depends on how many heroes you've collected and how tight your current build is.
Zone 4 typically contains the run's second boss encounter. These bosses have more attack phases than the first boss and add tracking behavior: some attacks will follow your horizontal position rather than firing in a fixed pattern. Heroes with mobility specials like Pigeon's stealth dodge and Emerys's blink-dash handle these more cleanly than heroes with purely offensive specials. If you're playing Grizz or Ironbeard into zone 4, the second Shoppe visit before this boss is the time to buy a summoned ally that provides independent coverage while you focus on the boss pattern.
Bruce and Goose's Shoppe: timing your buys across the full run
The Shoppe appears before each new zone. That means you get multiple visits across a run, and what you buy at each visit should change based on where you are in the dungeon structure.
The confirmed Shoppe inventory includes perks (Thorns, Shuriken, Koi Ploy, Reverse, Fat Stack), devastating attacks (new primary or secondary attack options), and summoned allies that follow you and attack independently. The selection rotates between visits, so a perk you passed on in zone 2 might not appear again.
The buying pattern that works across a full run:
Zone 2 Shoppe: One perk that stacks directly with your hero. Skip everything else. Committing early to one direction matters more than keeping options open.
Zones 3-4 Shoppe: A second perk in the same direction, if it's available. If your compatible perk isn't showing, buy a summoned ally instead. They attack independently and don't consume your actions.
Zone 5+ Shoppe: Devastating attack if you don't have one, or a second summoned ally. Late zones need something attacking at all times, including the moments you're managing the scroll edge or reading a boss pattern.
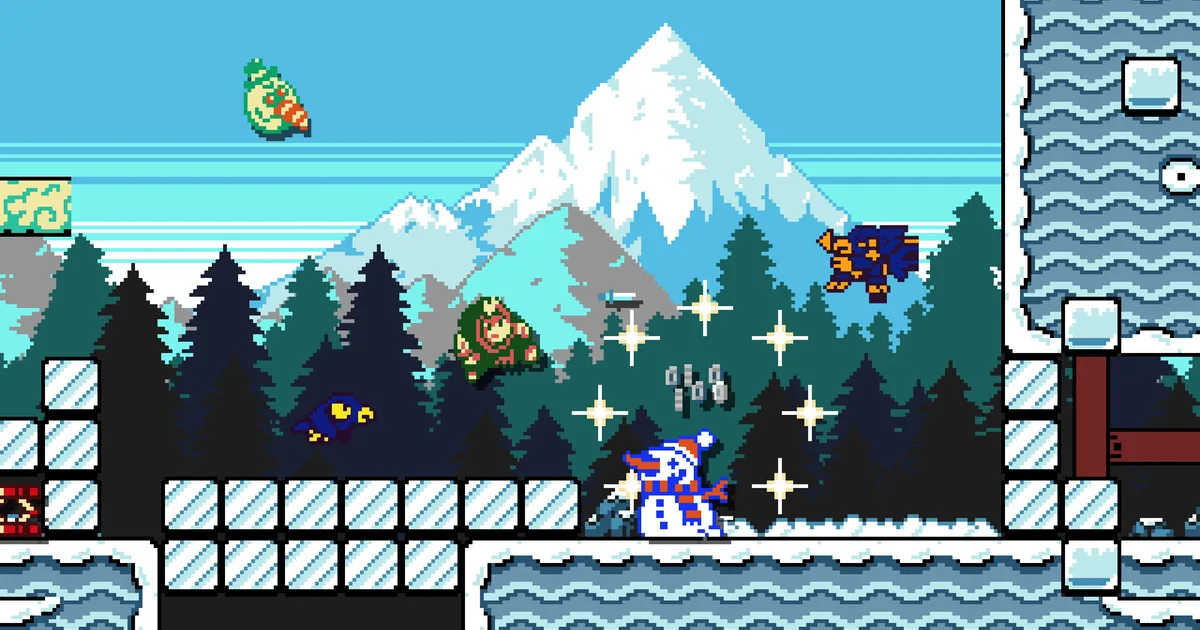
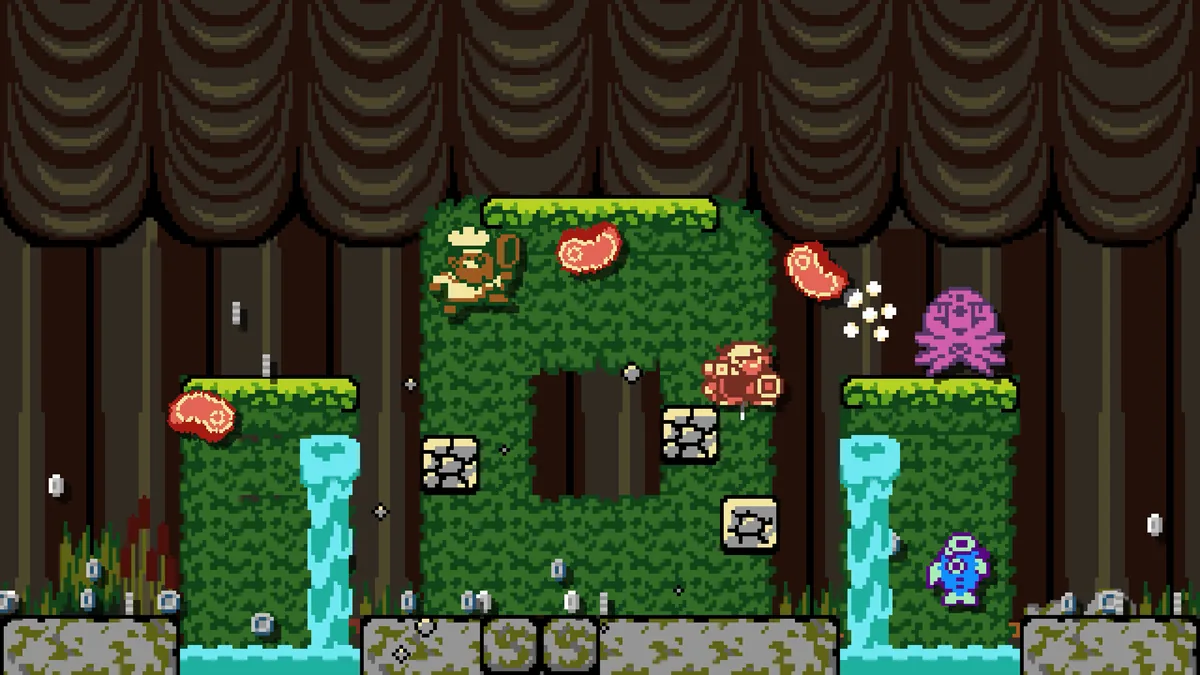 A set-piece stage segment in Dark Scrolls. This particular screen isn't the Shoppe menu itself, but it shows the game's visual range beyond the scrolling dungeon zones. Whichever screen you're on, the same rule holds: pick one Shoppe direction and stack it, the perk that best amplifies what your hero already does, not the one that sounds most powerful in isolation.
Nezumi is the exception to all of this. Per lore, the saxophone rat is permanently banned from the Shoppe because the shopkeeper has strong opinions about jazz musicians. Mechanically, Nezumi accesses Shoppe abilities through saxophone note sequences instead, with 16 or more spell combinations available. No coins spent on perks means Nezumi accumulates coins faster than every other hero. The catch is that the note sequences require practice before they're usable under scroll pressure. You can't just mash buttons and hope, despite what the announcements imply.
In co-op, the ghost mechanic interacts with the Shoppe: a revive option available at some Shoppe visits brings a ghost partner back to full player status. Budget for this on zones where your partner has gone down once already. Burning all your coins on perks and then losing a player to the next zone's boss without a revive option in reserve is a common late-run mistake.
Late zones: how to survive when the scroll accelerates
The dungeon's later zones change the experience in ways that aren't just "harder enemies." The scroll pace is genuinely faster, which compresses every combat decision. An enemy that would give you two seconds to respond in zone 2 gives you one second in zone 5.
Some heroes come into their own specifically here. Quinn's healing aura is more impactful in late zones than early ones because chip damage accumulates faster when scroll pressure prevents clean dodging. Standing inside the aura while managing the scroll edge provides the passive recovery that makes the difference between finishing a zone and dying to the sixth small hit of a screen. Her fire-rate boost from the aura also makes her offensive output stronger at full effectiveness than her base stats suggest.
Emerys's orb shield blocks incoming projectiles and zaps nearby enemies. In early zones it barely gets used because projectiles are sparse. In late zones where three or four projectile enemies arrive simultaneously and you can't dodge all of them, those satellite orbs are doing meaningful work on their own.
Ironbeard's platform-building is the one ability that gets better as the dungeon gets more vertical. Slapping a block under himself creates a platform mid-air, which matters when a late-zone screen has ledges designed to funnel you through dense enemy coverage. It's not dramatic, but I've had runs where that impromptu platform was the difference between routing through the top of the screen safely and eating four hits on the ground.
Co-op dynamics shift in late zones too. Two players with identical perk stacks produce redundant coverage. Two players who've bought into different directions (one on Thorns and close-range pressure, the other on screen-filling projectile output) cover more of what the dungeon throws at you. The game doesn't tell you to coordinate builds, but the late zones will tell you soon enough if you didn't.
GODEEPER: The 9 heroes in Dark Scrolls each handle late zones differently based on their mobility and special mechanics. Dark Scrolls Tips: 9 Things to Know Before First Run →
Step-by-step: a complete run approach from zone 1 to end
This is the cleanest path through a full Dark Scrolls run given what the dungeon structure demands.
Zone 1: Learn scroll timing. Attack constantly for star meter. Don't open every chest if it requires dropping to the left edge. Collect as many coins as you can without taking unnecessary risks.
Zone 2 Shoppe: Identify your hero's weapon type. Buy the one perk that directly amplifies it. Pass on everything else.
Zone 3: Apply the perk you bought. Notice how it changes your damage output. Adjust your positioning to take advantage of it rather than playing the same way you played zone 1.
Zone 3-4 Shoppe: Add the same direction. If your compatible perk isn't available, buy a summoned ally. Do not buy a perk that conflicts with your first pick.
Zone 4 boss: Expect two attack phases and tracking behavior. Have a summoned ally before this fight if you're on a melee-focused hero.
Zone 5+: Buy devastating attack at the first opportunity if you don't have one. Add a second summoned ally at the next opportunity. Rely on your Shoppe stack to clear screens while you focus on scroll positioning.
Hero unlocks: Take branching unlock paths if you're missing that hero and the run is going well enough that you can absorb the Shoppe miss. Skip them on struggling runs.
Related Reading
- Dark Scrolls Best Builds: All 9 Heroes Ranked 2026: How each hero's weapon type translates into a Shoppe perk stack, with specific perk priorities for Grizz, Pigeon, Biscuit, Emerys, and Nezumi.
- Dark Scrolls Tips: 9 Things to Know Before First Run: The nine things new players consistently miss before their first run ends, including why the autoscroll is a bigger threat than the first boss.
- Dark Scrolls: Devolver Co-op Roguelike Launches June 22: Background on doinksoft's pedigree (Gato Roboto, Gunbrella) and what the studio built in Dark Scrolls.
- Die in the Dungeon Floor Guide: Floors 1 to 6 Breakdown: For players interested in how another indie roguelike structures its floor progression, Die in the Dungeon's escalation model is a useful comparison.
- Dark Scrolls Co-op Guide: Ghost System and Hero Pairings: Dark Scrolls co-op guide: when a player dies they haunt enemies as a ghost.
- Dark Scrolls Review: 9 Heroes, One Sharp Roguelite: Dark Scrolls review: doinksoft's co-op roguelite delivers 9 distinct heroes, a Shoppe system with real.
Frequently Asked Questions
How many floors does a Dark Scrolls run have? Dark Scrolls uses a branching zone structure rather than a fixed floor count. Each run covers multiple dungeon zones with a boss at the end of each, but the specific screen count varies because branching paths allow you to take alternate routes.
When does the Shoppe appear? Between zones, after clearing a boss and before entering the next zone. The Shoppe selection rotates between visits.
What enemy types change across zones? Early zones have melee units and fixed-pattern enemies. Middle zones add projectile-firing enemies that cover the full screen. Late zones integrate traps directly into standard combat rooms and increase scroll speed.
How do branching paths work? The dungeon presents a choice between routes at specific points. One path often leads to a chest or hero unlock, the other to a cleaner combat sequence or Shoppe access. The choice has run consequences.
Does scroll speed increase in later zones? Yes. Early zones are measured. By the back half of a run the autoscroll is aggressive enough that positioning toward the left edge for a chest is a genuine risk decision.
How do you survive late-game zones? Two compatible Shoppe perks stacked on your hero's weapon type plus at least one summoned ally. Heroes with passive survivability mechanics (Quinn's healing aura, Emerys's orb shield) are more valuable in late zones than early ones.
Can all 9 heroes reach late zones? Yes, but some require more Shoppe investment to handle the compressed scroll pace and denser projectile environments. Grizz and Biscuit are the most forgiving due to their area attacks.
What does it mean that Nezumi is banned from the Shoppe? Per the game's lore, the shopkeeper has a grudge against saxophone players. Mechanically, Nezumi cannot buy perks at the Shoppe and instead accesses 16 or more spell combinations through specific saxophone note sequences during play.
References
Was this guide helpful?
About the author

Senior Critic & Analyst
Former game data analyst turned critic with 11 years covering indie and mid-tier games. Based in Austin. Runs spreadsheets on games most people just play.
- 11 years games criticism
- Former game economy analyst
- Roguelike and strategy specialist
Keep reading

Disclaimer
This article is published for informational and entertainment purposes. It does not constitute professional financial, legal, or technical advice. Game performance, online services, patch schedules, and store listings change. Verify critical details (pricing, system requirements, regional availability) with publishers and storefronts before you buy. Affiliate links, where present, help support our editorial work and are labelled in our affiliate disclosure.
Comments
Loading comments…