GameBrief · Guides
Kristala Hiratrola Boss Guide: How to Beat the Brute

This Kristala Hiratrola boss guide covers the game's third major fight: a heavy-hitting brute that trades speed for raw damage. Hiratrola's attacks are wide, slow, and devastating if they land, which makes the fight a test of pattern reading rather than reflexes. Map its finite move set, deflect the long wind-ups, and the brute becomes one of the more beatable bosses. This guide covers the attack profile, the Malediction build the long fight rewards, and the Font prep that sets you up.
TL;DR: Hiratrola is Kristala's third boss, a large humanoid brute built on wide, heavy strength attacks with long wind-ups. The slow telegraphs are deflectable once you read them, but a single connected hit deals huge damage, so a misread is costly. Do not try to win your first couple of attempts; learn the finite pattern set instead. The two-phase fight is rated Medium to High. Because it runs long, a curse-stacking Malediction build (Myrtuna clan) reaches its ceiling here. Prep at the nearest Ellarial Font with a single-target spell set, deflect to bank mana, and heal only in safe windows.
Kristala Hiratrola: the brute
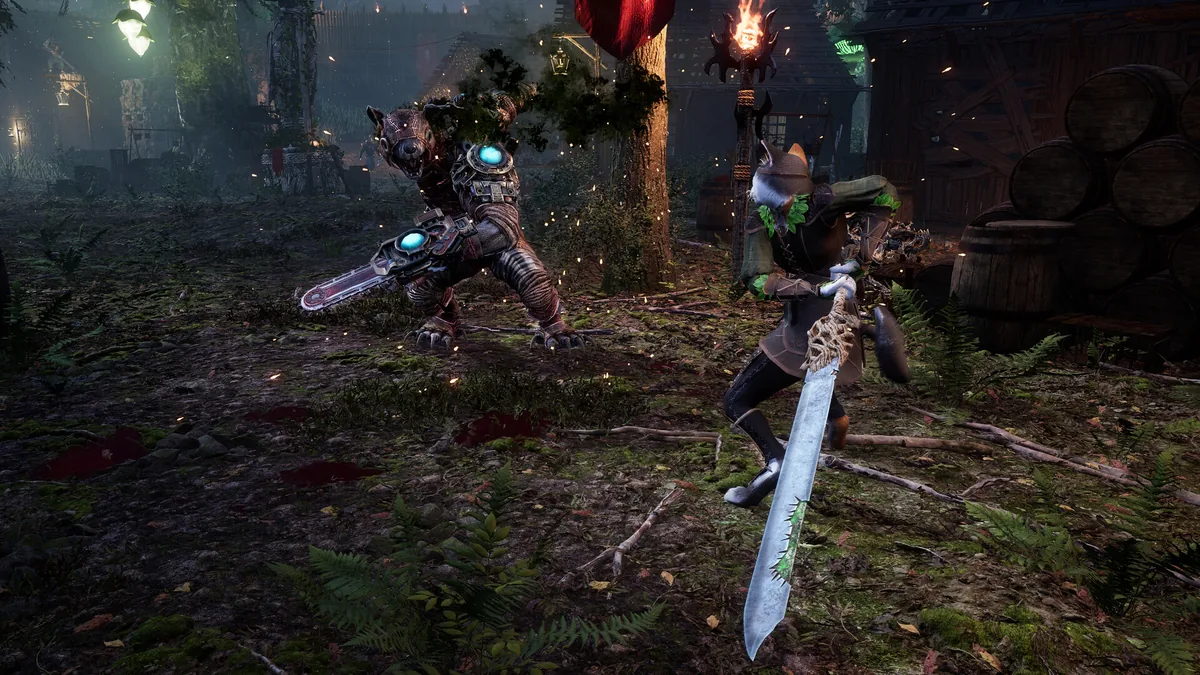
Hiratrola is the third major boss in Kristala, and after the deflection lesson of Lophi and the arena trick of the Grottorot Golem, it is the first fight that is purely about reading a heavy hitter. It is a large humanoid built around strength attacks, and the community calls it a brute, which is accurate. Most of its moves are wide, heavy swings.
The defining trait is the tradeoff between telegraph and damage. Its attacks have longer wind-ups than anything you have seen on earlier bosses, which sounds like it should make the fight easier, more time to react. The catch is what happens when one connects: a single heavy hit can take you from full health into dangerous territory without a follow-up. So the long wind-ups are not a gift, they are the fight's bargain, you get time to read the attack, but you pay heavily for every misread.
Key takeaways
- Hiratrola is Kristala's third boss, a large humanoid brute built on strength attacks.
- Attacks are wide and heavy with long wind-ups, deflectable once you read them.
- A single connected hit deals huge damage, so misreads are very costly.
- Two-phase fight, rated Medium to High difficulty.
- Do not expect to win the first couple of attempts; map the finite pattern set.
- The long fight favors a curse-stacking Malediction build (Myrtuna clan).
- Prep at the nearest Ellarial Font with a single-target spell set before the fight.
Reading the wind-ups
The whole fight lives in the telegraphs. Because Hiratrola's pattern set is finite, your job is to learn each attack type once and then respond on the wind-up rather than reacting late to the swing itself.
The honest advice that the fight demands: do not try to win your first two attempts. Use them to practice each attack type, to watch the wind-ups, and to learn which swings are wide and which are committed. This feels slow, but the brute's move set is small enough that a couple of learning attempts maps most of it, and once mapped, the fight rewards an aggressive deflect-and-counter rhythm more than anything earlier in the game.
The deflection works because the swings are slow. A long wind-up is a long deflection window, so the same attacks that punish a misread also give you the cleanest parry timing in the game so far. Deflect the heavy swing, bank the mana, counter into the recovery. The rhythm is satisfying once the reads are automatic.
GODEEPER: Hiratrola builds on the deflection combat the first boss teaches. Learn the rhythm there first. Kristala Lophi Boss Guide →
Parry, but test each attack
Deflection is the core approach against the brute, and its long wind-ups make it one of the more parry-friendly bosses in Kristala. But carry the same caution that applies to every fight in the game: test each attack rather than assuming. Some Kristala attacks can be parried even when they look unblockable, and others must be dodged.
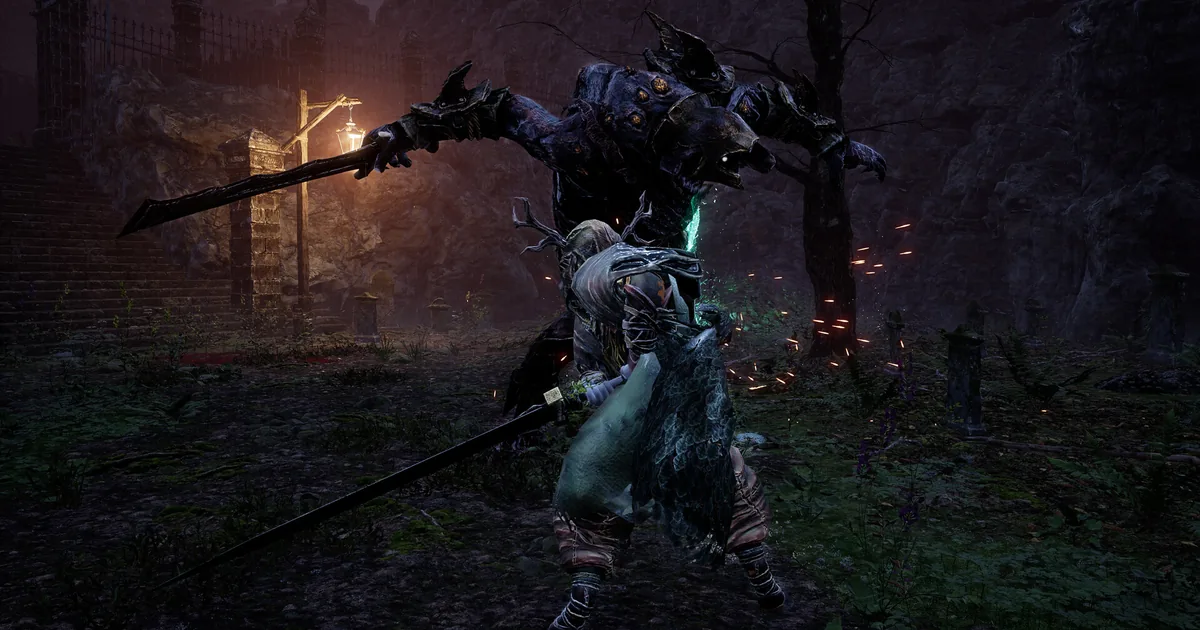
Against Hiratrola, the practical split is to deflect the readable heavy swings, where the wind-up gives you a clean window, and dodge anything that telegraphs as unblockable. On a brute whose damage is concentrated in those big swings, getting the deflect timing right on the heavy attacks is most of the fight. Each successful deflection is doing double duty: it avoids a huge hit and it banks the mana you will spend on spells.
 The brute's long wind-ups are a long deflection window. Read the telegraph on each heavy swing, parry to avoid the big hit, and bank the mana the deflection earns for your spells.
The build: lean into Malediction
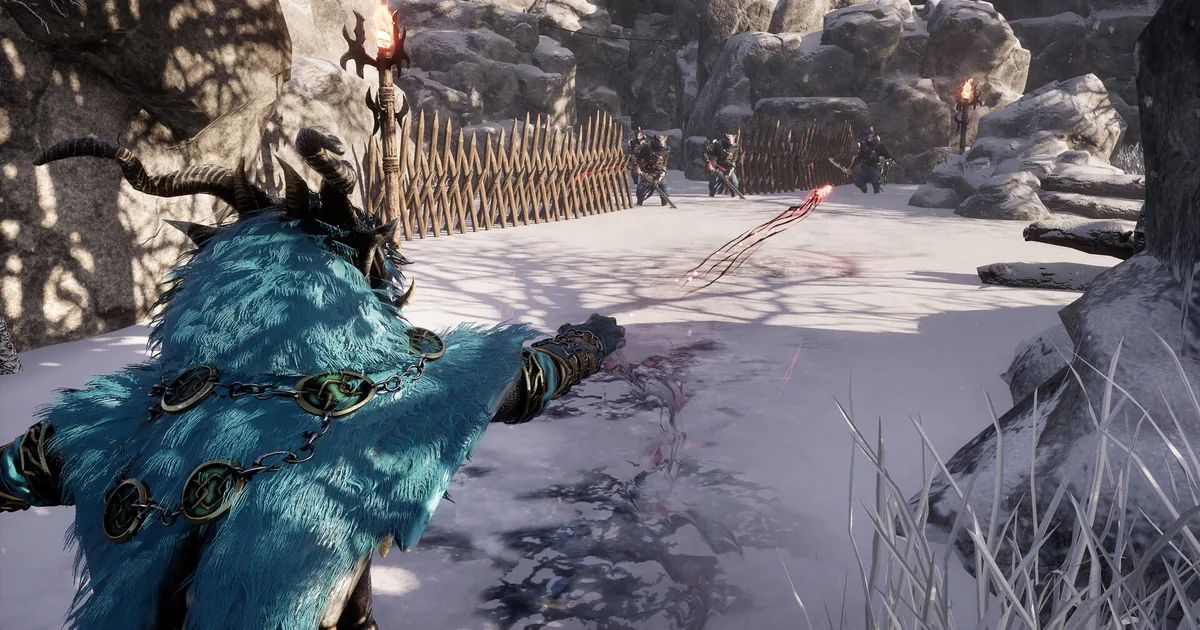
Here is the build insight that makes Hiratrola easier: the fight runs long enough for Malediction curse stacks to reach their ceiling, which makes this one of the best fights in the game for a Myrtuna build. Curse-stacking builds are weak in short fights because they need time to ramp. Hiratrola gives them exactly that time. The brute's two-phase, sustained structure lets your Malediction stacks climb to their maximum, and by the back half of the fight your curse damage is outscaling what a burst build would have done.
Before you walk in, visit the nearest Ellarial Font and rebuild your spell set for the encounter. Do not bring your exploration loadout. Hiratrola is a sustained single-target fight, so favor single-target damage and curse stacking over wide AoE, and keep a burst option for the tight timing windows. Prepping the right spell set at the Font is part of the fight, not an afterthought.
Managing the two phases
The fight is two phases, rated Medium to High difficulty, and the way you carry resources across the phase break decides a lot of attempts.
Because Kristala's mana refills only through landed melee hits, not passively, dodge-heavy, defensive play drains your mana and leaves you spell-less by the second phase. Against a brute you want to be deflecting and countering constantly anyway, which keeps mana flowing, so the aggressive read pays off twice: it avoids damage and it funds your curse spells.
Heal only in the safe windows. Heal during teleports, AoE casts, or phase transitions, never mid-combo. The phase transition in particular is a guaranteed window to top off mana and health before the margin tightens in phase two. Arrive at the second phase with resources banked, because a heavy hit in phase two on an empty bar is how otherwise-won attempts end.
 Hiratrola's long, two-phase fight is where curse-stacking Malediction builds peak. Deflect to keep mana flowing, let the curse stacks climb, and your damage outscales a burst build by the back half.
Where Hiratrola sits in the run
By the time you reach Hiratrola, Kristala has taught you its grammar in pieces, and the brute is where those pieces come together into a clean test. Lophi taught you to deflect instead of dodge and to bank mana through melee. The Grottorot Golem taught you spatial awareness and that the environment is part of the fight. Hiratrola asks you to apply the deflection rhythm against an opponent whose punishes are severe enough that sloppy execution gets exposed.
That makes it a good checkpoint for your own skill. If you are breezing through Hiratrola, your deflection timing and resource management are solid, and the later bosses, Elder Samwise and Elder Satine, will be approachable. If Hiratrola is walling you, the fix is almost always upstream: tighten your deflection reads and stop spending mana you cannot replace, rather than looking for a gimmick.
It is also the clearest argument in the game for building around your clan rather than against it. A Myrtuna curse build that felt mediocre in short skirmishes suddenly shines in this extended fight, which is the game nudging you to match your build to the encounter. Prep at the Font with that in mind, treat the long fight as an asset rather than a chore, and the brute becomes one of the more satisfying clears in Kristala.
GODEEPER: Matching your weapon choice to your clan's strengths pays off in exactly this kind of extended fight. Kristala Best Weapons Guide 2026: All Three Weapon Types →
Frequently Asked Questions
How do you beat Hiratrola? Read the long wind-ups, deflect the heavy swings, and counter. Learn the finite pattern set over a couple of attempts, then execute. Heal only in safe windows.
What kind of boss is it? A large humanoid brute with wide, heavy strength attacks and long wind-ups. Big damage on a connected hit.
Parry or dodge? Deflect the readable heavy swings (the long wind-ups make them parry-friendly), and dodge anything that telegraphs as unblockable.
Best build? A curse-stacking Malediction build (Myrtuna clan), since the long fight lets stacks reach their ceiling. Prep a single-target set at the Font.
How many phases? Two, rated Medium to High. Carry full mana and a heal into phase two.
Is it hard? Harder than Lophi but readable once mapped. The danger is the damage on a misread, not the speed.
Related Reading
The Kristala Boss Guide: All 5 Bosses overviews every fight and where Hiratrola fits.
The Kristala Grottorot Golem Boss Guide covers the second boss and its arena-edge trick.
The Kristala Complete Guide is the hub for every Kristala system, from clans and combat to bosses and builds.
- Kristala Elder Samwise Boss: Beat the Phase 2 Spin: Kristala Elder Samwise boss guide: why phase 2 demands evasion not deflection, the 5-hit combo that tags you,....
- Kristala Elder Satine Boss: The Final Deflection Test: Kristala Elder Satine boss guide: the most deflection-heavy fight in the game, the jumpscare attack that breaks the....
- Kristala Clans: Eminence, Malediction, and Which to Pick: Kristala clans guide: the Eminence vs.
- Kristala Spells Guide: Eminence vs Malediction Explained: Kristala spells guide: Eminence schools deal immediate damage, Malediction builds curse over time.
- Kristala Beginners Guide: Stats, Fonts, and Clan Tips: Kristala beginners guide: stat priorities, Ellarial Font order, and clan tips for a dark fantasy.
- Kristala Combat Guide: Parry Timing and Mana Loop Tips: Kristala combat guide: deflect attacks to build mana, then cast.
References
- Kristala on Steam: official store page, updates, and patch notes
- Astral Clocktower Studios: the developer's Kristala page
Was this guide helpful?
About the author

Indie & JRPG Critic
Indie game evangelist and lifelong JRPG fan covering small studios since 2017. Mumbai-born, London-based. Writes the way she talks.
- 7 years indie games coverage
- JRPG and visual novel specialist
- Narrative design focus
Keep reading


Disclaimer
This article is published for informational and entertainment purposes. It does not constitute professional financial, legal, or technical advice. Game performance, online services, patch schedules, and store listings change. Verify critical details (pricing, system requirements, regional availability) with publishers and storefronts before you buy. Affiliate links, where present, help support our editorial work and are labelled in our affiliate disclosure.