GameBrief · Guides
Kristala Grottorot Golem Boss: The Arena-Edge Kill
This Kristala Grottorot Golem boss guide covers the game's second major fight and its most distinctive trick: you can win without ever emptying its health bar. The Grottorot Golem is a large armored construct at the end of a dungeon, and the arena around it is part of the fight, push it off the edge and it dies. The catch is that the same edge kills you, and every failed attempt sends you back through the whole dungeon. This guide covers the edge kill, the straight fight, and how to stop the run-back from grinding you down.
TL;DR: The Grottorot Golem is Kristala's second major boss, a large armored construct at the end of a dungeon. Its signature: an environmental kill, knock or maneuver it off the arena edge and it dies, no health bar required. But the edges kill you too, so a knockback off the side ends your run just as fast. The dungeon resets on every failed attempt, so learn the route efficiently before committing. The straight fight uses Kristala's deflection combat: close in, deflect and counter, bank mana through melee, spend it on spells. Arrive with Lophi's rhythm already learned.
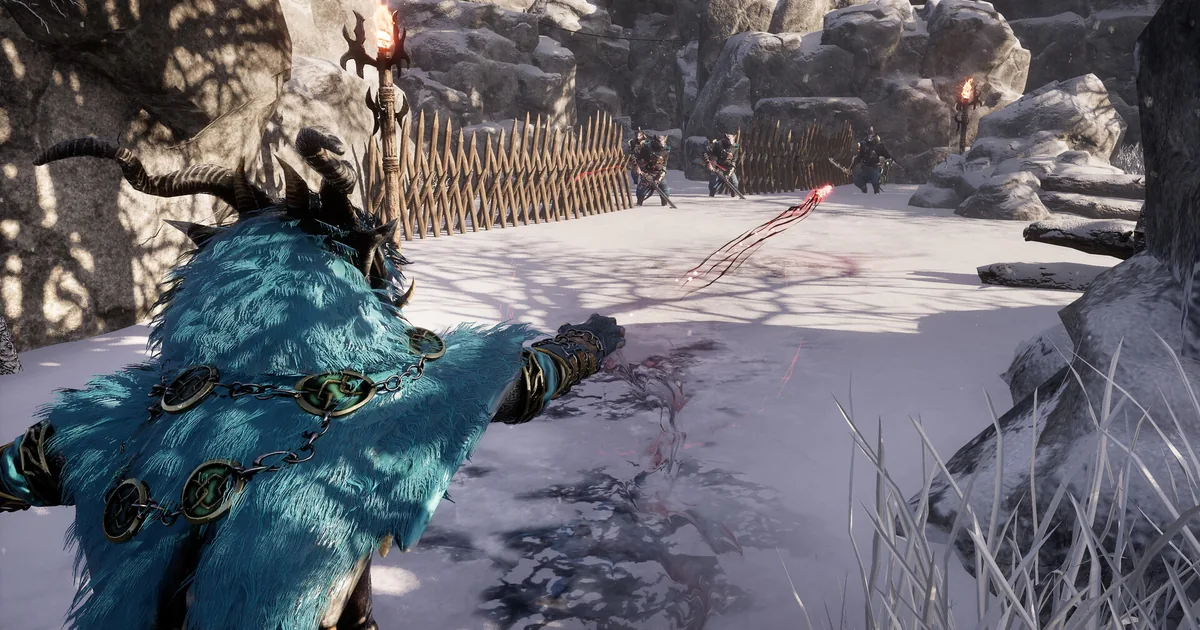
Kristala Grottorot Golem: the arena is the weapon
The Grottorot Golem is a large armored construct reached at the end of a dungeon, and it is the boss where Kristala teaches you that the arena itself is a tool. The headline mechanic is the environmental kill: getting the Golem off the arena edge counts as a kill, not just reducing its health to zero. The community found this as a shortcut, and it reads as intentional design rather than an exploit.
That changes how you think about the fight. Against most bosses your only win condition is damage. Against the Golem, positioning is a second win condition, and often the faster one. But the arena cuts both ways, which is the part that catches people out, and the reason this fight rewards spatial awareness over raw aggression.
Key takeaways
- The Grottorot Golem is Kristala's second major boss, an armored construct in a dungeon.
- Environmental kill: knocking it off the arena edge counts as a kill.
- The same edges kill you, a knockback off the side ends your run.
- The dungeon resets on each failed attempt, so the run-back is the real cost.
- The straight fight uses deflection combat: deflect, counter, bank mana, cast.
- Learn the dungeon route efficiently before committing to serious attempts.
- Arrive with the deflection rhythm Lophi the Lost teaches already learned.
The environmental kill
The fast route is the edge. The Grottorot Golem can be finished by getting it off the arena edge, and for many players that is quicker and safer than grinding its full health bar down with a heavy construct trading blows.
The technique is about positioning rather than damage. You are maneuvering a large, slow target toward a drop, which means controlling the angles of the fight, keeping the Golem oriented toward an edge, and using its attack recovery windows to reposition rather than just to hit. It is patient work, and you are exposed to its attacks the whole time, but the payoff is ending the fight without surviving the full damage race.
Treat the edge kill as a plan, not an accident. Pick the edge you want to push toward at the start of the fight, fight with your back to open arena so you are never the one near the drop, and steer the encounter toward your chosen side.
GODEEPER: The deflection rhythm that funds this fight is taught by Kristala's first boss. Learn it there first. Kristala Lophi Boss Guide →
The edge cuts both ways
Here is the detail that ends more runs than the Golem's attacks do: the arena edges kill you too. Getting knocked off the side by a Golem attack ends your run just as cleanly as your health reaching zero.
So the same mechanic that is your fastest win is also your fastest loss. This is why arena awareness matters as much as the attack patterns. You cannot tunnel on dealing damage or on pushing the Golem while ignoring where you are standing, because a single knockback attack landed while you are near an edge is an instant death, no health bar involved.
The discipline is constant spatial checking: always know where the nearest edge is relative to you, and never let the Golem position you with your back to a drop. The same instinct that lets you push it off protects you from the same fate. Respect the edge as a threat to yourself first, and only then as a weapon against the boss.
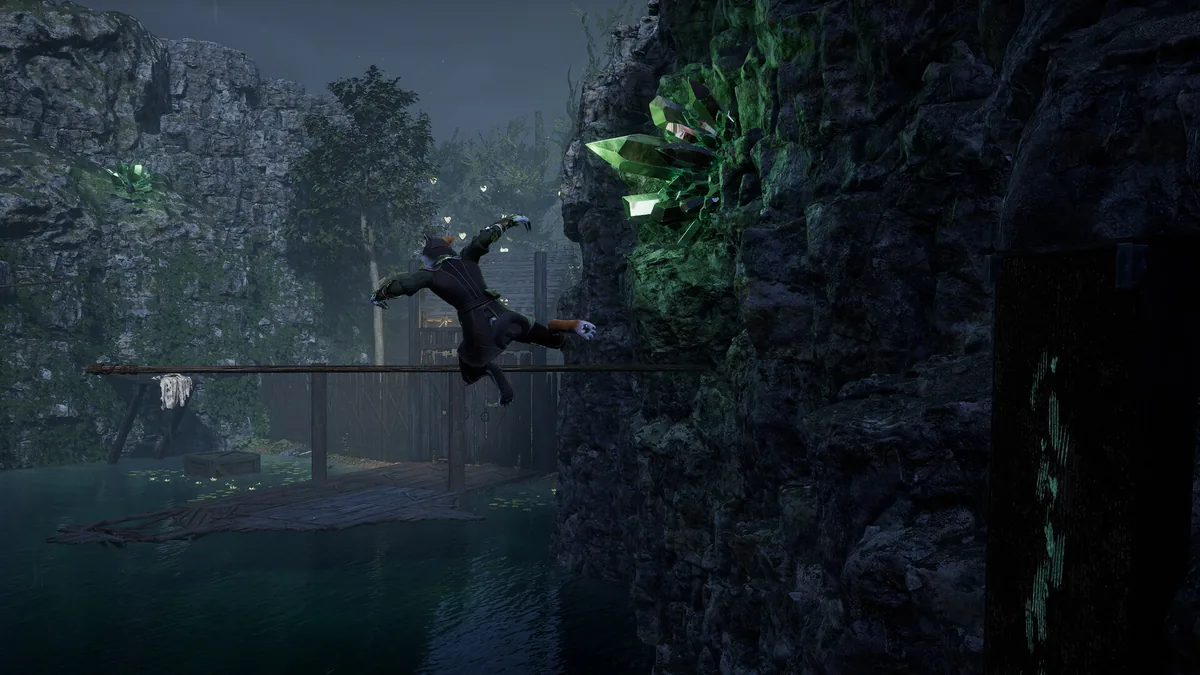 Kristala's environments are full of drops, and the Golem arena is no exception. The edge is both your fastest win and your fastest loss: a knockback that puts the Golem over the side kills it, but one that puts you over the side ends your run.
The dungeon-reset problem
The Grottorot Golem's most frustrating mechanic is not in the fight at all. The Golem is reached at the end of a dungeon, and the dungeon resets on each failed attempt. Every wipe costs you the full traversal back to the arena.
That makes blind, repeated attempts expensive in a way most boss fights are not. If you treat the Golem like a checkpoint boss you can throw yourself at, you will spend more time walking the dungeon than fighting. The smarter approach is to separate the two problems: first learn the dungeon route until it is fast and automatic, so a re-run costs you a couple of minutes rather than a frustrated detour, and only then commit to serious attempts on the boss.
This also lowers the pressure on each attempt. When the run-back is cheap, you can afford to experiment, to test which attacks you can deflect, to try steering the Golem toward an edge, and to learn its patterns across several low-stakes tries instead of feeling every wipe as a punishment.
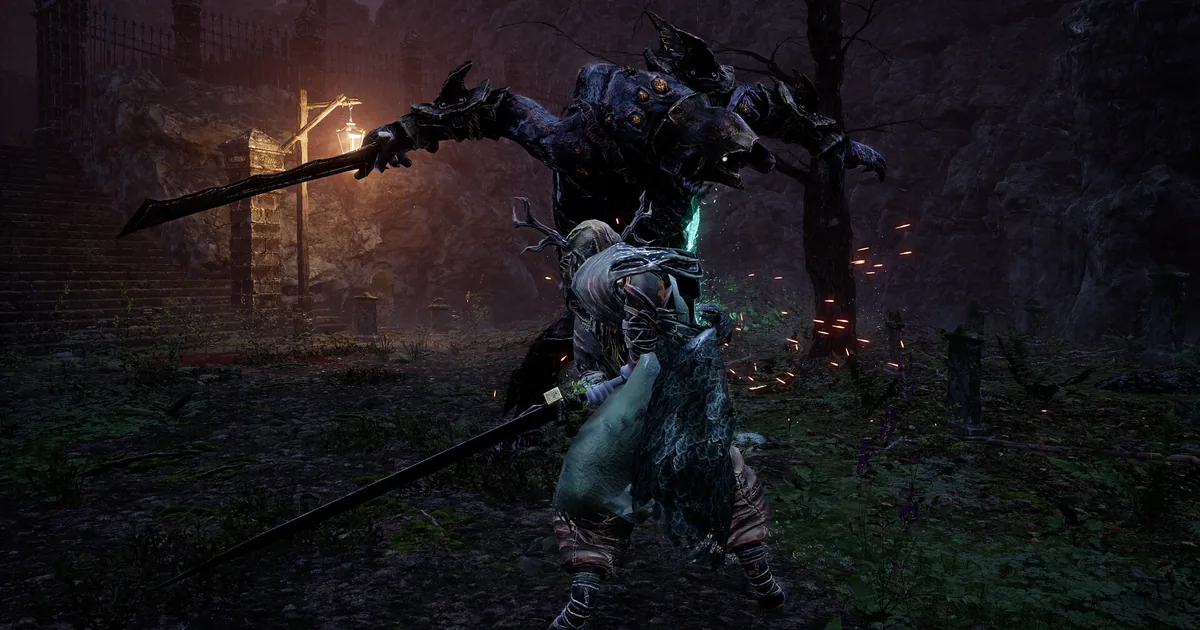
The straight fight: deflection and mana
If you prefer to drop its health bar the honest way, the Golem fight uses Kristala's core combat loop, the same one Lophi the Lost teaches. The intended approach is aggressive: close distance, land deflections and counters, bank mana through melee hits, then spend it on spells during recovery windows. Because Kristala's mana refills through landed melee hits rather than passively, playing defensively against the Golem starves your spells. Stay in, deflect its attacks to open counters and build mana, and release that mana as spell damage when it commits to a recovery animation.
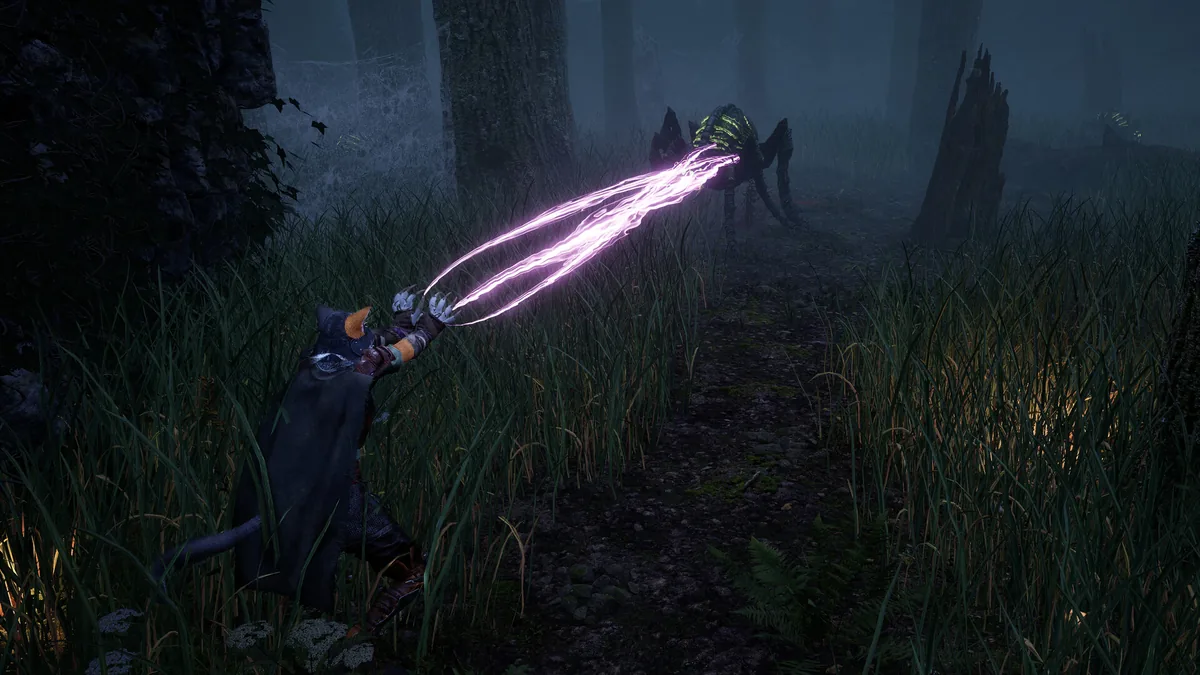 Mana spent on spells is mana you earned with melee. Deflect and counter the Golem to bank the resource, then release it as spell damage in the recovery window after one of its big telegraphed swings.
One caution carried from the rest of the game: test the Golem's attacks rather than assuming. Some Kristala attacks can be parried even when they look unblockable, and others must be dodged. Read each wind-up, deflect what you safely can, and dodge anything that telegraphs as unblockable, especially attacks that threaten to knock you toward an edge.
Which approach should you take?
The two win conditions suit different players, and it is worth deciding before you walk in rather than switching mid-fight.
The environmental kill rewards patience and spatial control. If you find the straight damage race grinding, if the Golem's health bar feels like it is barely moving while yours keeps dropping, the edge is your release valve. Commit to positioning: pick an edge, keep the Golem between you and it, and use its recovery windows to nudge the encounter toward the drop. It is slower minute to minute but it sidesteps the need to out-damage a heavily armored target.
The straight fight rewards mechanical confidence with Kristala's combat. If your deflection timing is sharp and your mana economy is humming from the Lophi fight, dropping the Golem's health the honest way is reliable and does not depend on the geometry of the arena. It also builds the skills the later bosses, Hiratrola, Elder Samwise, and Elder Satine, will demand, none of which hand you a convenient edge.
A practical middle path: open with the straight fight to learn the Golem's patterns on a cheap run, and keep the edge kill in your back pocket for the attempt where you want the fight over. Either way, the deflection rhythm and the spatial awareness are what carry you, so practice both rather than betting the run on one.
GODEEPER: See where the Golem sits in the full boss order and what each of the other four fights demands. Kristala Boss Guide: All 5 Bosses and How to Beat Them →
Frequently Asked Questions
How do you beat the Grottorot Golem? Either fight it with Kristala's deflect-counter-bank-mana loop, or use the environmental kill by knocking it off the arena edge.
Can you push it off the edge? Yes. Getting it off the arena edge counts as a kill, and it appears to be intentional. Mind that the edge kills you too.
Why is it frustrating? The dungeon resets on each failed attempt, so every wipe costs the full run-back. Learn the route first.
Where is it? At the end of a dungeon in the Myr region, the game's second major boss after Lophi.
Should I parry it? Deflection is the core approach, but test each attack, some are parryable, some must be dodged, especially edge-knockback attacks.
Is it hard? Harder than Lophi, mostly due to the run-back and two-way edge danger rather than a single brutal attack.
Related Reading
The Kristala Boss Guide: All 5 Bosses overviews every fight and how the Golem fits the roster.
The Kristala Lophi Boss Guide covers the first boss and the deflection rhythm the Golem fight relies on.
The Kristala Complete Guide is the hub for every Kristala system, from clans and combat to bosses and builds.
- Kristala Elder Satine Boss: The Final Deflection Test: Kristala Elder Satine boss guide: the most deflection-heavy fight in the game, the jumpscare attack that breaks the....
- Kristala Clans: Eminence, Malediction, and Which to Pick: Kristala clans guide: the Eminence vs.
- Kristala Spells Guide: Eminence vs Malediction Explained: Kristala spells guide: Eminence schools deal immediate damage, Malediction builds curse over time.
- Kristala Beginners Guide: Stats, Fonts, and Clan Tips: Kristala beginners guide: stat priorities, Ellarial Font order, and clan tips for a dark fantasy.
- Kristala Combat Guide: Parry Timing and Mana Loop Tips: Kristala combat guide: deflect attacks to build mana, then cast.
References
- Kristala on Steam: official store page, updates, and patch notes
- Kristala Walkthrough: The Grottorot Golem & Myr Capital: gameplay walkthrough of the dungeon and boss
Was this guide helpful?
About the author

Games Critic
Games writer and reluctant optimist who has reviewed over 400 titles across 9 years. Irish, currently in Berlin. Has strong opinions about tutorial design.
- 400+ games reviewed across 9 years
- Platformer and horror specialist
- Narrative design focus
Keep reading


Disclaimer
This article is published for informational and entertainment purposes. It does not constitute professional financial, legal, or technical advice. Game performance, online services, patch schedules, and store listings change. Verify critical details (pricing, system requirements, regional availability) with publishers and storefronts before you buy. Affiliate links, where present, help support our editorial work and are labelled in our affiliate disclosure.