
GuideHow to Fish
How to Fish Boss Guide: All 10 Encounters in Order
About the game
How to Fish
Dazed Games · Dazed Games
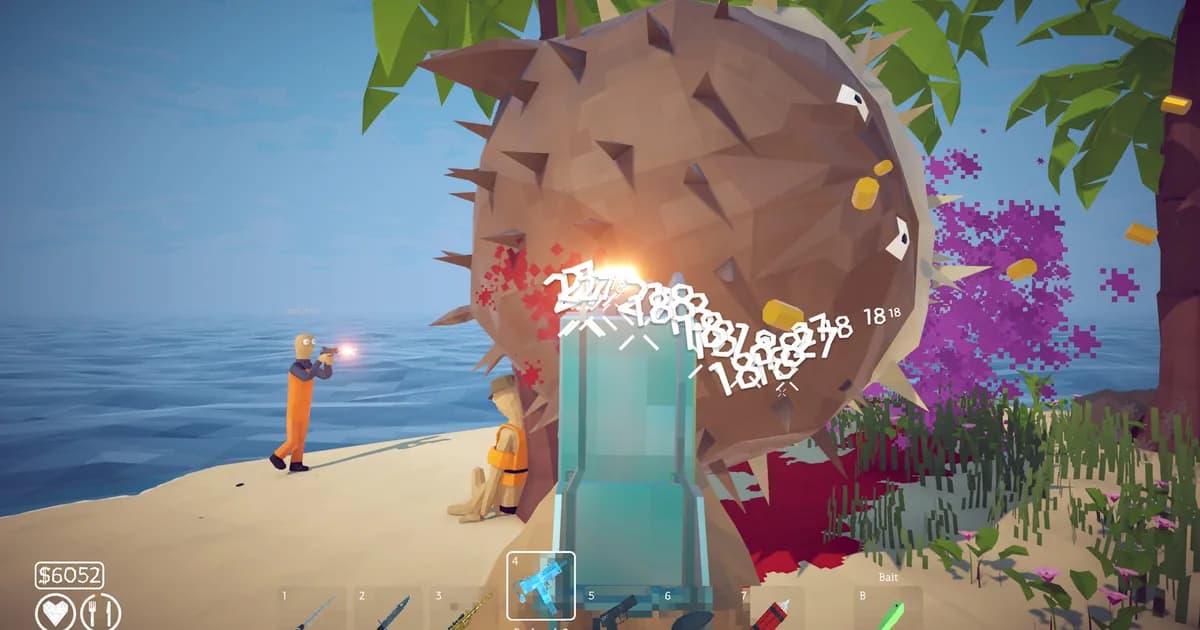
How to Fish boss guide research has a small problem: the game is patched often, and the current community roster is broader than the eight-boss lists that still appear in search. This guide counts 10 named boss or major-creature encounters, including the optional Old Pike and Goblin Shark, then separates them from the story route so you know which fights actually unlock the next island.
The snapshot here was checked on September 21, 2026. Steam lists How to Fish at $7.99 for Windows, and its English review endpoint reports 26,810 positive reviews out of 27,956, with an Overwhelmingly Positive score. The How to Fish beginner guide still has the right early-game advice, but its albatross mention is no substitute for a current route through every encounter.
TL;DR: Follow Spider Crab, Giant Piranha, Pufferfish, Tuna, Albatross, Bowhead Whale, and Mutated Bowhead Whale for the main ending. Old Pike, Blue Shark, and Goblin Shark are optional. Save every story drop, bring a controllable ranged weapon and healing, watch the escape timer, and use cover against Albatross. Patch 1.0.9 added Easy mode, and patch 1.0.12 fixed explosive damage on the final boss's tail landing.
How to Fish boss guide: who should you fight first? (quick answer)
For the fastest story clear, fight Spider Crab, Giant Piranha, Pufferfish, Tuna, Albatross, Bowhead Whale, and Mutated Bowhead Whale in that order. Take Old Pike, Blue Shark, and Goblin Shark when you have spare bait and ammunition. The first boss teaches charge timing, the middle route tests movement and ranged damage, and the Volcano sequence tests whether you protected each quest body.
Key Takeaways
- This How to Fish boss guide treats the full roster as 10 encounters, with optional fights clearly separated from the story route.
- The current full encounter list has 10 names. Shorter boss pages show eight because Old Pike and Goblin Shark are optional and do not gate the story.
- The core progression is a chain of bait, fight, trophy, and hand-in steps. Killing a boss is often only half of the island objective.
- Tuna is a setup fight for Albatross. Keep its complete body instead of cooking or selling it.
- Albatross is a ranged fight. Use cover through the rain attack and shoot during its recovery or climb.
- Bowhead Whale and Mutated Bowhead Whale are one continuous Volcano Island sequence. Keep the carcass and throw it into the volcano.
- Exact health and damage values are not officially published. This guide avoids inventing numbers and labels current field-guide tactics as community-verified.
Overview: the current How to Fish boss roster
This How to Fish boss guide uses the current encounter order published by the fan-made How to Fish Wiki boss roster, which was updated on August 28, 2026. It calls itself a list of 10 story and optional encounters. A separate boss page updated September 10 calls the primary list eight bosses and leaves out Old Pike and Goblin Shark. The two pages use different scopes. This guide includes the optional encounters so the roster is complete.
| # | Island | Encounter | Status | Trigger and item to keep |
|---|---|---|---|---|
| 1 | Lighthouse | Spider Crab | Story | Empty Beer Can; keep the shell for the boat route |
| 2 | Forest | Old Pike | Optional | Beginner Boss Lure; no main-story hand-in |
| 3 | Forest | Giant Piranha | Story | Modified Leech; keep the skeleton |
| 4 | Desert | Blue Shark | Optional | Standard Boss Lure; complete the Grillmaster route |
| 5 | Desert | Pufferfish | Story | Carrot bait; keep the fin |
| 6 | Rocks | Tuna | Story setup | Professional Boss Lure; keep the whole body |
| 7 | Rocks | Albatross | Story | Defeated Tuna; keep the head |
| 8 | Volcano | Goblin Shark | Optional | Scientific Boss Lure; no main-story hand-in |
| 9 | Volcano | Bowhead Whale | Story | Fish Bucket; keep the complete carcass |
| 10 | Volcano | Mutated Bowhead Whale | Final story boss | Bowhead Whale carcass; keep the fin for the ending |
The seven named fights on the main chain are Spider Crab, Giant Piranha, Pufferfish, Tuna, Albatross, Bowhead Whale, and Mutated Bowhead Whale. Tuna is the physical trigger for Albatross, and Bowhead Whale is the physical trigger for the mutated final form, which is why the route can feel like it has fewer cleanly separated boss rooms than the roster suggests.
The official Steam patch feed does not publish a complete roster, but it does confirm that Pufferfish and Whale received balance changes in patch 1.0.4, that patch 1.0.12 rebalanced Piranha and Tuna, and that the final boss now takes explosive damage when landing on its tail. That is the standard used here: use official notes for confirmed patches, and use a current dedicated field guide for the names, triggers, and hand-ins the official feed does not enumerate.
Step-by-Step: how to beat every encounter
Use this How to Fish boss guide as a route sheet, then adjust the weapon choice to your own aim. Before spending bait, top up ammunition, carry cooked fish for healing, and make sure the weapon you can aim is the one in your hotbar. A flashy gun that you cannot control is less useful than a modest weapon that lets you keep firing while moving. Do not sell or cook a large creature until you know whether its body is the next trigger.
1. Spider Crab: Use the Empty Beer Can, sidestep the charge, punish the stun, and return the shell for the boat route. 2. Old Pike: Spend a Beginner Boss Lure only when you have a firearm and enough ammunition for the optional Forest fight. 3. Giant Piranha: Return three Leeches, use the Modified Leech, clear the small piranhas, and hand in the skeleton. 4. Blue Shark: Use a Standard Boss Lure on Desert Island and finish the Grillmaster side objective instead of selling the catch. 5. Pufferfish: Trade for the Carrot, keep clean ground around the trees, and return the Fin to the Tourist. 6. Tuna: Use a Professional Boss Lure, then save the whole body because it summons Albatross. 7. Albatross: Place the Tuna, use cover through the rain, and shoot with a reliable long-range weapon. 8. Goblin Shark: Treat the Scientific Boss Lure as a late optional challenge with no story hand-in. 9. Bowhead Whale: Trade five Volcano fish for the Fish Bucket and carry the carcass to the crater. 10. Mutated Bowhead Whale: Throw in the carcass, avoid lava, and return the final Fin after the kill.
1. Spider Crab: sidestep the first charge
Spider Crab is the Lighthouse story encounter and the game's first real combat lesson. Finish the Lighthouse Keeper's beer request, use the returned Empty Beer Can as bait, and stay close enough to invite the crab to commit to a charge. Move sideways rather than backing straight up. When the charge misses, the crab has a short recovery window. Spend that window attacking, then reset your position instead of trying to stand in front of it.
Keep the shell and complete the Lighthouse Keeper interaction after the kill. The boat keys, not the sale value of the drop, are the useful reward. If the crab is overwhelming you, buy enough ammunition for several attempts before using the bait again. This is a good fight for learning the game's basic rhythm: make a boss choose an attack, leave its line, then punish the recovery.
2. Old Pike: the optional Forest fight
Old Pike is the first optional encounter in the broader roster. Buy a Beginner Boss Lure on Forest Island and bring a firearm. The lure is separate from the Modified Leech needed for Giant Piranha. The current field guide describes Old Pike as a collection and money fight rather than a route gate.
Give yourself space when the pike lands. The body and tail can turn a close approach into a ragdoll launch, so keep moving around its outside and maintain steady firearm damage. Current encounter notes also warn about an escape meter. If it starts to drain, stop looting or repositioning and keep pressure on the creature. There is no main-story trophy hand-in after this fight, so skip it when cash or ammunition is tight.
3. Giant Piranha: clear the small piranhas first
Giant Piranha is the Forest story boss. The setup begins with the woman beside the lake: collect the three Leeches, return them, and use the Modified Leech she gives back as the fight trigger. The encounter adds smaller piranhas, so the safest opening is to reduce those distractions before committing every shot to the large target.
Keep moving while the smaller fish are alive. If the main boss jumps while you are focused on a minion, break line and regain a clear angle rather than trying to tank the bite. Patch 1.0.12 specifically rebalanced Piranha, so old videos may not reflect its current tuning. After the kill, keep the skeleton and return it to the lake-side NPC. The island does not unlock just because the health bar reached zero; the hand-in completes the route.
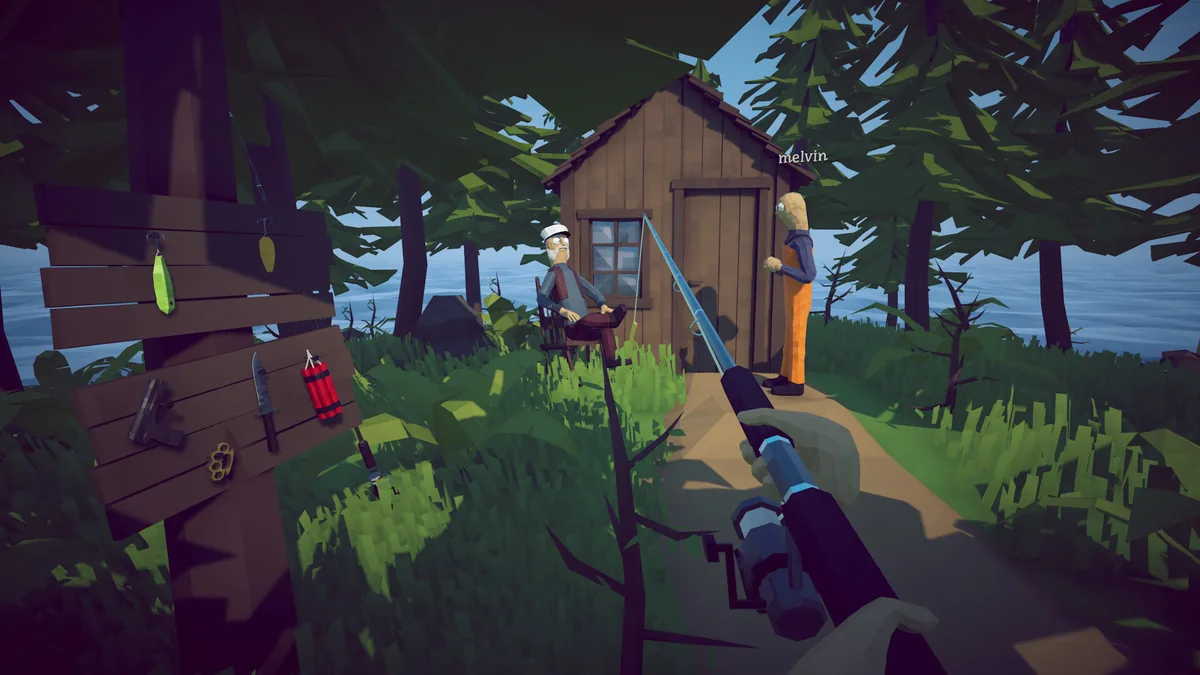 The bait board shows why boss preparation matters: the lure, explosives, tools, and quest setup all compete for the same inventory decisions.
4. Blue Shark: finish the optional Grillmaster route
Blue Shark is an optional Desert Island encounter. Use a Standard Boss Lure, bring a weapon you can fire while moving, and keep sideways distance when the shark begins its spinning approach. Do not spend the lure before checking that you have enough ammunition to finish the fight within its escape window.
The Blue Shark leads to the Grillmaster side objective, while Rocks Island remains the main route. Carry the required catch to the Grillmaster and complete that interaction instead of selling it. If you are only trying to reach the ending, this is a safe fight to postpone.
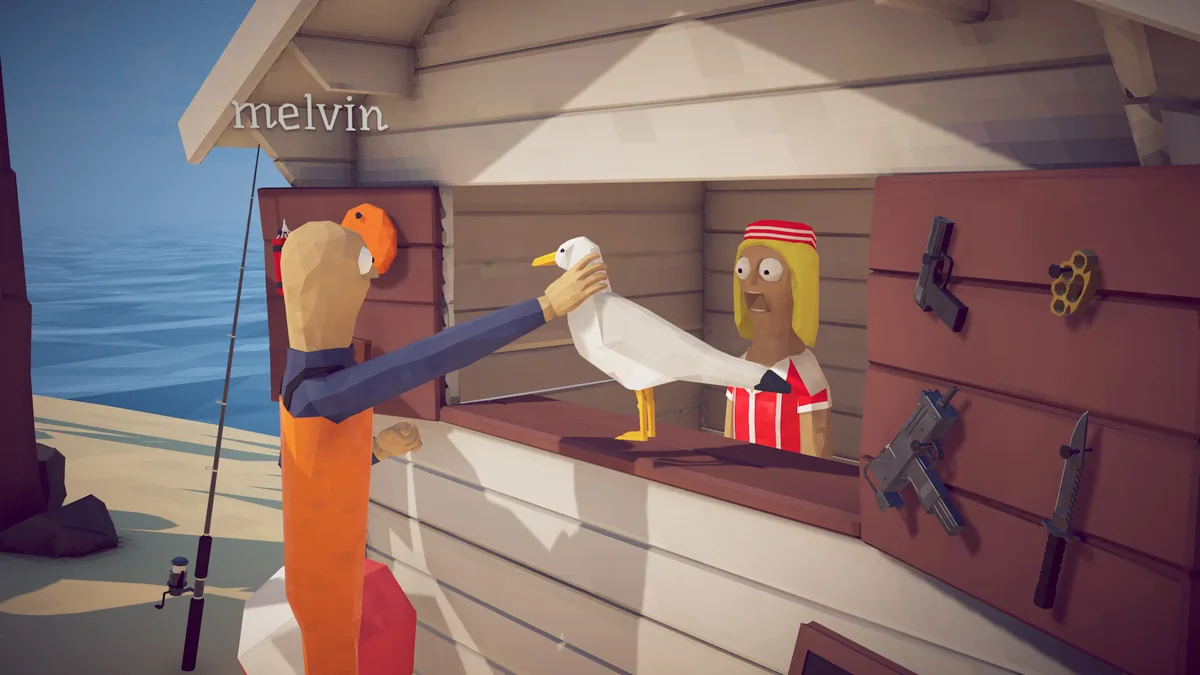 The Grillmaster hand-in is the kind of post-fight step that can be missed if you treat every boss catch as ordinary sellable loot.
5. Pufferfish: keep clean ground around the trees
Pufferfish is the main Desert Island gate. The trigger is a Carrot obtained through the island's Tourist request. Once the creature appears, use the trees and terrain to interrupt a direct charge, but do not box yourself into a tiny circle. The current field guide calls out a later purple poison phase, so widen your route before the clean ground disappears.
Move first and shoot second. Fire while Pufferfish is turning or recovering, then keep a clear path to the next patch of ground. Patch 1.0.4 nerfed Pufferfish, but standing still is still dangerous. Keep the Fin after the fight and complete the Tourist hand-in to unlock the Rocks route. Selling the trophy throws away progression for a small payout.
6. Tuna: preserve the body for Albatross
Tuna is the Rocks Island setup encounter. Buy a Professional Boss Lure, reload before using it, and prepare a strong close-range weapon for the jump pattern. Step away from the landing line, turn, and fire as the Tuna recovers. Make the landing miss while keeping the boss inside your firing angle. Standing in front of the fish only turns the jump into free damage against you.
The item rule is more important than the kill: keep the entire defeated Tuna. Do not cook it, sell it, or leave it in a dangerous corner of the island. Place the body on the ground to summon Albatross. If the body disappears or the next encounter does not start, rebuild your ammunition before spending another expensive lure and check that the complete body was preserved.
7. Albatross: use cover and a long-range weapon
Albatross is the Rocks Island story gate and the fight already mentioned in our beginner guide. The complete Tuna body is the trigger. Before placing it, find a piece of cover and decide where you will retreat if the bird starts its ranged attack. A Sniper Rifle, Uzi, or another accurate long-range weapon is more reliable here than a shotgun because the bird spends much of the encounter away from you.
Use cover during the rain attack. When the projectiles stop, step out and fire during the short recovery before the next cycle. If Albatross dives or climbs after a low charge, track the upward path and take the second clean window. Do not spend the whole attack trying to land low-percentage shots from the open.
After the kill, collect the head and return it to the Rocks Island NPC. That hand-in gives the Volcano coordinates. If the fight feels impossible solo, patch 1.0.9's Easy mode is a legitimate route: it changes creature health and damage, not the bait or story sequence. Our How to Fish review also covers why this encounter is a sharper solo test than the game's early fishing loop.
8. Goblin Shark: leave the optional Volcano fight for later
Goblin Shark is the second optional encounter in the full list. It uses a Scientific Boss Lure on Volcano Island and sits outside the scientist's fish request and the whale ending chain. Save it for a late collection run instead of treating it as the next step after Albatross.
Bring a late-game weapon, ammunition, and healing before buying the lure. The current encounter notes recommend keeping damage on the shark while its escape meter is active, but there is no story item you need to protect afterward. If you are short on supplies, finish the Bowhead sequence first and return for Goblin Shark when the ending is secure.
9. Bowhead Whale: carry the carcass to the volcano
Bowhead Whale begins the final Volcano Island sequence. Feed the hazmat scientist five Volcano-native fish to receive the Fish Bucket, then use the bucket as bait. Keep an escape lane open because the whale's aerial body slam covers more ground than its first approach suggests. Attack after a charge or slam has finished, then return to movement before the next launch.
The whale's carcass is the quest item. Carry the complete body up the wooden route and throw it into the volcano. Do not assume the kill itself unlocks the final fight. If the body is lost, the route may require another attempt, so clear nearby obstacles and coordinate who is carrying it when playing in co-op.
10. Mutated Bowhead Whale: survive the lava phase
The Mutated Bowhead Whale is the final story boss. Throw the defeated Bowhead Whale into the volcano to start it, then move back onto clean ground before the creature's charges and body slams begin. The fight adds falling lava to the Whale's aerial pressure, so a position that was safe for one attack may not stay safe for the next.
Keep circling through open ground, attack after a committed charge or slam, and never take a greedy shot that leaves you standing in lava. Patch 1.0.12 changed an important interaction: the final boss should now take explosive damage even when it lands on its tail. That does not make dynamite risk-free. Patch 1.0.11 also made players die from their own explosives even with friendly fire disabled, so clear your team before throwing one.
Collect the final Fin and return it to the hazmat scientist for the military-boat key. The last trophy hand-in is part of completing the ending, just as the earlier shells, skeletons, fins, and heads are part of their island routes.
Tips: prepare for every How to Fish boss fight
The most useful part of this How to Fish boss guide is the item discipline. Every island asks you to carry a trophy or carcass through an arena where weapons, bodies, and players are constantly getting thrown around.
Use Easy mode when the numbers are the problem
Patch 1.0.9 added difficulty selection from the main menu and in-game. Easy gives every creature 25% less health and 50% less damage. Hard gives creatures 25% more health and 25% more damage. These settings change the combat numbers. Bait, island order, and trophy hand-ins stay the same. If a boss is blocking a group that is otherwise enjoying the game, Easy mode is a useful accessibility setting and a reason to keep the run moving.
Treat story drops as keys, not loot
The most common route failure is selling something that looked like a valuable catch. Spider Crab's shell, Giant Piranha's skeleton, Pufferfish's Fin, Tuna's body, Albatross's head, Bowhead's carcass, and the final Fin all have progression jobs. Keep them in a visible inventory slot until the next NPC or map trigger registers.
Watch the escape timer
Current community field guides describe a white escape meter below the boss health bar. It can run out while you are healing, searching for a weapon, or trying to recover a dropped item. Plan the arena before using a lure, then keep damage moving through the safe windows. This matters most for optional fights, where spending the bait without finishing the encounter gives you no story progress.
Split jobs in co-op
Patch 1.0.4 raised lobbies from the original 1-4 player listing to as many as eight players. One player can carry the quest item while another keeps the boss's attention, but agree on the hand-in before the fight ends. A bigger lobby also makes dropped weapons and bodies harder to track, so call out where a Tuna or Bowhead carcass is going before anyone starts cooking or selling.
For a deeper multiplayer setup comparison, see our Pratfall Multiplayer Guide, Pratfall Max Players Guide, and Pratfall Tips Guide.
Respect explosives and patch drift
The official patch notes are unusually important for this game. Pufferfish, Whale, and other creatures have already been rebalanced. Patch 1.0.11 changed the risk of your own explosives, and patch 1.0.12 changed how explosives interact with the final boss's tail landing. If a tactic comes from an old video, check the current patch feed before treating it as a rule. The How to Fish review has more context on why launch-week advice ages quickly here.
Keep one controllable ranged option
The roster mixes ground charges, spinning approaches, poison terrain, aerial attacks, and lava. A single weapon will not be perfect for all 10 encounters, but a controllable ranged option gives you a way to keep contributing when a boss leaves melee range. The Albatross is the clearest example, while Spider Crab and Tuna reward timing around close-range recovery windows.
Frequently Asked Questions
How many bosses are in How to Fish?
The full current roster has 10 boss or major-creature encounters, including optional Old Pike and Goblin Shark. Shorter eight-boss lists omit those two optional fights.
What is the How to Fish boss order?
The main route is Spider Crab, Giant Piranha, Pufferfish, Tuna, Albatross, Bowhead Whale, and Mutated Bowhead Whale. Old Pike, Blue Shark, and Goblin Shark are optional.
How do you summon Albatross?
Defeat Tuna with a Professional Boss Lure, keep the whole body, and place it on Rocks Island. The Tuna body summons Albatross. Keep Albatross's head for the next hand-in.
What is the best weapon for Albatross?
Use a dependable long-range weapon and shoot after the rain attack or during the bird's climb. Stay under cover while it is attacking from range instead of trading shots in the open.
Does How to Fish have Easy mode?
Yes. Patch 1.0.9 added Easy mode with 25% less creature health and 50% less creature damage. It leaves bait, triggers, and trophy hand-ins unchanged.
Are boss health numbers official?
No. Dazed Games has not published a complete health or damage table. Treat exact numbers from community guides as provisional, especially after patches that rebalance individual creatures.
Related Reading
- How to Fish Beginner Guide: 8-Player Co-op Tips: early money, weapons, difficulty settings, and the original Albatross advice.
- How to Fish Review: A Co-op Hit With a Solo Problem: the broader verdict on the physics, progression loop, and solo difficulty.
- Pratfall Complete Guide: another physics-driven co-op game with a larger item and biome system.
- Pratfall Tips: Biomes, Items, and the Catch Mechanic: practical advice for a similar group-first game.
- Pratfall Multiplayer Guide: player caps, lobby setup, and voice chat for a comparable co-op session.
- Pratfall Max Players Guide: a focused answer for groups deciding how many friends to invite.
- Best Indie Co-op Games Under $20: more low-cost games to play with the same group.
- Best Indie Co-op Games for the Steam Summer Sale: a broader co-op shortlist if your party finishes the islands.
- Best Co-op Games for September 2026: more current group picks if your party wants a second game.
- Sunderfolk Online Co-op Guide: a very different co-op structure that still rewards a coordinated group.
- Beastro Deck Building Guide: another co-op-friendly indie game with a deeper build loop.
- Beastro Boss Guide: a second boss-focused guide with a very different combat rhythm.
References
- How to Fish on Steam
- How to Fish app details and current price
- How to Fish English review summary
- Dazed Games patch 1.0.4
- Dazed Games patch 1.0.9
- Dazed Games patch 1.0.11
- Dazed Games patch 1.0.12
- How to Fish Wiki: all bosses and major encounters
- How to Fish Wiki: eight-boss route cross-check
- Pixel Twelve: How to Fish bosses and islands walkthrough
- Dazed Games official YouTube channel
Was this guide helpful?
About the author

Games Critic
Games writer and reluctant optimist who has reviewed over 400 titles across 9 years. Irish, currently in Berlin. Has strong opinions about tutorial design.
- 400+ games reviewed across 9 years
- Platformer and horror specialist
- Narrative design focus
Keep reading
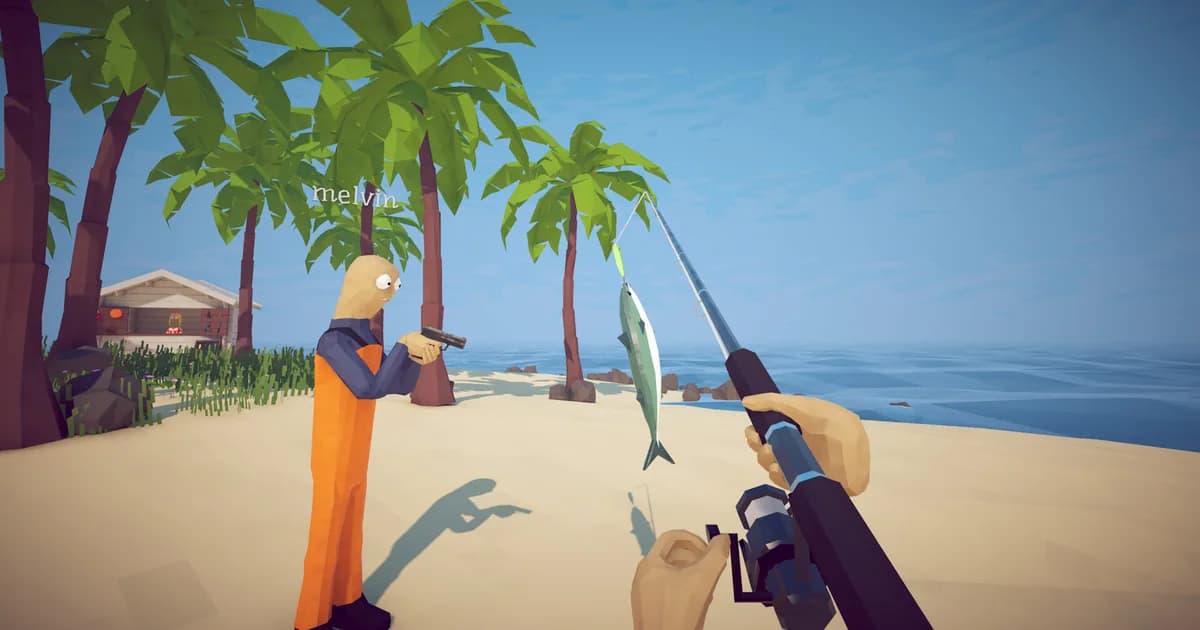
How to Fish Review: A Co-op Hit With a Solo Problem
Reviews · 9 min
How to Fish Beginner Guide: 8-Player Co-op Tips (2026)
Guides · 12 min
Best Co-op Games to Play Right Now in September 2026
Features · 11 min
Beastro Boss Guide: All 7 Bosses and Unlock Order (2026)
General · 8 min
Scrap Mechanic New Enemies: Every Bot Confirmed in 1.0
General · 14 min
33 Immortals Complete Guide: Realms, Builds, and Co-op Tips
General · 14 min
Game deals · affiliate links

Disclaimer
This article is published for informational and entertainment purposes. It does not constitute professional financial, legal, or technical advice. Game performance, online services, patch schedules, and store listings change. Verify critical details (pricing, system requirements, regional availability) with publishers and storefronts before you buy. Affiliate links, where present, help support our editorial work and are labelled in our affiliate disclosure.
Comments
Loading comments…