GameBrief · General
Romestead Buildings Guide: All Buildings & Build Order

Reviewing
Romestead
Romestead buildings are the skeleton of your whole settlement, and the order you place them decides whether your first few in-game days are smooth or a famine. This Romestead buildings guide covers what every major building does, the build order that keeps villagers fed and alive, and the rule that fixes most early collapses: assign a villager or the building does nothing.
TL;DR: Build Town Core, Workbench, Food Storage and a Farmstead first so nobody starves, then the Altar (Workbench plus 3 Stone) for worship and quests. Add the Blacksmith for gear, the Lumberyard (Forest biome only) for wood, the University for tech, and the Logistics Tent to automate hauling. Every production building needs a villager assigned, ideally one whose Trait matches the job. Order: feed first, work second, expand third, defend fourth.
What should you build first in Romestead? (quick answer)
Place the Town Core first, then a Workbench, then Food Storage and a Farmstead so your villagers stay fed. Next comes the Altar (just a Workbench and 3 Stone) to unlock worship and quests. Only after food is stable do you add production (Blacksmith, Lumberyard) and then defense (Torches) before the first undead night raid. Feed first, work second, expand third, defend fourth.
Key Takeaways
- Town Core is the hub: recruit citizens, rename, settlement overview
- Food Storage + Farmstead come early; hunger is the #1 early-game killer
- Altar is cheap (Workbench + 3 Stone) and unlocks worship and quests
- Every production building needs a villager assigned, or it does nothing
- Lumberyard is Forest-biome only; build enough before moving on
- Logistics Tent automates resource transfer and repeatable work orders
- Build order rule: feed, work, expand, defend
The core buildings and what they do
These are the buildings that form the spine of any Romestead settlement.
Town Core. Your central building and the first thing you place. You recruit citizens here, rename the town, and check the settlement overview. Everything else grows around it.
Workbench. The basic crafting station and a prerequisite for the Altar. Cheap and early.
Food Storage. Stores food and supplies your villagers. Place it in the center of town so its supply range covers your population. A badly placed Food Storage is how new players accidentally starve half their settlement.
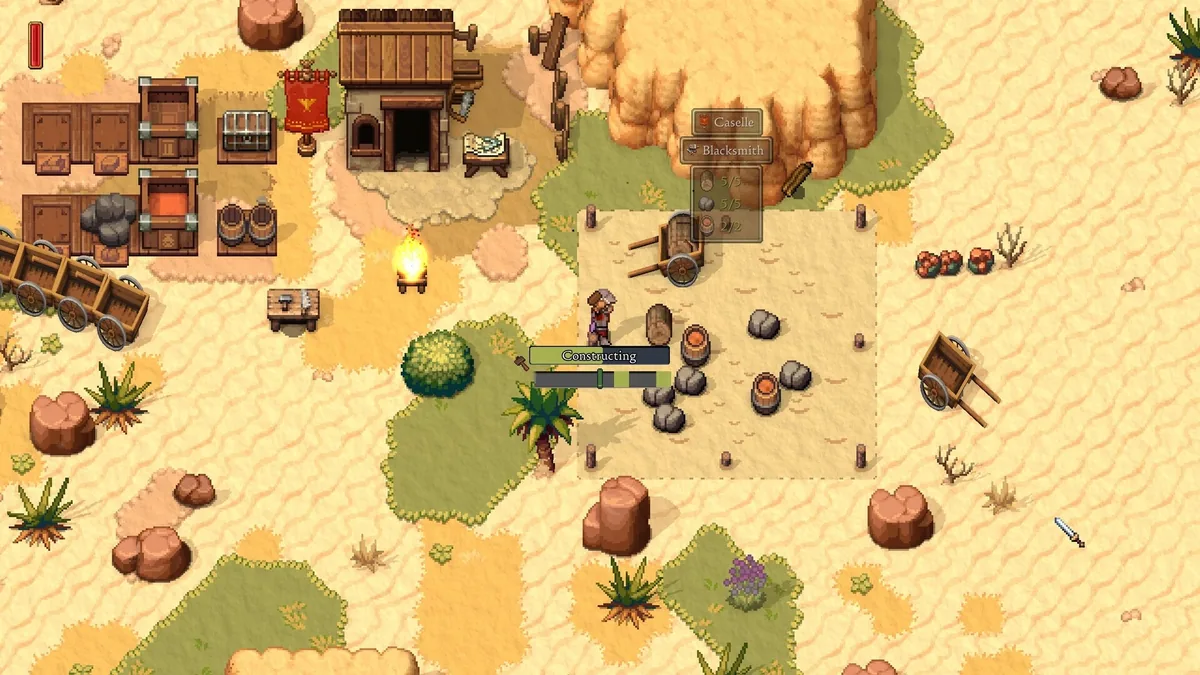
Farmstead. Automatically tends and harvests crops within a 6-tile range to its left, right, or above, but the range never extends below the building, so you need to plan crop plots in the three valid directions before placing it. With a villager assigned, it handles harvesting without manual work. One Farmstead is enough for the early settlement, but once your population grows beyond a handful of citizens you will want a second one: a single Farmstead covering a small field can keep four or five villagers fed, but it can't keep pace with a larger town's consumption. The best worker for it is a citizen with the Green Thumb Trait; assigning one triggers the Purposeful happiness buff and lifts food output without any additional build cost. Farmsteads work in the Desert and Volcanic biomes, so your food setup carries forward as you expand. The Farmstead harvests, but Food Storage is what distributes food to your villagers: both buildings need to be present and staffed for the food loop to function.
 The build menu groups structures by type. The Logistics Tent (shown) automates hauling between buildings once your town grows.
Altar. The worship interface and quest hub, and one of the best early investments. It only needs a Workbench and 3 Stone, so you can unlock worship within your first day. You make offerings to raise Worship Level, activate Blessings, and apply boss-drop knowledge. Our Romestead god system guide covers which god to back first.
Carpenter. Handles upgrades. Upgrading the Altar at the Carpenter unlocks teleportation between settlements, which becomes essential once you are managing more than one base.
GODEEPER: A building does nothing without the right person in it. Here is how recruiting and assigning works. Romestead Villagers Guide →
Production and progression buildings
Once food and worship are handled, these buildings drive your power curve.
Blacksmith. Smelts ore into bars and crafts tools, armor, and weapons. This is your gear pipeline. Each biome introduces a new ore tier, so the Blacksmith is where Copper becomes Bronze becomes Iron. The Romestead biome guide maps which ore comes from which biome.
Lumberyard. Makes lumber extraction efficient. Placeable in the Forest and, since a post-launch patch, the Volcanic biome (where it can also harvest coal). You cannot carry it back to Plains, and it's still banned in the Desert. Build enough Forest lumber production to carry you through the Desert phase, since that's the one biome with no lumber option at all.
University. Your research building. It costs 4 Lumber, 6 Stone, and 8 Brick to build, but you cannot place it until you complete Mercury's Significant Pursuit quest (1 Research Paper plus 1 Traveler's Coin) with your Altar at level 3. Once built and staffed, it generates more papers over time and unlocks advanced technology and mid-tier magic weapons. See the Romestead research papers guide for how to farm the paper you need to unlock it.
Logistics Tent. Unlocks logistics for the town: connections between buildings, automated resource transfer, and repeatable work orders. It is a mid-game quality-of-life jump that removes most of the manual hauling a large settlement creates.
 Production buildings only produce when a villager is assigned. Match the worker's Trait to the job for a happiness bonus on top.
Defense: Torches and night raids
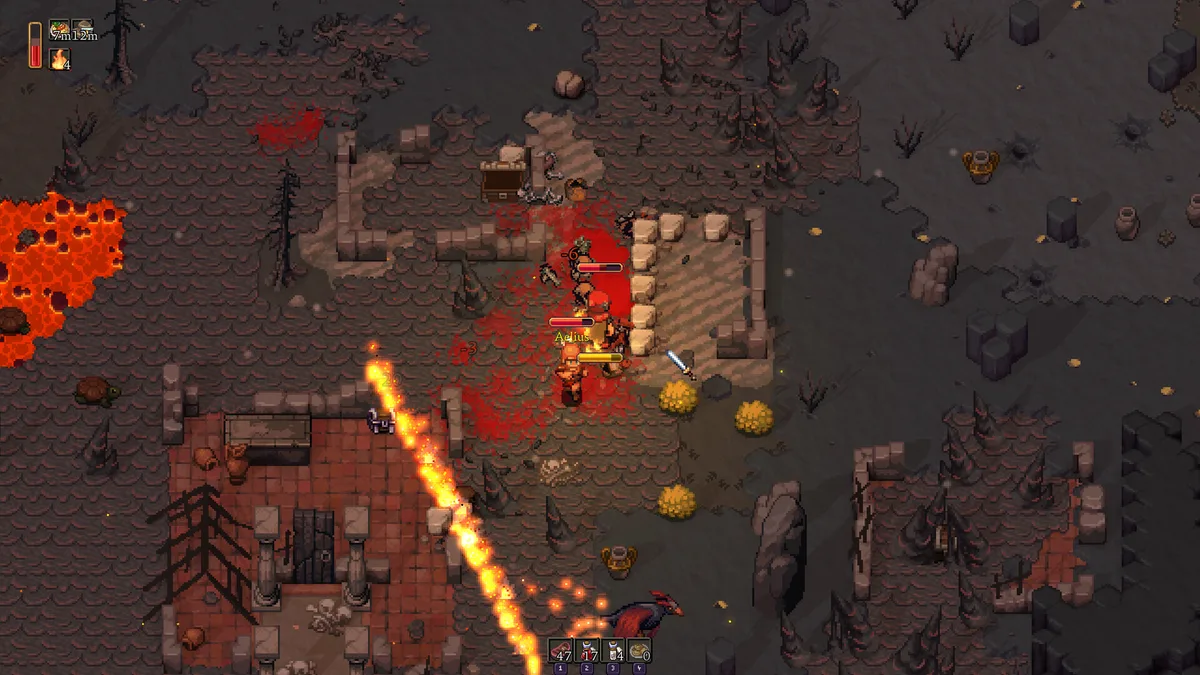
Romestead runs a day/night cycle, and night brings undead raids. Torches form a light network that defends your settlement after dark. Defense is fourth in the build order on purpose: a town with no food and a perfect wall of Torches still collapses. Get food and production stable, then ring your settlement with light before the first major raid. Our Romestead night raid defense guide covers Torch placement and raid timing in detail.
Build order: the rule that prevents collapse
The whole system comes down to one priority chain: feed people first, assign work second, expand third, defend fourth.
- Feed. Town Core, Workbench, Food Storage, Farmstead. Nobody works hungry.
- Work. Assign villagers, add the Altar, then the Blacksmith and Lumberyard.
- Expand. University, Logistics Tent, and a second settlement once you have teleport.
- Defend. Torches before the first night raid escalates.
The most common new-player mistake is rushing production or defense before food is stable. A starving settlement loses villagers, and a settlement with no villagers has no production no matter how many buildings you placed.
Building placement: where each structure goes
Order matters, but so does where you drop each building. Placement is the difference between a town that runs itself and one you constantly micromanage.
Keep Food Storage central. Its supply range feeds the villagers around it, so a Food Storage tucked in a corner leaves your outer workers hungry. Build it near the middle of your population and grow outward from there.
Hug your Farmstead to the crops. The Farmstead only tends crops within a 6-tile range to its left, right, or above, never below. Plan your crop plots in that footprint before you place the building, or you will end up with fields it cannot reach and a farmer standing around doing nothing.
Cluster production near its resources. A Blacksmith wants to be close to where ore and fuel arrive, and a Lumberyard has to sit in the Forest biome regardless. Short hauling routes keep villagers working instead of walking. This is exactly the problem the Logistics Tent solves later: once placed, it connects buildings and automates transfer, so a slightly messy early layout becomes manageable at scale.
Ring the perimeter with Torches. Defense buildings belong on the edges where night raids hit, not in the center. Lay your Torch network around the settlement's outer ring so the light covers approach lanes before the first undead wave arrives.
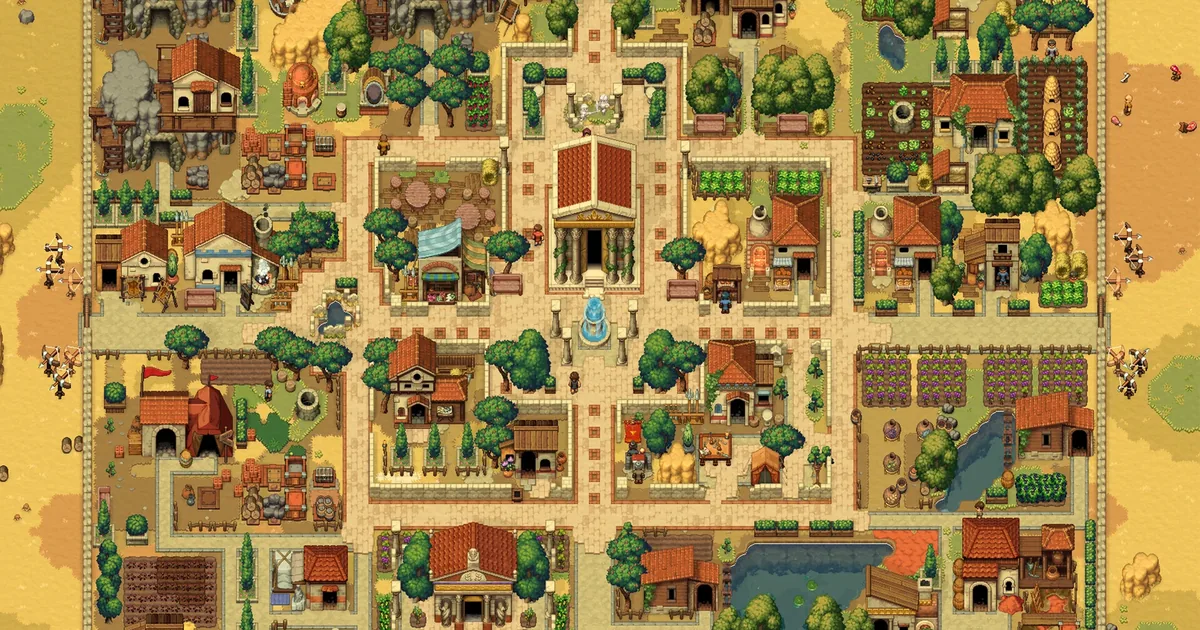
Plan the layout once, early, with room to expand. Retrofitting a cramped town after you have twenty villagers is far more painful than leaving lanes open from day one.
Farmstead: crop layout and scaling
The Farmstead's 6-tile range operates in three directions only: left, right, and above. Plan your crop fields in that footprint before you place the building. The most common layout mistake is placing the Farmstead at the top of a crop block so only one row is in range instead of three. Build crop plots first, then drop the Farmstead at the bottom edge of the field so the range covers the entire block above it.
One Farmstead with a Green Thumb villager assigned handles food for a small early settlement. As your population grows you will outpace what a single Farmstead can harvest, and your villagers will start going hungry even if the crop fields look full. When that happens, add a second Farmstead on an adjacent crop block, not a second worker on the first one. A second building covering a second field doubles throughput; a second villager on the same Farmstead does not.
The Farmstead works in the Desert and Volcanic biomes, so your food infrastructure carries forward as you push into later biomes. You don't need to rebuild from scratch in each new zone. What changes is how far Food Storage is from your workers: if your settlement spans multiple biomes, the Logistics Tent becomes important for routing harvested food without villagers making long hauls on foot.
Assign the Green Thumb Trait villager first. The happiness buff from Purposeful stacks with food output and costs nothing to maintain. If you don't have a Green Thumb citizen yet, assign anyone to keep the Farmstead running and swap when you recruit one.
Tips: common building mistakes
- Placing Food Storage at the edge. Center it so its range covers everyone.
- Building production with no one to work it. Assign a villager or it sits idle.
- Under-building the Lumberyard before leaving the Forest. You cannot make lumber elsewhere.
- Skipping the Altar early. It is cheap (3 Stone) and unlocks worship plus quests.
- Defending before feeding. Torches do not matter if your town is starving.
GODEEPER: Want the wider strategy before you place a single building? Romestead Complete Guide →
Related Reading
- Romestead Villagers Guide: how to recruit citizens and assign them to these buildings.
- Romestead God System Guide: the Altar, worship, and which god to back first.
- Romestead Biome Guide: which ore and resources each biome supplies your buildings.
- Romestead Complete Guide: the full reference for every system.
- Romestead Bosses: All 5 Bosses and How to Beat Them: Romestead bosses guide: all 5 bosses ranked by order, from the Guardian of Minerva to.
- Romestead Review: Roman Survival That Earns the Raid: Romestead review: Beartwigs' Roman survival town-builder: undead night raids, god system tech trees, and 1-8.
- Romestead Trading Post: Logistics and Routes Guide 2026: Romestead trading post unlocks via the University.
- Romestead Professions: All 8 Starting Classes Ranked: Romestead professions guide: all 8 starting classes ranked, what each gives at creation, and why.
Frequently Asked Questions
What should you build first? Town Core, Workbench, Food Storage, and a Farmstead, then the Altar. Feed first, work second, expand third, defend fourth.
What does the Town Core do? It is the central hub: recruit citizens, rename the town, view the settlement overview.
How does the Farmstead work? It auto-harvests crops within a 6-tile range to its left, right, or above when a villager is assigned.
Do buildings work without villagers? No. Production buildings need an assigned citizen, ideally with a matching Trait.
Where can the Lumberyard go? Forest biome only. Build enough before moving to later biomes.
References
Was this guide helpful?
About the author

Senior Critic & Analyst
Former game data analyst turned critic with 11 years covering indie and mid-tier games. Based in Austin. Runs spreadsheets on games most people just play.
- 11 years games criticism
- Former game economy analyst
- Roguelike and strategy specialist
Keep reading


Disclaimer
This article is published for informational and entertainment purposes. It does not constitute professional financial, legal, or technical advice. Game performance, online services, patch schedules, and store listings change. Verify critical details (pricing, system requirements, regional availability) with publishers and storefronts before you buy. Affiliate links, where present, help support our editorial work and are labelled in our affiliate disclosure.