GameBrief · General
Windrose Faction Tier List 2026: Best Order to Level

Reviewing
Windrose
Kraken Express
The Windrose faction tier list comes down to one question: what do you actually need from each vendor? All four factions are worth reaching Level 2. After that, the gap widens fast.
TL;DR: Smugglers of Port Royal is S-tier (Hull Bracing and Naval Tactics are the best ship upgrades). Take all four ship factions to Level 2 first for their early unlocks, then prioritize Smugglers. Buccaneers Level 2 (12-Pounder Cannons) is the best immediate combat upgrade, so hit it early. Reputation is permanent and per-faction, so commit to your priority order rather than spreading thin.
What is the best faction in Windrose? (quick answer)
Smugglers of Port Royal is the best faction overall. Hull Bracing and Naval Tactics at Level 3 are the strongest ship upgrades in the game. For immediate early-game impact, Rogue Buccaneers Level 2 (12-Pounder Cannons) is the priority first unlock. Level both to Level 2 before going deeper into either. Brethren of the Coast is mandatory for the Brigantine ship blueprint. People of Tortuga is last (cosmetics only).
Windrose faction tier list: Key Takeaways
- S-Tier: Smugglers of Port Royal: Hull Bracing and Naval Tactics are the strongest ship upgrades in the game
- A-Tier: Rogue Buccaneers: Cannon progression 12lb → 24lb → 36lb is the primary damage path
- B-Tier: Brethren of the Coast: Mandatory for Brig and Frigate blueprints, weaker beyond Level 2
- C-Tier: People of Tortuga: Pure aesthetics; skip until everything else is done
- Reputation is irreversible: spend it intentionally
- Level 2 unlocks the most impactful items across all four factions
Windrose Faction Tier List: How Reputation Works
Each faction has four reputation levels. You raise reputation by submitting Insignias (items that drop from defeated enemies and sunken ships) to the faction vendor.
| Insignia Type | Reputation Points |
|---|---|
| Deckhand Insignia | +4 |
| Newhand Insignia | +1 |
| Letter of Favour | +10 |
| Veteran Insignia | +20 |
| Old Salt Insignia | +80 |
Level thresholds:
- Level 2: 100 points
- Level 3: ~300-400 points
- Level 4: 600+ points (sources vary; treat 600 as the floor)
Reputation does not reset between sessions. Once spent toward a faction, it stays. There is no way to move points between factions, so the order you level them matters.
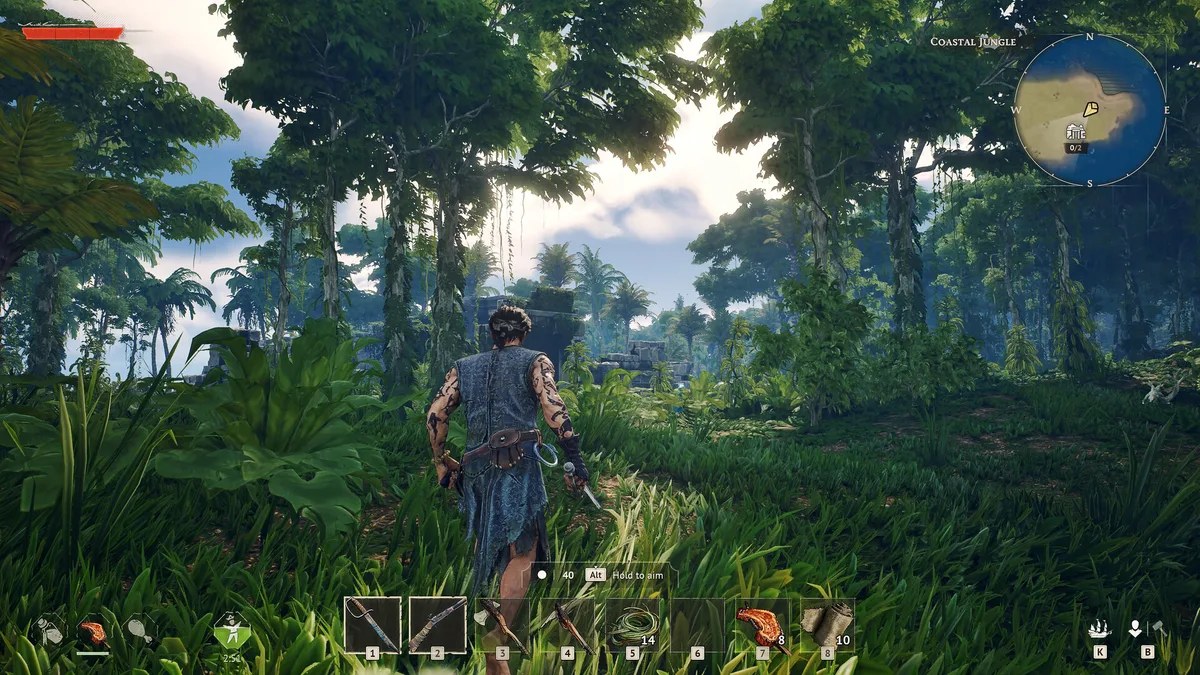 The faction vendor UI shows your current reputation level and available upgrades: Hull Bracing from the Smugglers is the top defensive priority.
GODEEPER: The complete faction guide explains the Journal quest system, Insignia submission order, and which vendor to prioritize first. Windrose Faction Guide →
S-Tier: Smugglers of Port Royal
What they sell: Hull Bracing (3 tiers, 300 Piastre each) and five Naval Tactics at Level 3 (500 Piastre each).
Hull Bracing is the most impactful defensive upgrade in the game. Three tiers progressively increase your ship's durability against cannon fire. "Hull Bracing: Keelhold" at the top tier is the community's recommended endgame pick for Frigate builds.
Naval Tactics are passive ship-wide buffs applied from the Shipwright's Workshop. The five options at Level 3:
- Naval Tactic: Ambush
- Naval Tactic: No Quarter
- Naval Tactic: Stretch The Supply (recommended endgame pick)
- Naval Tactic: Shipshape
- Naval Tactic: Silence the Guns
"Naval Tactics III: Stretch The Supply" is the standout late-game choice. It's also why Smugglers are worth reaching Level 3 eventually: Tactics are only accessible there.
Armor unlocks at Level 2 include the Conquistador set and Pikeman set (200 Piastre each).
Why S-Tier: The game's most dangerous threat is ship-to-ship combat. Hull Bracing directly mitigates that. Naval Tactics provide passive damage or efficiency gains that compound across every fight. Nothing else offers this level of sustained value.
GODEEPER: Faction quest XP overlaps with the pirate camps farming loop for maximum efficiency per session. Windrose Pirate Camps Farming Guide →
A-Tier: Rogue Buccaneers
What they sell: Cannon upgrades across Levels 2-4, plus combat armor.
| Level | Cannon | Cost |
|---|---|---|
| 2 | 12-Pounder Cannons | 300 Piastre |
| 3 | 24-Pounder Cannons | 400 Piastre |
| 4 | 36-Pounder Cannons | 500 Piastre |
12-Pounders are available early and unlock as soon as you hit Level 2. The step to 24-Pounders at Level 3 is the most meaningful damage jump in the game. 36-Pounders at Level 4 are late-game endgame weapons: they hit hard, but most players reach them only after the story is well underway.
Level 2 also unlocks the Flibustier and Tracker armor sets (200 Piastre each) and some building plans.
Why A-Tier: Cannons are your ship's primary offense. Upgrading them is straightforward and impactful. Buccaneers Level 2 is nearly as urgent as Smugglers Level 2: they're both early targets. Buccaneers drops to A (not S) because Hull Bracing and Naval Tactics have broader game-changing impact than raw cannon damage alone.
 Rogue Buccaneers cannon upgrades are the A-tier offensive priority: Level 2 unlocks the next tier of ship firepower.
B-Tier: Brethren of the Coast
What they sell: Ship blueprints, Shipwright's Tools, and crafting materials.
| Item | Level Required | Cost |
|---|---|---|
| Brigantine blueprint | Level 2 | 1,000 Piastre |
| Shipwright's Tools | Level 2 | ~300 Piastre |
| Frigate blueprint | Level 4 | 3,000 Piastre |
| Ship cosmetics (flags, hull skins) | Level 2-3 | Varies |
The Brigantine (Brig) blueprint is the only way to upgrade past the starting Ketch. That makes Brethren Level 2 mandatory: there is no alternative path to mid-game ships.
Important: Don't buy the Brig blueprint until after you defeat the pirate boss Richards. The boss is a quest prerequisite for ship construction. Buying the blueprint before clearing it doesn't speed anything up.
Brethren Level 4 unlocks the Frigate blueprint, but by then most early-to-mid game content is done. The Frigate is a late-game ship requiring swamp-biome materials: you can't build it until reaching the second biome anyway.
Beyond blueprints, Brethren sells crafting materials (Salt, Steel Nails, Brandy, Coffee Beans) and ship cosmetics. Useful but not priority.
Why B-Tier: Mandatory at Level 2, but the value drops sharply after that. The Frigate blueprint at Level 4 is powerful but gated by biome progression more than faction level. Brethren earns its priority by having the one item nobody else offers: the Brig blueprint.
C-Tier: People of Tortuga
What they sell: Building sets (marble, mahogany), decorative furniture, Privateer and Marksman armor sets, Sewing Tools.
Everything useful from Tortuga unlocks at Level 2. The Privateer's Coat and Marksman's armor (200 Piastre each) are fine mid-game options. After that, Tortuga's inventory is entirely cosmetic: elegant furniture, tile roofing, architectural decorations.
The currency is also different: most Tortuga items cost Guineas rather than Piastre. If you're not already accumulating Guineas, unlocking Tortuga items takes a secondary grind.
Why C-Tier: Zero combat utility beyond Level 2. If you are a dedicated base builder, Tortuga becomes more interesting: the marble and mahogany sets are among the most visually distinct building materials in the game. For everyone else, Tortuga is the last faction you level and the first one you stop at Level 2.
Recommended Leveling Order
Based on community consensus from Steam discussions and guides:
- Rogue Buccaneers → Level 2 (cannon access: do this early)
- Smugglers of Port Royal → Level 2 (hull bracing access)
- Brethren of the Coast → Level 2 (Brig blueprint: wait until after Richards boss)
- Rogue Buccaneers → Level 3 (24-Pounder cannons: biggest damage jump)
- Smugglers of Port Royal → Level 3 (Naval Tactics unlock)
- Smugglers or Buccaneers → Level 4 (endgame hull/cannon upgrades)
- People of Tortuga → Level 2 (whenever you want cosmetics)
- Brethren → Level 4 (Frigate blueprint: only after reaching swamp biome)
The key principle: reach Level 2 in Buccaneers and Smugglers before committing points deeper into either. Both factions' Level 2 unlocks are impactful enough to justify early investment.
Tips for Efficient Reputation Farming
Insignia farming has a rhythm. Old Salt Insignias (+80 rep each) are the fastest path to Level 4, but they're rare drops from high-tier ship encounters. Early game, focus on Veteran Insignias (+20) from mid-size vessels while completing Journal quests: the quest rewards often include Insignia drops that stack passively.
Most efficient early path:
- Clear coast POIs on island 1 and 2: they drop Deckhand and Newhand Insignias in bulk
- Prioritize enemy ship encounters over stationary camps: ship loot tables include better Insignia tiers
- Submit Insignias in batches; the vendor interaction is the same cost either way
Letters of Favour (+10 each) come from completing faction-specific quests in the Journal. They're more reliable than random drops and worth prioritizing. Any quest tagged with a faction icon in the Active tab is a guaranteed Letter of Favour if you hit the bonus objective.
Don't spread Insignias evenly. The biggest mistake new players make is submitting equal amounts to all four factions. Buccaneers and Smugglers at Level 2 are worth more than any three factions sitting at Level 1. Push priority factions to Level 2 before touching Tortuga at all.
Common Mistakes
Buying the Brig blueprint before defeating Richards. The boss fight is a quest prerequisite for ship construction. Blueprint ownership doesn't skip it: you cannot build the Brig until Richards is down. Save the 1,000 Piastre until after the fight.
Committing too many Insignias to Tortuga early. Tortuga Level 2 is useful but not urgent. Every Insignia spent on Tortuga before Buccaneers and Smugglers hit Level 2 is a delayed damage and defense upgrade. Tortuga can wait until you have spare reputation.
Prioritizing Brethren Level 3 over Smugglers Level 3. Brethren Level 3 adds cosmetics and crafting materials. Smugglers Level 3 unlocks Naval Tactics: the strongest passive ship upgrade in the game. Don't go deeper into Brethren before Smugglers hits Level 3.
Treating reputation as a resource to save. There's no holding cost. If you have Insignias and a faction unlock you want, submit them immediately. Reputation spent on the right faction at the right time compounds through every fight after.
References
- Windrose on Steam
- Windrose community on Reddit: faction tier discussions and reputation farming tips
- Windrose beginner guide: faction questlines and XP strategy for new players
- Windrose resources guide: ore and Piastre farming to afford faction vendors
- Windrose leveling guide
Related Reading
The Windrose faction quests and reputation guide goes deeper on how to complete each faction's questline efficiently and which reputation milestones unlock the most useful items.
For what to spend Piastres and reputation on once you hit higher faction levels, the Windrose endgame guide covers post-story vendor priorities including faction-gated blueprints.
Ship upgrades from faction vendors are a major reason to push Smugglers reputation early: the Windrose ship building guide covers which upgrades matter most and what each faction offers for your build.
The Windrose boss guide lists which faction-locked weapons and abilities give you a meaningful edge on each boss fight, and the fastest XP guide covers how to reach biomes where faction content opens up.
- Windrose Faction Reputation Guide: Level Factions Fast 2026: Windrose faction reputation guide: Old Salt Insignias (+80) are the fastest path to Level 2. Priority order, biome....
- Windrose Ashlands: Everything Confirmed So Far (2026): Windrose Ashlands release date: Kraken Express said 'at least 6 months' on April 29, so.
- Windrose Best Weapons Tier List 2026: All Tiers Ranked: Windrose best weapons tier list 2026: Steel Halberd S-tier, Copper Sword B, Stone tools F.
- Windrose Max Level 15: Fastest XP Paths in Early Access: Windrose max level is 15 in Early Access.
- Windrose Foothills Guide: Camps, Iron Gear, Israel Hands: Windrose Foothills guide: levels 6-10, Iron crafting chain, Veteran Corsair camp circuits, Israel Hands strategy,.
Was this guide helpful?
About the author

Indie & JRPG Critic
Indie game evangelist and lifelong JRPG fan covering small studios since 2017. Mumbai-born, London-based. Writes the way she talks.
- 7 years indie games coverage
- JRPG and visual novel specialist
- Narrative design focus
Keep reading


Disclaimer
This article is published for informational and entertainment purposes. It does not constitute professional financial, legal, or technical advice. Game performance, online services, patch schedules, and store listings change. Verify critical details (pricing, system requirements, regional availability) with publishers and storefronts before you buy. Affiliate links, where present, help support our editorial work and are labelled in our affiliate disclosure.