GameBrief · General
Windrose Ship Building Guide: Ketch, Brig and Frigate
Reviewing
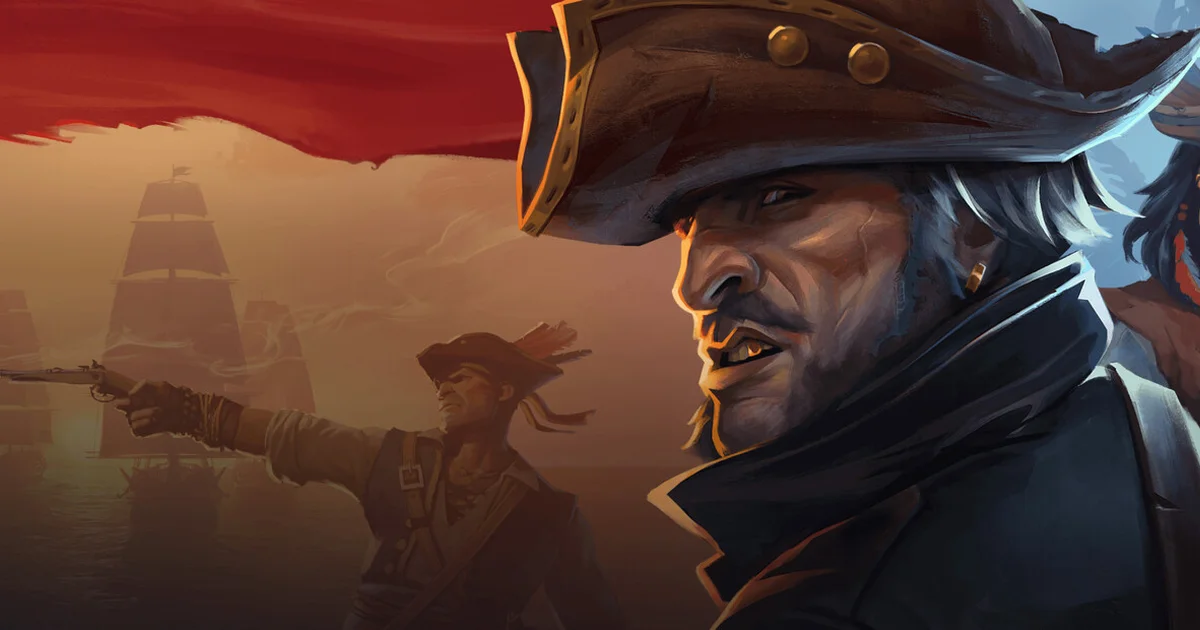
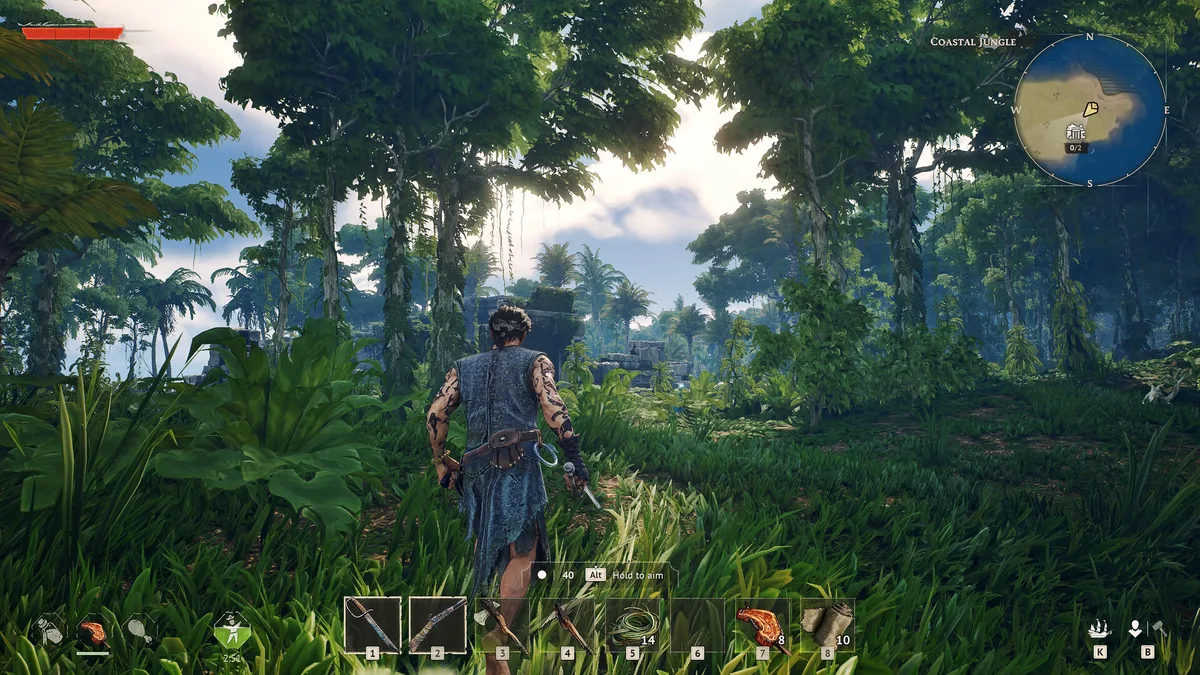
Windrose
Kraken Express
This Windrose ship building guide covers every ship class, what you actually need to build each one, and the one station mistake that trips up most new players. Short version: ships are built at the Wharf, not the Shipwright's Workshop. If you've been confused about why construction options aren't appearing, that's likely why.
TL;DR: Build ships at the Wharf (a shoreline station), not the Shipwright's Workshop, that station mix-up is the #1 source of "why can't I build" confusion. Classes scale Ketch → Brigantine → Frigate, each needing more planks, nails, and a blueprint from the right faction. The Brigantine is the big mid-game jump (200 Iron Nails is the bottleneck), and don't buy its blueprint until after the Richards fight when the materials drop.
Windrose ship building guide: Key Takeaways
- Build ships at the Wharf (shoreline station), not the Shipwright's Workshop
- Three ship classes: Ketch (early), Brigantine/Brig (mid), Frigate (late)
- Each class has three variants: Stock (balanced), Brethren (tank/cargo), Blackbeard (speed/combat)
- Brig blueprint requires Brethren of the Coast Level 2 + defeating boss Richards first
- Frigate requires second biome materials (Tarred Planks, Tarred Fabric): can't rush it
- Community pick for combat: Blackbeard Brig mid-game, Blackbeard Frigate late-game
The Two Ship Stations: and What Each Does
Players regularly confuse these. They serve completely different functions:
Wharf: Where you BUILD new ships. Build it at the shoreline using 10 Wood + 10 Coarse Fabric. Functions: construct ships from blueprints, manage your fleet, repair damaged hulls, swap active ships.
Shipwright's Workshop: Where you UPGRADE ships already built. Manages the four gear slots: cannons, hull bracing, naval tactics, and boarding party gear. Cannot build new ships here.
Build the Wharf first. Then build the Workshop to install upgrades after your ship is constructed.
 The Wharf handles ship construction: the Shipwright's Workshop next to it handles gear upgrades. Build both early.
GODEEPER: The crafting guide covers recipe costs and which stations unlock before the Ketch becomes craftable. Windrose Crafting Guide →
Windrose ship building guide: Step-by-Step: Ship Progression
Stage 1: The Ketch
Your first real ship. You get a Ketch by finding a wrecked one during the early story quest "I Need A Bigger Boat," repairing it, and recruiting 7 sailors.
Repair costs:
- 100 Wood
- 20 Nails
- 20 Coarse Fabric
- 10 Rope
All of these are first-hour materials. The Ketch repair is designed to be achievable before the player has any advanced crafting set up.
Ketch Variants
| Variant | Hull HP | Speed | Cargo | Cannons |
|---|---|---|---|---|
| Stock | 50,000 | 19 kn | 28 | 3 × 12lb |
| Brethren | 65,000 | 17 kn | 36 | 3 × 12lb |
| Blackbeard | 35,000 | 21 kn | 20 | 3 × 12/24lb |
The Stock Ketch is what you repair from the wreck. The Brethren and Blackbeard variants require building from scratch at the Wharf: same materials, different stats.
For most players, the Ketch is a transitional ship. You'll replace it with a Brig as soon as the blueprint is accessible, so investing heavily in Ketch upgrades isn't necessary.
Stage 2: The Brigantine (Brig)
The mid-game ship and the most important upgrade in the progression. Getting the Brig unlocked is the primary goal of early faction play.
How to unlock:
- Reach Brethren of the Coast Reputation Level 2 (100 reputation points)
- Defeat the pirate boss Richards (quest prerequisite: buy nothing until this is done)
- Purchase the Brigantine blueprint from the Brethren vendor: 1,000 Piastre
- Purchase Shipwright's Tools from Brethren: ~300 Piastre
- Build at the Wharf
Brigantine Crafting Materials
| Material | Quantity | Notes |
|---|---|---|
| Wooden Planks | 200 | Processed at Workbench from Wood |
| Nails | 200 | Crafted from Copper + Iron Ingots |
| Coarse Fabric | 120 | Spinning Wheel output |
| Copper Ingots | 80 | Foundry: requires ~240 Copper Ore |
| Timber | 40 | Processed from large Wood sources |
| Linen Fabric | 40 | Spinning Wheel |
| Rope | 40 | Workbench |
| Shipwright's Tools | 30 | Bought from Brethren vendor |
The Nails are the bottleneck. You need 200 of them, which requires around 40 Copper Ingots and 20 Iron Ingots through the smelting chain. Set up the Charcoal Oven and Foundry early to get this pipeline running before you need the Brig.
Brigantine Variants
| Variant | Hull HP | Speed | Cargo | Cannons |
|---|---|---|---|---|
| Stock | 70,000 | 20 kn | 28 | 6 × 12lb |
| Brethren | 90,000 | 18 kn | 32 | 6 × 12lb |
| Blackbeard | 50,000 | 22 kn | 24 | 6 × 12/24lb |
Recommended: Blackbeard Brigantine for most players. The speed advantage (22 kn vs 20 kn stock) lets you close on targets and disengage from bad fights. The Blackbeard variant also supports 12lb/24lb mixed cannons, giving you cannon flexibility as you progress through Buccaneers faction levels.
The Brethren Brig suits players focused on trading routes: 32 cargo and 90,000 hull HP at the cost of a 2-knot speed penalty.
Stage 3: The Frigate
The late-game ship. Powerful, but locked behind second-biome progression regardless of how much Piastre you have.
How to unlock:
- Reach Brethren of the Coast Reputation Level 4 (600+ reputation points)
- Purchase Frigate blueprint: 3,000 Piastre
- Reach the second biome (swamp) to gather Tarred materials
- Build at the Wharf
Frigate Crafting Materials
| Material | Quantity | Notes |
|---|---|---|
| Wooden Planks | 320 | Workbench |
| Nails | 300 | ~90 Iron Ingots + 60 Copper Ingots required |
| Linen Fabric | 240 | Spinning Wheel |
| Timber | 160 | Large wood processing |
| Foothills Iron Ingots | 120 | Foundry: needs 360 Iron Ore + 120 Charcoal |
| Tarred Planks | 80 | Swamp biome only |
| Tarred Fabric | 80 | Swamp biome only |
| Rope | 80 | Workbench |
| Shipwright's Tools | 50 | ~500 Piastre from Brethren |
Tarred Planks and Tarred Fabric block early Frigate construction completely. There is no workaround: these materials only exist in the swamp biome. Plan for the Frigate as a second-biome project, not a first-biome goal.
Frigate Variants
| Variant | Hull HP | Speed | Main Guns | Cargo |
|---|---|---|---|---|
| Stock | 160,000 | 18 kn | 12 × 24lb + 6 × 12lb | 40 |
| Brethren | 200,000 | 16 kn | 12 × 24lb + 6 × 12lb | 52 |
| Blackbeard | 110,000 | 20 kn | 12 × 24/36lb + 6 × 12/24lb | 28 |
Recommended: Blackbeard Frigate for combat: 20 kn speed and 36-Pounder cannon support make it the most dangerous ship in the game. The hull HP reduction (110,000 vs 160,000 stock) is offset by Hull Bracing from the Smugglers faction.
The Brethren Frigate at 200,000 hull HP and 52 cargo is the top choice for boss fights and long trading runs where survivability matters more than speed.
 The Blackbeard Frigate at 20 kn with 36-Pounder cannons is the combat-optimized endgame ship: Hull Bracing from the Smugglers faction offsets the reduced hull HP.
Ship Gear System (4 Slots)
Managed at the Shipwright's Workshop: applied to whatever ship is currently active.
| Slot | Item Source | Key Unlock |
|---|---|---|
| Cannons | Rogue Buccaneers (L2,L4) | 36-Pounders at L4 |
| Hull Bracing | Smugglers of Port Royal (L2,L4) | Keelhold at top tier |
| Naval Tactics | Smugglers of Port Royal (L3) | Stretch The Supply |
| Boarding Party | Various | Melee boarding combat |
Cannons fire from three positions: left broadside, right broadside, and bow. Each has independent reload cooldowns. "Perfectly Ordered Cannons" is the community's recommended setup for Frigate builds: fire in rotation to maintain continuous damage output rather than volley-firing all three at once.
Hull Bracing: Keelhold is the late-game hull pick. Naval Tactics: Stretch The Supply pairs with it as the passive buff that holds up across the longest fights.
Required Crafting Stations by Ship Tier
| Station | Ketch | Brig | Frigate |
|---|---|---|---|
| Wharf | ✓ | ✓ | ✓ |
| Workbench | ✓ | ✓ | ✓ |
| Charcoal Oven | : | ✓ | ✓ |
| Foundry | : | ✓ | ✓ |
| Spinning Wheel | : | ✓ | ✓ |
Set up the Charcoal Oven → Foundry → Spinning Wheel chain before committing to Brig construction. Without smelting running, you'll hit a wall waiting for Ingots.
GODEEPER: The complete Windrose guide has the full progression path from starting sloop to Frigate. Windrose Complete Guide →
Tips: Common Mistakes to Avoid
Building at the Shipwright's Workshop instead of the Wharf. This is by far the most common early mistake. The Workshop handles upgrades only: cannons, hull bracing, naval tactics, boarding gear. New ships are built at the Wharf. If the construction option isn't appearing, check your station.
Buying the Brig blueprint before defeating Richards. The boss is a quest prerequisite. Blueprint ownership doesn't skip it. Spend the 1,000 Piastre after the fight, not before: the vendor will still be there.
Skipping the Charcoal Oven and Foundry before committing to the Brig. The Brig needs 200 Nails, which requires Iron and Copper Ingots through the smelting chain. Players who rush Wooden Planks and Fabric first hit a wall at Nails every time. Set up the full smelting pipeline before the build, not during it.
Choosing a ship variant based on stats alone. The Brethren Brig's 90,000 hull HP looks good on paper, but hull HP matters less when you're retreating at 18 kn. The Blackbeard Brig's 22 kn lets you dictate the terms of every fight: engage when ready, disengage when not. Stat sheets don't capture that. Pick the variant that matches your playstyle, not the one with the biggest number.
Trying to build the Frigate in the first biome. Tarred Planks and Tarred Fabric do not exist in the first biome. No workaround exists. The Frigate is a second-biome project and always will be.
Frequently asked questions
Where do you build ships in Windrose? At the Wharf (built near the shoreline using 10 Wood and 10 Coarse Fabric. The Shipwright's Workshop is a separate station used only for ship upgrades like cannons, hull bracing, and naval tactics. A common mistake is trying to build new ships at the Workshop) it doesn't work there.
How do you unlock the Brigantine in Windrose? Reach Brethren of the Coast Reputation Level 2 (100 points), defeat the pirate boss Richards first, then buy the Brigantine blueprint from the Brethren vendor for 1,000 Piastre. You also need Shipwright's Tools (~300 Piastre from the same vendor). Do not buy the blueprint before the Richards boss: the quest prerequisite blocks construction regardless.
What materials do you need to build a Brigantine in Windrose? 200 Wooden Planks, 200 Nails, 120 Coarse Fabric, 80 Copper Ingots, 40 Timber, 40 Linen Fabric, 40 Rope, and 30 Shipwright's Tools. The Nails require around 40 Copper Ingots and 20 Iron Ingots to craft. All materials are processable in the first biome.
What is the best ship variant in Windrose? Blackbeard variant for combat-focused playstyles (higher speed and cannon capacity at the cost of hull HP and cargo. Brethren variant for tanking and trading) maximum hull HP and cargo, lower speed. Stock is the safest choice for beginners who haven't decided their role yet. Most experienced players recommend the Blackbeard Brigantine for mid-game and Blackbeard Frigate for late-game.
Can you build a Frigate in the first biome in Windrose? No. The Frigate requires Tarred Planks and Tarred Fabric, which are swamp-biome materials from the second biome. You need to progress to the second biome before Frigate construction is possible, regardless of your faction level or Piastre count.
What crafting stations do you need to build a Brigantine in Windrose? Workbench (for Wooden Planks, Rope, Nails), Charcoal Oven (for Charcoal used in smelting), Foundry (for Copper and Iron Ingots), and Spinning Wheel (for Linen Fabric and Coarse Fabric). You build the ship itself at the Wharf: not at any of these stations.
References
- Windrose on Steam
- Windrose community on Reddit: ship build discussions and variant tier debates
- Windrose faction tier list: which factions to level for ship blueprints and cannon upgrades
- Windrose resources guide: ore farming to keep your crafting pipeline full
- Windrose combat guide
Related Reading
For the materials that feed your ship crafting pipeline, the Windrose ore respawn times guide covers exactly how long Iron and Copper take to respawn and which cave nodes are worth farming on a circuit.
The Windrose pirate camps XP farming guide covers the fastest way to accumulate Piastres: which you'll need in volume for high-tier ship components and wharf upgrades.
For what the ship is ultimately for, the Windrose boss guide covers the sea bosses where naval firepower determines the fight's length.
Once your ship is built, the Windrose ship combat guide covers bar shots, raking maneuvers, and the sea tactics that matter once you're in an actual engagement.
If you're doing ship work as part of the late-game loop, the Windrose endgame guide covers the full post-story priority order including naval upgrades.
- Windrose Cursed Swamps: Enemies, Resources, and Boss Guide: Windrose Cursed Swamps guide: all resources, enemy types, the High Priestess boss fight, and the Steel-tier crafting chain....
- Windrose Best Ship Build Tier List: Brig and Frigate 2026: Windrose best ship build in 2026: Blackbeard Frigate is S tier for combat. Variant stats, gear slot picks,....
- Windrose Ashlands: Everything Confirmed So Far (2026): Windrose Ashlands release date: Kraken Express said 'at least 6 months' on April 29, so.
- Windrose Best Weapons Tier List 2026: All Tiers Ranked: Windrose best weapons tier list 2026: Steel Halberd S-tier, Copper Sword B, Stone tools F.
- Windrose Cooking Guide: Fire Pit, Food Buffs, Camp Tips: Windrose cooking guide: Fire Pit costs 10 wood and 5 stone, doubles as a comfort.
- Windrose Faction Guide: All Factions and How to Progress: Windrose faction guide: all four factions covered, Journal quest XP system explained, Insignia types, which.
Was this guide helpful?
About the author

Senior Critic & Analyst
Former game data analyst turned critic with 11 years covering indie and mid-tier games. Based in Austin. Runs spreadsheets on games most people just play.
- 11 years games criticism
- Former game economy analyst
- Roguelike and strategy specialist
Keep reading


Disclaimer
This article is published for informational and entertainment purposes. It does not constitute professional financial, legal, or technical advice. Game performance, online services, patch schedules, and store listings change. Verify critical details (pricing, system requirements, regional availability) with publishers and storefronts before you buy. Affiliate links, where present, help support our editorial work and are labelled in our affiliate disclosure.