
GuideRisk of Rain 2
Risk of Rain 2 Enforcer Build: Best Loadout and Items
Enforcer's kit splits three ways once his alternates are unlocked, and each split wants different items.
VerdictStart with the default kit and Lepton Daisy, Corpse Lily and turrets around Rally Point. Unlock Surge Protection early: it turns every point of barrier into damage.
The best Risk of Rain 2 Enforcer build depends on which secondary you run, and that's the decision to make before any item drops. Steel Protection parries and stuns. Surge Protection, his alternate, swaps the parry for barrier and then spends every point of barrier and shield he holds on one explosion. Build around the second one and Topaz Brooch, a white that only gives 15 barrier per kill, becomes a damage item.
Sponsored

About the game
Risk of Rain 2
Gearbox Software · 2K
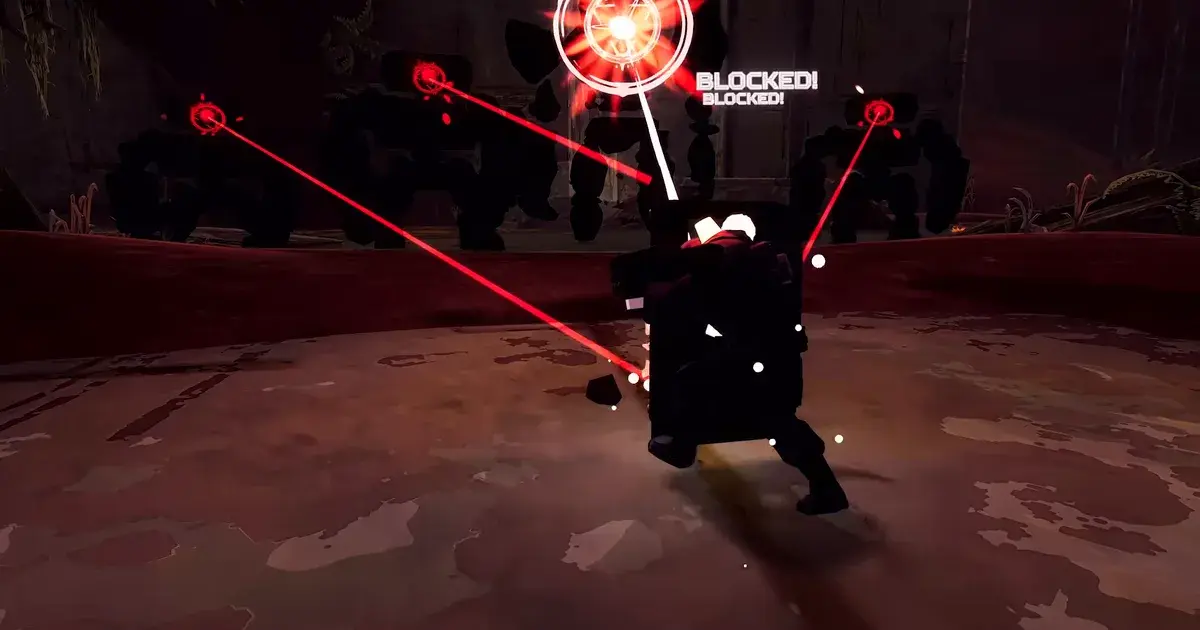
This guide covers the Enforcer from Gearbox's Hallowed Concepts DLC, released October 8, 2026. Gearbox's dev diary opens with "Allow us to (re)introduce the immovable object himself": Enforcer first appeared in the original Risk of Rain, and a popular Thunderstore mod had already brought that version into this game. Builds for either of those don't carry over.
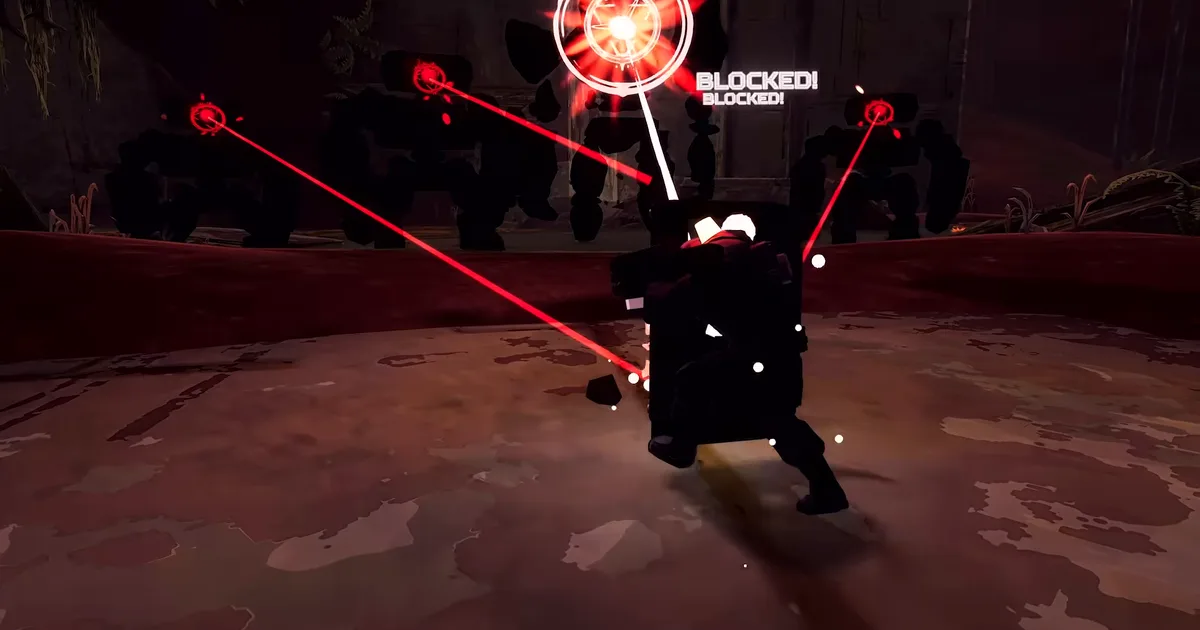 Screenshot: official Hallowed Concepts survivor reveal (Risk of Rain on YouTube), 1:31
Sponsored

The Risk of Rain 2 Enforcer build we'd run first
Enforcer is unlocked as soon as you own the DLC, but only his default skills are. That's fine, because the default kit is the build we'd start with anyway.
| Slot | Our pick | Alternative | Why |
|---|---|---|---|
| Passive | Big Man | none | Landing faster than 35 m/s makes a stunning blast; no fall protection |
| Primary | Trenchbroom | Shrapnel Grenade | Tracer crit after a full reload; piercing shells behind the shield |
| Secondary | Steel Protection | Surge Protection | Blocks everything in front; the bash parries for six times the blocked hit |
| Utility | Shield Tackle | Ripcord | Two charges, 600% per second, and the shield blocks during the dash |
| Special | Rally Point | Crash Point | 30 m beacon that hands out barrier and acts as a holdout zone |
His base stats explain why the shield-first kit works. Enforcer starts at 130 health (+39 per level) and 30 armor, against 110 health and 0 armor for Commando, and his mass of 300 is three times most survivors'. The wiki says the light knockback appears to come from that number, not from the passive.
On r/riskofrain, the default kit has its fans. therarestkittycat put it shortly: "His full default kit is my preferred." WhitewaterBastard agreed on the middle slots: "Tackle and Parry are the GOATs though."
BESTPRICE: Want Risk of Rain 2? Eneba sells a Steam key: Buy on Eneba →
How to unlock Enforcer's alternate skills
Each alternate has a challenge worth 3 Lunar Coins. The Steam achievement text is short; the wiki's notes on how each one counts are what save you a run.
| Unlocks | Challenge | Official condition | What actually counts |
|---|---|---|---|
| Shrapnel Grenade | Burning Lead | Shoot a Magma Worm 24 times in 12 seconds | Only Trenchbroom shots fired in Defensive Stance; the plain slug never counts |
| Surge Protection | +PARRY | Parry a Wandering Vagrant's supernova | Block the blast just before you drop the shield, with Steel Protection |
| Crash Point | Indomitable | Survive an entire Stone Titan's laser without blocking | 24 laser ticks in a row, about 3 seconds of contact; a block resets it |
| Ripcord | Safe and Sound | Block the attacks of 12 enemies during a single teleporter event | 12 different enemies, all during one charge; Surge Protection blocks count too |
Burning Lead is the one that trips people up. In the "Objectively the best Enforcer build" thread, Bahencio fired "hella shots" into a non-boss and then a boss version of an enemy with no unlock. Unfair-Championship9 found the reason: "it only registers hits from the primary attack with the shield up." The wiki adds that each shield shot counts once, for the first enemy it hits, so clear the adds before you start. Overloading Worm doesn't count.
+PARRY needs timing, not damage. Hits blocked from 0.5 seconds before you reactivate Steel Protection until the bash swings 0.15 seconds later are parried. Raise the shield, wait for the Vagrant's supernova to start, and drop the shield as the blast arrives.
Indomitable is the odd one: you have to stand in the laser with the shield down for about 3 seconds. Bring health and try it early in a run, while a Stone Titan's damage hasn't scaled up yet. Our bosses guide lists where each one spawns.
Build 1: the Rally Point anchor
Rally Point is the reason Enforcer changes item choices. He leaps, slams for 400%, and leaves a Holdout Beacon with a 30 m radius for 16 seconds, on a 24-second cooldown. Everyone inside gets barrier worth 20% of his max health when it lands, then 10% more for every kill made inside.
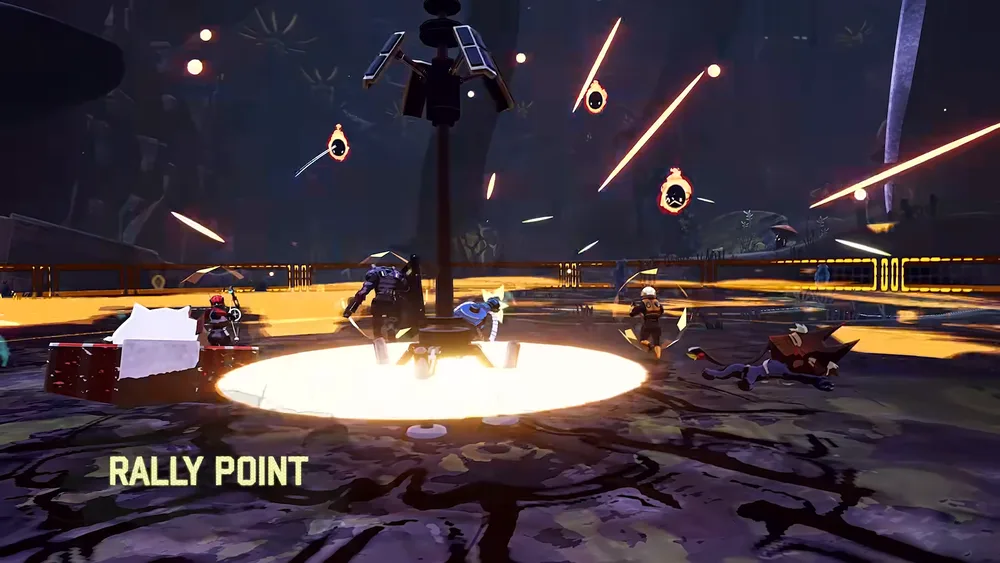 Screenshot: official Hallowed Concepts survivor reveal (Risk of Rain on YouTube), 1:22
The beacon only triggers his own items that react to Teleporter events. Four items matter here:
- Lepton Daisy: a healing nova for 50% of every ally's max health during a holdout. Normally it only fires in the Teleporter event and other holdout zones, like the Void Fields cells or the Commencement pillars; here it can go off whenever he places a beacon.
- Corpse Lily: the Hallowed item that surrounds a holdout zone with a Blight cloud, about 108% damage per second averaged over time with one Lily. Our tier list ranks it among the weakest Hallowed items on anyone else.
- Warbanner: normally dropped on level-up and when the Teleporter starts. The beacon sets off Enforcer's own banner too: rndThursday's loadout video names it next to Daisy and Lily, and Bananacu added "Buff banner too" in a thread about the beacon. How big that banner is on the beacon, and how long it stays, isn't documented anywhere we could check.
- Squid Polyp: not a holdout item, but its turrets can't move, and the beacon teleports his own stationary minions to his side when it lands.
Focused Convergence is on the wiki's holdout list too, but it doesn't shrink or speed up the beacon. Warbanner isn't on that list, though players report it works with the beacon. The wiki's skill notes, filled in from game data, named it alongside Daisy and Lily until a rewording on October 21, and Qu1ckS11ver493 called Rally Point "goated, exp if you get daisy or warbanner".
Relative-Brush452 described the turret version as "a complete cavalry artillery bombardment sorta deal". It's strongest in co-op, where four players standing in the beacon all share the barrier.
GODEEPER: Which whites, greens and reds stay good on every survivor, and how all 11 Hallowed items rank. Risk of Rain 2 Item Tier List 2026: Best Items for Every Run →
Build 2: Surge Protection and barrier
Surge Protection is the alternate that scales hardest. The stance is wider, lasts 5 seconds, and every blocked hit gives barrier worth 50% of its damage. 0.3 seconds after the stance ends, he eats all of his barrier and shield, from any source, and explodes.
The explosion deals 250% damage plus flat damage equal to everything consumed, in a radius of 20 m plus 5 m per 50 consumed, up to 40 m. The in-game text says "up to 1800%", but the wiki notes the damage isn't actually capped.
That flat part is why barrier items turn into damage. Some quick math from the wiki's stats: a level 10 Enforcer with no items has 481 health and 33.6 damage. The 250% half of the blast is 84 damage. A single Rally Point landing gives him barrier worth 20% of his max health, 96, which adds more than that on its own.
| Item | Rarity | What it feeds |
|---|---|---|
| Topaz Brooch | White | 15 barrier per kill (+15 per stack) |
| Personal Shield Generator | White | Shield worth 8% of max health (+8% per stack) |
| Aegis | Red | Healing past full becomes barrier at 50% (+50% per stack) |
| Rally Point | Special | 20% of max health as barrier on landing, 10% per kill inside |
almondmann's note is the one to follow: "his alt secondary is actually pretty good especially if you use rally point". Land the beacon, kill inside it, then let Surge expire. Since the stance ends after 5 seconds, unlike Steel Protection, you trade the safety of a parry for a timer.
Build 3: Shield Tackle and Crash Point
The third build stays in enemies' faces. Shield Tackle has two charges that recharge together: tap for a 0.2-second dash, or hold to spend both on a 0.63-second dash. It hits for 150% roughly every quarter second, stuns, and carries enemies with him, and the shield blocks from the front the whole time.
Hardlight Afterburner is the item for it. Each extra charge adds 0.35 seconds to a held dash, and Afterburner gives two plus a 33% cooldown cut. Movement speed items also stretch the dash, at 45% effectiveness. cocklaphobia's advice: "get some afterburns and soar."
Crash Point replaces Rally Point here. He rises for 1.5 seconds and hovers, up to 2.5 seconds in the air in total, then dives for 700% in a 15 m radius and pulls enemies toward a spot just ahead of where he lands, on a 7-second cooldown instead of 24. He can't take fall damage during the dive. One quirk: the landing counts as Utility skill damage, not Special.
International_Steak2 laid out the pairing we'd follow: "regular primary and alt special are better with shield bash, since you can just play right up in everyone's face with the stun potential." The same player puts Ripcord with Shrapnel Grenade and Rally Point instead, since you're "probably playing defensive in the rally radius anyways".
GODEEPER: Enforcer against the rest of the roster, and where he lands next to Acolyte. Risk of Rain 2 Best Survivors: Tier List and Picks →
Trenchbroom or Shrapnel Grenade
Trenchbroom holds 6 shells and fires a 350% slug every 0.7 seconds. Once the magazine has been full, the shot that empties it always crits. Behind the shield it becomes a 9-shell gun firing 6 piercing pellets of 70% every third of a second. Dropping the shield fully reloads it, which is the reload trick TheOneThatWon2 pointed out: "Re putting up your shield reloads your mag".
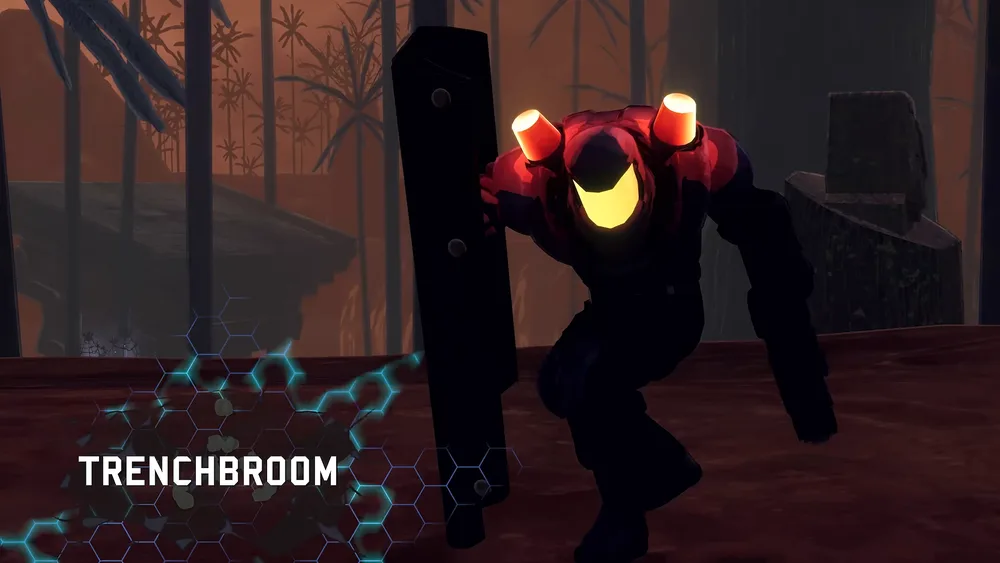 Screenshot: official Hallowed Concepts survivor reveal (Risk of Rain on YouTube), 1:13
Shrapnel Grenade holds 3 grenades of 500% with a 9 m blast, and turns into 3 bomblets of 300% behind the shield. It has no Tracer crit. Its shield bomblets also have a lower proc coefficient (0.7) than its normal grenades, the same as Trenchbroom's pellets.
The community split is close to even. OwnAcanthocephala438's summary matches how we'd pick: "Alt better early dmg wise, default better late for proc effects". The thread's own author started it arguing for the grenade, then came back three days later: "Guys i changed my mind the first primary is better".
Ripcord, the rocket jump
Ripcord fires a sticky grenade you detonate on command for 300% in 20 m, pulling enemies toward you and leaving a cloud that taunts them for 4 seconds and cuts 10 armor. Detonate it while you're airborne within 20 m and it throws you away at 30 m/s, which players use as a Railgunner-style rocket jump. Bae_Nana_ summed up the case: it "forces enemies to get close to you".
There's one catch the skill text gets wrong. The wiki says taunted enemies walk straight at their current target, not necessarily at Enforcer. In solo that's you; in co-op it may not be.
Our take
Start with the full default kit and pick up Lepton Daisy and Corpse Lily without guilt; Rally Point makes both good. Then go and get +PARRY, because Surge Protection is the skill that makes Enforcer's late game, all the way to Mithrix, different from anyone else's, and the challenge is one well-timed shield drop. Leave Indomitable for a run that's already going well, since it means standing in a Stone Titan's laser with the shield down.
How we checked this
We haven't played Enforcer ourselves, so none of this is hands-on advice. Skill numbers, item effects and challenge rules come from the Risk of Rain 2 wiki's Enforcer, item and challenge pages, read on October 23, 2026 and re-checked against later wiki edits on October 29. The four unlock conditions are copied from the official Steam achievement list; our achievements guide covers the rest of the roster. We stepped through Gearbox's survivor reveal for the screenshots and timestamps. Player quotes come from three r/riskofrain threads posted after the October 8 launch. The level 10 numbers are our own arithmetic from the wiki's base stats.
The official reveal shows Enforcer from 1:04: Trenchbroom at 1:13, Steel Protection at 1:18, Rally Point at 1:21 and Crash Point at 1:32.
Related reading
- Risk of Rain 2 Acolyte and Enforcer: Every Skill and Unlock
- Risk of Rain 2 Acolyte Build: Best Items and Loadout
- Risk of Rain 2 achievements guide
- Risk of Rain 2 Eclipse guide
- Risk of Rain 2 complete guide hub
References
- Risk of Rain 2 on Steam: Gearbox Software
- Risk of Rain 2: Hallowed Concepts on Steam: DLC store page
- Risk of Rain 2 global achievements: Steam Community
- Hallowed Concepts: Dev Diary #4, Acolyte and Enforcer: Gearbox, Steam news
- Enforcer: Risk of Rain 2 Wiki
- Enforcer: Burning Lead, +PARRY, Indomitable and Safe and Sound: Risk of Rain 2 Wiki
- HoldoutZoneRelated items: Risk of Rain 2 Wiki
- r/riskofrain: Objectively the best Enforcer build
- r/riskofrain: Enforcer builds
- NEW SURVIVOR REVEAL: Enforcer and Acolyte: Risk of Rain on YouTube
Was this guide helpful?
About the author

Systems & Economy Desk
GameBrief's byline for roguelikes, strategy and simulation. Reads patch notes, wiki tables and Steam stats and puts the numbers on the page.
- Roguelikes, strategy and simulation
- Builds, progression and economy
- Sources listed per article
Keep reading

Risk of Rain 2 Acolyte Build: Best Items and Loadout
General · 8 min
Risk of Rain 2 Prismatic Trials Guide: Seed and Rewards
General · 9 min

Risk of Rain 2 Simulacrum Guide: Waves and Rewards
General · 10 min
Risk of Rain 2 Mithrix Guide: All 4 Phases and Escape
General · 10 min
Risk of Rain 2 Interactables: Shrines, Printers, Scrappers
General · 10 min
Risk of Rain 2 Acolyte and Enforcer: Every Skill and Unlock
General · 9 min
Sponsored
More game deals · affiliate links
Disclaimer
This article is published for informational and entertainment purposes. It does not constitute professional financial, legal, or technical advice. Game performance, online services, patch schedules, and store listings change. Verify critical details (pricing, system requirements, regional availability) with publishers and storefronts before you buy. Affiliate links, where present, help support our editorial work and are labelled in our affiliate disclosure.
Comments
Loading comments…