
GuideRisk of Rain 2
Risk of Rain 2 Eclipse Guide: All 8 Modifiers Explained
Each clear adds a restriction until all eight stack on Monsoon. Here is every modifier and a route that doesn't waste attempts.
VerdictExpect Eclipse 3, 5 and 7 to be the walls. Pick a survivor with movement and recovery, and build for steady Mithrix clears, not high rolls.
Risk of Rain 2 Eclipse is the game's survivor-by-survivor mastery ladder: every successful run adds another restriction, and the eighth clear leaves you playing Monsoon with all eight modifiers active. This Risk of Rain 2 Eclipse guide lists every modifier in order, explains the multiplayer rule, and gives a route for learning the mode without wasting a high-level attempt.
Sponsored

About the game
Risk of Rain 2
Hopoo Games
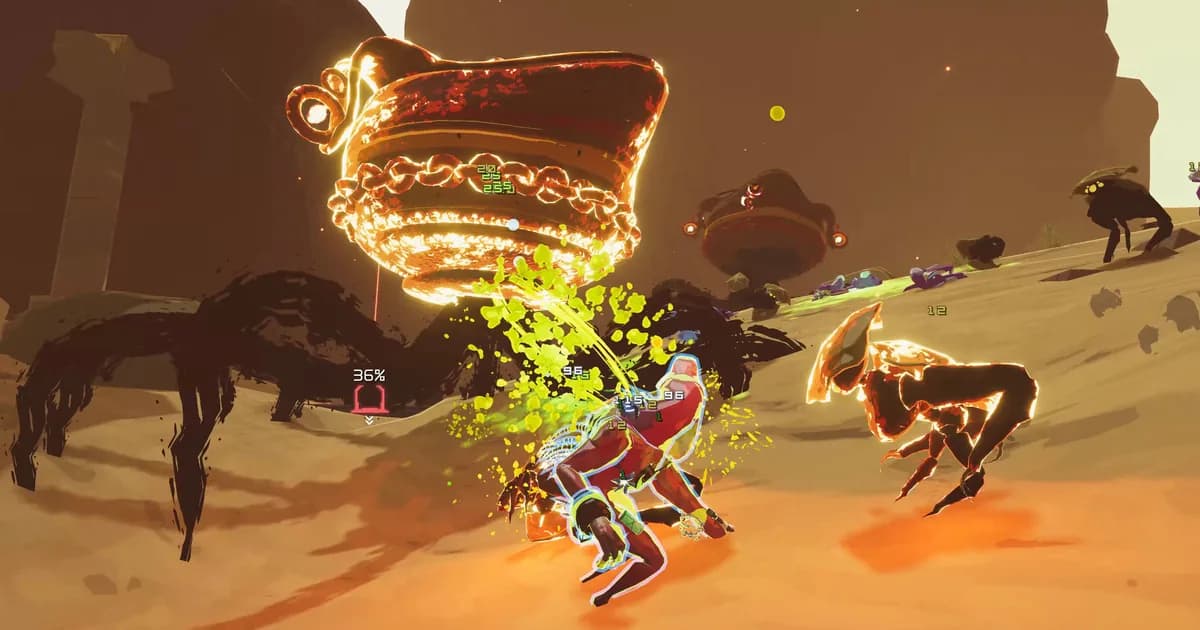
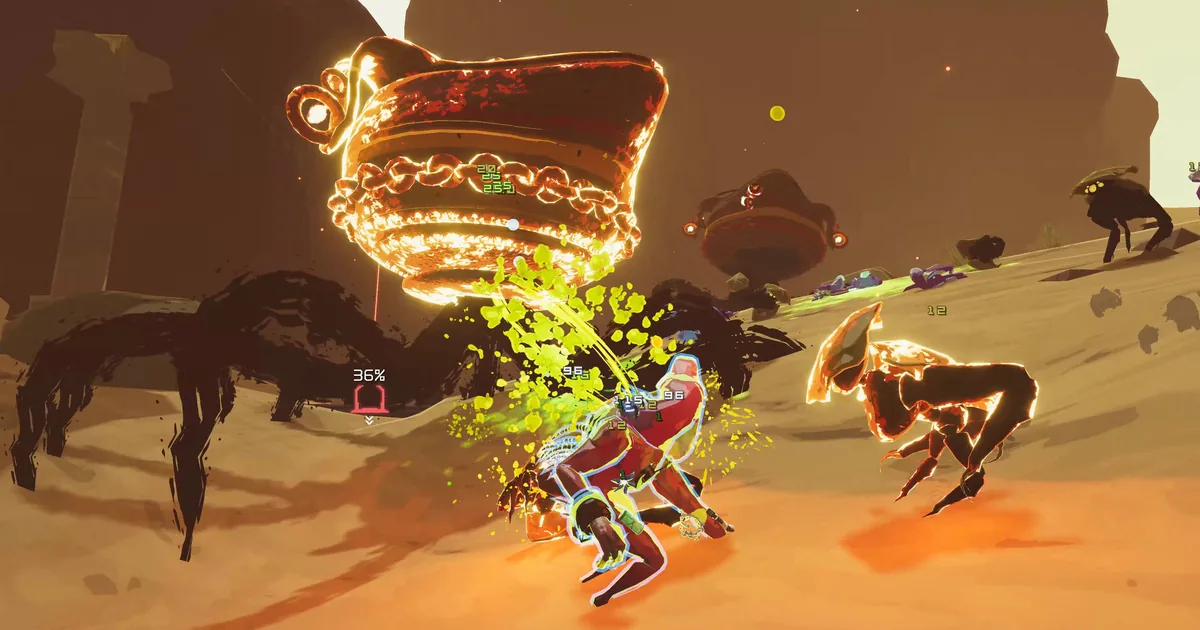 Eclipse keeps the normal run loop but changes the cost of mistakes. A boss plus adds at close range is the right kind of test: stay mobile, protect your health, and keep the Teleporter fight under control. Screenshot: Risk of Rain 2 Steam store page
TL;DR: Eclipse starts at level 1 for each survivor, uses Monsoon difficulty, and stacks eight modifiers across successful clears. The hardest walls are usually Eclipse 3's lethal fall damage, Eclipse 5's healing cut, Eclipse 7's faster enemy cooldowns, and Eclipse 8's permanent damage. Artifacts and the obliteration route are disabled, so build for consistent Mithrix clears rather than a high-roll gimmick.
BESTPRICE: Want Risk of Rain 2? Eneba sells a Steam key: Buy on Eneba →
What is Risk of Rain 2 Eclipse? (quick answer)
Eclipse is an alternate game mode that adds one fixed modifier at each level. Pick a survivor, start at Eclipse 1, and raise that survivor's level by completing a run. The official wiki's Eclipse page confirms that the ladder stops at Eclipse 8 and that the mode uses the Monsoon ruleset.
The progress belongs to the survivor, not your account as a single global number. An Eclipse 5 Huntress run does not make Commando Eclipse 5. That structure makes the mode useful as a practice ladder: you learn one kit against a known restriction, then decide whether the next restriction exposes a different weakness.
The Risk of Rain 2 complete guide hub covers the wider game, while this page is only about the restrictions and decisions that make Eclipse different from a regular Monsoon run.
Sponsored

Key Takeaways
- Eclipse has eight levels, and modifiers are cumulative.
- Every survivor has a separate Eclipse ladder.
- The mode uses Monsoon difficulty and the standard Mithrix completion route.
- Multiplayer progress uses the lowest Eclipse level represented in the lobby.
- Artifacts, Beads of Fealty, and the obliteration ending are not available.
- Healing, fall safety, and movement become more valuable than a fragile damage spike.
The Eclipse icon marks a mode that changes the run rules, not a separate survivor or item tier. Image: Risk of Rain 2 Wiki (riskofrain2.wiki.gg). Game art is the property of Gearbox Publishing.
All 8 Eclipse modifiers in order
The important detail is that each row stays active after you unlock the next one. Eclipse 8 is not an isolated challenge with only the final rule. It is Monsoon plus all eight rules below.
| Level | Modifier | What changes in practice |
|---|---|---|
| Eclipse 1 | Ally starting health -50% | You and your allies begin each stage at half maximum health. A new stage is not a free reset to full health. |
| Eclipse 2 | Teleporter radius -50% | Holdout Zones are smaller. The playable floor inside the radius is reduced even more than the diameter suggests, so positioning and crowd control matter. |
| Eclipse 3 | Ally fall damage +100% and lethal | A fall that would normally leave you alive can end the run. Treat vertical shortcuts as hazards and preserve movement skills for recovery. |
| Eclipse 4 | Enemy speed +40% | Enemies close distance faster and punish greedy chest routes. Damage that requires a long wind-up becomes harder to use safely. |
| Eclipse 5 | Ally healing -50% | Every healing source is less efficient. Avoid trading health for damage unless the exchange ends a threat quickly. |
| Eclipse 6 | Enemy gold drops -20% | You have less money for chests and other purchases. Efficient Teleporter timing and selective looting become more important than clearing every corner. |
| Eclipse 7 | Enemy cooldowns -50% | Enemy attacks and skills return faster. Safe windows are shorter, especially in Teleporter and boss encounters. |
| Eclipse 8 | Allies take permanent damage | Damage does not simply disappear through ordinary healing. Avoid hits first, and treat every fight as a test of prevention rather than recovery. |
The Risk of Rain 2 stages guide is useful for the route side of that table. Knowing where a stage ends, where a hidden realm begins, and which portals you are refusing keeps Eclipse 3 from turning a navigation mistake into a run loss.
Step-by-Step: the best way to climb from Eclipse 1 to Eclipse 8
- Pick one survivor and learn the baseline. Do not rotate survivors after every clear. The value of a ladder is knowing whether the new modifier caused the failure or whether the character was still unfamiliar.
- Clear early levels on the normal final route. The Risk of Rain 2 bosses guide covers the current boss roster, but Eclipse completion rules make Mithrix the safe destination. Do not rely on obliteration, Beads of Fealty, or an alternate ending.
- Treat stage time as a budget. Eclipse 4 and Eclipse 6 both punish wandering. Open high-value purchases, find the Teleporter, and leave before the enemy curve erases the value of another chest.
- Change one decision at a time. If Eclipse 5 is where a run fails, keep the survivor and route stable while changing healing priorities. A completely different build makes the lesson harder to read.
- Use the next clear as confirmation. A lucky Eclipse clear is useful, but repeating the level shows whether the route is reliable enough to carry into Eclipse 7 and 8.
How to build around each modifier
Health and healing: Eclipse 1, 5, and 8
The early-health penalty changes your opening minutes, the healing penalty makes recovery slower, and permanent damage removes the assumption that a healing item erases the cost of a mistake. Prioritize movement, range, barriers, and damage that ends a dangerous enemy before it can fire again. A cautious build that survives is worth more than a glass-cannon build that wins only when every proc lines up.
The Risk of Rain 2 items and artifacts guide explains the item categories. For Eclipse, read that list through a narrower question: does this item prevent damage, let me leave danger, or make a boss phase shorter? If the answer is none of those, it needs a stronger reason to displace a defensive pickup.
Movement and terrain: Eclipse 2, 3, and 4
The smaller Teleporter zone rewards attacks that work while moving. Lethal fall damage makes a missed jump a real route failure, and faster enemies reduce the time you have to correct a bad position. Keep a movement skill available before crossing a gap, and do not fight on a ledge when a flat area is one jump away.
Loader, Huntress, Mercenary, and Railgunner can each solve movement or range in different ways, but they do not remove the need to learn the stage. The Risk of Rain 2 survivors guide is the roster reference; this article's recommendation is to pick the kit you can steer under pressure, not the character with the most impressive theoretical damage.
Economy and enemy tempo: Eclipse 6 and 7
Gold reduction is a route problem before it is a build problem. Do not spend the same amount of time searching for a chest that would have been reasonable on Monsoon. Faster enemy cooldowns, meanwhile, make teleporter discipline more valuable: interrupt dangerous enemies, use cover, and focus the target that can create the next unavoidable hit.
Multiplayer makes this more visible because the lobby can increase the number of threats while the mode still expects a clean Mithrix route. The co-op and multiplayer section in the complete guide hub covers the current team-size and item-sharing baseline.
Eclipse multiplayer rules
Eclipse supports multiplayer in the same lobby as a normal run, which Steam caps at you plus "up to three friends in online co-op." Progress is still survivor-specific, though. The game's current wiki records a low-level rule for a lobby: the active Eclipse level is determined by the lowest level among the survivors being used. A high-level player cannot simply carry a new survivor through a run while claiming the higher ladder for the rest of the team.
Agree on the target before launching. If one player is learning Eclipse 2 and another has already cleared Eclipse 6, use the lower level as the practice contract. Keep one player responsible for Teleporter positioning, one for priority targets, and one for emergency revives or drones when the roster allows it. The exact role is less important than not having four players spend the same cooldown on one threat.
What Eclipse disables
Eclipse is intentionally narrower than a normal run with artifacts. Artifacts cannot be enabled, so Command, Sacrifice, Swarms, and other run-changing rules are not available. Beads of Fealty do not spawn, which removes the Celestial Portal and the obliteration completion route from the mode. The official Eclipse rules also note that an Eclipse clear does not unlock the survivor's logbook entry.
That does not mean items stop mattering. It means the run has to be solved with the ordinary pool, survivor skills, stage decisions, and consistent execution. Use the Risk of Rain 2 achievements guide for unlock goals, but do not assume an achievement route is also a legal Eclipse route.
The eight badges are a cumulative ladder. Reaching Eclipse 8 means clearing all the earlier restrictions at the same time. Image: Risk of Rain 2 Wiki (riskofrain2.wiki.gg). Game art is the property of Gearbox Publishing.
Common Eclipse mistakes
- Treating Eclipse 3 fall damage like a normal inconvenience. Check every jump, ledge, and teleporter exit before committing.
- Saving healing for after the fight. At Eclipse 5 and above, the reduced value of healing means prevention has to begin before the health bar is low.
- Over-looting on Eclipse 6. Less gold makes slow routes less forgiving. Take the purchases that improve the next fight and leave.
- Forgetting the modifier stack. Eclipse 8 includes Eclipse 1 through 7, not only permanent damage.
- Using a forbidden ending. Build and route for the final boss. The Celestial route is not an Eclipse shortcut.
- Changing survivor and route at the same time. Keep the experiment legible so a failed clear teaches you something.
Frequently Asked Questions
What is Risk of Rain 2 Eclipse?
It is an alternate Monsoon mode with eight survivor-specific levels and cumulative modifiers.
What is the hardest Eclipse modifier?
Eclipse 8's permanent damage is the final rule, but the most difficult level depends on the survivor. Eclipse 3 can end runs through a single fall, while Eclipse 5 removes much of the normal recovery safety.
Can you use artifacts in Eclipse?
No. Artifacts are disabled, and Beads of Fealty do not provide an obliteration route.
How does Eclipse work in multiplayer?
The lobby uses the lowest Eclipse level among the survivor profiles in the run, so the group should coordinate around that level.
Does Eclipse unlock logbook entries?
No. The official wiki says an Eclipse clear does not unlock the survivor's logbook entry.
What ending should you use in Eclipse?
Plan for Mithrix and the escape sequence. The alternate obliteration route is not available.
Related Reading
- Risk of Rain 2 Complete Guide: the cluster hub for the current roster, items, bosses, stages, and mods.
- Risk of Rain 2 Stages Guide: Maps, Loops and Routes: routes, hidden realms, and the choices that Eclipse restricts.
- Risk of Rain 2 Survivors Guide: All 20 Characters Ranked: survivor kits and DLC ownership context.
- Risk of Rain 2 Items and Artifacts Guide: item categories and ordinary run modifiers.
- Risk of Rain 2 Achievements Guide: survivor, item, and route unlock Challenges.
- Risk of Rain 2 Bosses and Alloyed Collective DLC Guide: confirmed boss routes and DLC encounters.
References
- Risk of Rain 2 official wiki: Eclipse: modifier order, progression, multiplayer rule, and disabled routes.
- Risk of Rain 2 official wiki: Alternate Game Modes: current mode list and Eclipse context.
- Risk of Rain 2 on Steam: official multiplayer and difficulty context.
- Risk of Rain 2 Steam Global Achievements: current completion goals referenced for route planning.
- r/ror2 on Reddit: community evidence that Eclipse level progression, Prismatic Trials, and survivor-specific clears are active questions.
Was this guide helpful?
About the author

GameBrief's byline for metroidvanias, RPGs, comparisons and design history. Places each game in its genre and argues both sides before picking one.
- Metroidvanias and RPGs
- Comparisons and design history
- Sources listed per article
Keep reading

Risk of Rain 2 Acolyte and Enforcer: Every Skill and Unlock
General · 9 min
Risk of Rain 2 Interactables: Shrines, Printers, Scrappers
General · 10 min
Risk of Rain 2 Stages: Which Maps Appear at Stages 1 to 5
General · 16 min

Risk of Rain 2 Mithrix Guide: All 4 Phases and Escape
General · 15 min
Risk of Rain 2 Best Survivors: 20 Picks and Builds
General · 17 min
Risk of Rain 2 Simulacrum Guide: Waves and Rewards
General · 10 min
Sponsored
More game deals
Disclaimer
This article is published for informational and entertainment purposes. It does not constitute professional financial, legal, or technical advice. Game performance, online services, patch schedules, and store listings change. Verify critical details (pricing, system requirements, regional availability) with publishers and storefronts before you buy. Affiliate links, where present, help support our editorial work and are labelled in our affiliate disclosure.