
GuideRisk of Rain 2
Risk of Rain 2 Mithrix Guide: All 4 Phases and Escape
Mithrix is a movement test with a boss attached. Hold a dash for the shockwave and the item theft.
VerdictSave one mobility skill, kill the Chimeras before the throne, survive phase 4 on your own kit, then run for the ship. Leave Karma off until a normal clear is routine.
Risk of Rain 2 Mithrix is the last boss on Commencement, and he tests movement more than damage. Four phases, a ring of shockwaves, an add wave and an item theft in the finale all punish a build that only wins standing still. Bring a mobility skill you can hold back, learn three tells, and keep enough in the tank for the escape run after he falls.

Sponsored

About the game
Risk of Rain 2
Hopoo Games
 The hammer is the tell worth learning: hit him after it commits, then move before the shockwave or needle burst closes the gap. Image: Risk of Rain 2 Wiki (riskofrain2.wiki.gg), Mithrix logbook model, cropped. Game art is the property of Gearbox Publishing.
Updated 2026-11-03: Added a table of every Mithrix attack by phase with the wiki's damage and cooldown numbers, how adaptive armor blunts burst damage, which items he cannot steal (Heresy items included), the Kjaro's Band phase 4 skip, the closest escape portals, and survivor tools that work on him. Steam shows no Risk of Rain 2 patch since the Hallowed Concepts hotfix posted October 14 (UTC), and that hotfix did not touch the fight.
Updated 2026-10-15: Added the Karma system from the October 8 update, which makes this fight harder when it is switched on. Corrected phase 2 (it opens with two Lunar Chimera Golems and four Wisps, then more Lunar enemies follow) and the item theft (he takes everything, not a capped 38 items).
Sponsored

How to beat Risk of Rain 2 Mithrix (quick answer)
Reach Commencement through the Stage 5 route, climb to the arena and start the fight. Stay out of hammer range while he sprints, jump or take cover from the shockwave ring, clear the Lunar Chimeras in phase 2 before they surround you, and save a movement skill for phase 4, when he takes your items. After the kill you have three minutes to reach the Rescue Ship.
The Risk of Rain 2 bosses and Alloyed Collective guide covers the wider roster, and the complete Risk of Rain 2 guide hub links every system page. This page is the Mithrix fight and the escape.
BESTPRICE: Want Risk of Rain 2? Eneba sells a Steam key: Buy on Eneba →
Mithrix attacks by phase, with the wiki's numbers
Damage is a percentage of Mithrix's own base damage, so the same hammer hurts more on a long run. Numbers are from the Risk of Rain 2 wiki's Mithrix page, read on November 3, 2026, without Karma.
| Phase | Attack | What it does | Cooldown | When he uses it |
|---|---|---|---|---|
| 1 and 3 | Hammer Smash | Wind-up, then 1200% on a direct hit plus a 1200% blast in a 12 m radius; he is open to hits for the 4-second attack | 4 s | Within 35 m, not sprinting |
| 1 and 3 | Needle Barrage | Up to 12 homing needles at 120 m/s, 60% each in a 2 m blast | 6 s | Sprinting, more than 70 m away, under 80% health |
| 1 and 3 | Hammer Swing | 200% swipe that pushes you away and carries him forward | 5 s | Within 40 m |
| 1 and 3 | Dash | 0.3-second dash in any direction; clears his timed debuffs but not damage over time | 3 s, 2 charges | 40 to 50 m, or strafing within 40 m |
| 1 and 3 | Shock Wave | Leaps, invincible in the air, slams the center: 12 waves at 60 m/s, 400% each and Cripple | 30 s | Under 75% health |
| 2 | Throne | Cannot be damaged; a knockback blast hits anyone within 10 m; 2 Chimera Golems and 4 Chimera Wisps spawn, then more Lunar enemies | None | Until every spawned enemy is dead |
| 3 | Lunar Hammer Smash | Adds 3 small shockwaves (200%, Cripple) and a 40 m blue flame pillar that ticks 75% six times a second for 45 s, through terrain | 4 s | Same as Hammer Smash |
| 3 | Big Spinny / Forbidden Pizza | 9 rotating pillars that hit for 900% and Cripple after 3 seconds, five times in a row with random rotation | 8 s after a Shock Wave | Under 80% health |
| 4 | Needle Burst | The needle attack with less spread | Off cooldown | Any time |
| 4 | Lunar Orbs | 600% ground blast in 12 m, then 8 orbs that spiral out and back for 400% each and burst after 9 s; costs him 8% of his current health | 8 s after the attack ends | Within 180 m, under 90% health |
Two rows matter more than the rest. The Phase 3 flame pillar lasts 45 seconds, so every Lunar Hammer Smash shrinks the safe floor for most of a minute; fight him away from where you want to stand later. And Shock Wave only starts below 75% health, which means the first quarter of Phase 1 is the cheapest damage of the whole fight.
Adaptive armor: why burst builds stall in phases 1 and 3
In phases 1 and 3 Mithrix has adaptive armor and the special-boss "unique scaling" on health and damage. The wiki's Armor page gives the rule: every hit gives him temporary armor worth 30 per 1% of his max health that hit dealt, capped at 400 and decaying at 40 per second. At 400 armor, damage is cut by 80%.
In practice that rewards steady damage over one giant number. A single huge crit spikes his armor and the next few seconds of hits do far less, while a stream of smaller hits keeps the armor low. If your build is built around one big shot (a charged Railgunner round, a DIABLO Strike), space the big hits out; the cap fully decays in 10 seconds. Unique scaling grows with the run's difficulty coefficient and the square root of living players, so every extra loop you take before Commencement makes phases 1 and 3 longer. Phase 4 drops unique scaling, which is why his health bar there is much shorter.
Mithrix's silhouette is simple in the logbook. In the arena, the important information is his wind-up, position, and the space left safe after each attack. Image: Risk of Rain 2 Wiki (riskofrain2.wiki.gg). Game art is the property of Gearbox Publishing.
Step by step: the Mithrix fight
- Enter the arena with an escape tool ready. Keep a jump, dash, blink, or other movement skill available for the opening hammer pressure and for phase 4.
- Learn the phase 1 rhythm. Deal damage after the hammer commitment, then move before the shockwave or needle burst closes the safe space.
- Clear phase 2's Lunar Chimeras. Use cover and target the enemies that can reach your position, rather than tunnel-visioning the boss while adds stack behind you.
- Treat phase 3 as the danger phase. His attack set becomes harder to read when you are already low on cooldowns. Fight from the edge of the arena and keep sight of the floor.
- Survive the item steal. Do not panic when items disappear. Use your survivor skills, terrain, drones, and any damage-over-time or equipment effect that remains available.
- Finish phase 4 in controlled bursts. When items return, stop chasing damage if the arena is unsafe. A second clean opening is better than a greedy hit that kills the run.
- Escape immediately after the kill. Use a portal, reach the ship, and complete the holdout. Beating the boss is not the same as completing the run until the escape is done.
Phase 1: hammer, needles, and shockwave
The first phase is a duel against Mithrix's direct attacks. His hammer is the obvious threat, but the safer response is not to stand at maximum range and forget the floor. The arena's distance and vertical geometry can make the hammer look harmless while the next shockwave or projectile catches you during a bad landing.
Hammer attacks
Mithrix closes distance and swings the hammer through the space in front of him. The hit is dangerous because it is easy to misread the range while moving backward. Strafe across his line rather than retreating in a straight line, and do not spend your only movement skill before the swing finishes.
When he jumps, watch the landing rather than the body. Mithrix can slam the arena and create a ring of shockwaves. The wiki records multiple waves that travel outward and inflict Cripple. Jumping over a wave can work for some survivors, but cover and a clean position are safer if the terrain allows it.
Needle burst
The needle attack punishes players who only watch the hammer. It is a ranged check that becomes harder to avoid when Mithrix is near the arena edge or when the camera is pointed at the floor. Keep him in view, use lateral movement, and take a safe damage window after the burst rather than during it.
Shockwave positioning
The shockwave controls the arena in a ring. Do not run directly away from the center without checking where you will land. A jump that clears the first wave can leave you in the next one, and a survivor with weak air control can lose more health to the follow-up than to the original attack.
Phase 2: Lunar Chimeras
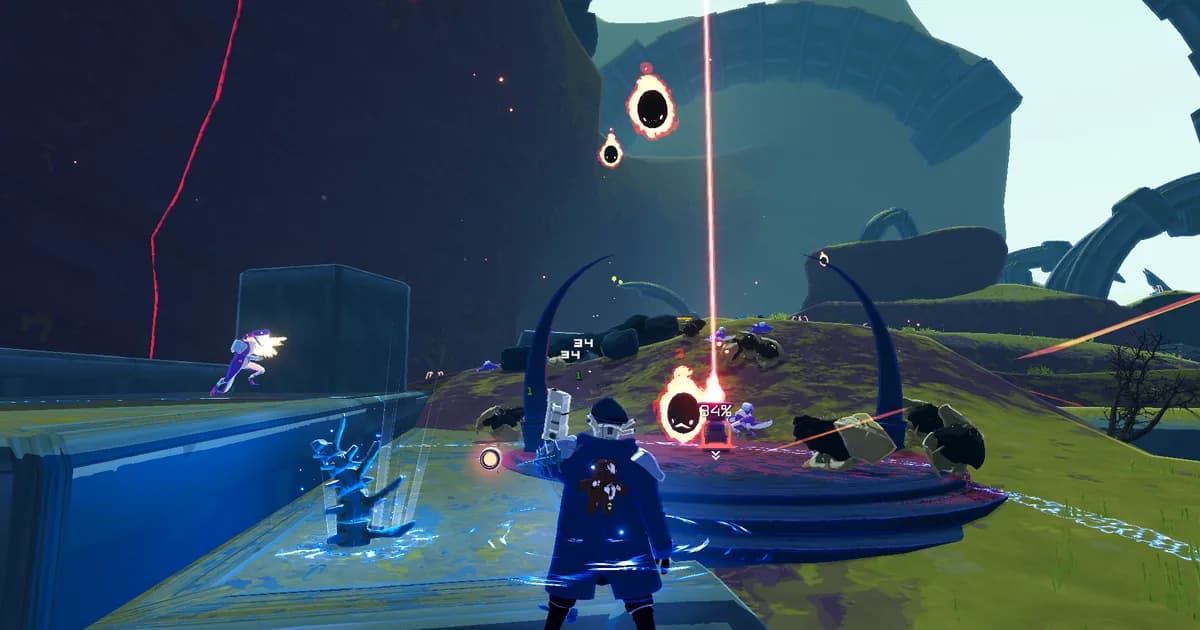
Mithrix leaps away to a throne high above the arena, where he can't be damaged, and stone pillars rise around the field. Two Lunar Chimera Golems and four Lunar Chimera Wisps spawn first, and more Lunar enemies keep arriving while the phase lasts. Without Karma, his only attack up there is a knockback blast against anyone within 10 meters.
The correct priority depends on your position, but the general rule is simple: remove the enemy that can reach or trap you first. Exploders demand space. Wisps punish a stationary survivor from range. Golems are slower but can occupy the ground you need for a safe retreat. Do not stand in the middle of the arena just because Mithrix is temporarily absent.
This phase is a good time to recover only if the enemies leave you a safe corner. It is not a guaranteed reset. Use barriers, cover, equipment, and survivor skills while keeping an exit route open. The Risk of Rain 2 interactables guide is useful for understanding why a healing drone or stage object can matter before this fight, but the arena itself may not give you a free interactable solution.
The stone pillars that rise in this phase stay for the rest of the fight, and the wiki notes Mithrix cannot climb them. A survivor with ranged damage who gets on top can make phases 3 and 4 much easier and sidestep his ranged attacks from height. The catch is in bold on the wiki page: the Phase 3 flame walls still reach you up there. The October 8 Hallowed Concepts patch also removed some air nodes near the Pillars of Mass that let Lunar Wisps spawn inside walls, so Lunar Wisps around Commencement should no longer spawn inside the geometry.
Phase 3: Mithrix returns with the full attack set
Phase 3 brings Mithrix back and expands the danger. He retains the hammer, needles, and shockwave, then adds his large special attack. The wiki refers to the spinning attack as Big Spinny and Forbidden Pizza in its phase notes. You do not need the nickname to survive it. You need to recognize that a large area of the arena is about to become unsafe.
The best phase 3 habit is to stop treating every opening as a damage opening. Attack while moving, leave yourself room to cross the arena, and avoid being pushed into the edge where the next hammer or projectile has fewer escape angles. If the boss disappears or begins a long animation, use the time to reposition rather than immediately unloading every cooldown.
The Risk of Rain 2 items and artifacts guide covers item categories, but the fight asks for a narrower inventory check. Movement items, barrier or healing options, damage that works at range, and equipment you can activate while moving are more valuable here than a build that only wins when Mithrix stands still.
Phase 4: the item-stealing phase
Phase 4 is deliberately unsettling because the boss removes the inventory that made the earlier phases manageable. Image: Risk of Rain 2 Wiki (riskofrain2.wiki.gg). Game art is the property of Gearbox Publishing.
Phase 4 starts after the phase 3 health bar is depleted. Mithrix moves more slowly, uses ranged attacks, and temporarily steals the player's items at rapid intervals. For about nine seconds he takes an item from every player and minion every 0.2 seconds, then speeds up until he has everything. Only the items from that first stretch, roughly 38 per player, become his to use against you.
The phase has two rules that change how you should play:
- Your items are not gone forever. They return as Mithrix takes damage, so the fight gradually gives your build back.
- The first seconds are the most dangerous. Your survivor skills, positioning, and any persistent effect are what you have before the inventory returns.
Do not run toward Mithrix just because the item count starts returning. His ranged attacks and the stolen effects can still kill you. Use cover, move between attacks, and take one safe damage window at a time. A survivor with an independent damage skill or a strong primary attack can keep progress moving; a survivor whose whole plan is item procs should spend the phase on survival until the inventory is restored.
What he cannot steal, and what he steals but cannot use
The wiki keeps two lists for this phase, and they change how you should build before Commencement:
| List | Items | What it means |
|---|---|---|
| Cannot be stolen | Visions of Heresy, Hooks of Heresy, Strides of Heresy, Essence of Heresy, Halcyon Seed, Neutronium Weight, Encrypted Cerebellum, Exposed Cerebellum, Orphaned Core | These stay with you all phase. Heresy skill replacements keep working, and any Halcyon Seeds summon Aurelionite to fight on your side |
| Stolen but not used by him | Tougher Times, Mired Urn, Shadow Cloak, Clarity, Dark Alchemy, Eulogy Zero, Fanatic Summons, Purify, Reincarnation, Safer Spaces, Warp Gate | He takes them, so you lose them until they come back, but he gains nothing |
The items you should worry about are the ones he does use. The wiki calls out Medkits and Captain's Defensive Microbots, Dio's Best Friend (he will revive with it if you have not taken it back before his first death), and Empathy Cores and Queen's Gland, which hand him his own allies. On-kill items such as Topaz Brooch and Will-o'-the-wisp do nothing for you in this fight unless he kills something. Items come back as you deal damage, in the order you picked them up, and each one needs at least 1% of his health in damage. In a group they come back in round robin order by player slot; our Risk of Rain 2 co-op guide covers the rest of group play.
An advanced skip is possible. The wiki says his phase 4 invulnerability lands a moment after he appears, so damage in that first instant cancels the theft entirely: you keep everything and he gets nothing. The reliable way is continuous damage at the center, most often a Kjaro's Band that triggers as Phase 3 ends on his jump slam. It depends on timing you do not control, so plan the fight as if the theft will happen.
After Mithrix falls, the escape portals rotate around the arena. The reference-rock route is safer than guessing which glowing orb is nearest. Image: Risk of Rain 2 Wiki (riskofrain2.wiki.gg). Game art is the property of Gearbox Publishing.
The escape after Mithrix
Defeating Mithrix starts the moon's detonation sequence. Players must leave the arena through one of the floating portals, reach the Rescue Ship, and complete its holdout. The wiki gives three minutes to reach the ship and one minute to protect it by staying nearby.
Five of the twelve escape portals spawn and rotate clockwise or counterclockwise at fixed radii and heights. Use the large floating reference rock outside the arena to orient yourself, then choose the portal that leads toward the ship. A portal can be close in a straight line but still send you into a slower route, so use the map rather than trusting distance alone.
The escape route adds its own enemies and hazards, including Void Reavers and lines of flame. Do not spend every movement cooldown on the first jump away from the boss. The safest escape is usually the one that leaves you with a movement option for the final gap and keeps you close to the ship's holdout zone once you arrive.
Distance matters more than it looks. The wiki lists every portal's landing point and its distance to the ship: the ground floor of the Pillars of Soul area is closest at 472.7 m, the far top floor of the same area is next at 567.3 m, and the back left of the Pillars of Blood is worst at 1109.2 m. Only 5 of the 12 spawn each run, so if a Pillars of Soul portal is up, take it.
Karma: the harder Mithrix
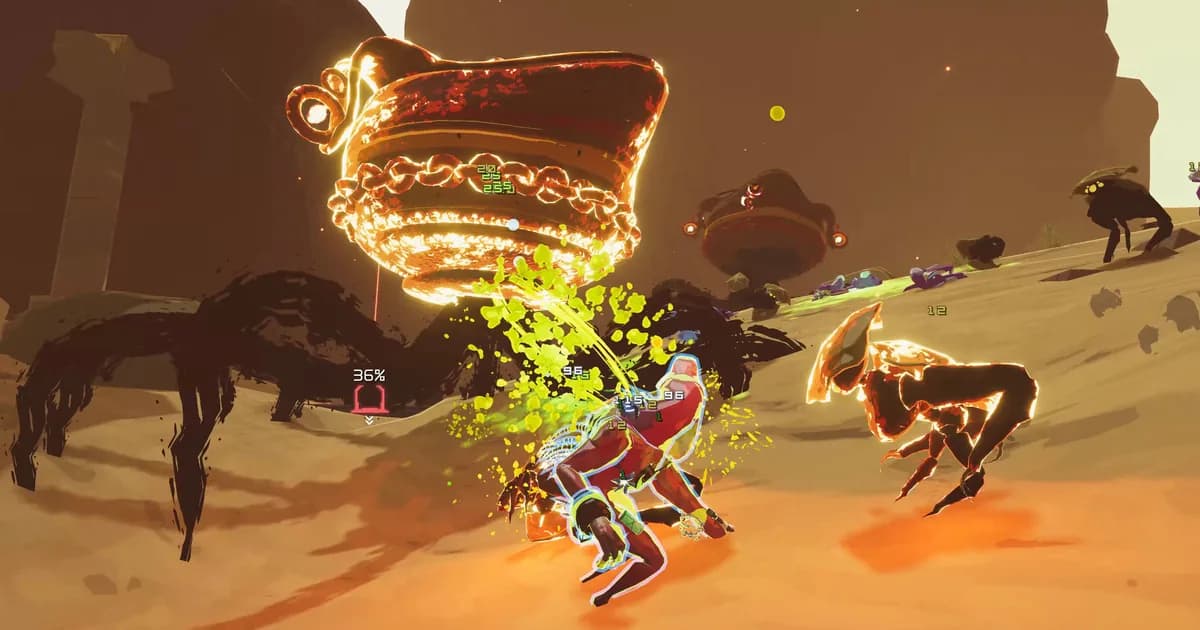
The base-game update that shipped with Hallowed Concepts on October 8, 2026 added Karma, an optional run setting that only affects this fight. With Karma on, milestones during the run raise it up to 8, and each level makes Mithrix stronger: more damage per level, faster movement and attacks from Karma 2, halved cooldowns from Karma 6 and half again as much health at Karma 8. It is off by default; you unlock the "No Karma" option by unlocking Captain through the Washed Away challenge, and higher starting levels by winning a run that reached them.
Eclipse now starts every run with Karma equal to its Eclipse level, so Eclipse 8 means a Karma 8 Mithrix. Simulacrum and Prismatic Trials always run with Karma off. If you are learning the fight, leave it off until a normal clear feels routine.
Gearbox's trailer for the 1.0 release, the update that ended Early Access in August 2020, is a short mood piece rather than a boss guide: a giant hammer drifts through space at 0:22, then the cards read "Discover", "Overpower", "Fight" and "Home".
The Risk of Rain 2 stages guide maps the broader route to Commencement and its endings. The Risk of Rain 2 achievements guide explains why the first successful escape also matters for Captain's Washed Away Challenge.
Loadout and route preparation
The Mithrix fight starts before Commencement. The route guide is useful for Stage 5 decisions, but the loadout questions are more direct:
- Can you move without spending every skill? Lethal falls, shockwaves, and the escape require different movement decisions.
- Can you deal damage without standing still? Phase 3 and phase 4 punish channeling a perfect attack in the open.
- Do you have a fallback after item loss? Survivor skills, equipment, drones, and persistent damage may still work when passive item stacks disappear. Our Acolyte and Enforcer skills page lists what the two newest kits bring without items.
- Can the build survive with less healing? A good normal-run recovery loop may not be enough for Eclipse or a high-scaling late run.
- Do you know what not to activate? Shrines of the Mountain, Lunar choices, and alternate portals can make a winning route harder if they do not serve the current plan.
The Risk of Rain 2 survivors guide is the roster reference. There is no single required survivor for Mithrix. A player who can reliably control space with Huntress, Loader, Captain, Railgunner, Commando, or another practiced kit has a better chance than a player choosing a theoretical tier-list winner they cannot steer through the arena. For which items to take into the fight, the Risk of Rain 2 item tier list ranks the common picks.
Survivor tools the wiki lists against Mithrix
| Survivor | Tool | Why it helps |
|---|---|---|
| Artificer | Ion Surge; Snapfreeze, Cast Nano-Spear | Ion Surge can avoid the whole of Phase 1; freezing skills can freeze and execute him, and a freeze while he prepares Shock Wave cancels the jump |
| Railgunner | Cryocharge | Freezes and executes; also cancels the Shock Wave jump |
| Captain | Defensive Microbots; OGM-72 'DIABLO' Strike | Microbots block Shock Wave waves and the Phase 3 flame pillars; a timed DIABLO Strike can one-shot or badly hurt him with Crowbar, Runald's Band or Shaped Glass stacks |
| CHEF | Boosted Ice Box, or Ice Box with Boosted Oil Spill or Yes, CHEF! | Builds Frost to freeze and execute him |
| Engineer | Turrets and mines | Fire automatically during his spawn introduction, when you cannot attack |
| Huntress | Ballista | Enter targeting before he lands and it auto-fires once his blue shield drops |
The two Hallowed Concepts survivors, Acolyte and Enforcer (covered in our Hallowed Concepts survivors article), have no Mithrix notes on the wiki yet. Enforcer's shield blocks enemy attacks according to his wiki page, but nobody has documented which of Mithrix's attacks it stops, and we have not tested it, so we are not putting either survivor in the table. Our Enforcer build guide covers his kit outside this fight.
Common Mithrix mistakes
- Saving movement for damage. A movement skill that is on cooldown when the shockwave lands is worth less than a missed attack.
- Fighting in the center without an exit. Leave yourself a route around the next hammer or special attack.
- Ignoring Lunar Chimeras. Phase 2 is a real threat wave, not an intermission.
- Panic-dumping cooldowns in phase 4. The item steal is temporary. Survive first and let the build return.
- Celebrating before the ship holdout. The run is not complete when the boss bar disappears.
- Following an old guide's ending advice. Eclipse and current DLC routes can change which destination is legal or useful.
Our take
We'd learn this fight with movement first and damage second, on a survivor you already steer well (our best survivors list has picks). Hold one mobility skill for the shockwave ring and phase 4, kill the Chimeras before you chase the throne, and don't spend the item-theft seconds trying to win. Turn Karma on only once a plain clear is routine; it is the right challenge after that, and a run-ender before.
How we checked this
- On 2026-10-15 we read the Risk of Rain 2 wiki (riskofrain2.wiki.gg) pages for Mithrix, Commencement, Eclipse, Karma and Captain as raw wikitext.
- On 2026-11-03 we re-read the Mithrix page, plus the Armor and Difficulty pages and the BrotherBlacklist and CannotSteal item categories, for the attack table, adaptive armor and item lists. We also checked Steam's announcement feed for Risk of Rain 2; the newest post is the hotfix posted October 14 (UTC), which fixed Soulbound Threshold spawns and Enforcer clipping and did not mention Mithrix.
- Release dates come from Steam's store data for Risk of Rain 2 and the Hallowed Concepts expansion.
- We watched Gearbox's 1.0 launch trailer and took frames every three seconds.
- We didn't replay the fight for this update; timings and phase rules are the wiki's.
Frequently Asked Questions
How many phases does Mithrix have?
Four: the hammer duel, the Lunar Chimera wave, the expanded Mithrix fight, and the item-stealing finale.
What happens in Mithrix phase 4?
Mithrix steals items rapidly for roughly nine seconds, then returns them as he takes damage. Fight from cover and rely on survivor skills until the build comes back.
What is the best build for Mithrix?
There is no universal build. Reliable movement, damage while moving, range or burst, and a fallback that works during item loss are the useful properties.
How do I escape after killing Mithrix?
Use an escape portal, reach the Rescue Ship within three minutes, and stay near the ship for its one-minute holdout.
Can phase 4 be skipped?
Some continuous damage can hit Mithrix before his invulnerability applies, but it is timing-sensitive. Treat it as an advanced option, not the normal route.
Does Eclipse require Mithrix?
Yes. Eclipse disables the Beads of Fealty obliteration route, so the Mithrix ending is the relevant completion path.
Does Mithrix steal Heresy items?
No. The four Heresy items are on the wiki's cannot-steal list, with Halcyon Seed, Neutronium Weight and the Cerebellum items, so a Heretic or a Heresy build keeps those skills through phase 4.
Can you stand on the pillars to fight Mithrix?
Yes. The pillars that rise in phase 2 stay up, and Mithrix cannot climb them, so ranged survivors can fight phases 3 and 4 from on top. His Phase 3 flame walls still reach you there.
Related Reading
- Risk of Rain 2 Bosses and Alloyed Collective DLC Guide: the confirmed encounter roster and expansion route context.
- Risk of Rain 2 Stages Guide: Maps, Loops and Routes: how to reach Commencement and choose an ending.
- Risk of Rain 2 Eclipse Guide: All 8 Modifiers Explained: the mode that removes the alternate obliteration route.
- Risk of Rain 2 Interactables: Shrines, Printers, Scrappers: route objects, drones, and item-conversion decisions.
- Risk of Rain 2 Items and Artifacts Guide: item categories and build priorities.
- Risk of Rain 2 Achievements Guide: 205 Challenges Explained: Captain's unlock and other route goals.
- Risk of Rain 2 Survivors Guide: Every Character Explained: survivor kits and movement tools for the final fight.
- Risk of Rain 2 Hallowed Concepts: Acolyte and Enforcer: the two newest survivors and what the expansion shipped.
- Risk of Rain 2 Item Tier List: which items to carry into Commencement.
References
- Risk of Rain 2 wiki: Mithrix: phase attacks, item stealing, and escape details.
- Risk of Rain 2 wiki: Commencement: the final stage and escape context.
- Risk of Rain 2 on Steam: official final-boss and run-loop context.
- Risk of Rain 2 Steam Global Achievements: Washed Away and related completion goals.
- Risk of Rain 2 wiki: Karma: the optional Mithrix difficulty setting.
- Risk of Rain 2 wiki: Armor (Adaptive Armor): the armor rule Mithrix uses in phases 1 and 3.
- Risk of Rain 2 wiki: CannotSteal items: items Mithrix cannot take in phase 4.
- Risk of Rain 2: Launch Trailer: Gearbox's YouTube channel
Was this guide helpful?
About the author

News Desk
GameBrief's byline for industry news, patch notes, studio announcements and esports results. Tight sentences, dated facts.
- News, patch notes and early access
- Industry and esports results
- Sources listed per article
Keep reading

Risk of Rain 2 Simulacrum Guide: Waves and Rewards
General · 10 min
Risk of Rain 2 Interactables: Shrines, Printers, Scrappers
General · 10 min

Risk of Rain 2 Acolyte and Enforcer: Every Skill and Unlock
General · 9 min

Risk of Rain 2 Prismatic Trials Guide: Seed and Rewards
General · 9 min
Risk of Rain 2 Eclipse Guide: All 8 Modifiers Explained
General · 10 min

Risk of Rain 2 Stages: Which Maps Appear at Stages 1 to 5
General · 16 min
Sponsored
More game deals
Disclaimer
This article is published for informational and entertainment purposes. It does not constitute professional financial, legal, or technical advice. Game performance, online services, patch schedules, and store listings change. Verify critical details (pricing, system requirements, regional availability) with publishers and storefronts before you buy. Affiliate links, where present, help support our editorial work and are labelled in our affiliate disclosure.