
GuideRisk of Rain 2
Risk of Rain 2 Drifter Build: Best Items and Unlocks
Drifter is the one survivor who wants your scrap, so her build starts at the printer and ends in the bag.
VerdictUnlock Tinker first and run it over Salvage, then stack Backup Magazines for Cleanup. Keep the scrap you'd normally print: on her it's a stat buff.
A Risk of Rain 2 Drifter build starts with a habit you've spent years unlearning: keep your scrap. Her passive, Trash to Treasure, turns every Item Scrap in her inventory into a stat, so a stack of whites is movement speed and a yellow is shorter cooldowns. Her skills spend Junk, a resource she beats out of enemies, and her best special turns items you don't want into more scrap.
Sponsored

About the game
Risk of Rain 2
Gearbox Software · 2K
Drifter came with Gearbox's Alloyed Collective DLC on November 18, 2025, and she has to be freed before you can pick her. The October 8, 2026 Hallowed Concepts update didn't change her numbers. Her entries in the notes are four bug fixes, including one for "a rare issue where Drifter could Repossess herself", plus reduced screen shake on Junk Cube.
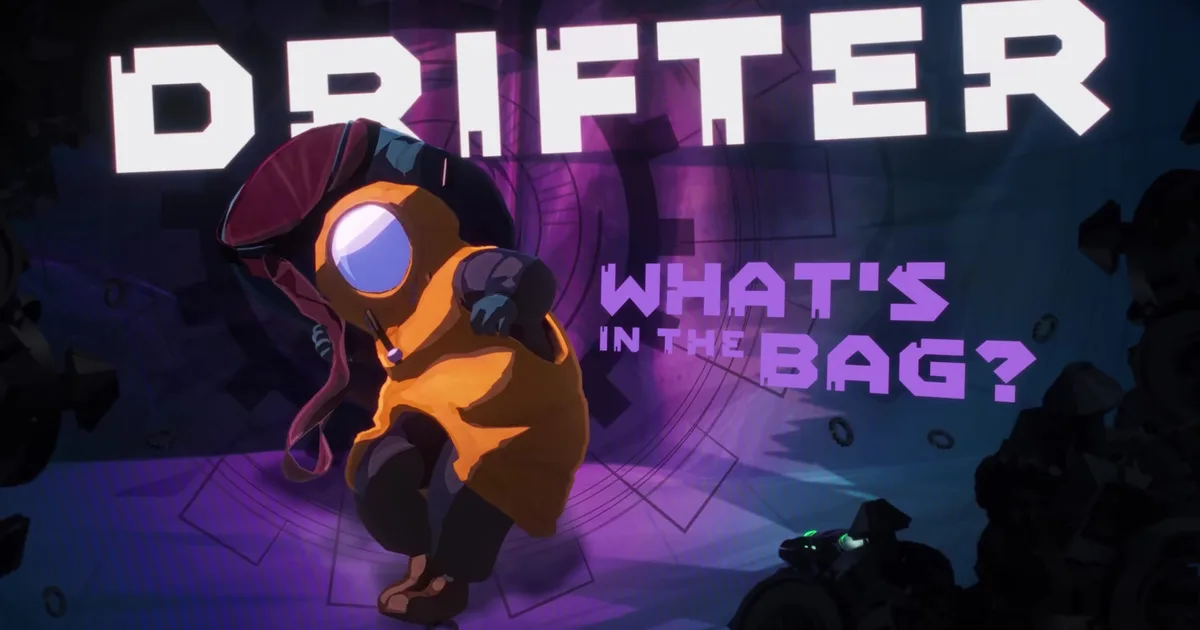 Screenshot: official Drifter Survivor Reveal Trailer (Gearbox on YouTube), 0:16
Sponsored

The Risk of Rain 2 Drifter build we'd run first
Drifter is sturdy for a Risk of Rain survivor. The wiki lists 170 health (+52 per level) and 20 armor, against Commando's 110 health and 0 armor. That matters, because nearly everything she does happens at melee range.
| Slot | Our pick | Alternative | Why |
|---|---|---|---|
| Passive | Trash to Treasure | none | Every scrap she holds is a stat |
| Primary | Blunt Force | none | 170% swings, a 350% stunning third hit, 40% chance per hit to drop Junk |
| Secondary | Cleanup | Junk Cube | 4 x 100% debris volley plus a random object from her bag; 2 Junk skips the 6-second cooldown |
| Utility | Repossess | Tornado Slam | Bag a monster or an interactable, slam it for Junk, then throw it |
| Special | Tinker | Salvage | 8 Junk breaks an item into scrap plus a temporary copy, or rerolls a printer |
The passive is what changes how you loot. The wiki's numbers per scrap, per stack:
| Item Scrap | Bonus on Drifter |
|---|---|
| White | +6% movement speed |
| Green | +3 HP/s base health regeneration |
| Red | +30% attack speed |
| Yellow | -15% skill cooldown |
Green scrap is the quiet winner. The wiki's tips note that three HP per second, per green, often beats the uncommon healing items you'd otherwise print. On r/riskofrain, u/Beneficial_Bed_9726 made the same call against Harvester's Scythe: "green scrap on drifter is imo a lot more useful compared to scythe".
BESTPRICE: Want Risk of Rain 2? Eneba sells a Steam key: Buy on Eneba →
How to unlock Drifter and her alternate skills
Drifter herself and three of her skills sit behind challenges. Each pays 3 Lunar Coins. Conditions come from Steam's official list; the last column is the share of Risk of Rain 2 players who have each one, from Steam's global achievement stats on October 23.
| Unlocks | Challenge | Official condition | Players with it |
|---|---|---|---|
| Drifter | Lost in Transit | Free the survivor from the vault in Solutional Haunt | 7.2% |
| Junk Cube | Trash Compactor | As Drifter carry 20 temporary items at once | 3.6% |
| Tinker | Leave No Trace | As Drifter claim the contents of the lost backpack in the vault of Solutional Haunt | 2.6% |
| Tornado Slam | In The Bag | As Drifter defeat a boss from the challenge of the Mountain using a Shrine of the Mountain | 2.4% |
Lost in Transit is the long one. You have to beat the Solus Wing in Solutional Haunt, because its death opens the room with the two Prison Matrices. The wiki says both Solus Coffers sit in the cave directly to the right of the arena, marked with purple residue. The first Matrix opens the vault, the second frees her at the terminal inside. In co-op, one player using it completes the challenge for everyone who still needs it, even a teammate who's dead.
Leave No Trace is the same trip again, as Drifter this time. Get there and interact with the lost backpack in the vault. The wiki's tip for this challenge says its "main difficulty" is beating the Solus Wing as Drifter, and the Solus Wing page explains why: the main body has 1,000 armor and much higher health scaling than other bosses, so direct hits do little until its Memory Modules are destroyed.
Trash Compactor is easy with Salvage equipped. Temporary items don't start their timer until you pick them up, so the wiki's advice is to keep Salvaging until 20 are on the floor (five uses at four items each), then grab them all at once. It also suggests Substandard Duplicator, which doubles every temporary item you pick up after it. Lysate Cell's extra Special charge and Bandolier's cooldown resets get you to five Salvages sooner.
In The Bag is a throwing challenge. Activate a Shrine of the Mountain, then finish one of the extra bosses by throwing a Shrine of the Mountain at it with Repossess. The wiki suggests Artifact of Prestige, which guarantees a Shrine of the Mountain on every stage.
GODEEPER: The full list of Risk of Rain 2 challenges, including the other Alloyed Collective survivor's. Risk of Rain 2 Achievements Guide →
Build 1: Tinker and the scrap engine
This is the build we'd run, and the reason Drifter isn't just another melee survivor. Tinker costs 8 Junk and fires a wide, slow-moving shockwave. Hit an item lying on the ground and it becomes an Item Scrap of the same tier plus a temporary copy of the item. Hit a 3D Printer, Multishop Terminal or Cauldron and its contents reroll, up to twice.
So the loop is: Blunt Force and Repossess generate Junk, Tinker turns unwanted items into scrap, scrap powers Trash to Treasure, and the temporary copy is a bonus. In a thread asking whether she's a top-five survivor, u/BraveNKobold summed it up: "being able to reroll printers and get scrap is kinda crazy".
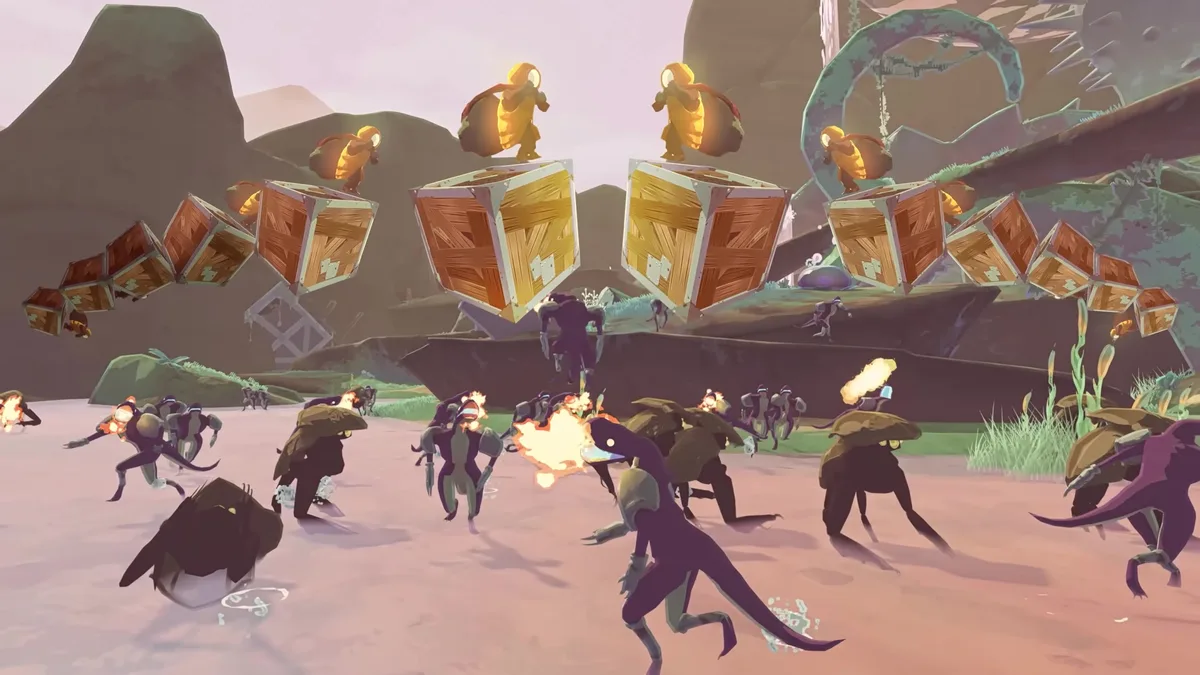 Screenshot: official Drifter Survivor Reveal Trailer (Gearbox on YouTube), 0:48
Two rules from the wiki keep it from backfiring. Tinker only works on tiers that have a scrap (white, green, red and yellow), so Lunar and Void items are out, and so are Pearls and Sentry Keys. And an item fresh out of a 3D Printer turns into two temporary copies, with no scrap. Tinker the item on the floor, not the one you just printed.
The items for this build:
- Backup Magazine (white): +1 charge of your Secondary per stack. Cleanup is her main way to deal damage from range. "Backup mag is ranked so high because cleanup is really good," wrote u/Beneficial_Bed_9726 under an Eclipse 8 tier list.
- Bandolier (green): 18% chance on kill (+10% per stack) to drop an ammo pack that resets all skill cooldowns. That includes Tinker's 30 seconds.
- Brainstalks (red): killing an elite gives 4 seconds (+4 per stack) of 0.5-second cooldowns. Tinker and Salvage still need 8 Junk per cast, so the frenzy mostly speeds up Cleanup and Repossess.
- Lysate Cell (void): +1 Special charge and a 33% shorter Special cooldown.
- Collector's Compulsion (green): +3% to all stats for 20 seconds per pickup, up to 3 stacks (+2 per extra copy). The wiki notes Junk counts as a pickup, and she drops a lot of it.
Build 2: Salvage for a boss
Salvage is her default special. It eats 8 Junk and spawns 4 temporary items, which the dev diary describes as the "Support" half of her "Brawler-Support" kit: "you can take all these items for yourself, or share them with your teammates". Each temporary stack lasts 80 seconds after pickup, longer with Substandard Duplicator (+10 seconds per stack).
Because the clock only starts on pickup, Salvage is a stockpile. Drop items through the stage, then grab the pile right before the teleporter boss. One Reddit player who finished Eclipse 8 on her preferred it for the last fight: "Her default special is better for Mithrix imo, you can save scrap to make good items and leave them till stage 4 for an easier ending." Our Mithrix guide covers the phases.
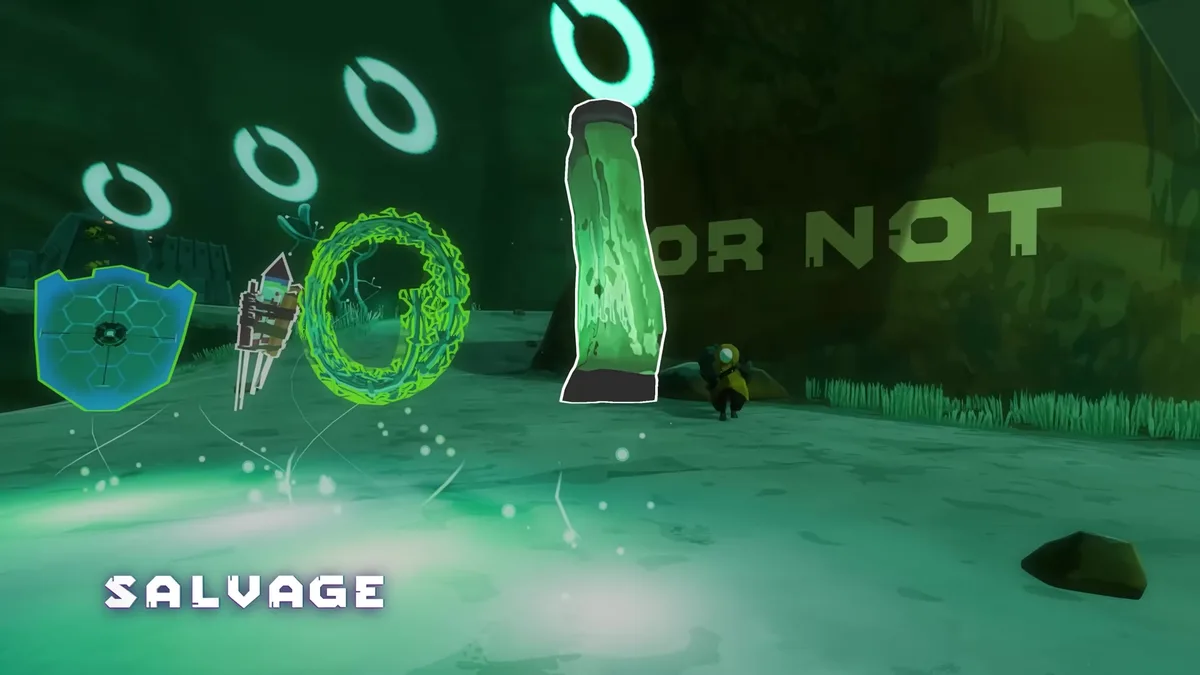 Screenshot: official Drifter Survivor Reveal Trailer (Gearbox on YouTube), 1:16
The wiki also lists a trick worth knowing: a temporary Rusted Key or Shipping Request Form held until you enter the next stage still spawns its lockbox or multishop, which turns a temporary item into a different, real one. In co-op, it suggests making sure as many teammates as possible have at least one Shipping Request Form.
We'd still pick Tinker for a normal run. Salvage's items vanish, Tinker's scrap stays.
Junk Cube or Cleanup, Tornado Slam or Repossess
Junk Cube slams down a cube for 400%. Hit it with Blunt Force and it flies at enemies for the same damage up to three times, then explodes for 800%. The dev diary's favourite trick works: "ride the cube while you slap it". The wiki adds that this movement scales with attack speed, not movement speed. It's fun, it's strong on bosses, but Cleanup's 2-Junk skip is cheaper than the cube's 4, and we'd keep Cleanup for general play.
Tornado Slam spins forward for 220% per hit and slams for 600%. Gearbox's December 2025 patch raised it from 170% and 400% and "greatly increased junk production". The cost is Repossess, which is half her toolkit. The wiki lists a bug worth knowing: the spin rate is divided by attack speed instead of multiplied, so Light Flux Pauldron actually makes it hit more often.
 Screenshot: official Drifter Survivor Reveal Trailer (Gearbox on YouTube), 1:04
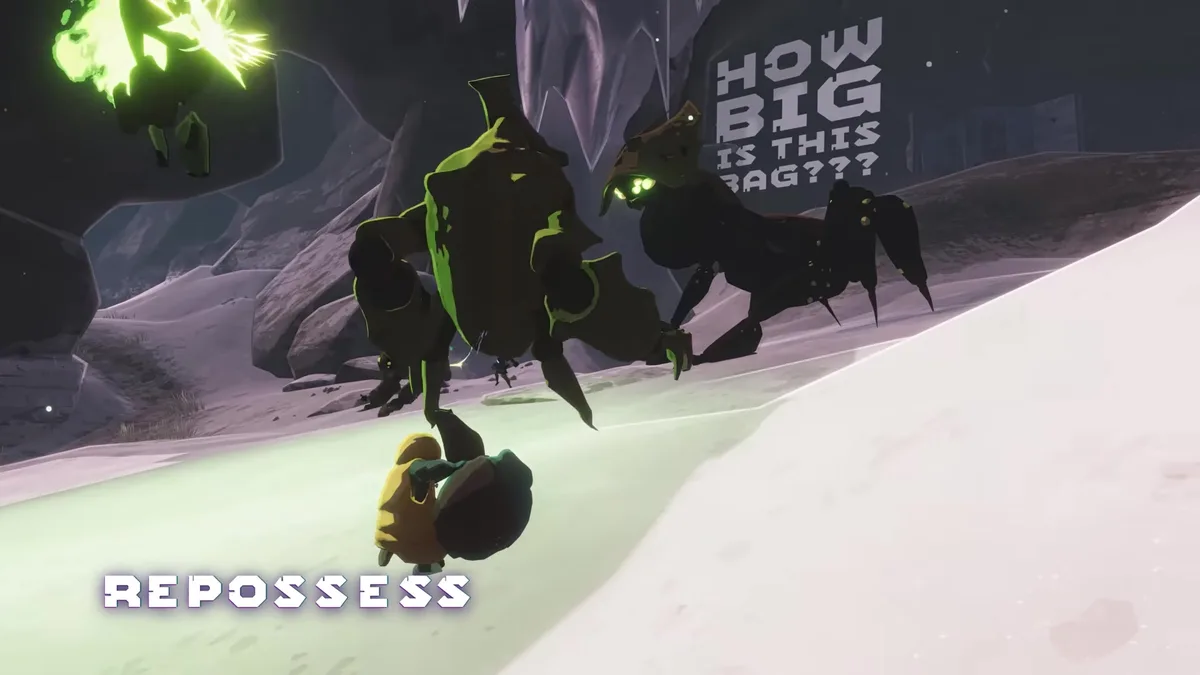
Repossess is why we keep the default. It bags any monster except bosses, plus interactables, drones and other players. Bagged objects are bludgeoned for 280% scaled by their mass, drop at least 1 Junk per hit and 4 more when destroyed. Heavier objects slow her more. The wiki's tips: carry a Shrine of the Woods or a turret to the teleporter, or throw early elites off the stage.
Kjaro's Band and Runald's Band suit both alternate skills. Each triggers on hits that deal more than 400%, and the 600% slam and 800% cube explosion both clear that bar. The wiki notes Junk Cube and Salvage's items can hold down the pressure plates in Abandoned Aqueduct's hidden chamber, an easy route to a copy of each band.
GODEEPER: Which items stay strong on any survivor before you commit to scrap. Risk of Rain 2 Item Tier List 2026: Best Items for Every Run →
Drifter build mistakes
- Printing your scrap by reflex. On her, a red scrap is +30% attack speed you keep. Print only what beats the stat.
- Picking up Newly Hatched Zoea. The wiki warns it corrupts yellow items, and her yellow scrap counts.
- Tinkering a printer your team needs. "Let players know when you are rerolling a printer," the wiki's co-op tips say. Two Drifters in one lobby? The wiki suggests only one of you runs Tinker.
- Playing her as melee only. "I find her being a melee character REALLY holds her back," u/bigrudefella wrote in a thread asking whether she's a top-five survivor. Backup Magazines and Cleanup are the answer.
Our take
Free Drifter first, then go straight back to Solutional Haunt for Tinker; it's the skill that makes her. Take Backup Magazine whenever you see it, keep a little of every scrap tier, and only print when the item clearly beats the buff. Leave Junk Cube and Tornado Slam for later runs. Both are flashy, but the default secondary and utility do more for a first clear.
Playing in co-op? She's the scrap bank. The wiki suggests teammates hand her their scrap until a printer shows up, since she gets stats from holding it.
How we checked this
We haven't played Drifter ourselves, so this is not hands-on advice. Skill numbers, item effects and tips come from the Risk of Rain 2 wiki's Drifter, challenge, temporary item and item pages, read on October 23, 2026. Challenge conditions and completion rates come from Steam's official achievement list and global stats the same day. Gearbox's words come from Dev Diary #4, the Patch 1.4.1 notes and the Hallowed Concepts notes on Steam; player quotes come from three r/riskofrain threads.
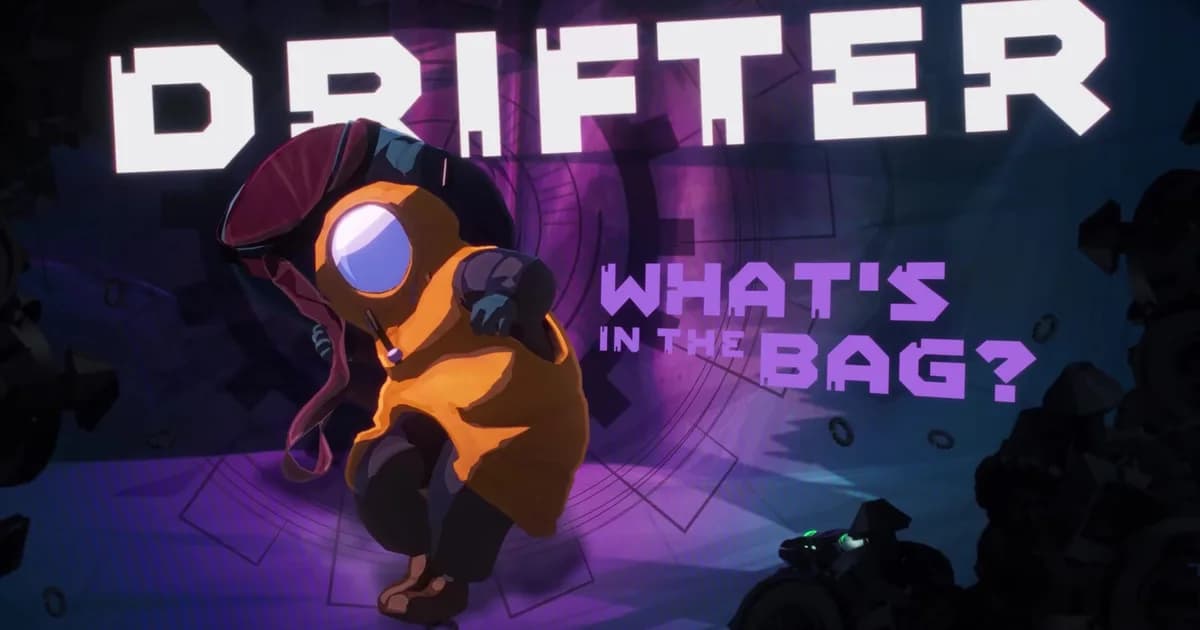
We stepped through Gearbox's Drifter reveal trailer at 3-second intervals for the screenshots. Her title card appears at 0:16, the Junk Cube section runs from 0:39, Repossess from 1:00, Salvage from 1:12 and Cleanup from 1:21.
Related reading
- Risk of Rain 2 Operator Build: Best Loadout and Items
- Risk of Rain 2 Best Survivors: 20 Picks and Builds
- Risk of Rain 2 Survivors Guide: All 20 Characters Ranked
- Risk of Rain 2 Enforcer Build: Best Loadout and Items
- Risk of Rain 2 interactables guide
- Risk of Rain 2 complete guide hub
References
- Risk of Rain 2 on Steam: Hopoo Games, Gearbox Publishing
- Risk of Rain 2: Alloyed Collective on Steam: DLC store page
- Risk of Rain 2 global achievements: Steam Community
- Dev Diary #4: Drifter & Release Details: Gearbox, Steam news
- Alloyed Collective Patch 1.4.1: Gearbox, Steam news
- Drifter and Lost in Transit: Risk of Rain 2 Wiki
- Items and temporary items: Risk of Rain 2 Wiki
- r/riskofrain: Would you consider Drifter a top 5 strongest survivor?
- Drifter Survivor Reveal Trailer: Gearbox on YouTube
Was this guide helpful?
About the author

Systems & Economy Desk
GameBrief's byline for roguelikes, strategy and simulation. Reads patch notes, wiki tables and Steam stats and puts the numbers on the page.
- Roguelikes, strategy and simulation
- Builds, progression and economy
- Sources listed per article
Keep reading
Risk of Rain 2 Operator Build: Best Loadout and Items
General · 9 min
Risk of Rain 2 Shrine of Order: Sequencing, Acrid Unlock
General · 8 min
Risk of Rain 2 Enforcer Build: Best Loadout and Items
General · 9 min

Risk of Rain 2 Acolyte Build: Best Items and Loadout
General · 8 min

Risk of Rain 2 Prismatic Trials Guide: Seed and Rewards
General · 9 min

Risk of Rain 2 Simulacrum Guide: Waves and Rewards
General · 10 min
Sponsored
More game deals · affiliate links
Disclaimer
This article is published for informational and entertainment purposes. It does not constitute professional financial, legal, or technical advice. Game performance, online services, patch schedules, and store listings change. Verify critical details (pricing, system requirements, regional availability) with publishers and storefronts before you buy. Affiliate links, where present, help support our editorial work and are labelled in our affiliate disclosure.
Comments
Loading comments…