
GuideRisk of Rain 2
Risk of Rain 2 Best Survivors: 20 Picks and Builds
Two new survivors joined the menu, and neither knocked Loader off the top. Here's where all twenty land for solo, co-op and Eclipse.
VerdictLoader is still the safest pick. Enforcer is the best new arrival for co-op; Acolyte has the higher ceiling but asks more of you.
Our Risk of Rain 2 best survivors pick is still Loader for most players, and Hallowed Concepts didn't knock her off. It added two survivors to the menu, for 20 in total. Enforcer goes straight into A tier: he's unlocked from the start, his shield forgives mistakes, and his beacon protects the whole team. Acolyte lands in B, with a higher ceiling and a harder unlock. The ranking below uses a solo Rainstorm baseline, then adjusts for beginners, co-op, Eclipse and Simulacrum.
Sponsored

About the game
Risk of Rain 2
Hopoo Games
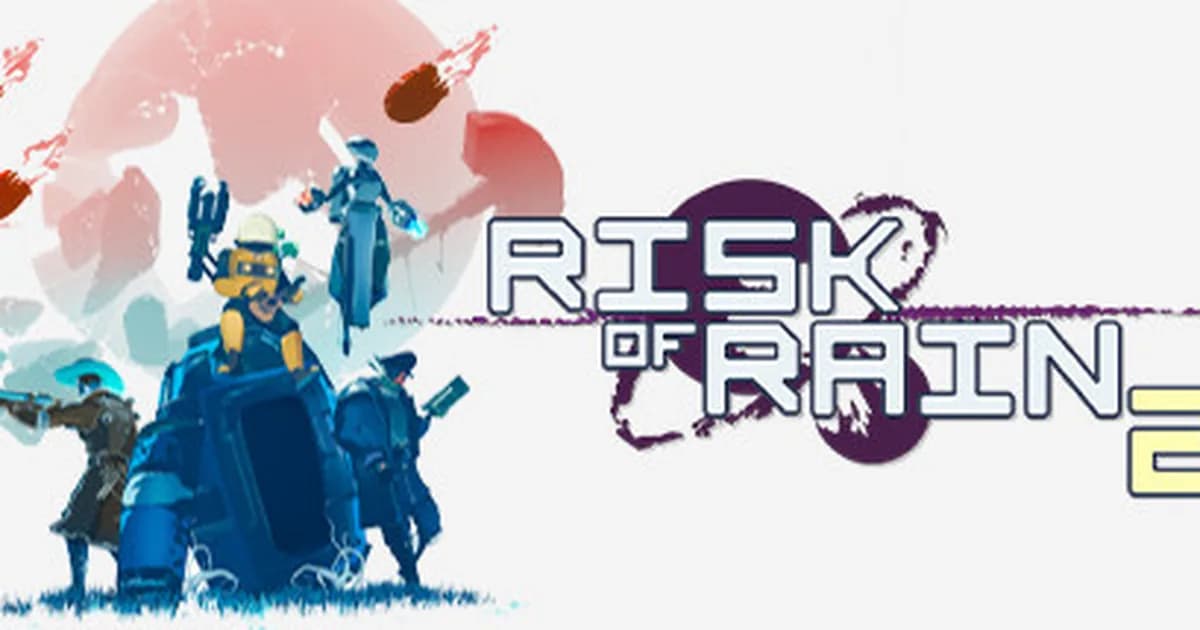
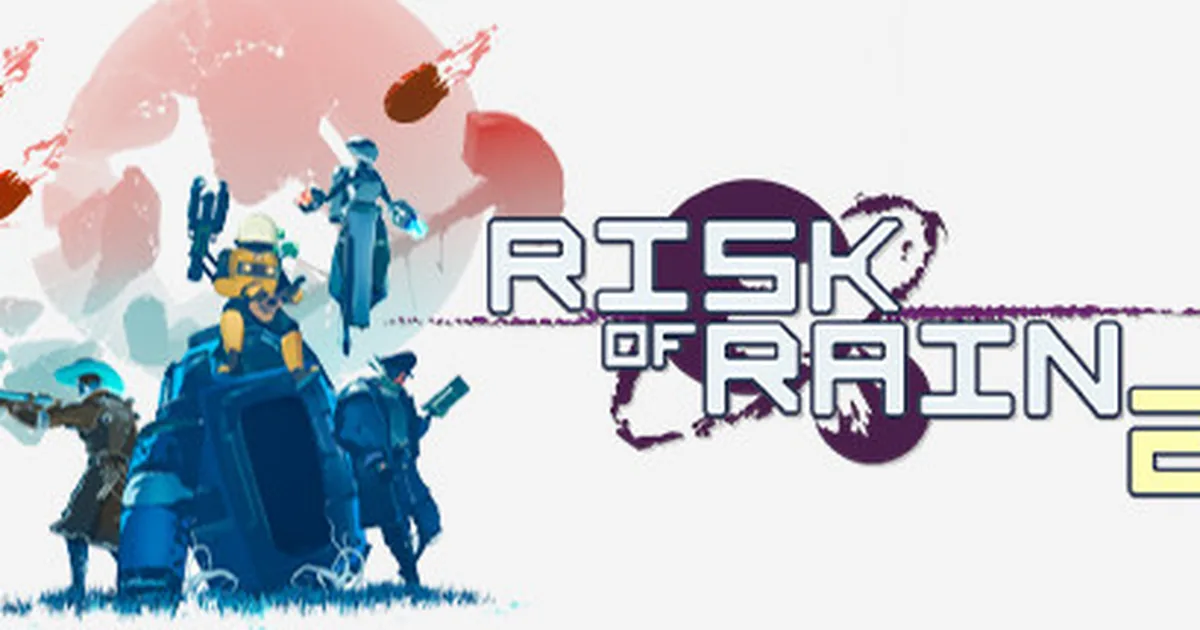 The selectable roster is larger than the eleven-survivor count still shown in some old Steam store copy. The community wiki now lists 20 menu survivors after four paid DLCs. Image: Risk of Rain 2 Steam store header art
Updated 2026-10-20: Added Acolyte and Enforcer from Hallowed Concepts, which launched on October 8, and moved the roster count from 18 to 20.
TL;DR: Loader, Engineer, and Railgunner are the S-tier starting points for a serious current run, but they win for different reasons: Loader survives contact, Engineer turns space into a defended position, and Railgunner deletes priority targets from range. Huntress is the easiest first pick, Captain and Seeker rise in co-op, and Eclipse rewards survivors that can control distance without relying on perfect healing drops.
BESTPRICE: Want Risk of Rain 2? Eneba sells a Steam key: Buy on Eneba →
Who are the Risk of Rain 2 best survivors? (quick answer)
The Risk of Rain 2 best survivors for a blind solo run are Loader, Engineer, and Railgunner. Loader is the broadest recommendation because her mobility and barrier let her recover from mistakes. Engineer is strongest when a player understands turret placement and holds a good position. Railgunner is the best pure priority-target answer, but she asks the player to aim and manage distance.
For a first run, choose Huntress if you want movement and forgiving target selection, or Commando if you want to learn the basic item and on-hit loop without a complicated resource bar. The ranking below is an editorial guide, not an official class system. It assumes a standard Rainstorm run with the full roster available, not a challenge seed where one specific item happens to dominate.
The Risk of Rain 2 stages guide is the companion to this ranking when your question is route rather than character. A survivor who is excellent on a safe open stage can feel very different in a cramped map or a route that forces a long objective rotation.
Sponsored

Risk of Rain 2 best survivors tier list rules
This Risk of Rain 2 best survivors ranking uses four tests: how safely the survivor reaches power, how many types of damage the kit can answer, how much mobility or recovery it has, and how well it handles the final third of a run. A character who wins one perfect build but dies while waiting for it ranks below a character who is merely excellent with ordinary drops.
The baseline is solo Rainstorm because it exposes the most differences without adding Eclipse's modifiers or a teammate's free coverage. We then adjust the practical recommendations for co-op, Eclipse, and Simulacrum. DLC survivors are ranked beside base-game survivors because the question readers actually ask is which character to play with the content they own, not which release window the character came from.
The community wiki lists 20 selectable survivors: 11 base characters, Railgunner and Void Fiend from Survivors of the Void, Seeker, False Son, and CHEF from Seekers of the Storm, Operator and Drifter from Alloyed Collective, and Acolyte and Enforcer from Hallowed Concepts. The two newest have been out for less than two weeks, so their placements lean on the documented kits and early player reports more than on a settled meta.
The Risk of Rain 2 bosses and Alloyed Collective guide covers the previous expansion, but it does not replace this ranking. A DLC announcement can tell you that a survivor exists; it cannot tell you which survivor best matches your run's pace, mode, and comfort level.
S tier: Loader, Engineer, Railgunner
Loader, Engineer, and Railgunner are the S-tier Risk of Rain 2 best survivors because each solves a different run-ending problem. Loader has the strongest mistake recovery, Engineer converts safe ground into damage, and Railgunner handles priority targets before they can overwhelm the arena. None is automatically perfect, but all three have a clear path from early items to a late run.
Loader is the best general recommendation. Her barrier, close-range burst, and movement let her take fights that would force a fragile ranged survivor to retreat. Build around mobility first, then add attack speed, crit or proc support, and items that make repeated contact safer. Loader does not need a complicated item puzzle to feel strong, which is why she remains a good answer when the stage gives mediocre drops.
Engineer is the best positional survivor. His turrets inherit much of the value of the items you find, so a good Engineer build compounds quickly when the player knows where the next fight will happen. Prioritize movement and personal survivability so the survivor can reposition while the turrets keep pressure on the arena. Do not treat the turrets as permission to stand still: a moving Engineer who protects the setup is more reliable than a player who abandons it for one chest.
Railgunner is the best high-priority target specialist. The official roster describes her as a long-range, single-target survivor who can instantly kill a high-priority target, and that identity remains useful in ordinary runs and boss events. Give her safe movement, reload or attack comfort, and enough area coverage that ordinary enemies cannot hide the target she actually needs to remove. Her ranking drops only when the player refuses to solve close-range pressure.
Loader is the S-tier all-purpose recommendation because mobility and barrier let her keep playing when a run stops offering perfect ranged space. Image: Risk of Rain 2 Wiki (riskofrain2.wiki.gg). Game art is the property of Gearbox Publishing.
Railgunner earns S tier through priority-target control, but her build still needs a plan for the ordinary enemies that reach her position. Image: Risk of Rain 2 Wiki (riskofrain2.wiki.gg). Game art is the property of Gearbox Publishing.
A tier: Huntress, Captain, Enforcer, Void Fiend, MUL-T, Acrid, Bandit
The A-tier Risk of Rain 2 best survivors are powerful enough for nearly every normal run, but each has a more visible condition than the S tier. Huntress asks for damage that scales with repeated hits, Captain wants the player to use his supply tools deliberately, Void Fiend needs meter management, and the remaining picks have a clearer range, timing, or positioning preference.
Huntress is the best beginner pick for players who value movement. Her automatic targeting reduces the aim burden while her mobility helps her leave danger quickly. The tradeoff is fragile health, so a Huntress build should buy movement, attack speed, and reliable healing or mitigation before chasing a clever damage interaction. She is also a strong co-op scout because she can clear stragglers without stopping the entire team.
Captain is one of the best co-op survivors because his supply tools add value to the whole route, not just his personal damage. He ranks slightly lower for solo players who do not want to plan around cooldowns and special zones. Build enough movement and personal damage to remain useful between supply calls, then use the team's shared objective timing to turn utility into actual tempo rather than leaving every beacon unused.
Enforcer is the best of the new arrivals for most players. He's unlocked as soon as you own Hallowed Concepts, his Steel Protection shield blocks every hit from the front, and a well-timed bash parries attacks back at six times their damage. His Rally Point beacon gives everyone inside a barrier worth 20% of his max health, and it switches on Warbanner, Lepton Daisy and Corpse Lily outside Teleporter events. That makes cheap whites into core items. He sits below Loader because the shield slows him to about a third of his walking speed, and a slow survivor loses time on long stages. Early players are taken with him; Nisha-XI said on r/riskofrain that he "somehow managed to remove Railgunner from that spot" as their favorite. Every skill number is in our Acolyte and Enforcer skills guide.
Void Fiend is one of the most stable DLC picks once the player understands the controlled and corrupted forms. The official survivor description confirms that the two forms trade different strengths and weaknesses. Treat the corruption meter as a decision tool, not as an emergency button: take safe damage windows when corruption is useful, then stabilize before a boss or a route transition where control matters more than burst.
MUL-T is a durable, flexible pick for players who like switching tools to answer the stage. He is less explosive than the S tier and can feel slow before the item engine starts, but that consistency is valuable in long loops. Build one weapon mode for ordinary waves and one for bosses, then prioritize movement so the survivor does not pay for his heavier feel by arriving late to every event.
Acrid is excellent when the player understands damage-over-time pacing. Poison lets him contribute while moving and makes crowded fights less dependent on one perfect hit, but it does not reward standing still and trading health. Choose mobility, crowd control, and a finisher for enemies who survive the damage-over-time window. Acrid becomes especially comfortable in Simulacrum when the team can keep enemies grouped without asking him to duel every target.
Bandit turns timing into damage. His stealth and close-range burst make ordinary targets disappear when the player knows when to commit, but a missed opening is more expensive than it is on Huntress or Commando. Build for movement and cooldown comfort first, then add crit and on-hit effects that reward repeated short engagements. Bandit is a high-ceiling A tier, not the best blind pick for a new player.
The Risk of Rain 2 interactables guide matters here because Captain, Engineer, and Operator all change value when a run offers a useful machine or drone. A tier list that ignores the stage objects is measuring only the character select screen, not the game those survivors actually play.
Engineer sits in A tier for players who have not yet learned to defend a turret position, but moves into the S-tier conversation once the arena and item plan are deliberate. Image: Risk of Rain 2 Wiki (riskofrain2.wiki.gg). Game art is the property of Gearbox Publishing.
B tier: Acolyte, Commando, Mercenary, Artificer, REX, Seeker, False Son, Drifter
B-tier Risk of Rain 2 best survivors are fully capable of clearing the game's main routes, but they ask for more encounter knowledge or a more specific build shape. B does not mean weak. It means the survivor has a sharper failure point than the S and A picks, or that the same item investment produces a more reliable result on another character.
Acolyte has an A-tier ceiling and a B-tier floor. Her alternate passive turns every heal into attack speed, so a run with Leeching Seed and bleed items snowballs fast, and her Litany either transforms her into the Anima Harvester, which can't drop below 1 health, or repeats every slash. The floor is lower for three reasons. You have to beat a timed hidden-realm boss to unlock her, half the item pool behaves differently on her, and the final boss is a problem: Entire_Restaurant_29 wrote that "the character falls apart on the final boss." Our Risk of Rain 2 Acolyte build covers the items that lift her.
Commando is the cleanest teaching survivor. His straightforward attacks expose the value of attack speed, proc chance, movement, and item stacking without hiding the lesson behind a special meter. He ranks B only because his late-run ceiling depends more heavily on finding a good item engine than Loader or Engineer. Use Commando to learn, not to prove that the starter character cannot scale.
Mercenary has a high skill ceiling and strong close-range control, but his ranking assumes a player who can manage invulnerability windows and stay aware of the next threat. Build movement and cooldown comfort before chasing a damage combo. He is better in the hands of an experienced player than this broad tier suggests, especially on routes where a fast survivor can skip danger rather than absorb it.
Artificer delivers some of the roster's best burst and crowd control, but her limited mobility makes the surrounding stage more important. Give her movement, defensive layers, and a way to keep damage active while repositioning. She rises in a team that can hold enemies in place and falls when a solo player insists on taking every fight at point-blank range.
REX trades health and positioning for control and sustain. The official roster identifies him as a distinct survivor rather than a conventional gunner, and his best runs reward a player who can judge when spending health creates more safety than it costs. Build healing, movement, and reliable damage before leaning into risky health trades. REX is powerful, but his mistakes are more visible than Commando's.
Seeker is a strong co-op B tier because the official survivor description highlights powerful healing that sustains herself and her team. That value rises when a lobby communicates, but solo players may prefer a survivor whose damage is less tied to maintaining a support rhythm. Build enough personal damage that healing is a force multiplier instead of the only reason the run survives.
False Son is a durable close-range survivor with a slower rhythm. The official wiki describes him as a stalwart warrior with extreme health and defense, which makes him forgiving when learning contact fights. He ranks B because speed and route tempo matter in Risk of Rain 2, and a build that cannot reach the next event on time loses value even when it can survive the current one.
Drifter has a resource loop built around gathering Junk and spending it on skills. That makes her one of the most interesting Alloyed Collective picks, but also one of the easiest to rank incorrectly from a short run. Learn the Junk cadence, use the extra options to patch the build's missing role, and do not spend every resource just because the button is available. Drifter rises in co-op when the team can protect her setup time.
Her scrap rules are the other thing to learn. The Risk of Rain 2 wiki lists +3 HP/s base regeneration for every green scrap she holds and -15% skill cooldown for every yellow, so on Drifter a pile of scrap is part of the build. Our Drifter build guide has the full scrap table and the items worth a slot.
If a player wants to test a lower-ranked survivor in a safer environment, the Risk of Rain 2 mods guide covers current quality-of-life and content options. Use mods to change the practice environment deliberately, then return to an unmodded run before treating a build as a reliable tier-list result.
C tier: CHEF, Operator
CHEF and Operator are not unplayable C-tier Risk of Rain 2 best survivors. They are specialized picks whose value is harder to access without knowing their loops, and a tier list should make that friction visible instead of pretending every survivor is equally easy from minute one.
CHEF asks the player to combine practiced skills and manage the timing of a kit built around meals and combos. That can produce a satisfying run, especially for someone who likes deliberate sequences, but it creates more setup overhead than Huntress or Commando. Start with movement and cooldown comfort, then add damage items that let the combo remain useful when the arena becomes crowded.
Operator is an evasive frontline commander who uses drones as a force multiplier, according to the official roster description. That is a real identity, not a generic weak-support label. Operator ranks C here because the payoff depends on stage objects, drone decisions, and a player willing to use an unusual frontline pattern. In co-op, a group that actively manages drones can move Operator into the B conversation.
Best Risk of Rain 2 survivors for each mode
The best Risk of Rain 2 survivors guide choices change when the mode changes its failure conditions. Do not copy a solo Rainstorm ranking into Eclipse or Simulacrum without adjusting for the rules that make a build valuable.
For beginners: choose Huntress for mobile, forgiving targeting; Commando for the clearest lesson in item stacking; or Loader if you already understand aggressive melee movement. A beginner build should solve movement and survival before it tries to force a legendary-item combo. The Risk of Rain 2 items and artifacts guide is the better companion for learning what each rarity can actually do.
For solo: Loader, Railgunner, Huntress, and Void Fiend cover different versions of safety. Loader forgives contact, Railgunner controls distance, Huntress moves through ordinary stages, and Void Fiend turns careful meter management into a flexible damage and sustain pattern. The Risk of Rain 2 Mithrix guide is useful when selecting a character specifically for the final boss route.
For co-op: move Enforcer, Captain, Engineer, Seeker, Drifter, and Operator up when the lobby communicates. Enforcer's beacon gives the whole team barrier, Captain and Seeker add team utility, Engineer controls a shared fight area, Drifter can patch gaps with Junk, and Operator can turn drones into an intentional part of the team plan. The Risk of Rain 2 co-op guide covers item ownership, revives, and why four-player scaling punishes slow looting.
For Eclipse: prefer Loader, Railgunner, Huntress, Captain, and Void Fiend when you are climbing survivor-specific levels. Eclipse's modifiers make careless healing and falls more dangerous, so mobility, range, and damage that works without a perfect sustain item rise in value. Read the Risk of Rain 2 Eclipse guide before treating a successful Monsoon build as an Eclipse plan.
For Simulacrum: Engineer, Acrid, Void Fiend, and Captain gain value because waves keep the team around one moving safe zone and reward repeatable area control. A build that only wins one boss at a time is less useful than one that clears crowds while moving. The Risk of Rain 2 Simulacrum guide explains why wave milestones change the value of range, control, and healing.
For Prismatic Trials: pick the survivor that matches the current seed and route rather than a universal tier. The mode is solo-only, rotates every 72 hours, and gives everyone the same stage and item conditions, so a seed can make a normally lower-ranked survivor the correct choice. Use the Risk of Rain 2 Prismatic Trials guide for the mode's fixed rules.
Step-by-Step: choose a Risk of Rain 2 best survivor
The fastest way to use this Risk of Rain 2 best survivors list is to choose the failure you want to solve, then match the survivor and build to it. You do not need to memorize every skill before starting. Pick a clear role, follow the early item plan, and reassess after the first teleporter event.
- Name the run's mode: choose solo Rainstorm, co-op, Eclipse, Simulacrum, or Prismatic Trials before copying a tier. The mode changes what “safe” means.
- Name the failure you keep repeating: choose Loader for contact deaths, Railgunner for boss pressure, Huntress for movement and aim relief, Engineer for crowd control, or Commando for learning the item loop.
- Choose one early build layer: take movement first if the survivor cannot reach safety, area damage if ordinary enemies are the problem, or single-target damage if bosses are ending the run.
- Recheck after the first teleporter: do not keep a character only because the tier list called them S. If the drops support a different plan, follow the build that the run actually offered.
- Protect the next objective: use the Risk of Rain 2 interactables guide before spending a personal item in a printer or Scrapper, and use the Risk of Rain 2 stages guide when the route is the real danger.
- Set a finish line: if the run is a Mithrix attempt, read the Risk of Rain 2 Mithrix guide before Stage 5. If the goal is a mastery or survivor unlock, use the Risk of Rain 2 achievements guide rather than taking an unnecessary route detour.
Risk of Rain 2 survivor builds that work without perfect loot
The best Risk of Rain 2 survivors still need a build that covers the run's actual problems. A good build order is easier to remember as three layers: movement, reliable damage, and recovery. The exact item names can change with the DLC pool and mode, but the roles do not.
- Fix movement early: speed, jumps, dashes, or safe repositioning prevent more deaths than a small damage upgrade that leaves the survivor trapped in a bad arena.
- Add one ordinary-wave answer: attack speed, proc chance, area damage, or a reliable skill loop keeps small enemies from consuming every cooldown.
- Add a boss answer: choose burst, armor reduction, bleed, crit, or sustained single-target damage based on the survivor's actual kit.
- Add recovery before looping: healing, barriers, damage reduction, or a way to avoid contact keeps a good build from ending to one mistake after Stage 5.
- Use the interactable instead of hoarding forever: a printer or Scrapper can turn a mediocre item pool into a focused build, but decide what the survivor needs before spending a personal item.
Loader wants movement and close-range damage. Engineer wants movement that protects the turret position and items that let both survivor and turret clear the same crowd. Railgunner wants safe range, a way to clear the enemies that reach her, and enough mobility to avoid turning a missed shot into a death. Huntress wants speed and repeated-hit value. Void Fiend wants a build that stays useful in both forms rather than one that collapses whenever the meter changes.
The Risk of Rain 2 interactables guide explains when to scrap, print, or save an item. Use that decision guide with this tier list instead of treating S tier as permission to take every red or green item regardless of the build.
How to choose the right survivor
The right Risk of Rain 2 best survivors pick is the one whose failure mode you understand. If you die because you cannot reach a safe position, play Loader or Huntress. If you die because bosses live too long, try Railgunner or Bandit. If you die because the whole arena becomes crowded, try Engineer, Acrid, or Artificer. If your team lacks recovery, Captain, Seeker, and Engineer deserve more attention than a solo ranking gives them.
Do not read a tier list as a demand to abandon a favorite. The game is built around item combinations, alternate skills, and repeated runs. A B-tier survivor with a build you can pilot is more valuable than an S-tier survivor whose range, timing, or resource loop you do not yet understand. The Risk of Rain 2 achievements guide is also a good reason to rotate: mastery and unlock goals reward learning more than one character.
Related Reading
- Risk of Rain 2 Item Tier List 2026: Best Items for Every Run: item priorities for every survivor, plus all 11 Hallowed items ranked.
- Risk of Rain 2 Acolyte and Enforcer: Every Skill and Unlock: both Hallowed Concepts kits and the Acolyte unlock.
- Risk of Rain 2 Complete Guide: Survivors, Items, Bosses: the cluster hub for routes, systems, DLC, and current links.
- Risk of Rain 2 Items and Artifacts: Tiers and All 20 Explained: item categories and artifact rules to pair with any survivor build.
- Risk of Rain 2 Eclipse Guide: All 8 Modifiers Explained: the mode-specific modifiers and survivor progression rules.
- Risk of Rain 2 Co-op Guide: Multiplayer, Items and Revives: multiplayer item ownership, scaling, revives, and team roles.
References
- Risk of Rain 2 official Survivors reference: current selectable roster, DLC split, survivor descriptions, and the Heretic distinction.
- Risk of Rain 2 on Steam: official game listing and current multiplayer context.
- Risk of Rain 2 official Difficulty reference: solo and multiplayer scaling rules used when adjusting the tier list by mode.
- Risk of Rain 2 official Alternate Game Modes reference: Eclipse, Simulacrum, and Prismatic Trials availability.
- Risk of Rain 2 official Steam announcements: current patch history and DLC state.
- Risk of Rain: Hallowed Concepts is Available Now!: Gearbox launch notes, Enforcer unlocked by default and Acolyte unlockable.
- Risk of Rain 2: Alloyed Collective Launch Trailer: official Gearbox video for the previous survivor expansion.
Frequently Asked Questions
Who is the best survivor in Risk of Rain 2?
Loader is the strongest all-purpose recommendation for most solo runs. Engineer and Railgunner are close behind, but they reward more deliberate positioning and aim.
What is the best survivor for beginners?
Huntress is the most forgiving first pick because mobility and target selection reduce the punishment for early mistakes. Commando is the best teaching pick if you want to learn the item system directly.
How many survivors are in Risk of Rain 2?
The current game has 20 selectable survivors: 11 base characters, 2 from Survivors of the Void, 3 from Seekers of the Storm, 2 from Alloyed Collective, and 2 from Hallowed Concepts.
What are the best survivors for co-op?
Enforcer, Engineer, Captain, Seeker, Loader, and Drifter all become more valuable when a team communicates. Enforcer's beacon shields the team, Engineer supplies area control, Captain and Seeker add utility, Loader reaches objectives safely, and Drifter patches gaps with her resource loop.
What are the best survivors for Eclipse?
Loader and Railgunner are dependable starting points because they can control distance and do not need perfect healing to contribute. Huntress, Captain, and Void Fiend are also strong once the player respects the mode's modifiers.
Does the tier list include Heretic?
No. Heretic is a special in-run transformation that replaces the current survivor, not a 21st character selected from the menu.
Was this guide helpful?
About the author

News Desk
GameBrief's byline for industry news, patch notes, studio announcements and esports results. Tight sentences, dated facts.
- News, patch notes and early access
- Industry and esports results
- Sources listed per article
Keep reading

Risk of Rain 2 Stages: Which Maps Appear at Stages 1 to 5
General · 16 min
Risk of Rain 2 Multiplayer: 4-Player Co-op, Items, Revives
General · 10 min

Risk of Rain 2 Eclipse Guide: All 8 Modifiers Explained
General · 10 min

Risk of Rain 2 Item Tier List 2026: Best Items for Every Run
General · 21 min

Risk of Rain 2 Acolyte and Enforcer: Every Skill and Unlock
General · 9 min

Risk of Rain 2 Interactables: Shrines, Printers, Scrappers
General · 10 min
Sponsored
More game deals
Disclaimer
This article is published for informational and entertainment purposes. It does not constitute professional financial, legal, or technical advice. Game performance, online services, patch schedules, and store listings change. Verify critical details (pricing, system requirements, regional availability) with publishers and storefronts before you buy. Affiliate links, where present, help support our editorial work and are labelled in our affiliate disclosure.